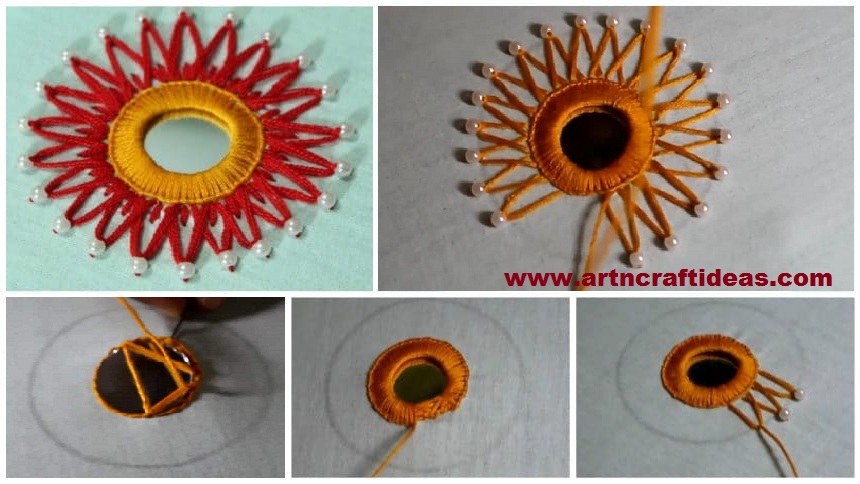
Posted onJuly 2, 2017inEmbroidery And Sewing, Tutorial, Video How to do hand embroidery mirror work design
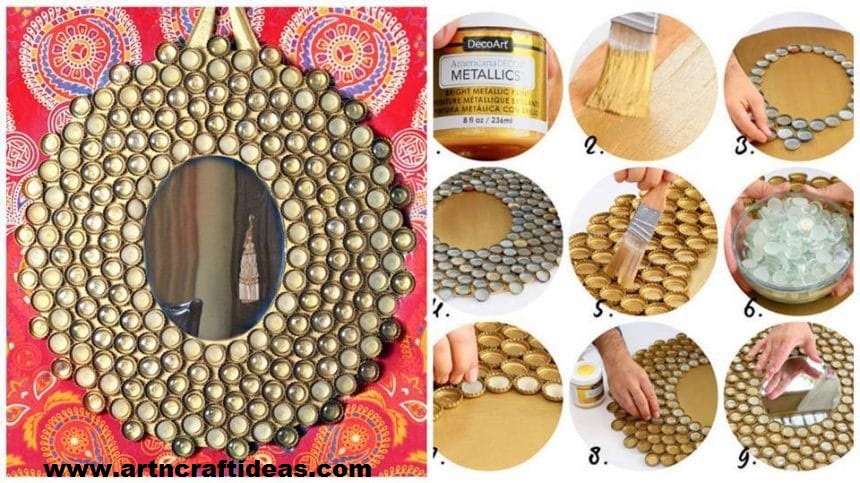
Posted onJune 24, 2017inBest out of Waste, Craft, DIY, Home Decor, Tutorial, Video How to make Boho Bottle Cap Mirror
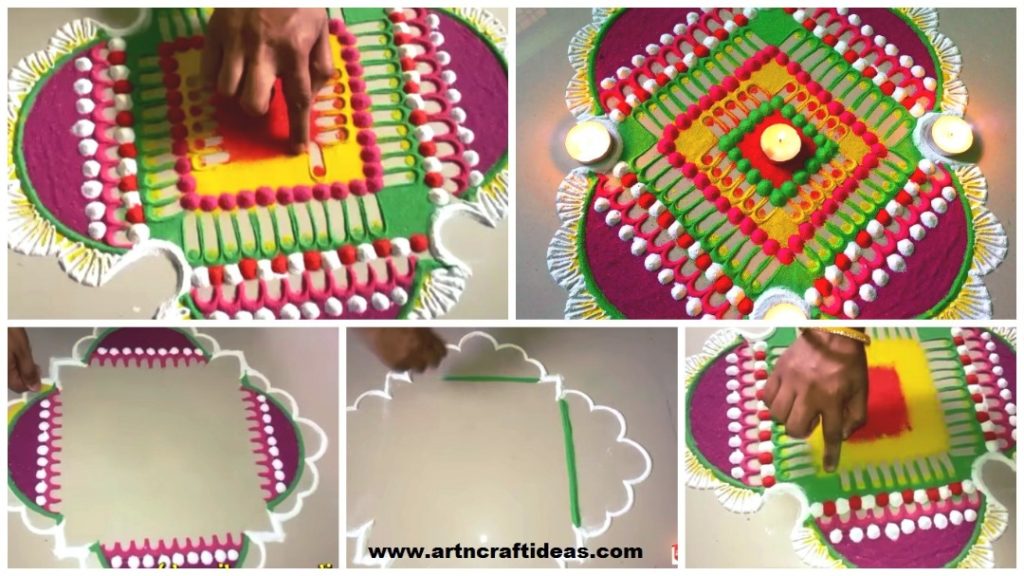
Posted onJune 18, 2017inRangoli, Tutorial, Video Easy and beautiful rangoli with the border of multicoloured roses
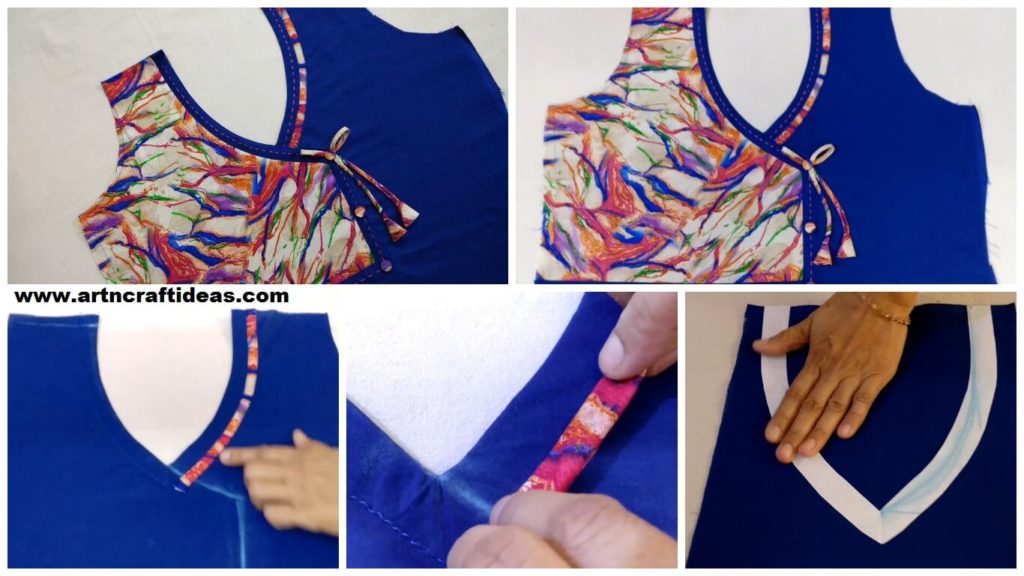
Posted onJune 16, 2017inClothing, Embroidery And Sewing, Patchwork Crafts, Tutorial, Video Designer Kurti Neck Design Cutting and Stitching
Posted onJune 9, 2017inClothing, Embroidery And Sewing, Tutorial, Video How to sew a Jacket style pattern kurti
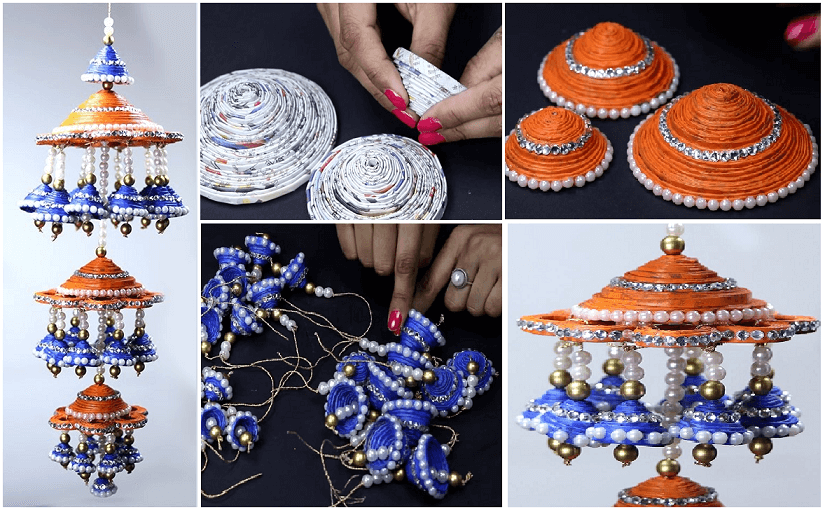
Posted onMay 27, 2017inBest out of Waste, Home Decor, Newspaper Crafts, Tutorial, Video How to Make Newspaper Wall Hanging Craft
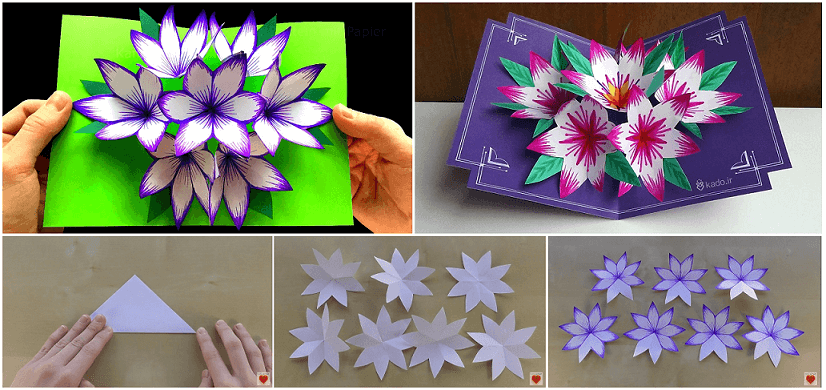
Posted onMay 27, 2017May 28, 2017inFeatured, Mother's Day, Paper Crafts, Tutorial, Video How to Make 3D Flower Pop-Up Card
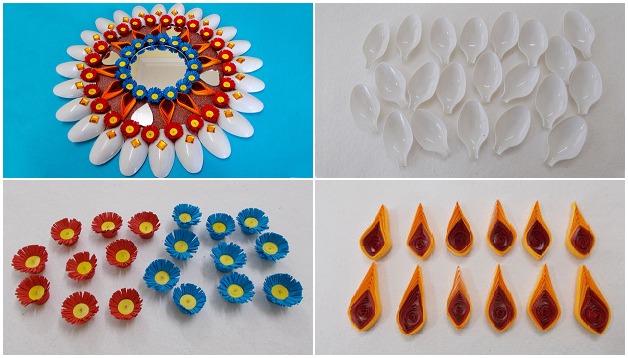
Posted onMay 19, 2017inBest out of Waste, Home Decor, Tutorial, Video DIY Plastic Spoons & Mirror Wall Decor