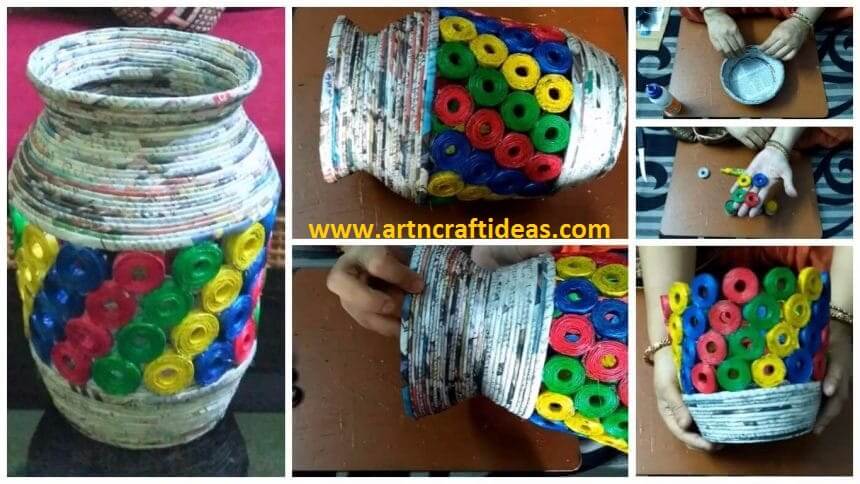
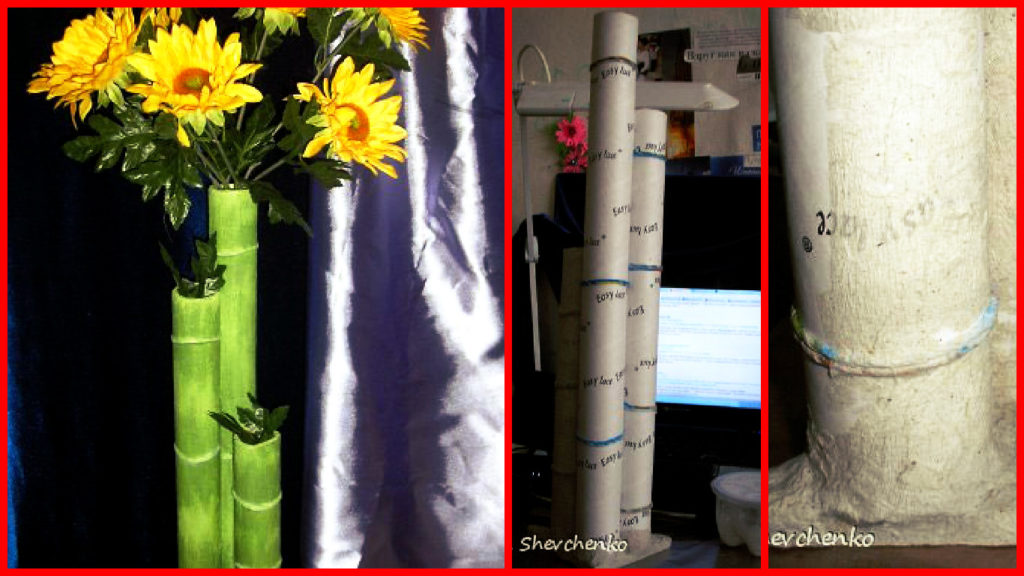
Posted onJuly 8, 2017inBest out of Waste, Craft, Newspaper Crafts, Tutorial How to make a newspaper tubes jar or vase
Posted onJune 20, 2017inBest out of Waste, Cardboard Crafts, Tutorial How to make vase from plastic bottle
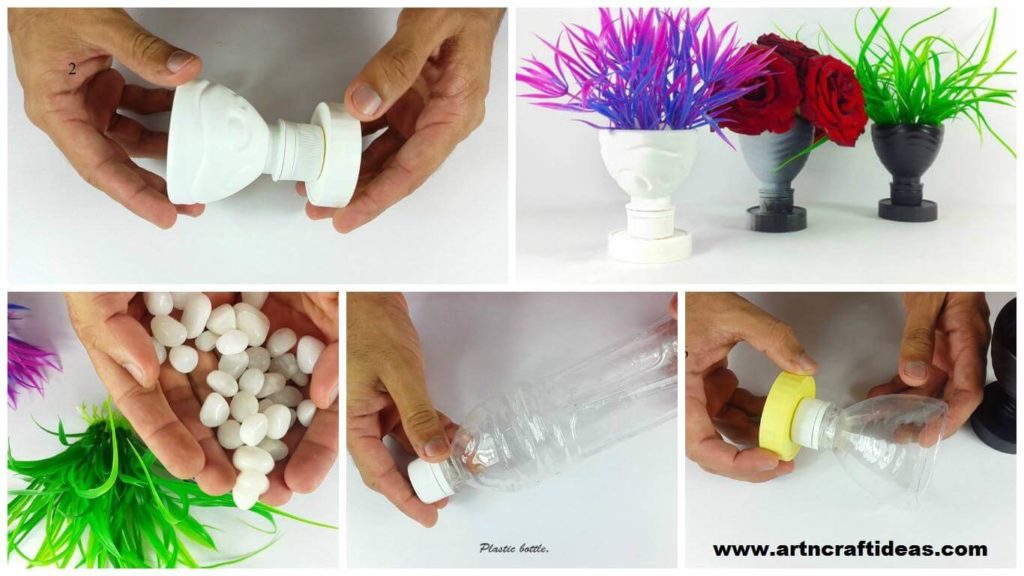
Posted onJune 11, 2017inBest out of Waste, Craft, DIY, Tutorial, Video DIY Flower Vase Out of Plastic Bottle
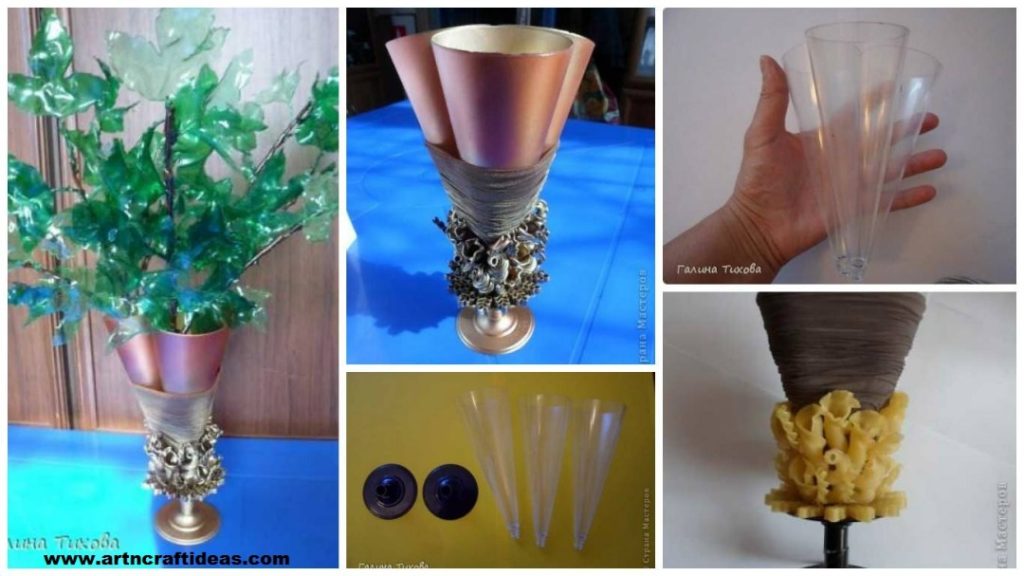
Posted onJune 9, 2017inBest out of Waste, Craft, Tutorial DIY Vase of branches made from plastic bottles
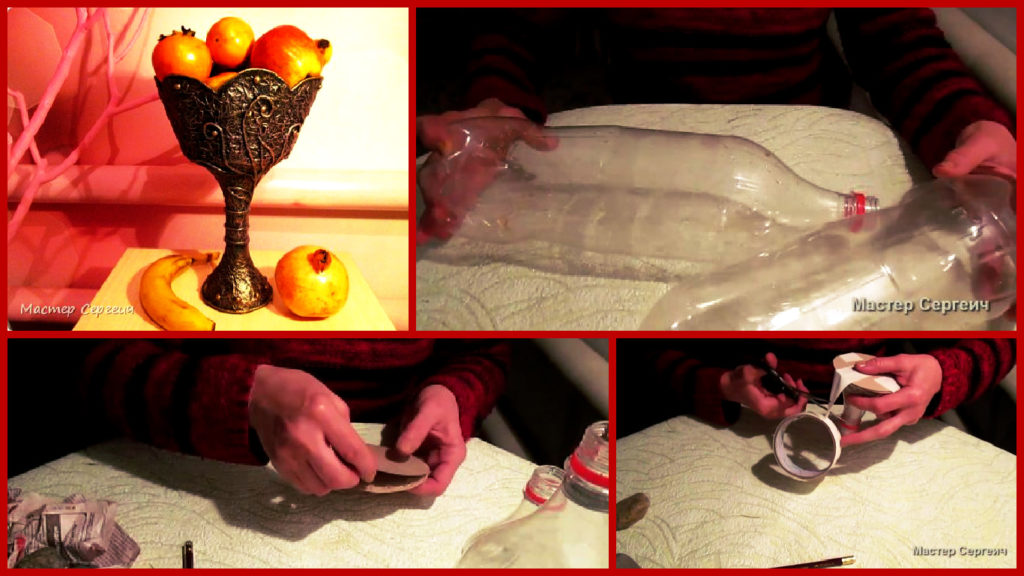
Posted onFebruary 7, 2017inBest out of Waste, DIY, Home Decor, Step by step, Tutorial DIY: Hamdmade vase of plastic bottles for fruit
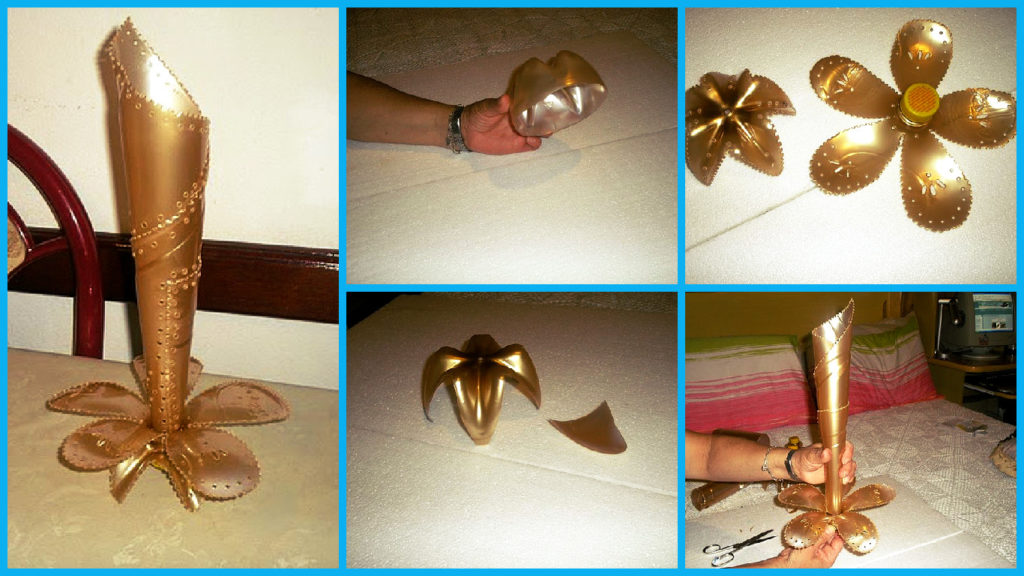
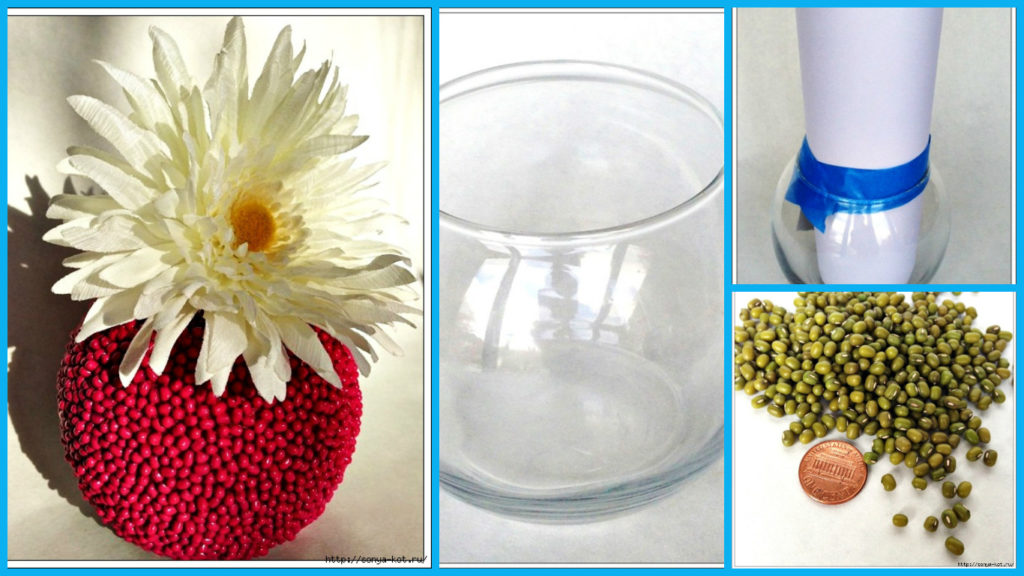
Posted onFebruary 6, 2017inBest out of Waste, DIY, Home Decor, Step by step, Tutorial Beautiful vase from plastic bottles
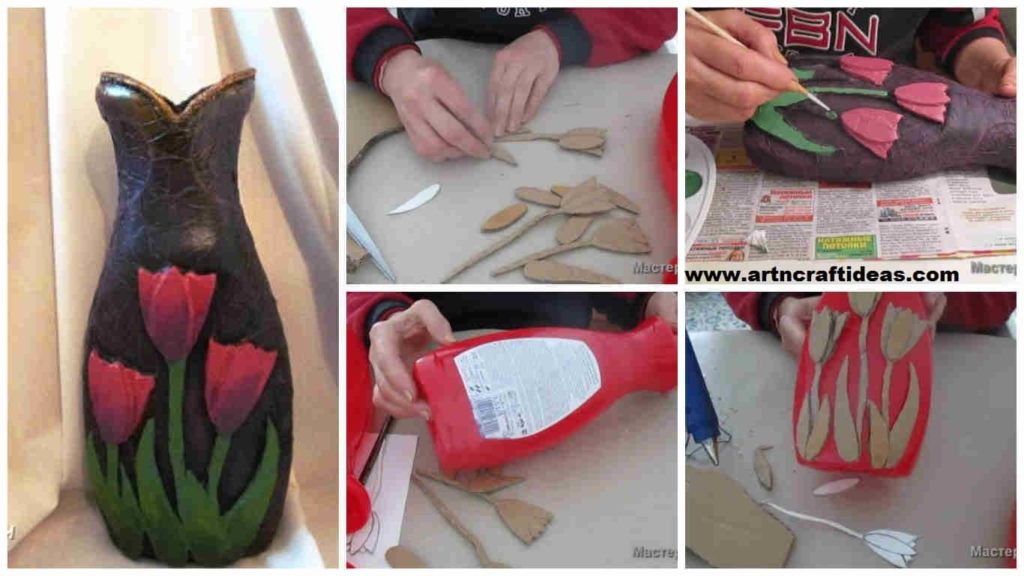
Posted onJanuary 30, 2017inBest out of Waste, DIY, Home Decor, Step by step, Tutorial How to make textured vase
Posted onJanuary 30, 2017inBest out of Waste, DIY, Home Decor, Step by step, Tutorial How to make mini vase bamboo
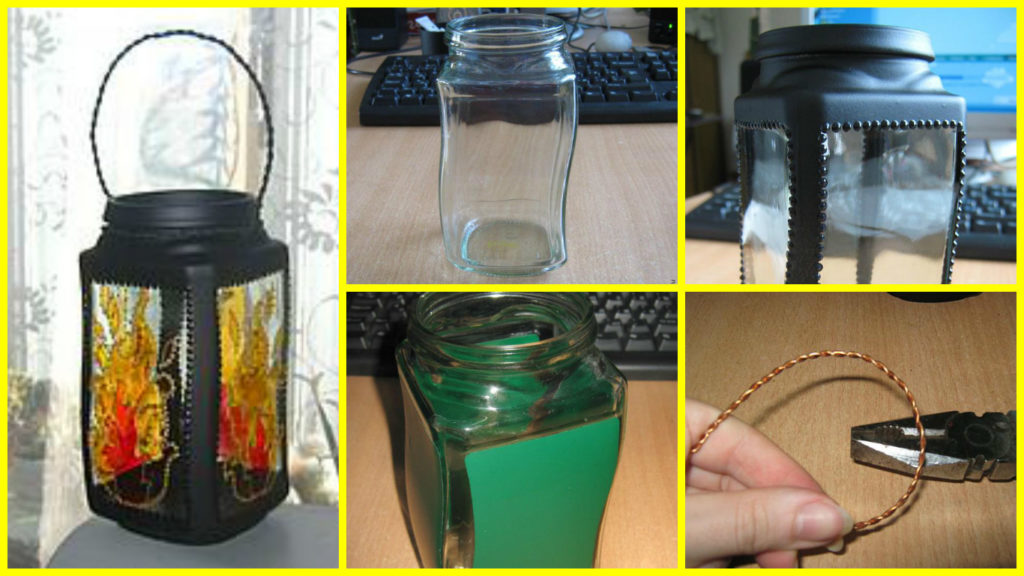
Posted onJanuary 29, 2017inBest out of Waste, DIY, Home Decor, Step by step, Tutorial How to make jar vase lamp