Posted onJanuary 28, 2017inBest out of Waste, DIY, Home Decor, Newspaper Crafts, Step by step, Tutorial How to make bicycle planters
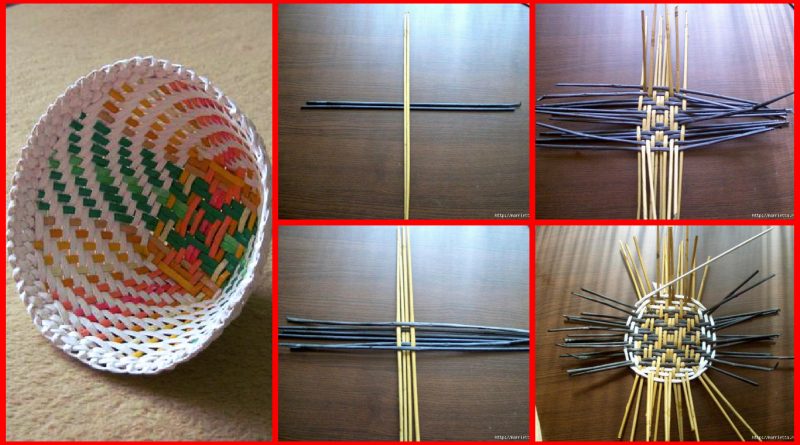
Posted onJanuary 27, 2017inBest out of Waste, Newspaper Crafts, Step by step, Tutorial How To Make Weaving Newspaper Colorful Platter
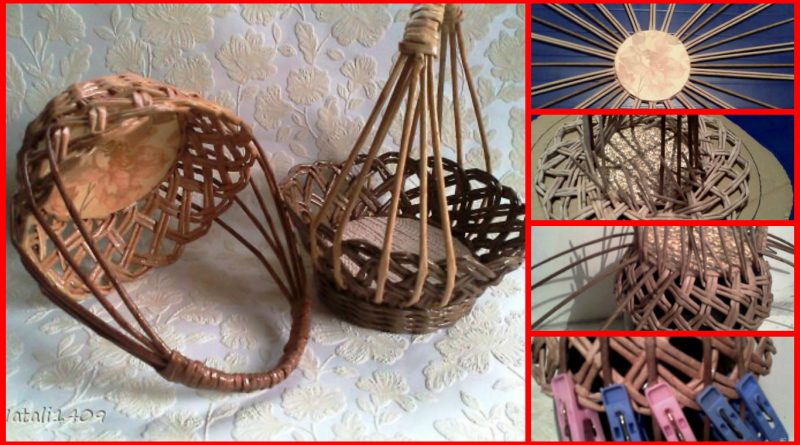
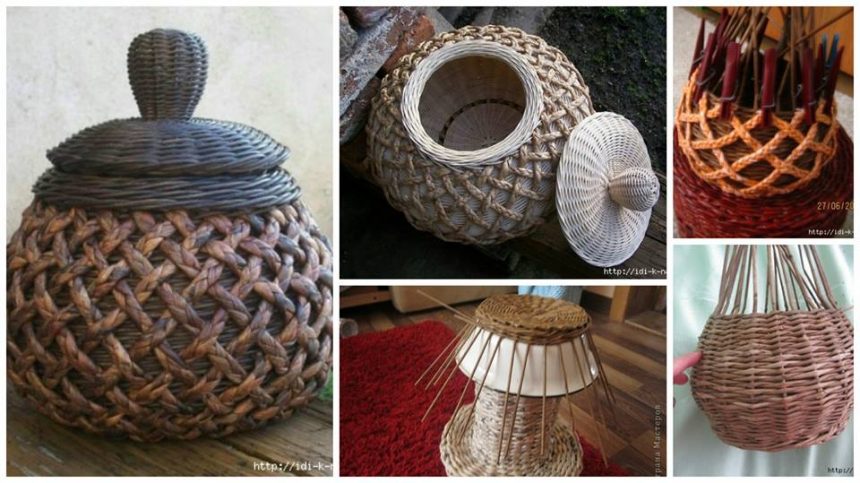
Posted onJanuary 27, 2017inBest out of Waste, Newspaper Crafts, Step by step, Tutorial How to make wicker vases, candy
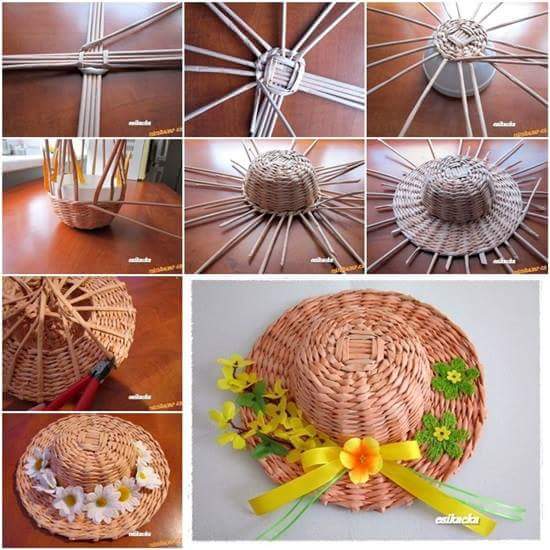
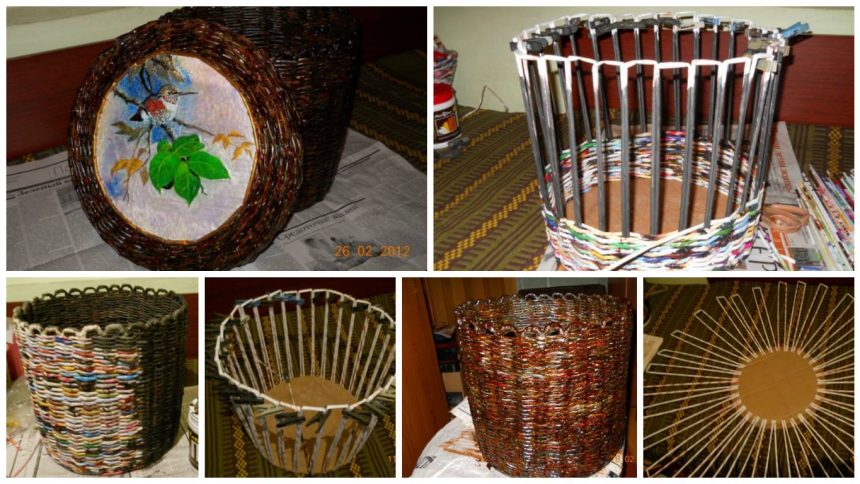
Posted onJanuary 22, 2017September 24, 2017inNewspaper Crafts, Paper Crafts, Step by step, Tutorial 15+ creative newspaper weaving ideas – Step by step
Posted onJanuary 22, 2017inNewspaper Crafts, Step by step, Tutorial How to make Newspaper weaving art for kitchen
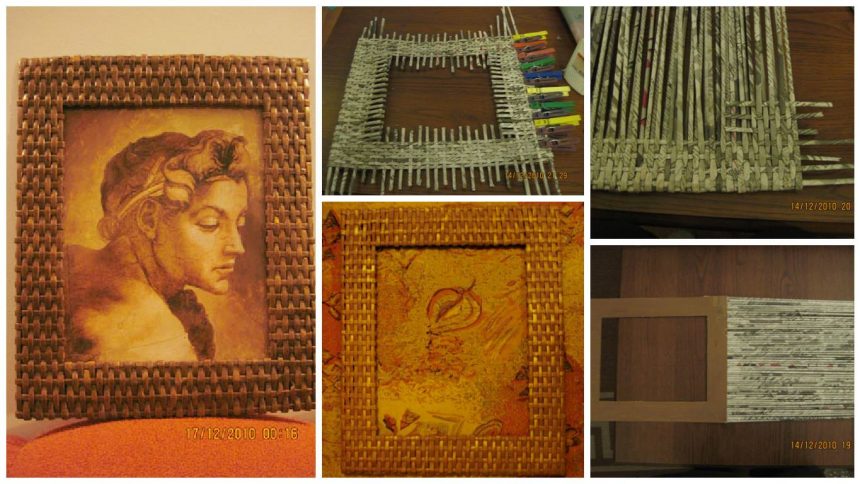
Posted onJanuary 20, 2017inNewspaper Crafts, Step by step, Tutorial How to make newspaper tubes frame
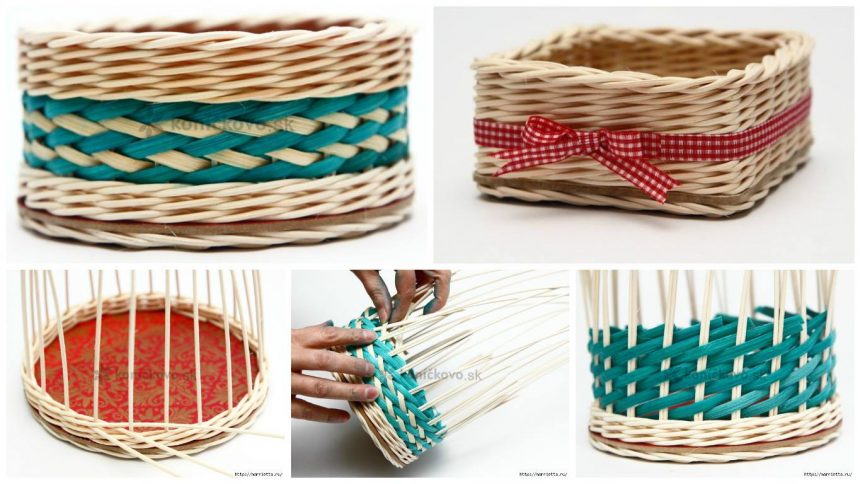
Posted onJanuary 19, 2017inNewspaper Crafts, Step by step, Tutorial How to weaving box for needlework
Posted onJanuary 19, 2017inNewspaper Crafts, Step by step, Tutorial How to make fun giraffe from newspaper tubes – Step By Step
Posted onJanuary 13, 2017inNewspaper Crafts, Step by step, Tutorial How to make pot from newspaper tubes – Step by Step