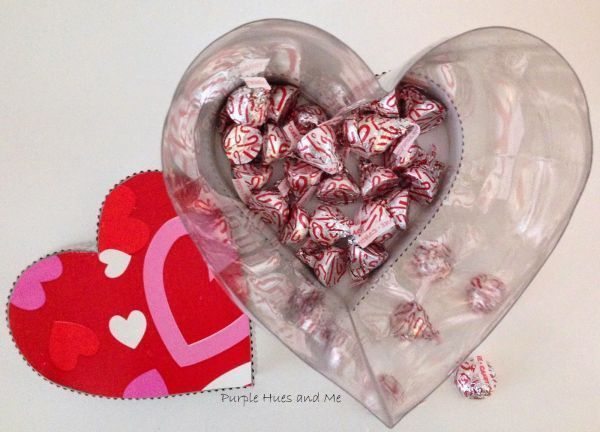
Posted onFebruary 15, 2017inBest out of Waste, DIY, Step by step, Tutorial Recycled Soda Bottle Heart Shaped Keeper
Posted onFebruary 10, 2017inDIY, Home Decor, Quilling, Step by step, Tutorial DIY: Khokhloma in quilling techniques
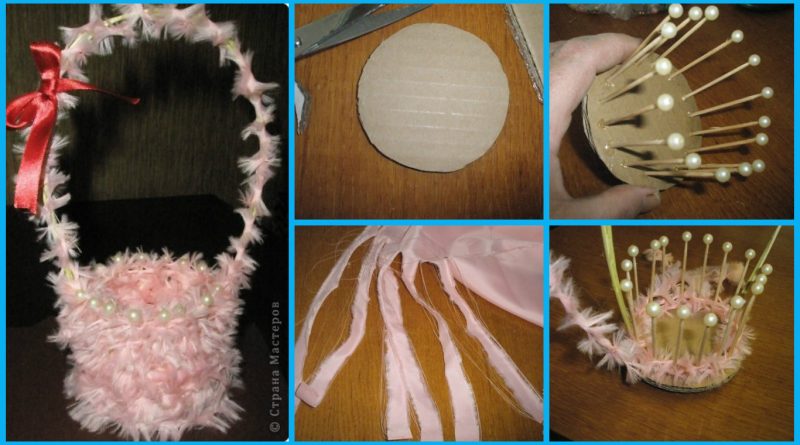
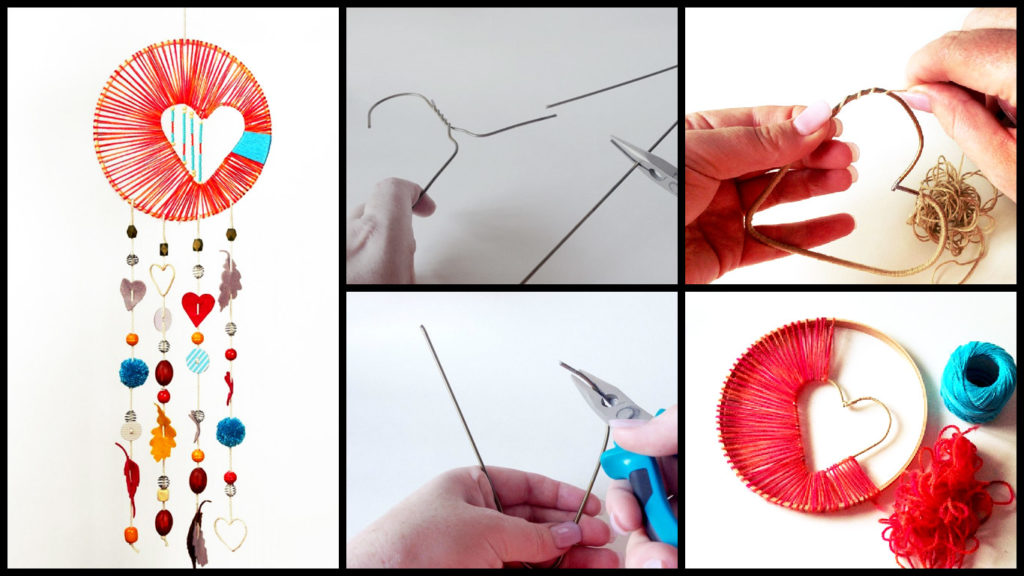
Posted onFebruary 6, 2017inDIY, Home Decor, Step by step, Tutorial, Valentine’s Day How to make a dream catcher
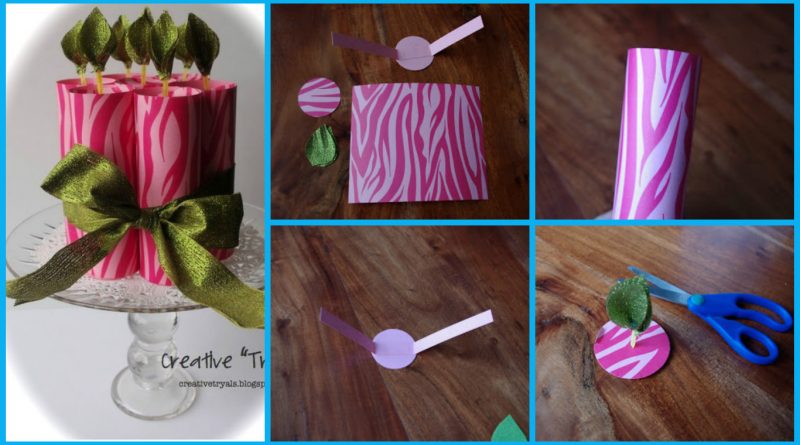
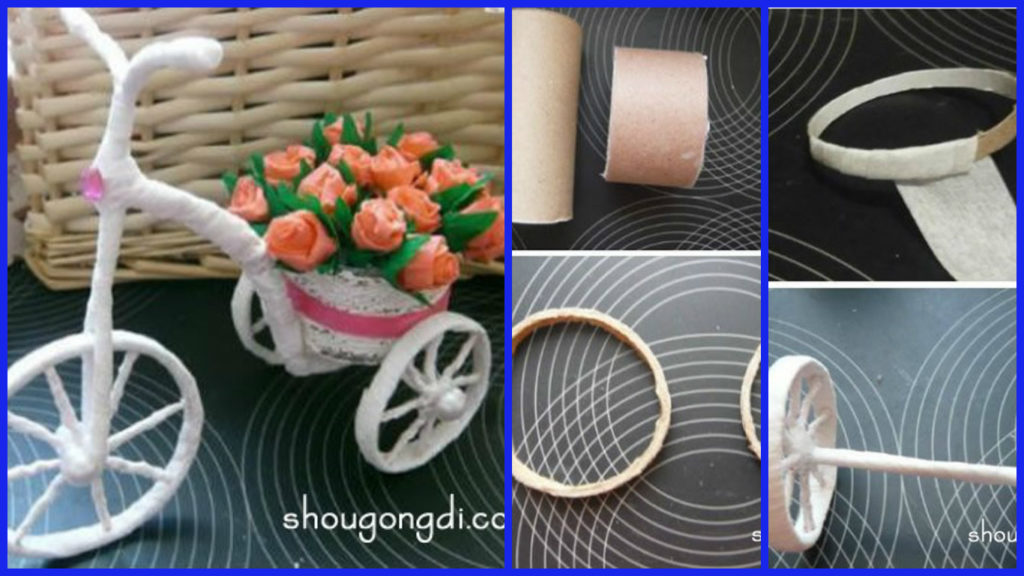
Posted onFebruary 6, 2017inBest out of Waste, DIY, Paper Crafts, Step by step, Tutorial How to make paper core model floats
Posted onJanuary 11, 2017January 11, 2017inDIY, Home Decor, Step by step, Tutorial DIY Coffee bean clock