Posted onFebruary 24, 2017February 25, 2017inDIY, Quilling, Step by step, Tutorial How to make quilling basket of flowers bouquets
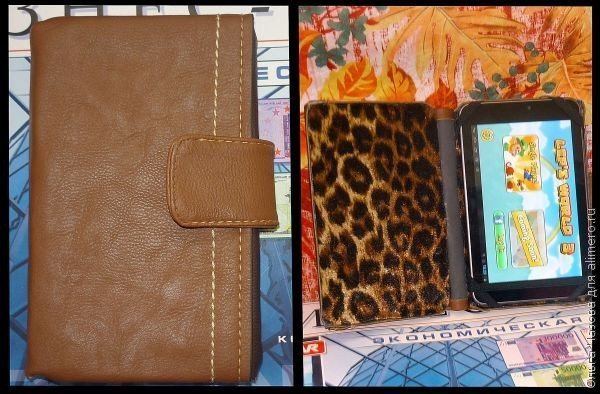
Posted onFebruary 22, 2017inCardboard Crafts, DIY, Step by step, Tutorial How to make case book tablet
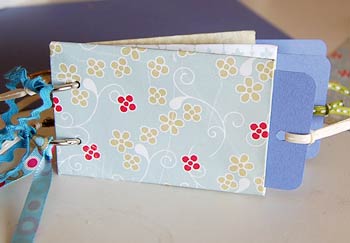
Posted onFebruary 22, 2017inBest out of Waste, DIY, Step by step, Tutorial Toilet Roll Mini Album Tutorial
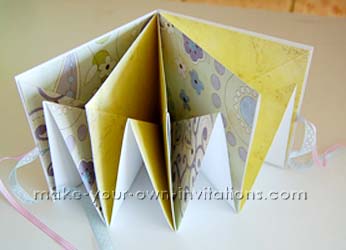
Posted onFebruary 21, 2017inBirthday, DIY, Step by step, Tutorial A Square around mini scrapbook step by step
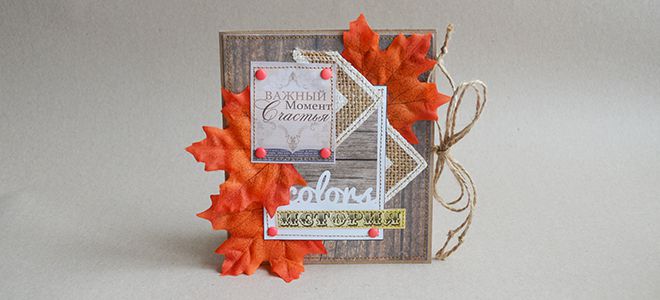
Posted onFebruary 21, 2017inCardboard Crafts, DIY, Step by step, Tutorial Autumn scrapbooking-postcard
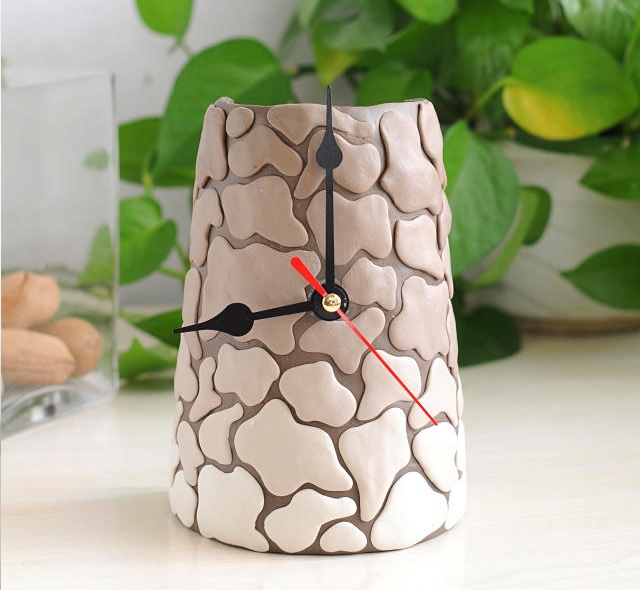
Posted onFebruary 18, 2017February 19, 2017inDIY, Step by step, Tutorial How to make soft pot clock ornaments
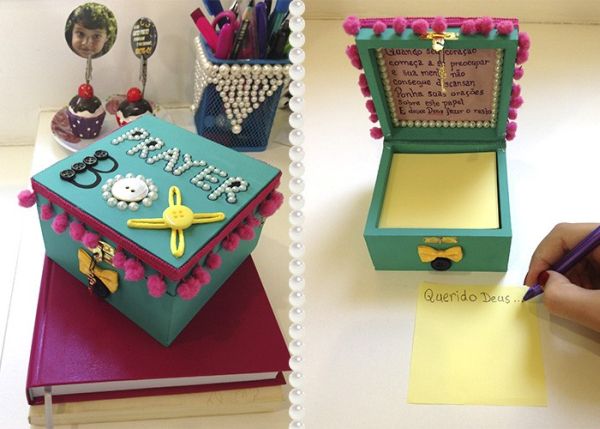
Posted onFebruary 18, 2017February 18, 2017inBest out of Waste, Decorations, Step by step, Tutorial How To Decorated Prayer Box
Posted onFebruary 18, 2017February 18, 2017inDIY, Step by step, Tutorial How To Make Mini Photo Album
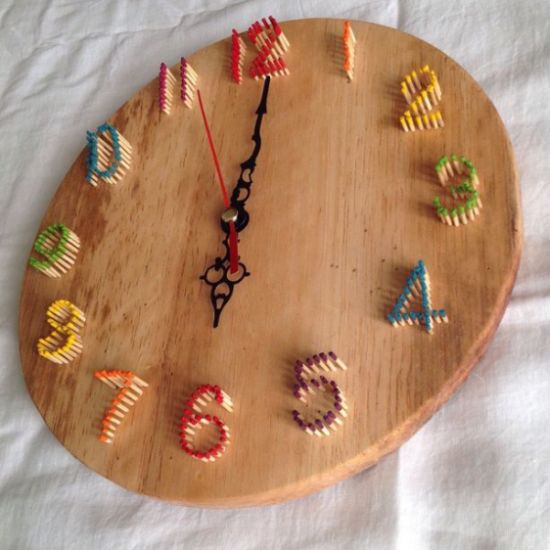
Posted onFebruary 15, 2017inBest out of Waste, DIY, Home Decor, Step by step, Tutorial DIY: Handmade Wall Clock
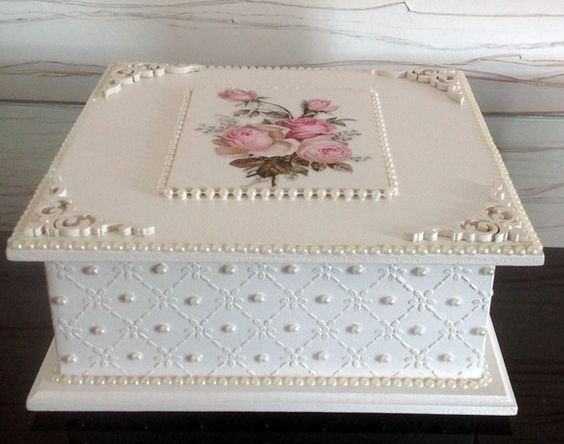
Posted onFebruary 15, 2017inBest out of Waste, DIY, Home Decor, Ideas, Step by step, Tutorial Beautiful Craft Ideas with MDF Box