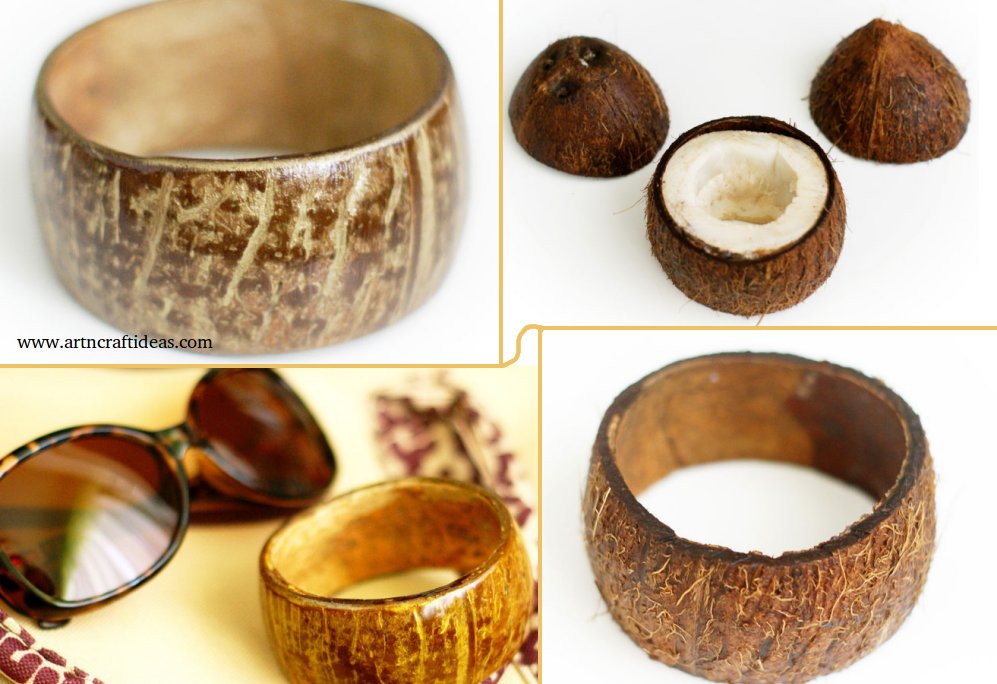
Posted onJune 1, 2017inBest out of Waste, Jewellery, Step by step, Tutorial How to make coconut shell bracelet – Step by step
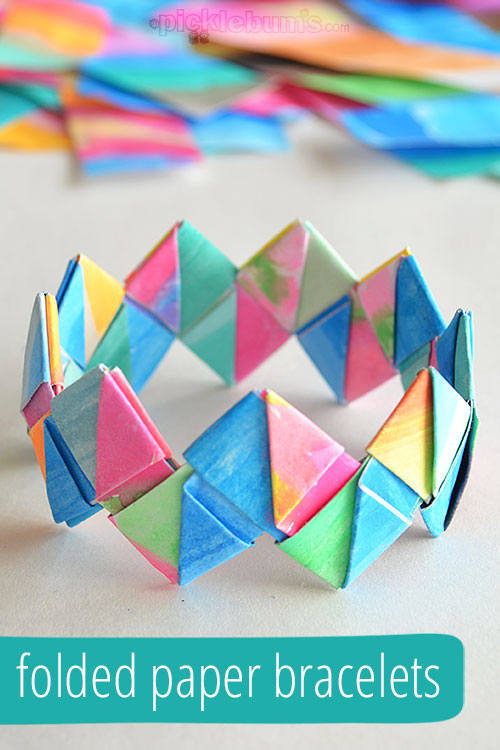
Posted onApril 5, 2017April 5, 2017inJewellery, Paper Crafts, Tutorial DIY Folded Paper Bracelets (Tutorial)
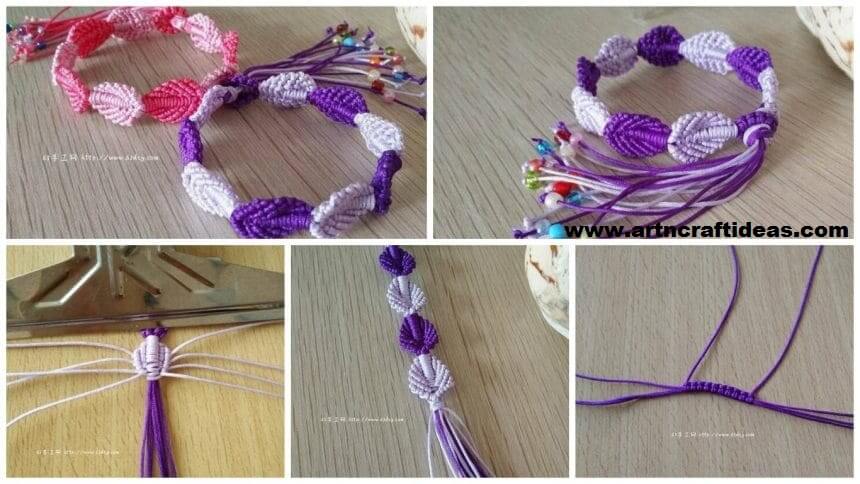
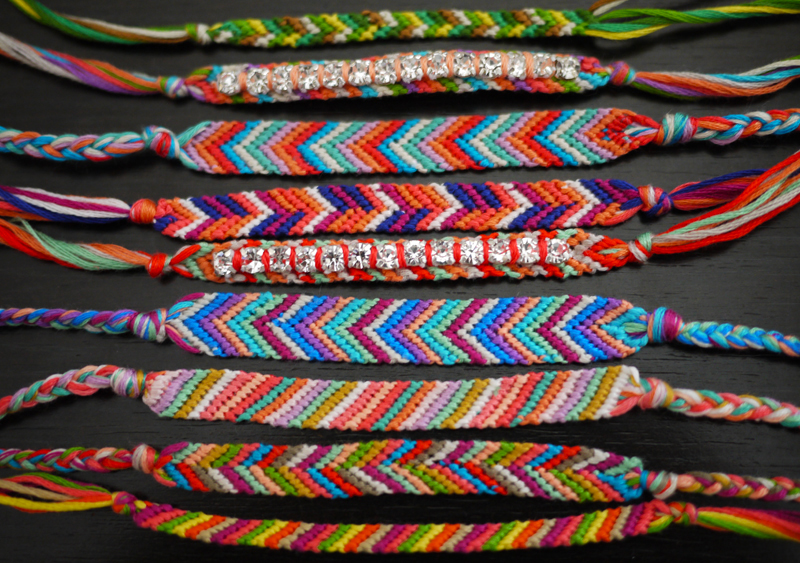
Posted onFebruary 25, 2017February 25, 2017inDIY, Friendship Day, Jewellery, Step by step, Tutorial DIY Beautiful Friendship Bracelet
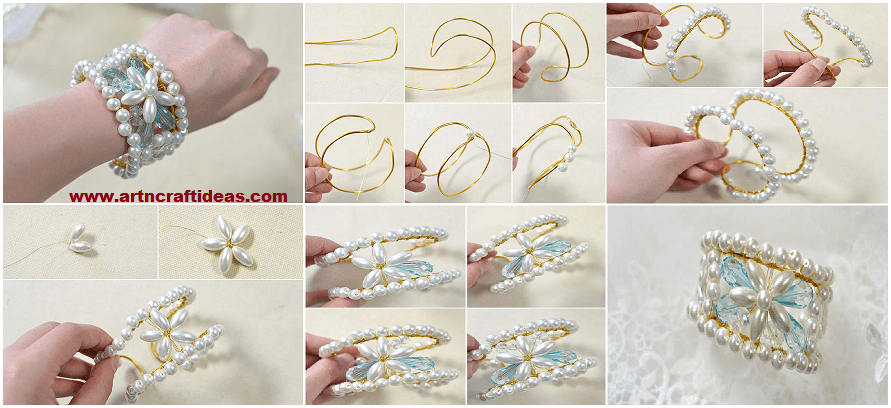
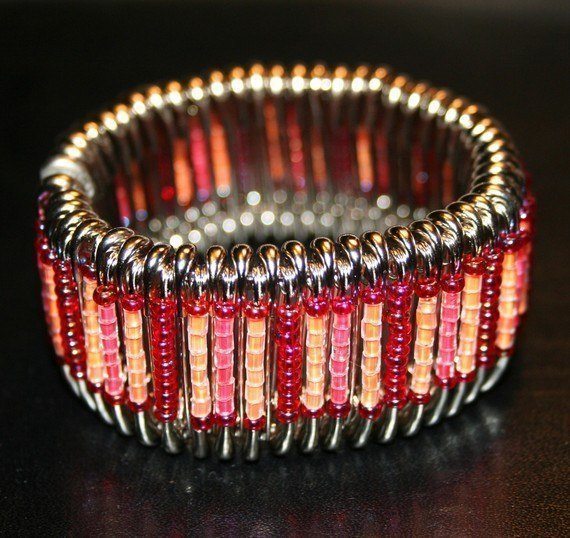
Posted onJanuary 7, 2017March 7, 2017inDIY, Jewellery, Tutorial Beautiful Elegant beaded pin bracelets
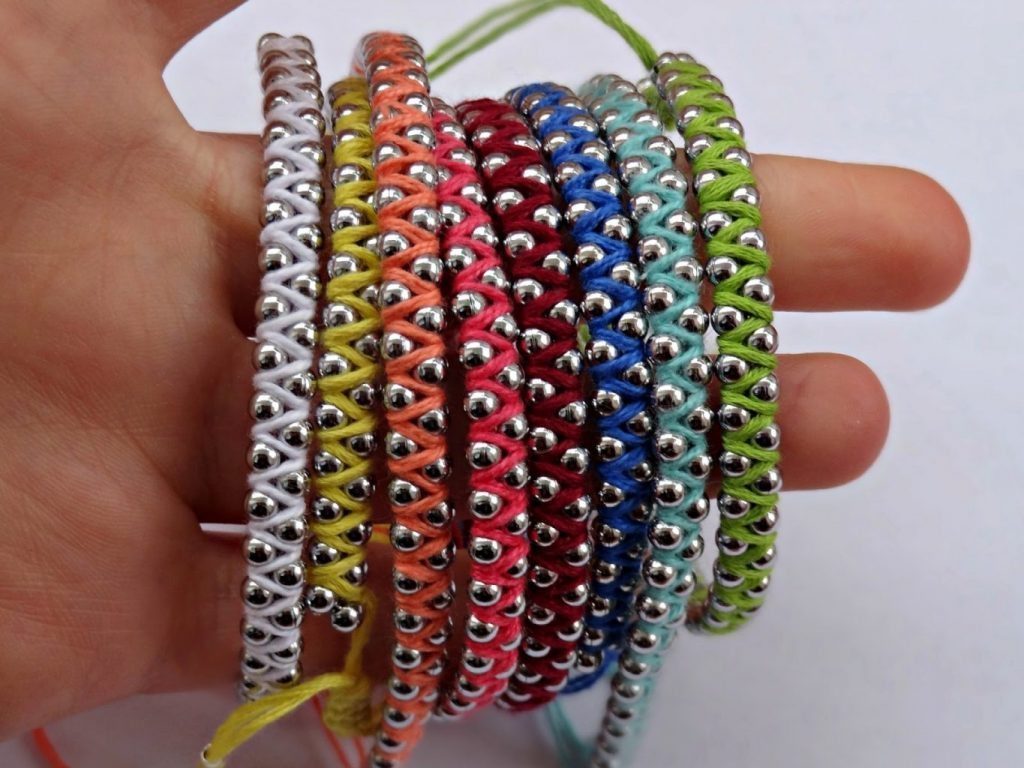
Posted onJanuary 3, 2017January 3, 2017inFeatured, Jewellery, Step by step, Tutorial, Video, Wedding DIY Homemade: Bead pattern Bracelet Tutorial