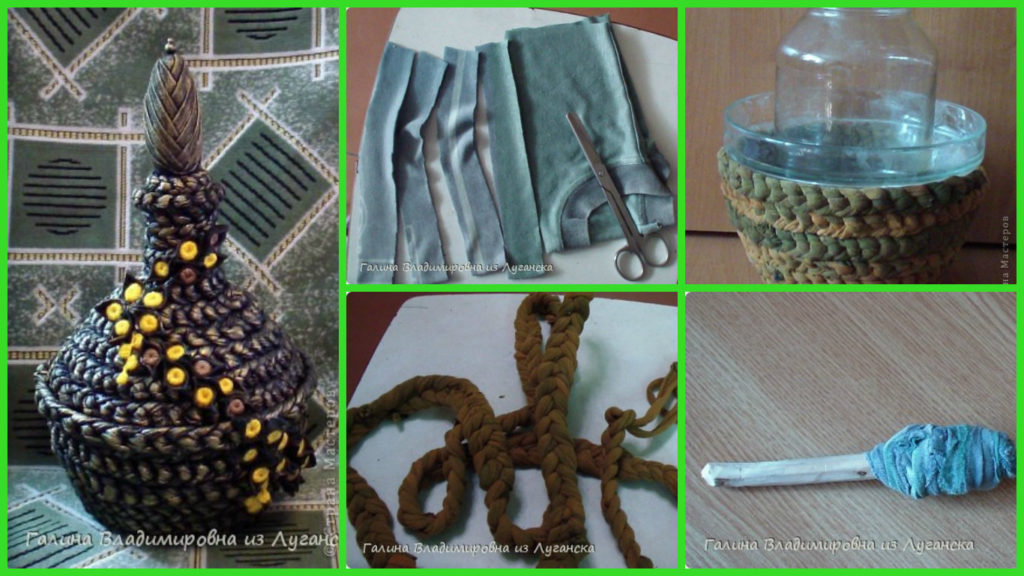
Posted onJanuary 27, 2017inBest out of Waste, DIY, Home Decor, Step by step, Tutorial How to Make Decanter Box of T-Shirts
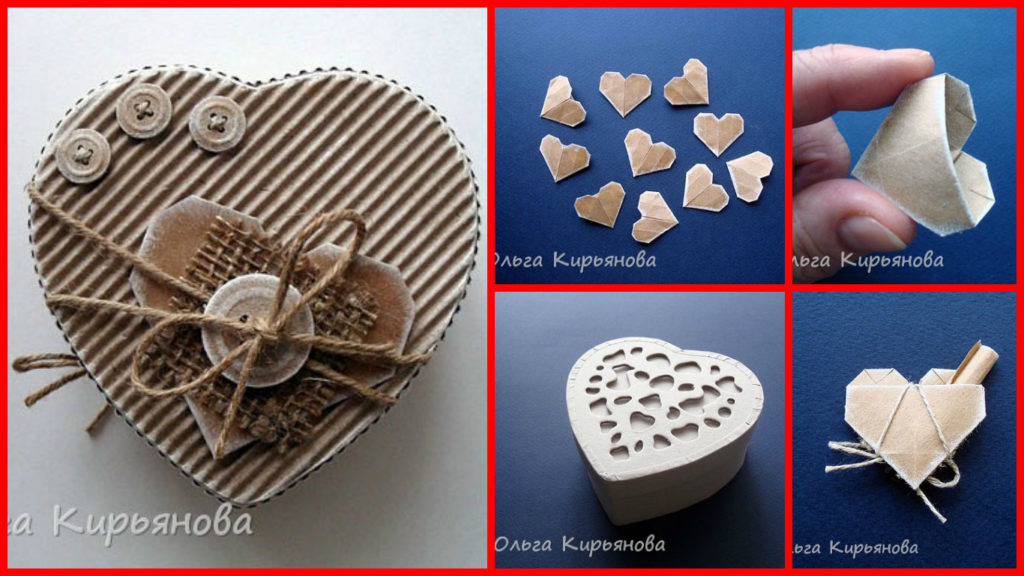
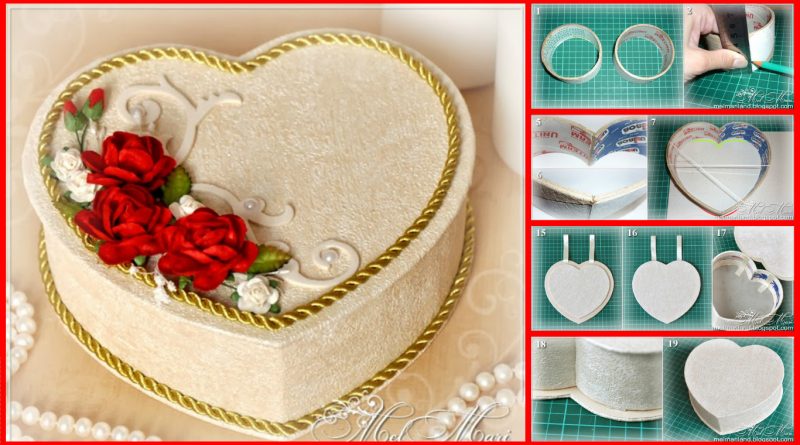
Posted onJanuary 26, 2017inBest out of Waste, Step by step, Tutorial Jewelry Box in Heart shape (Reels of Adhesive Tape)
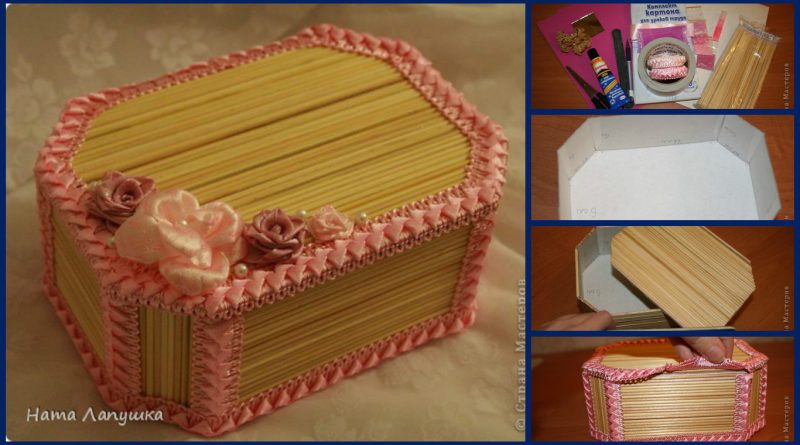
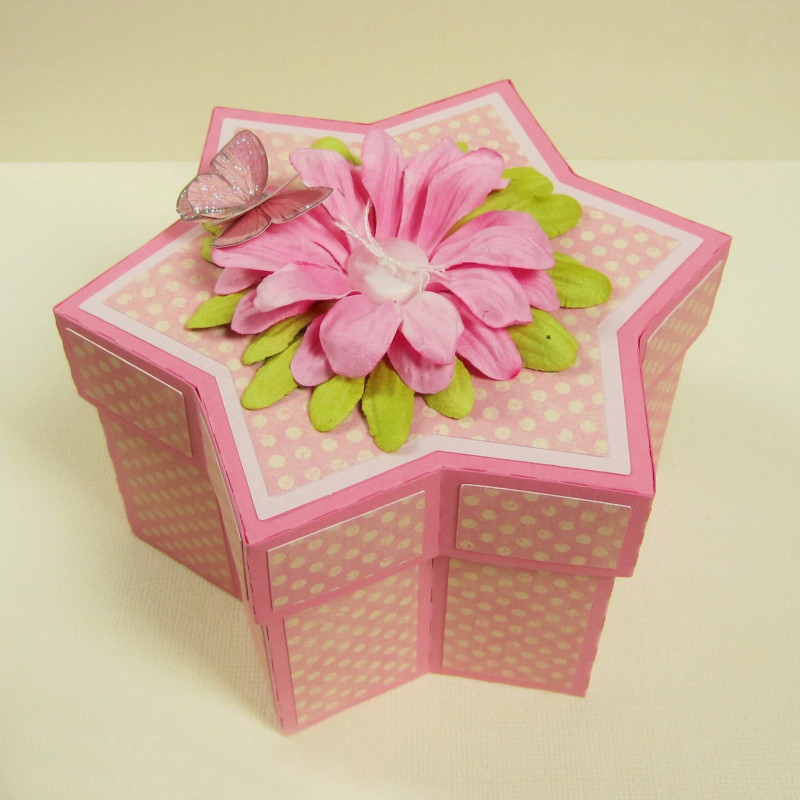
Posted onJanuary 24, 2017inBest out of Waste, Birthday, Mother's Day, Paper Crafts, Step by step, Tutorial DIY Box Decorated Step By Step
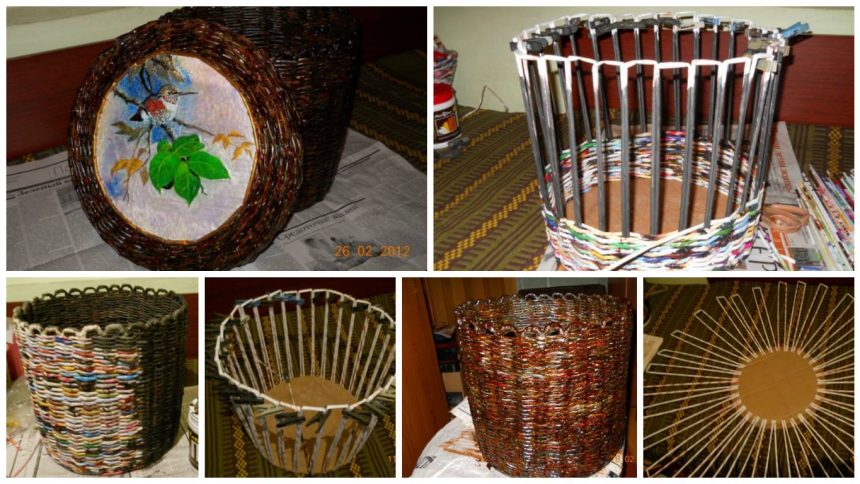
Posted onJanuary 19, 2017inNewspaper Crafts, Step by step, Tutorial How to weaving box for needlework
Posted onJanuary 10, 2017inBest out of Waste, DIY, Paper Crafts, Step by step, Tutorial Handmade Mini box of cardboard tube