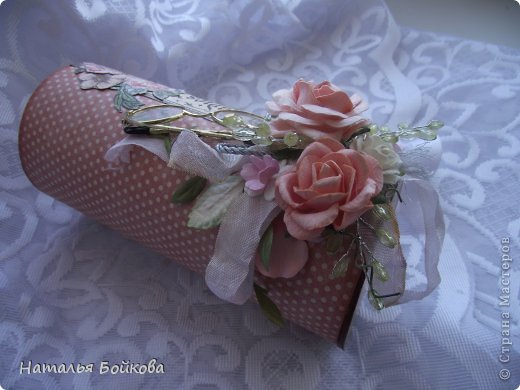
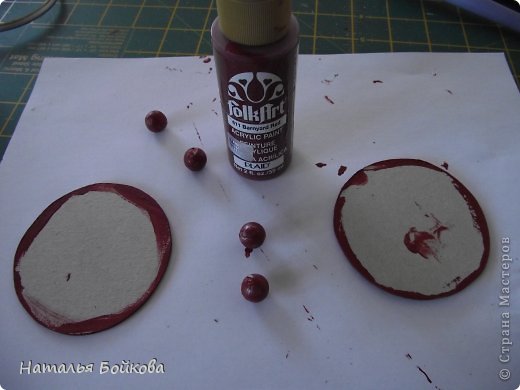
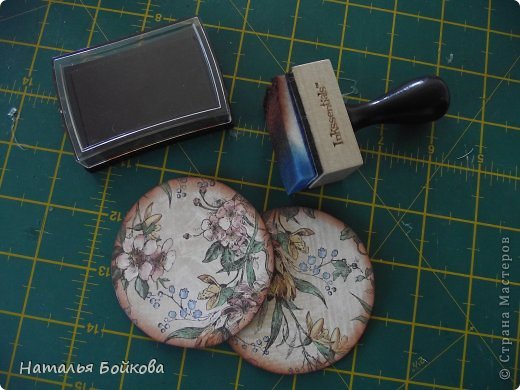
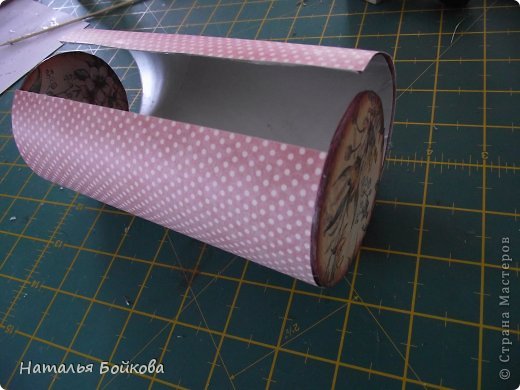
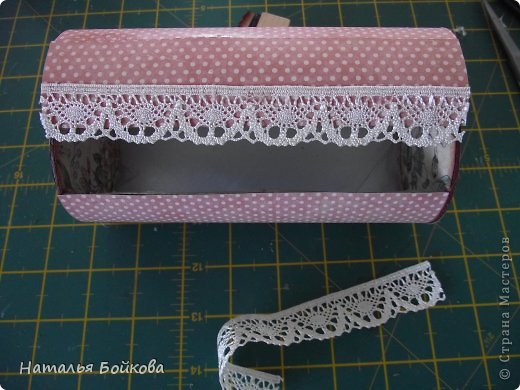
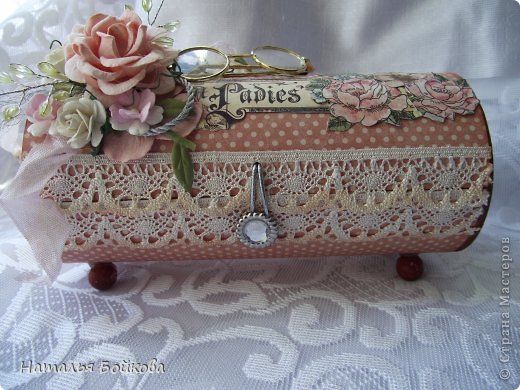
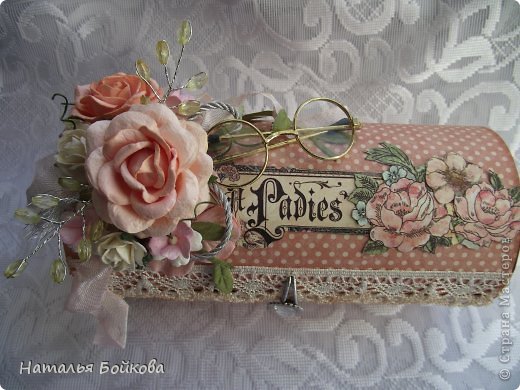
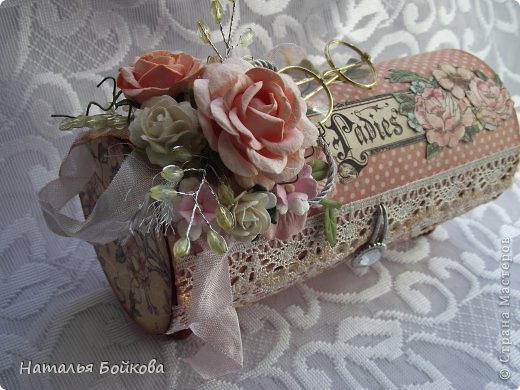
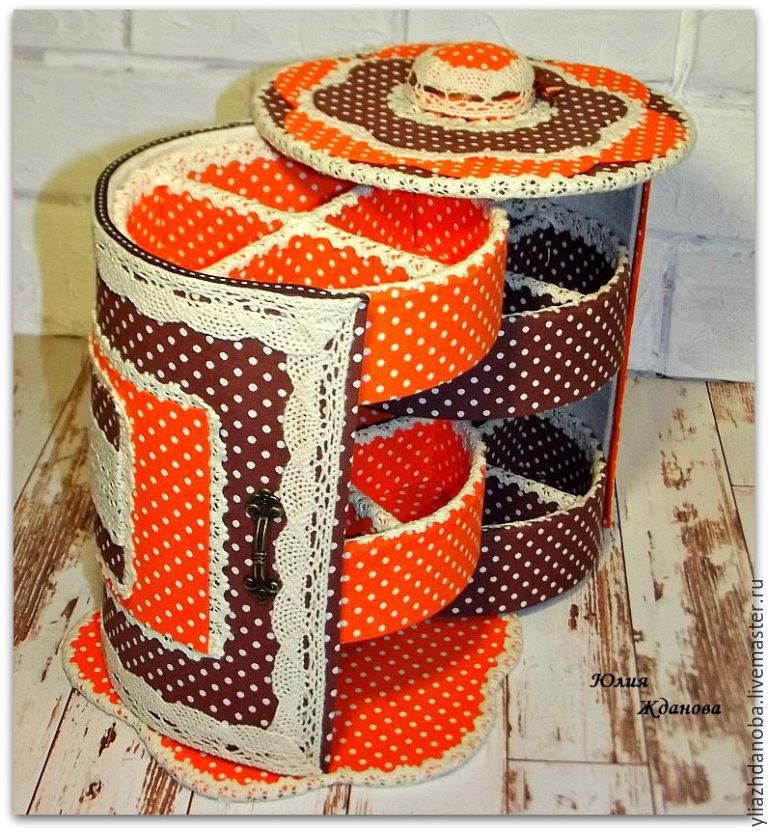
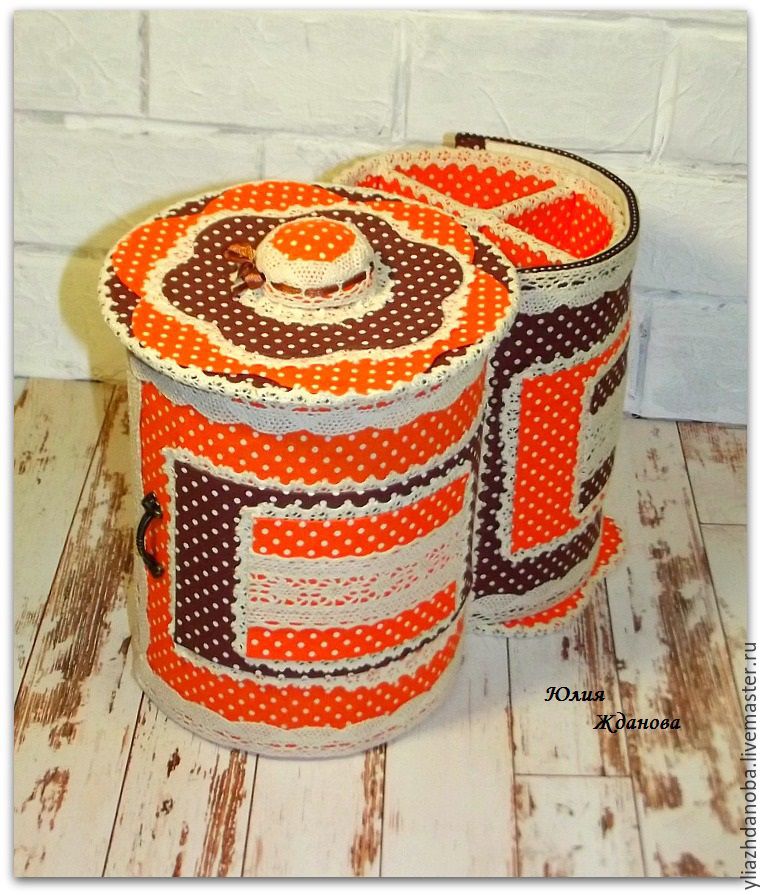
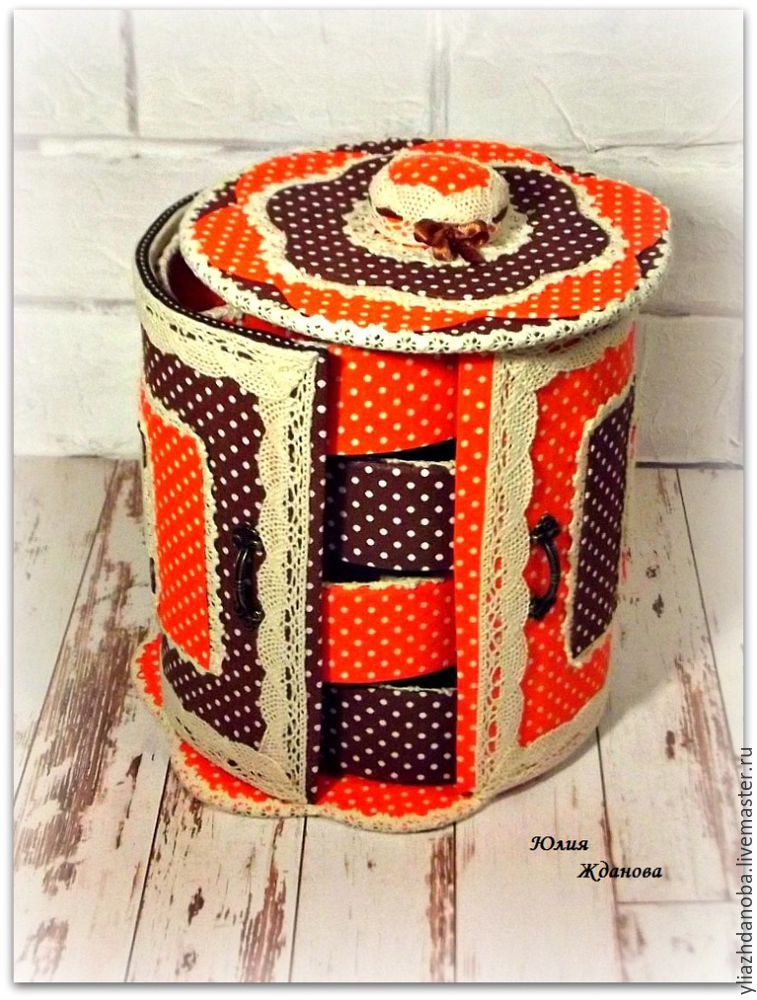
I continue with my boxes made with paper tubes, this time I made it round!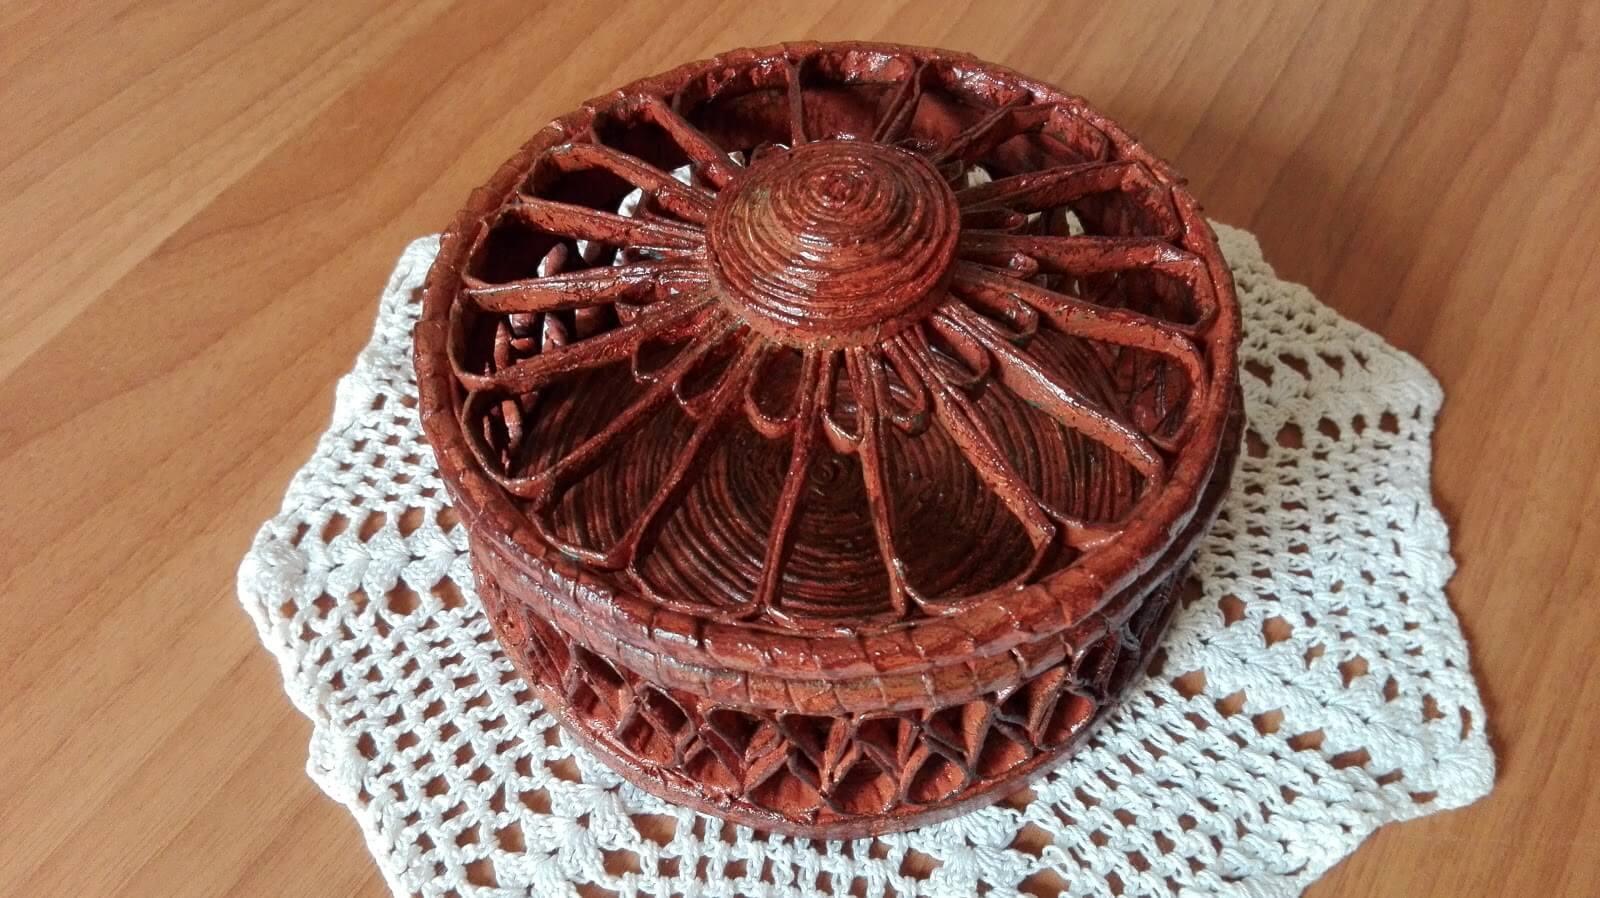
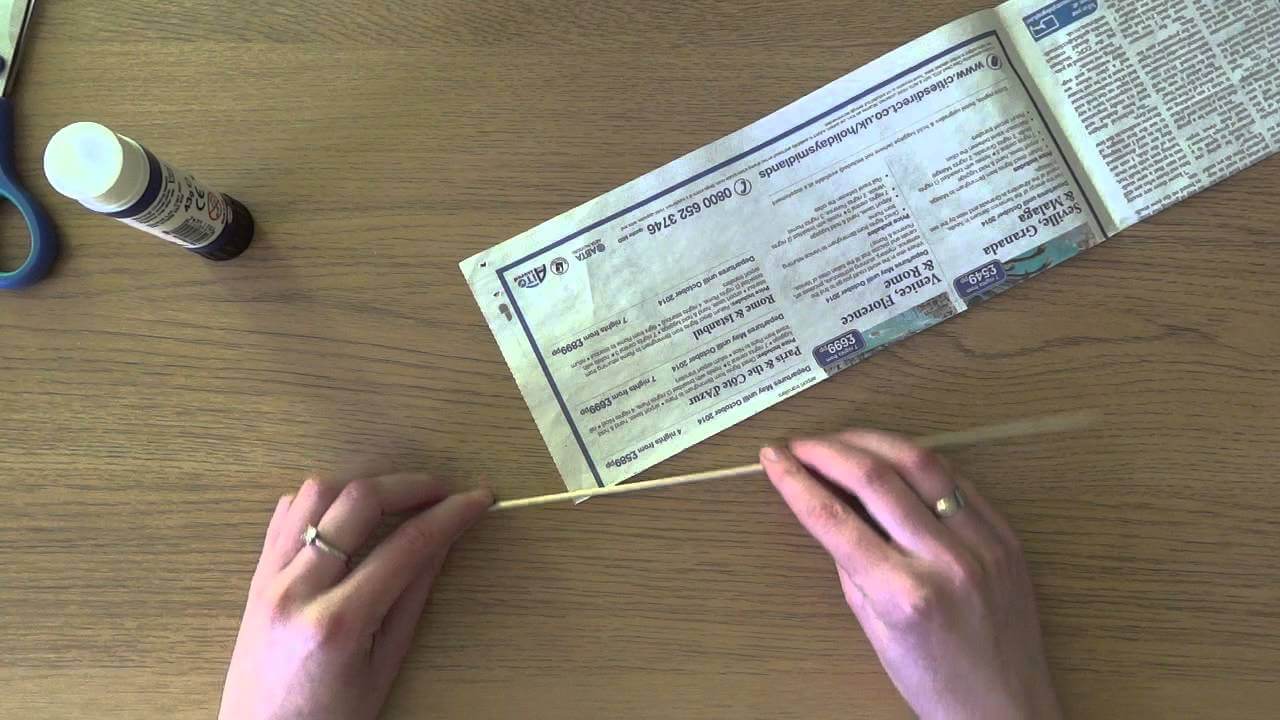
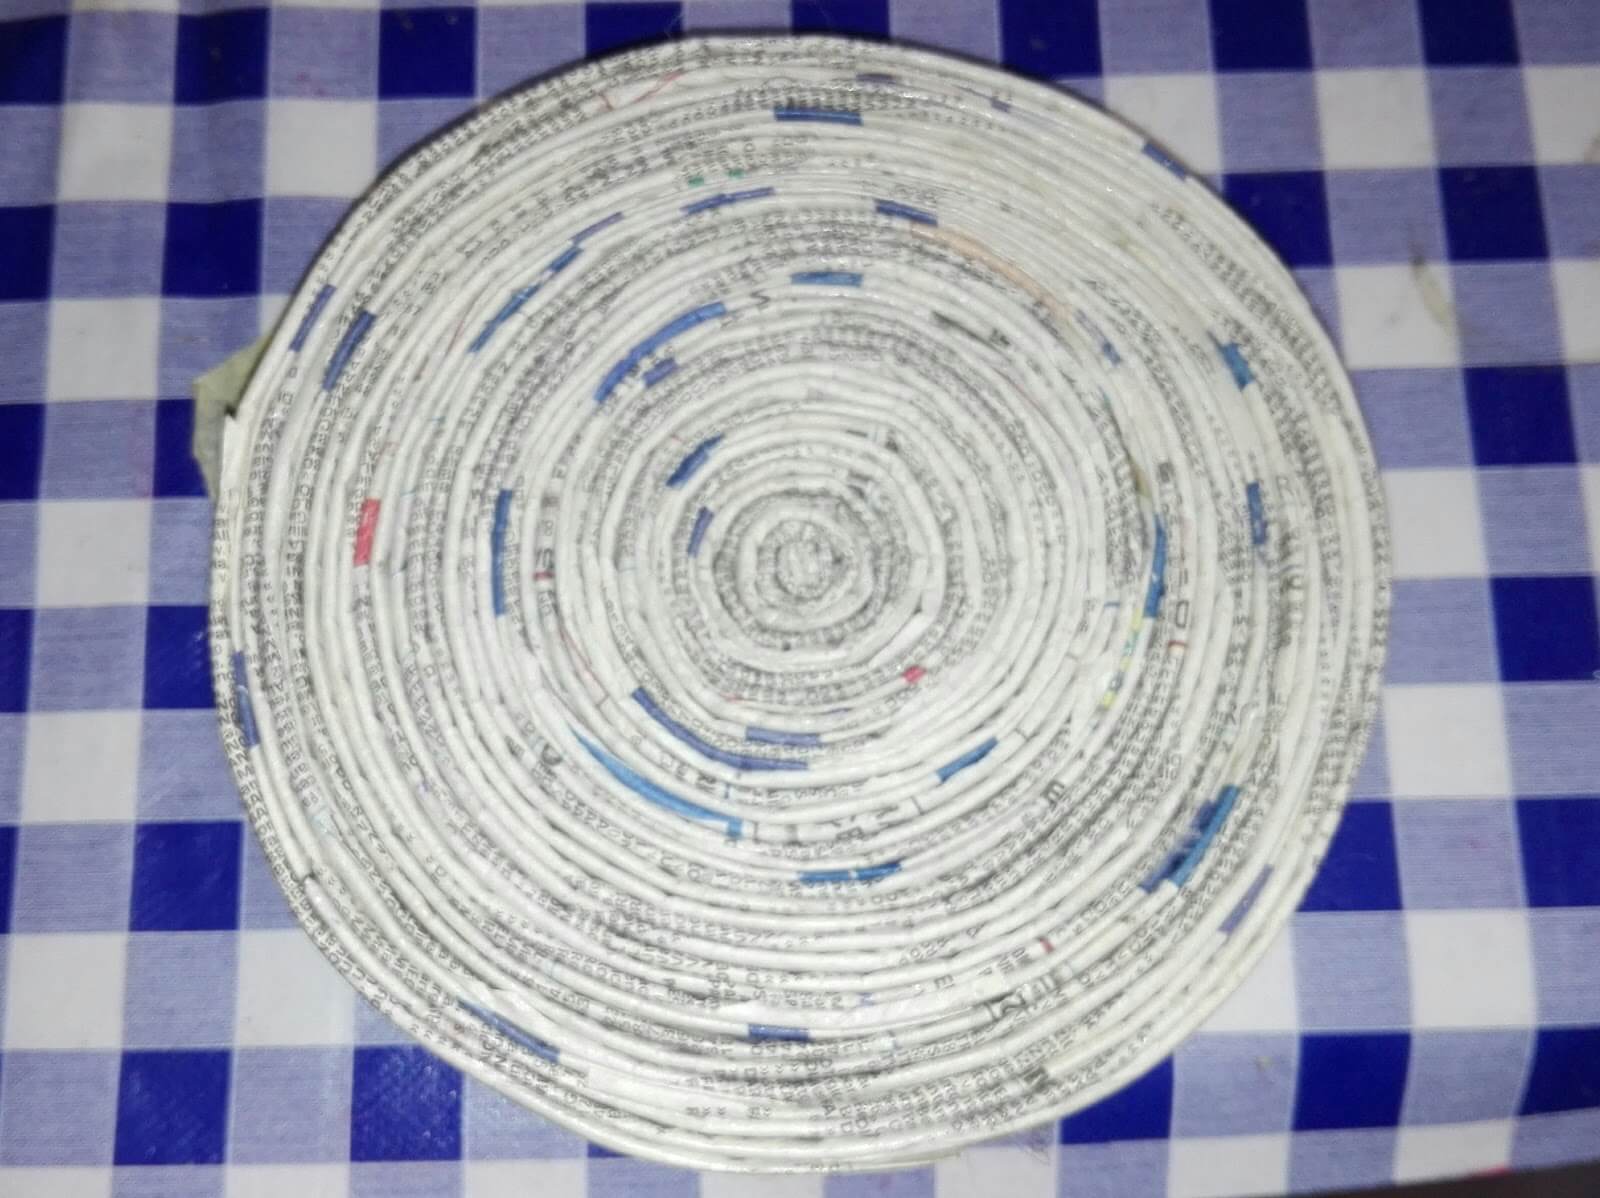
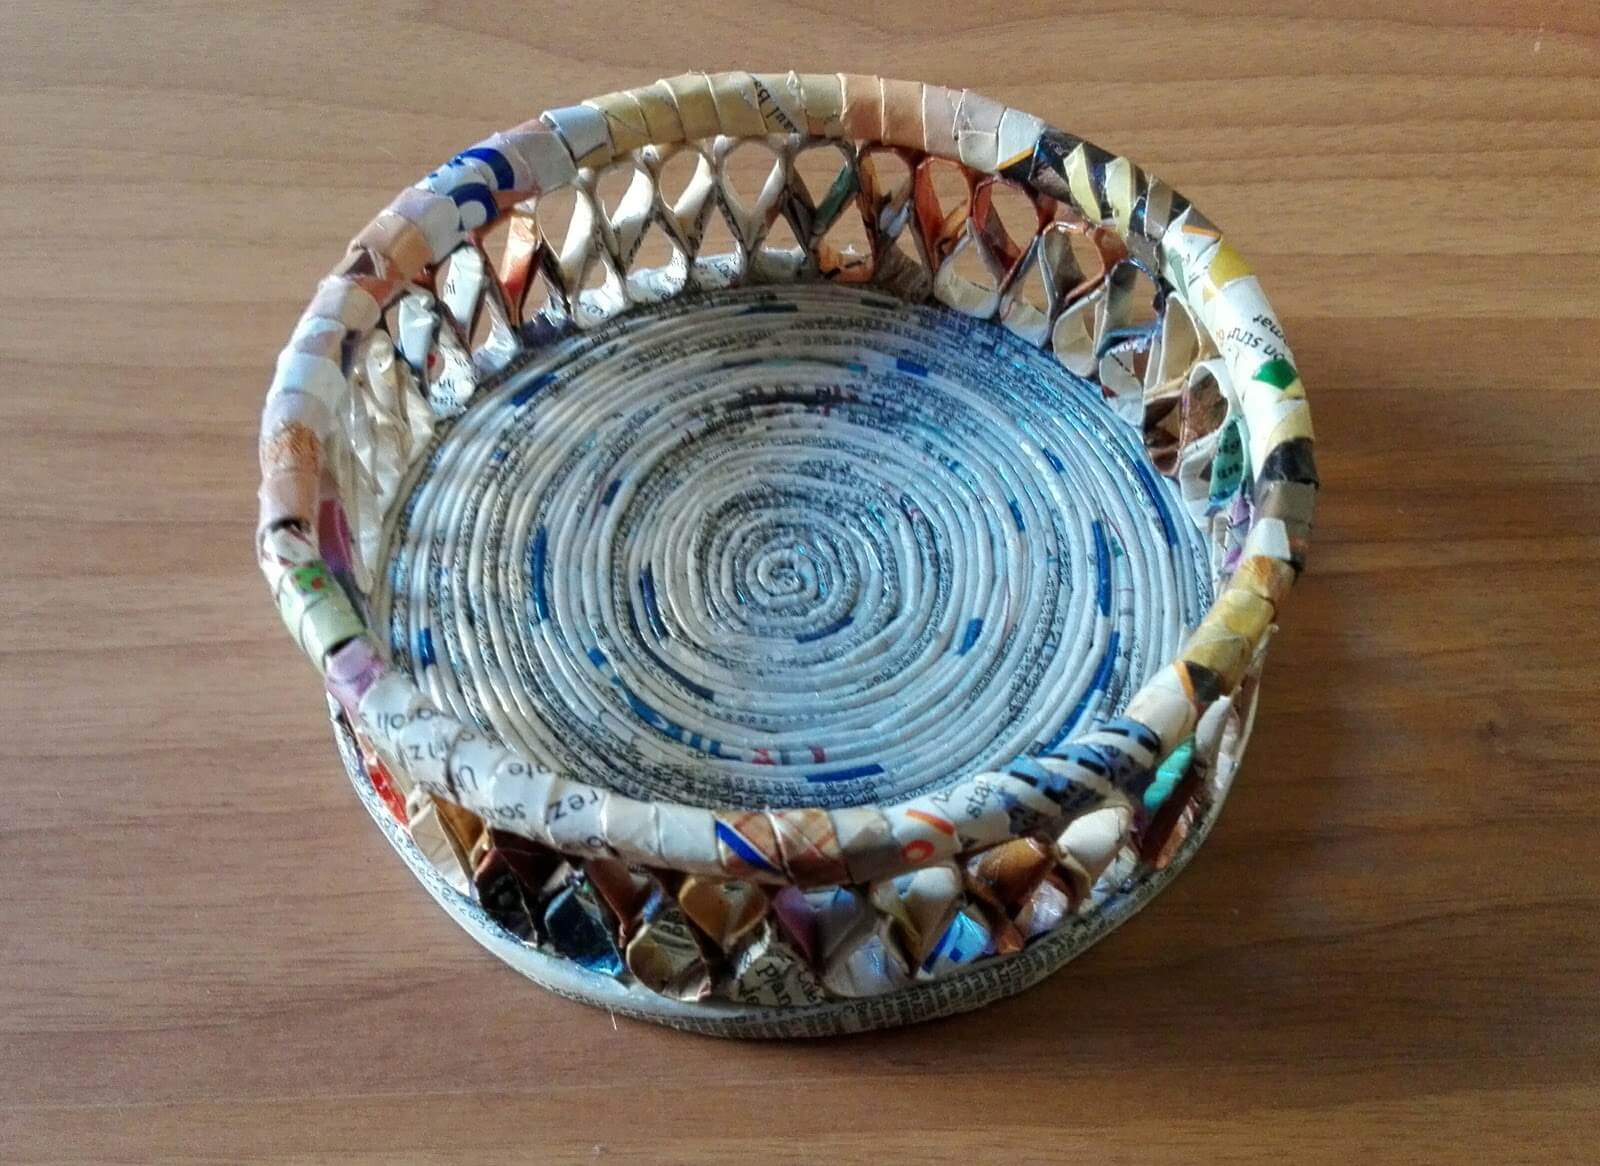
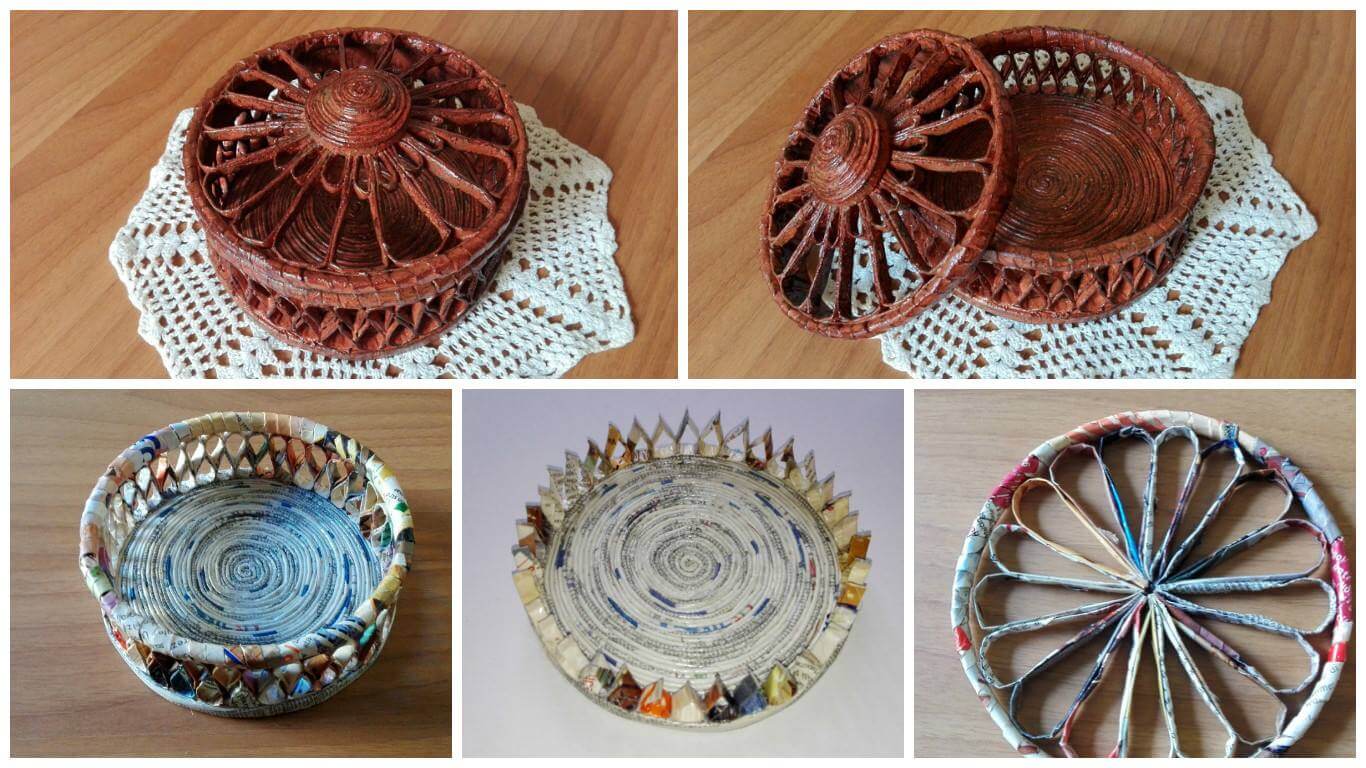
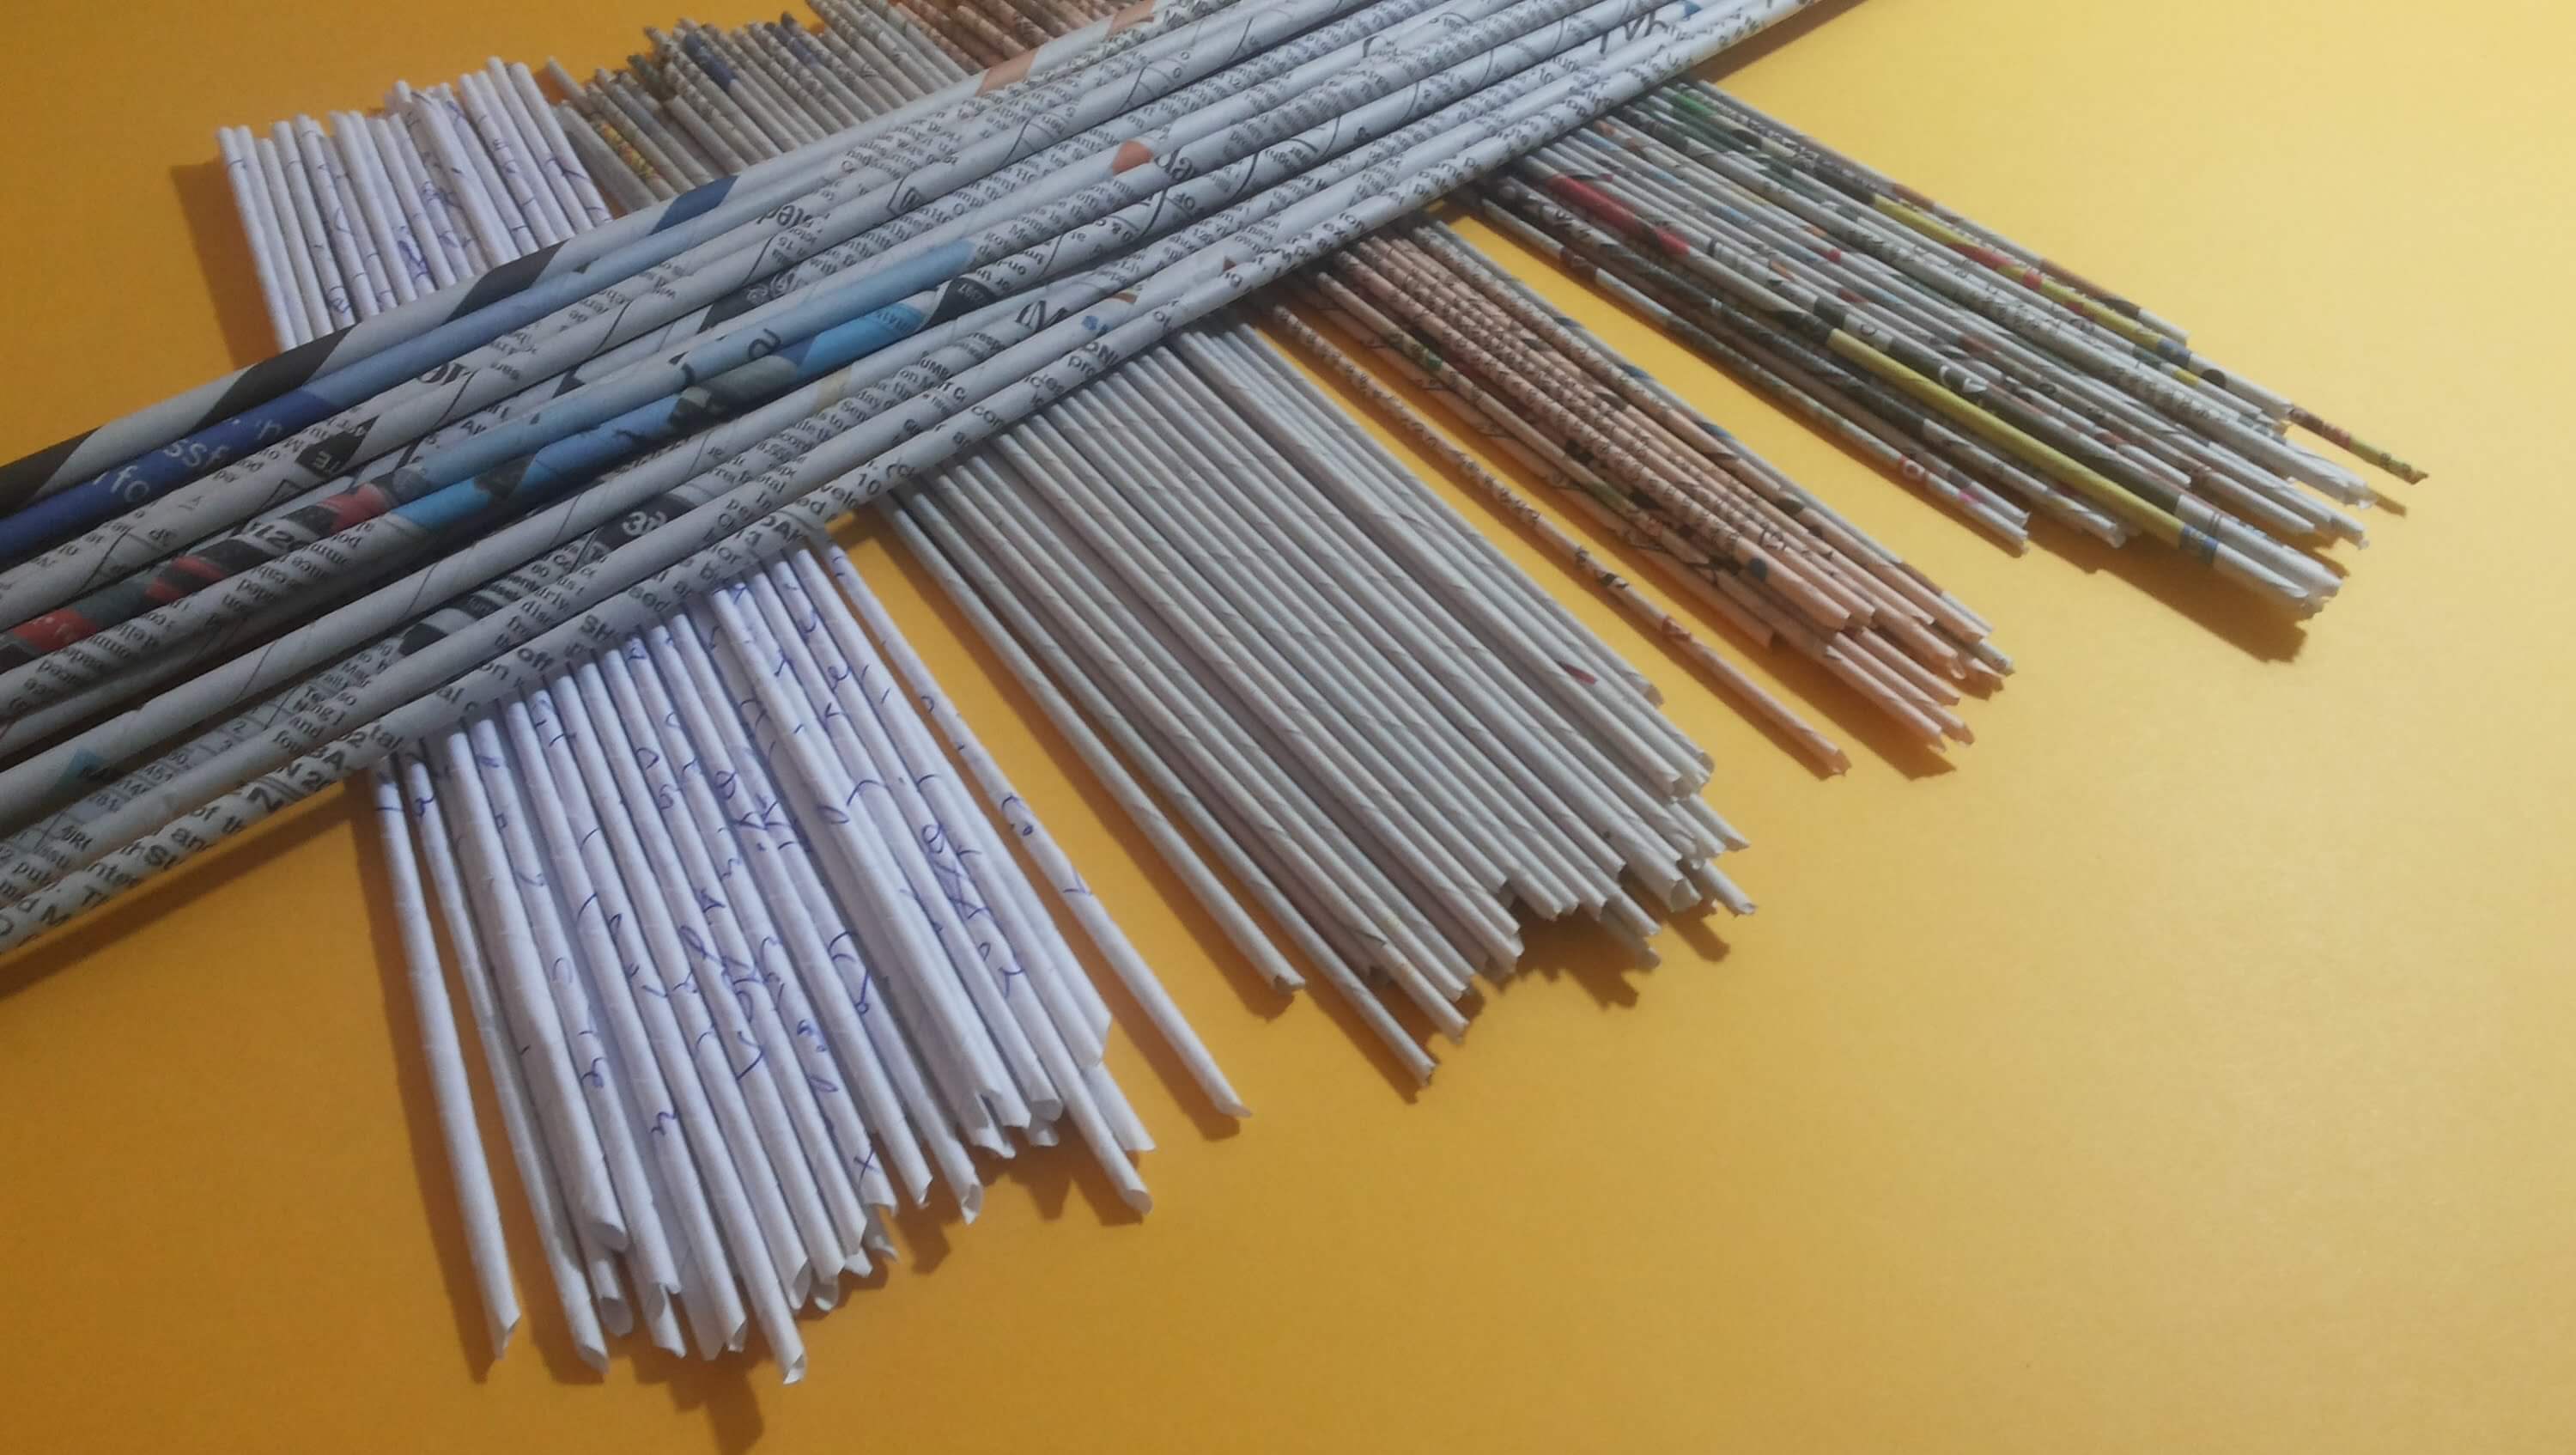 I made the box below the coiling on itself the first tubes and continuing until you have a round of 15 cm in diameter. I smeared glue well to make it pretty tough.
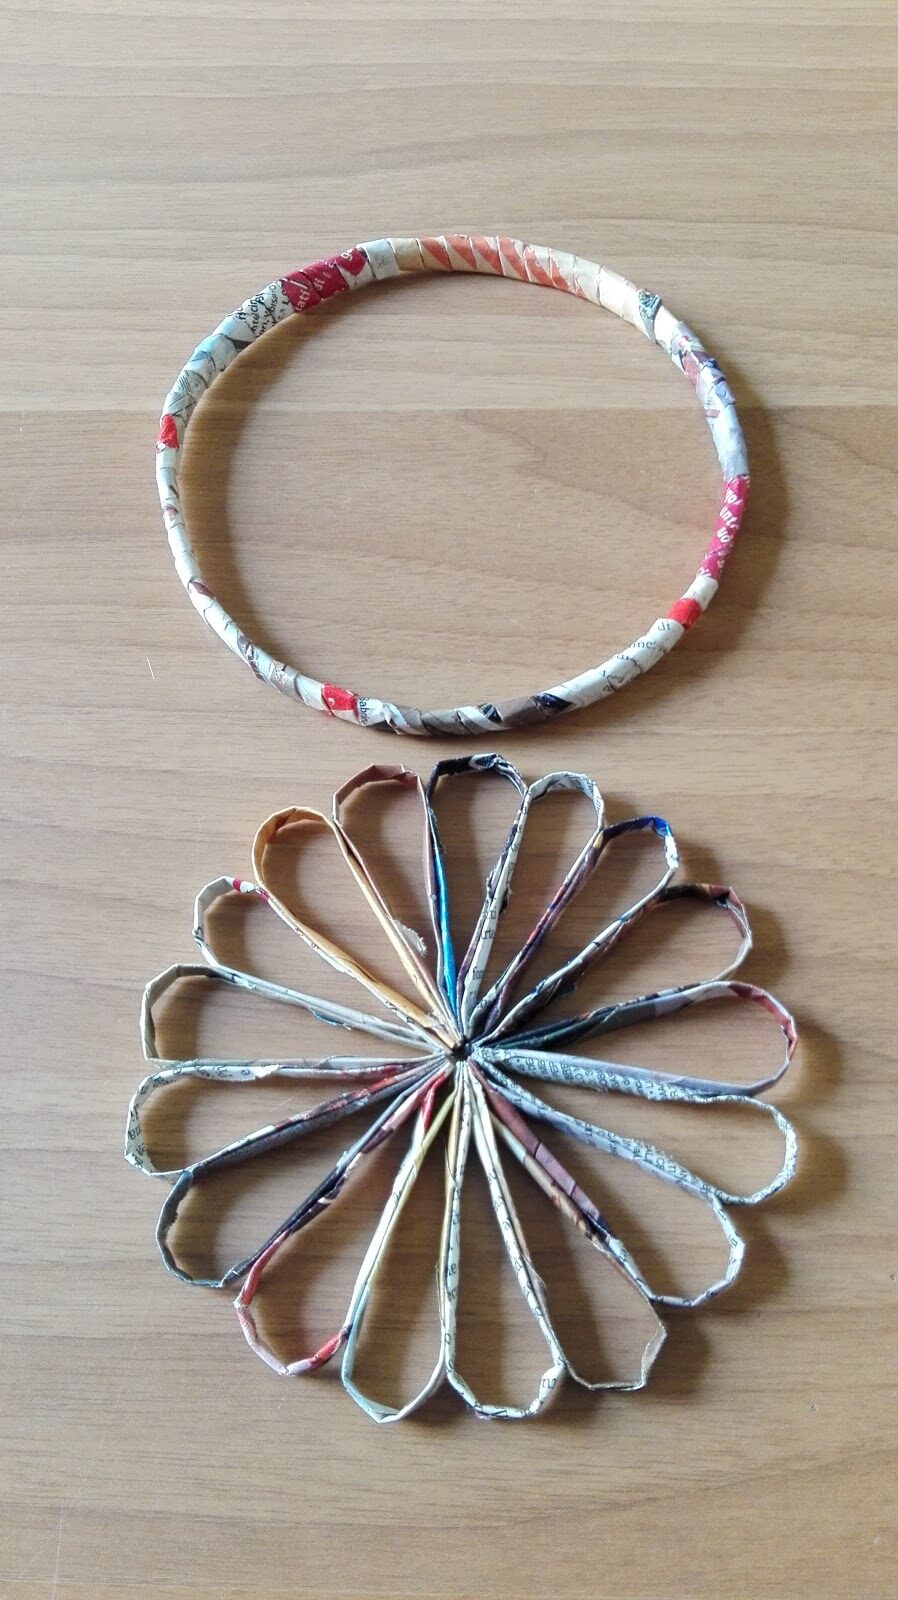
From tubes, I cut 36 pieces 5 cm in length and I folded in half forming around and I glued together the two ends.
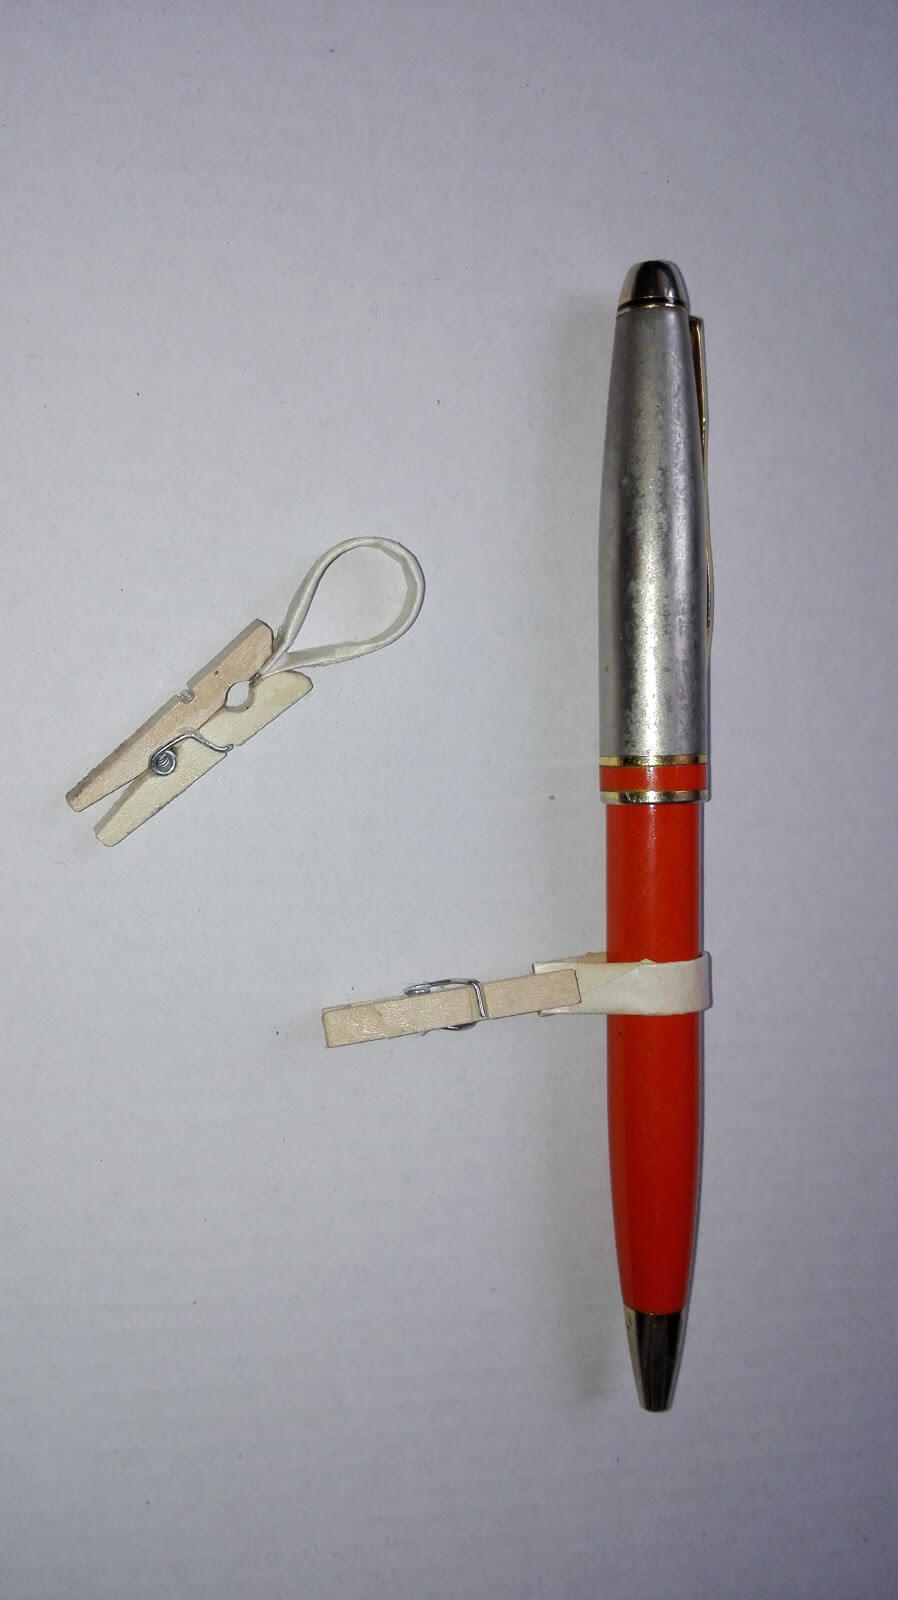
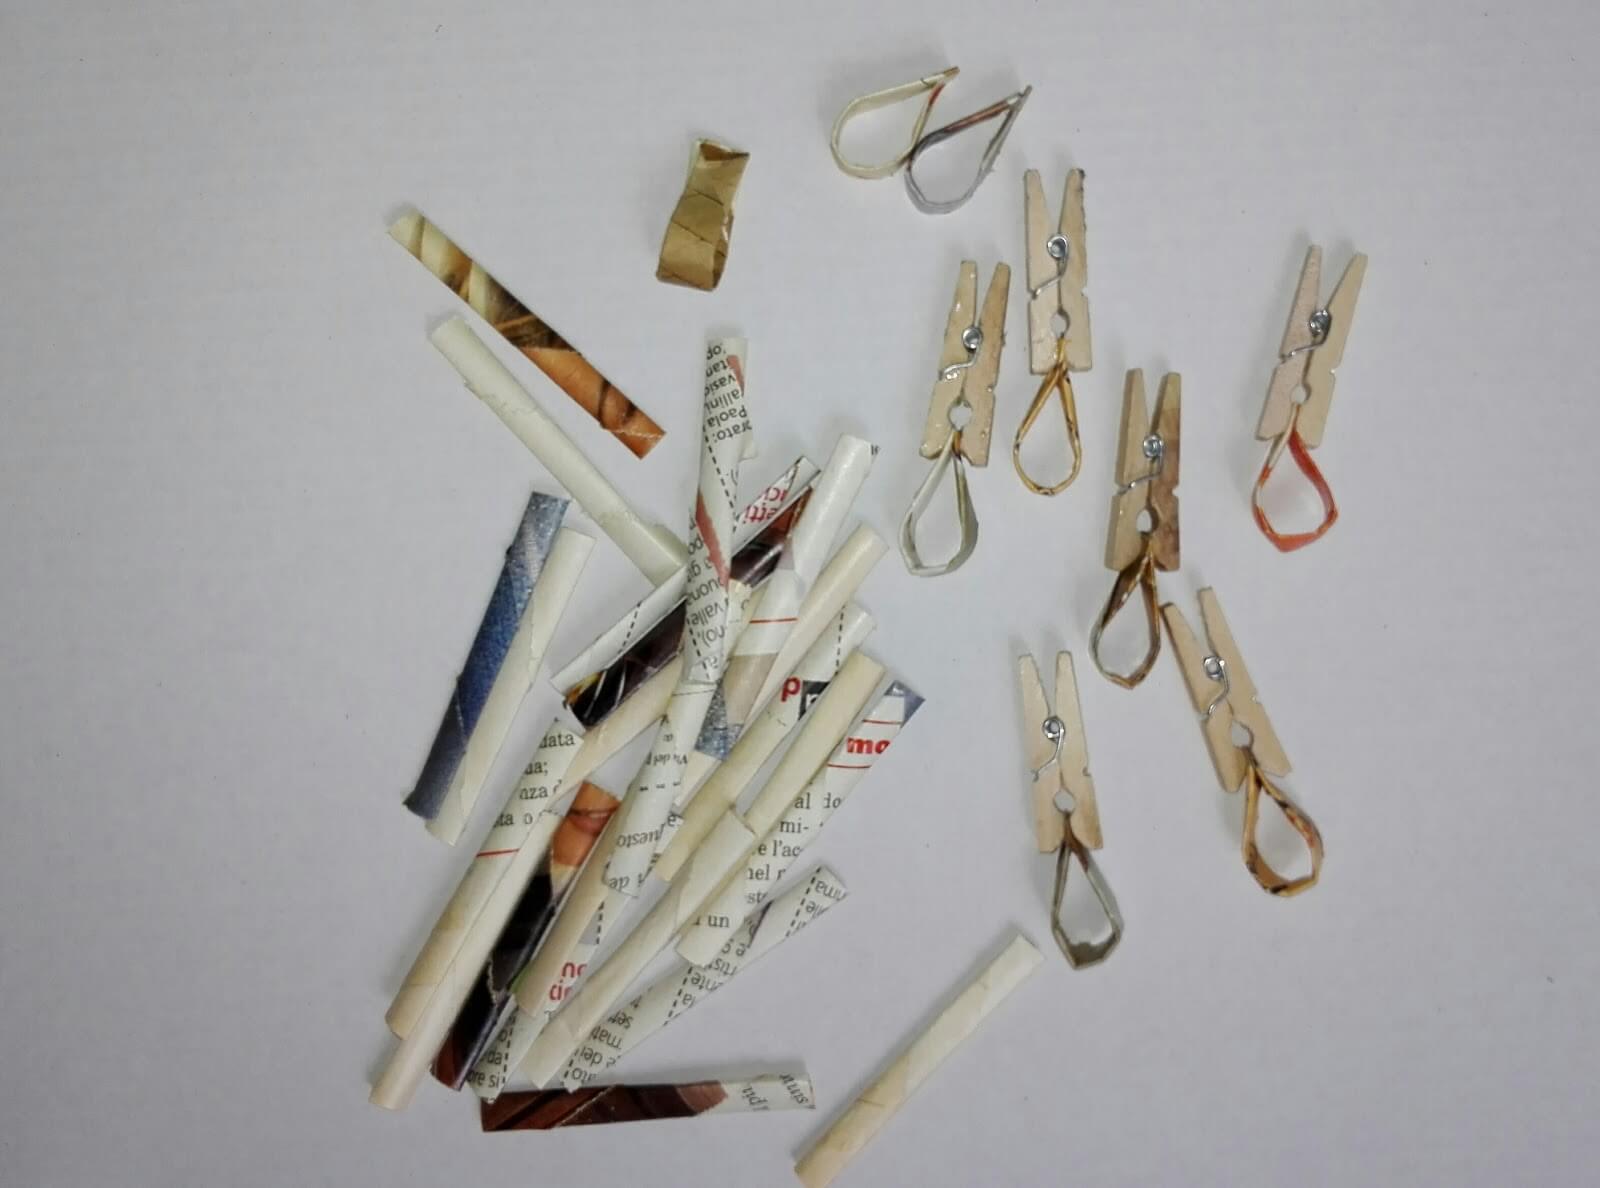 I spent well the glue on the rods and I left to dry them well.
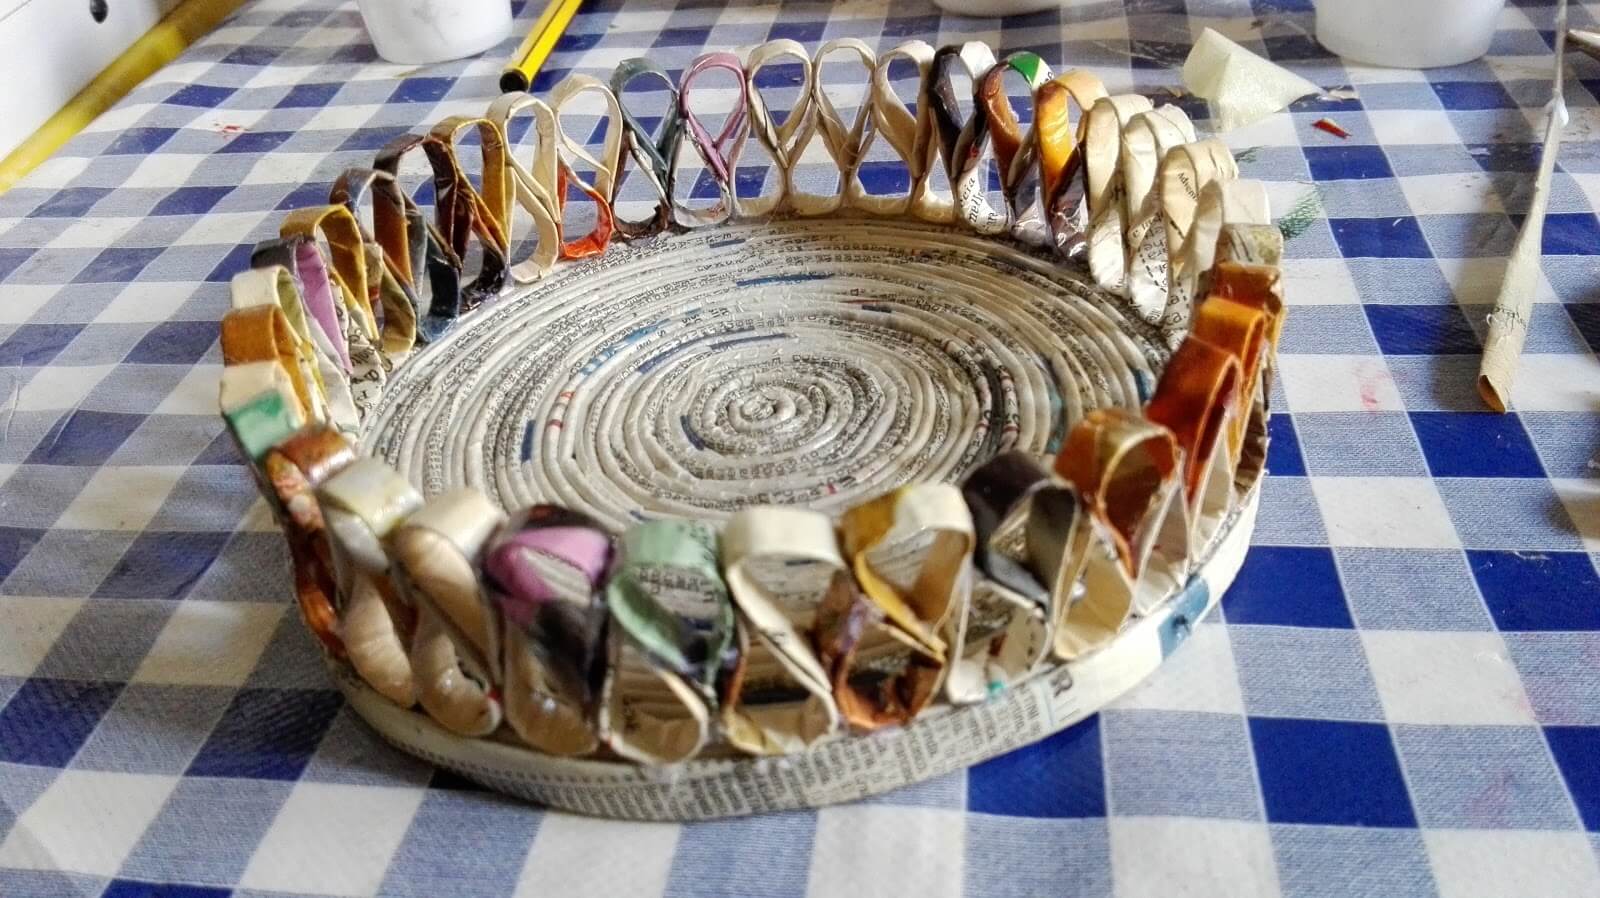
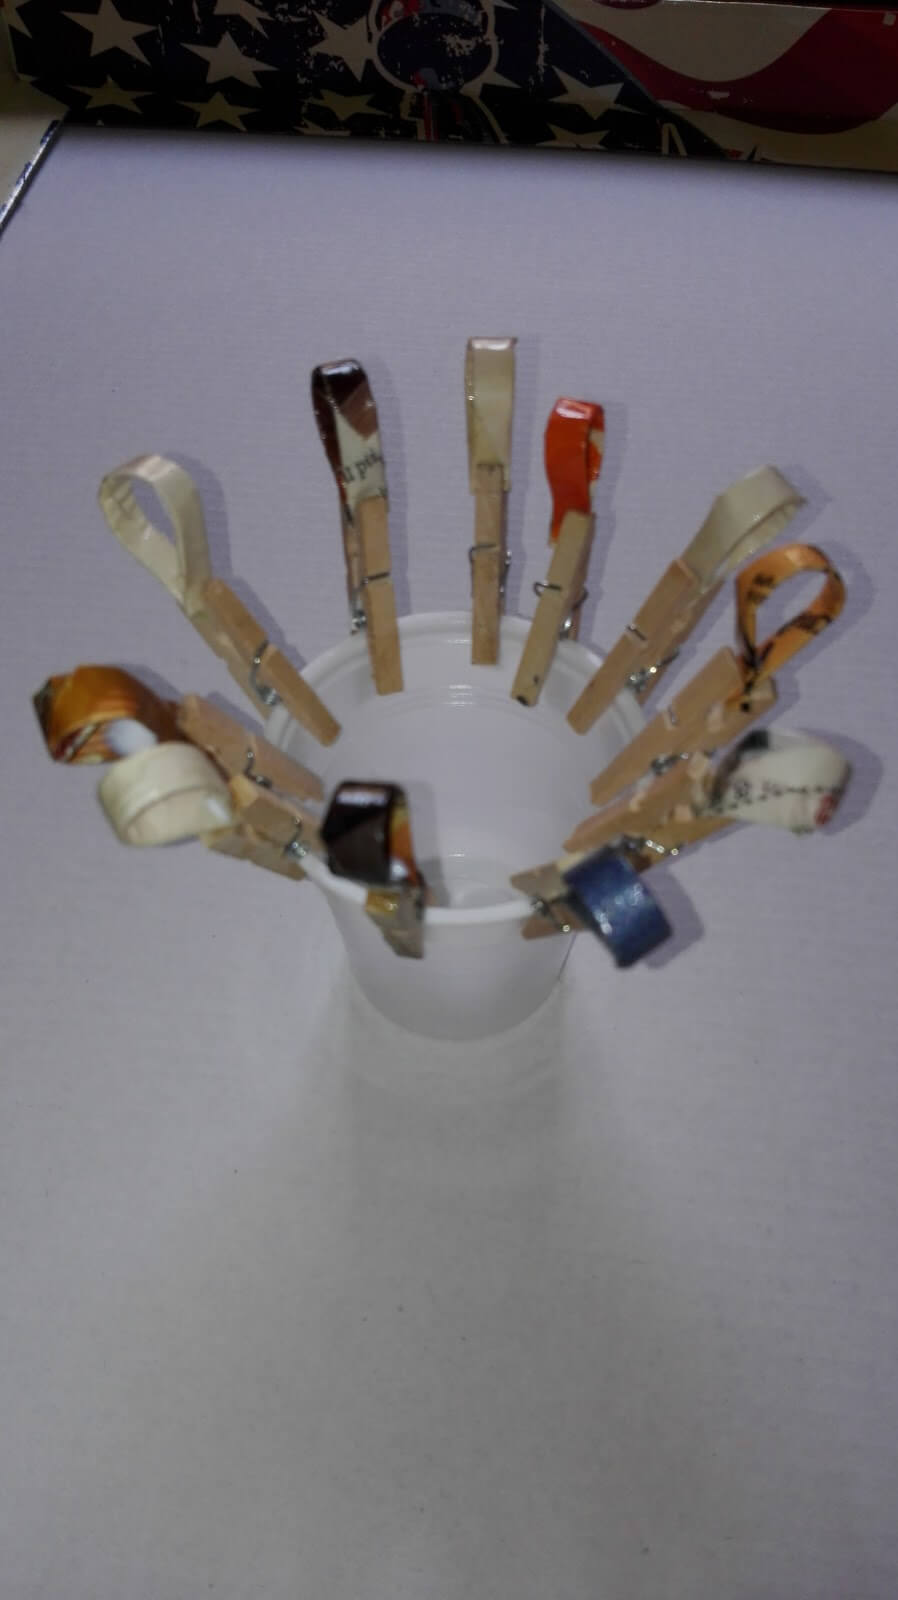 I have them so glued to the bottom of the box as seen in the photo below.
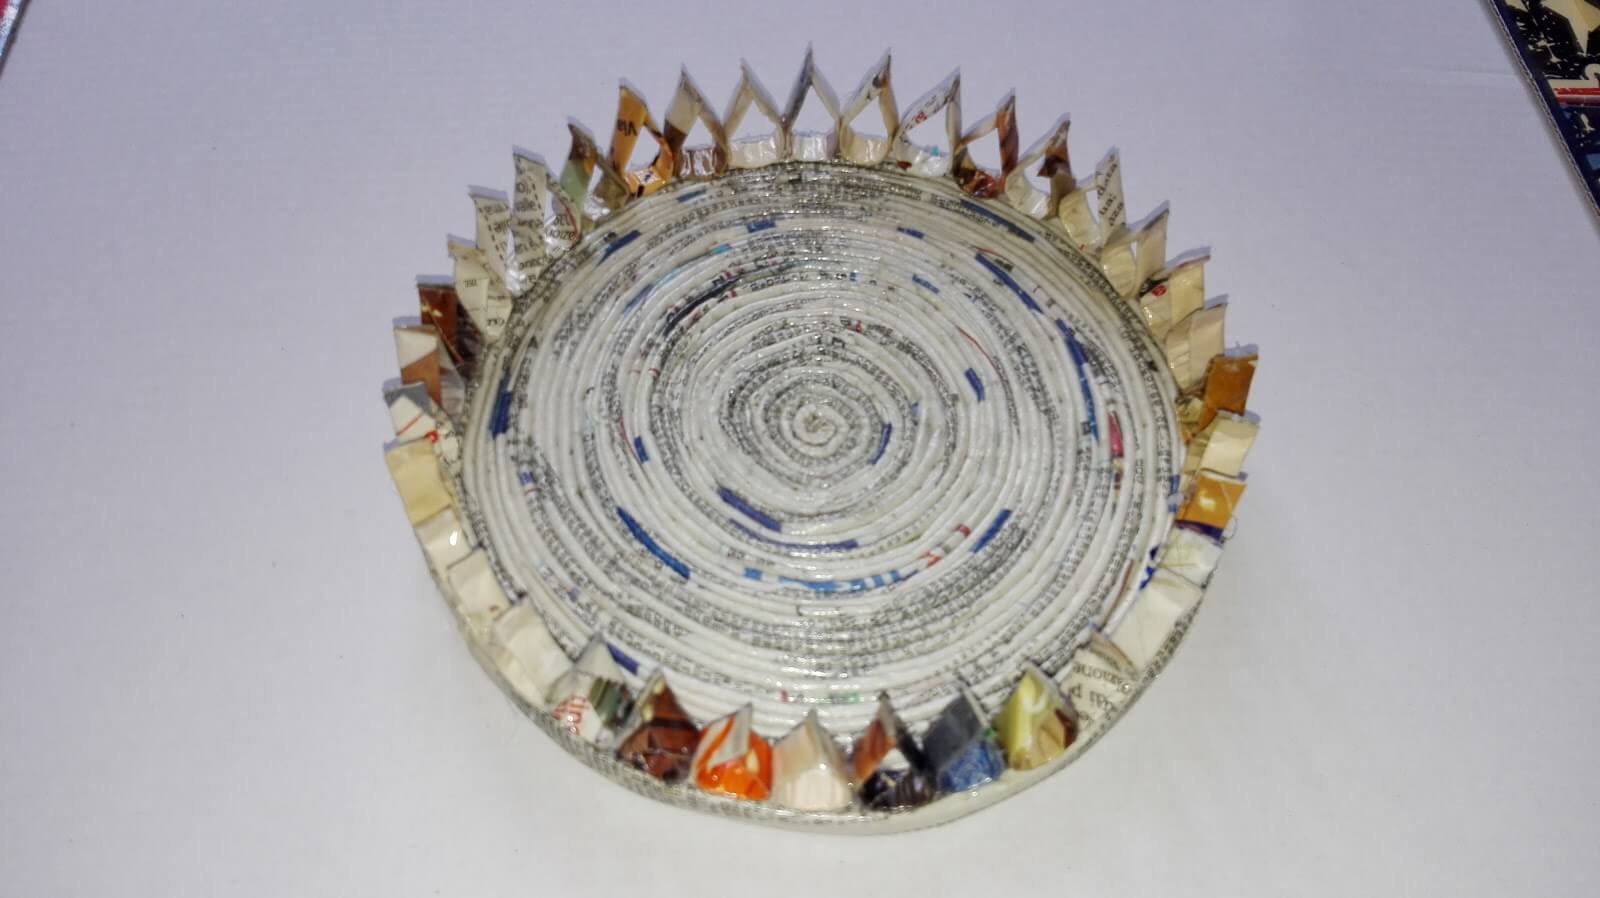 Made a second round pasting them upside down.
 Always with the tubes I made a circle of top measurement of trash.
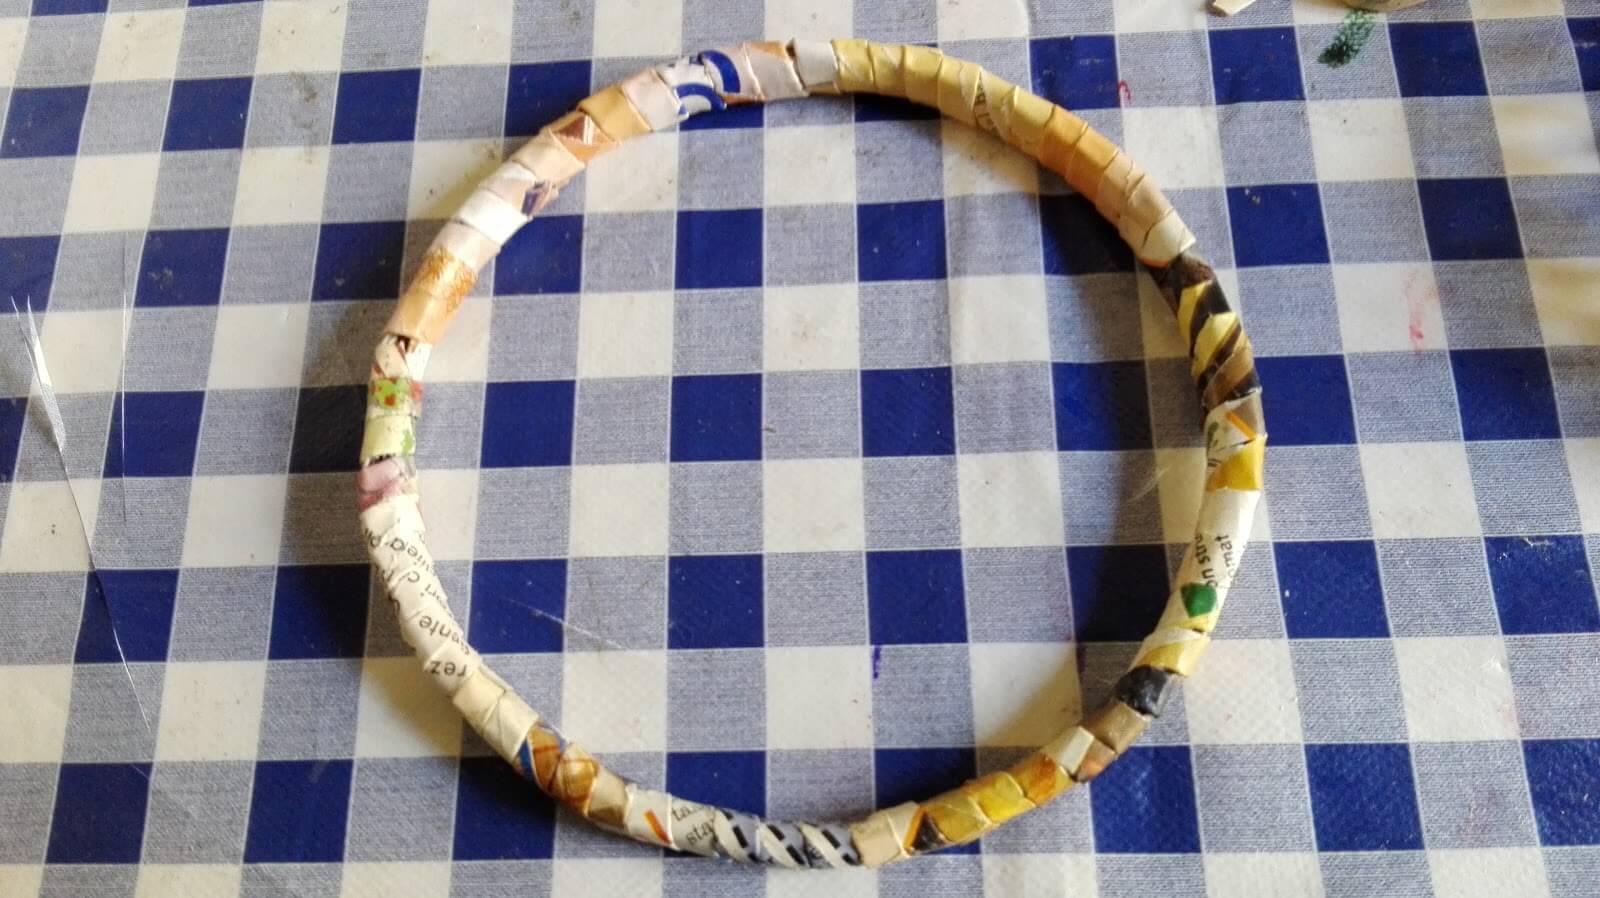 I pasted above the rods and I did it to dry well. The basket is made.
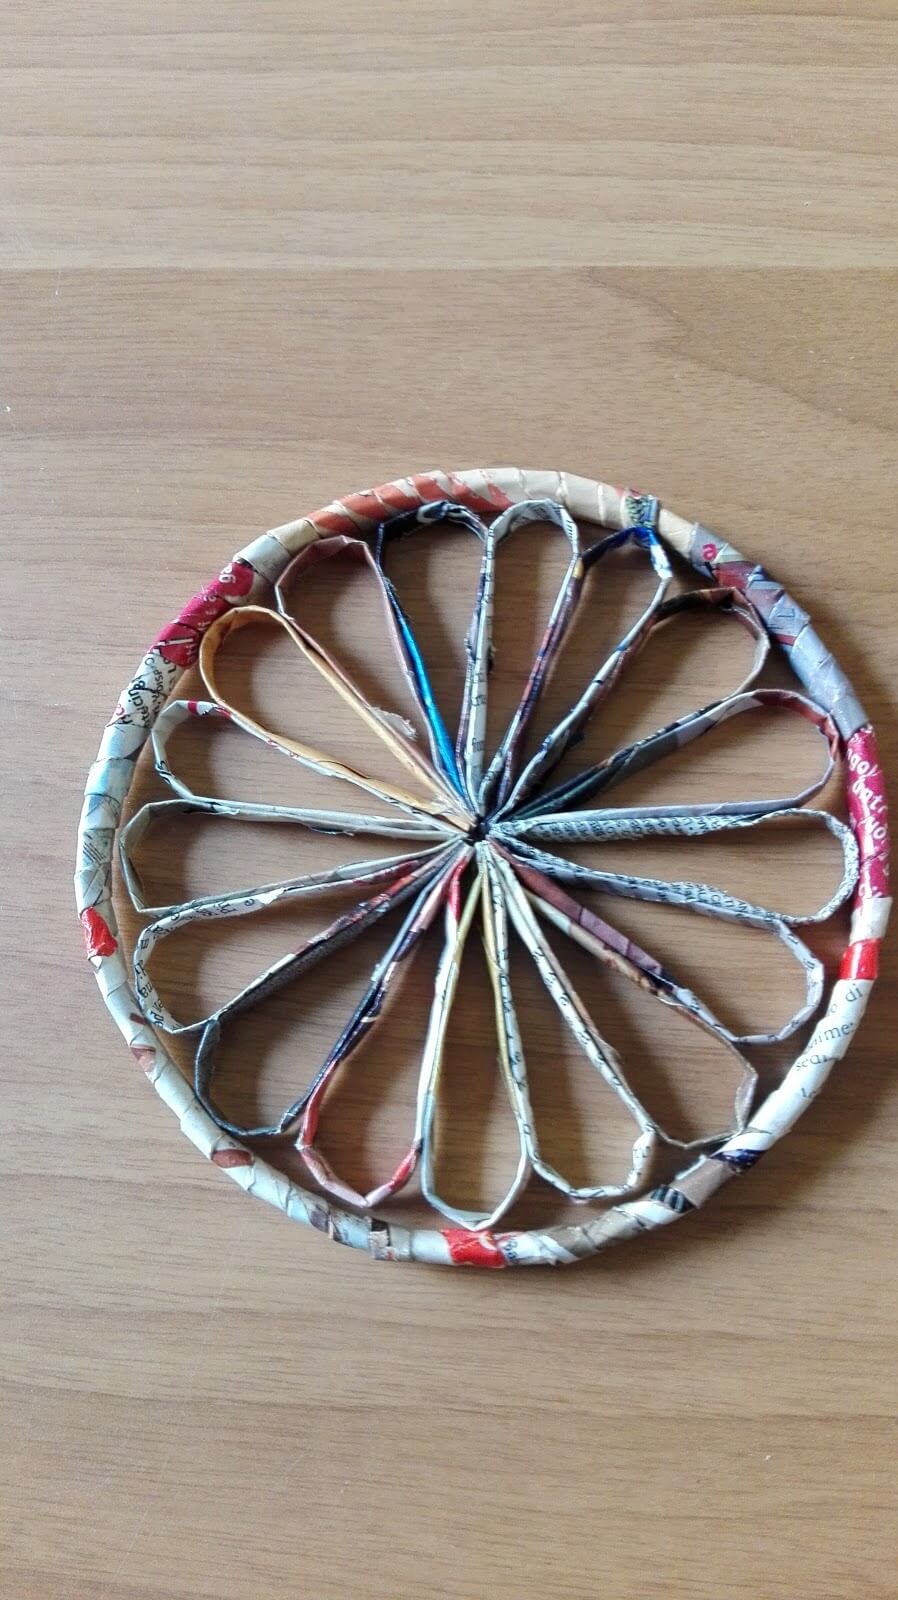 I give to all a nice pass elongated vinyl glue with a little water. I
let it dry well and then I painted everything with white acrylic paint mixed with glue.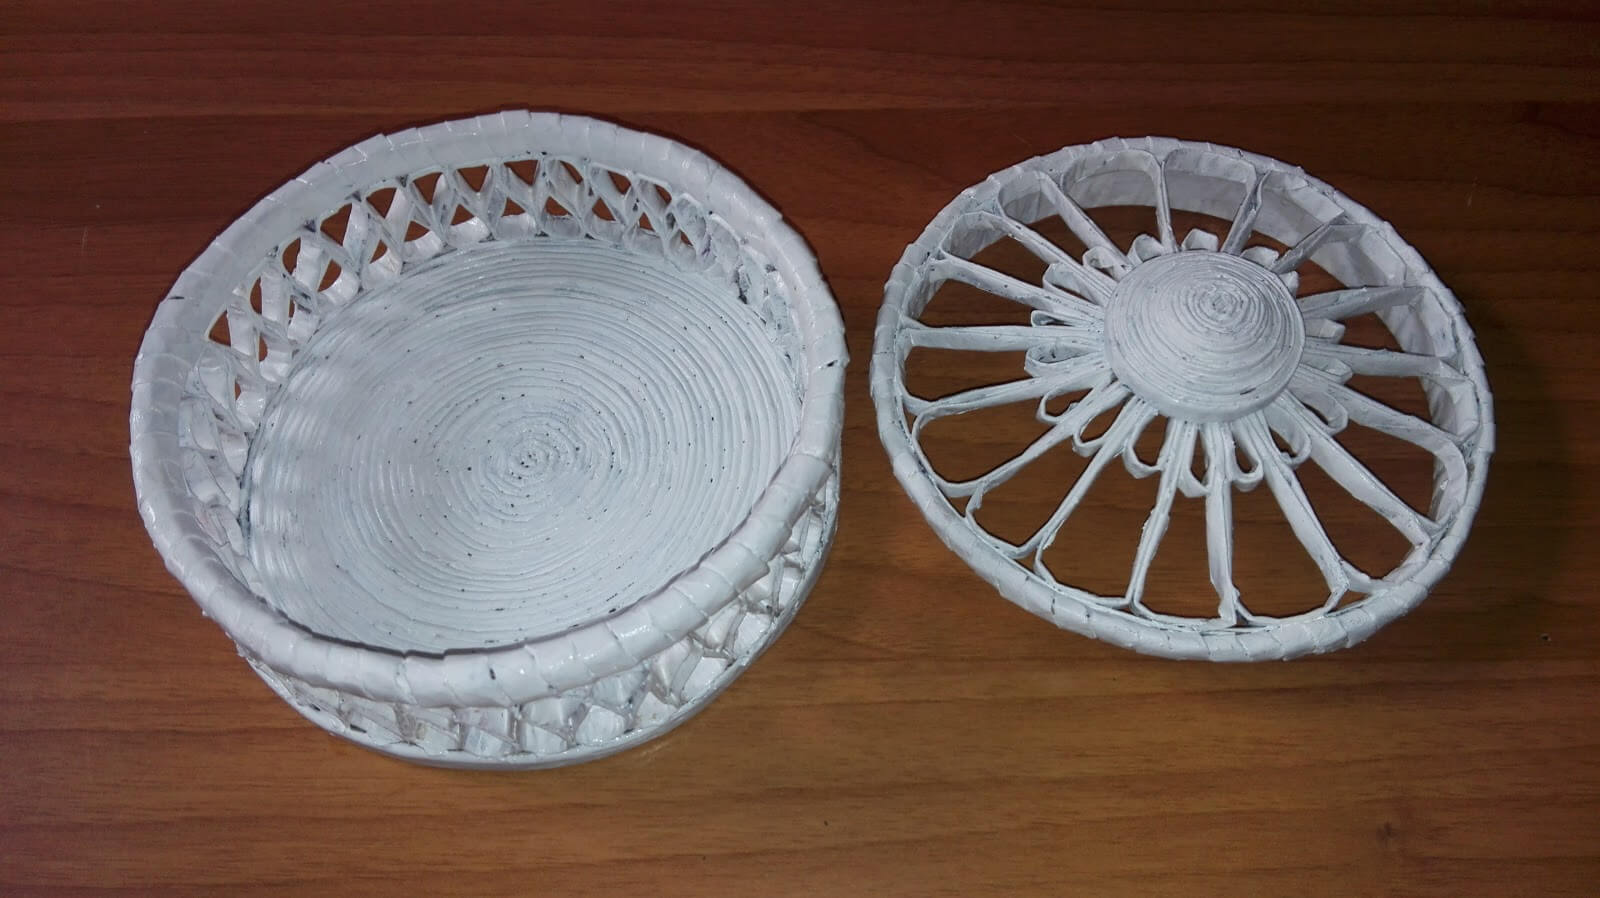 I again painted the box with the brown leather color I then soiled with a dry brush darker brown.
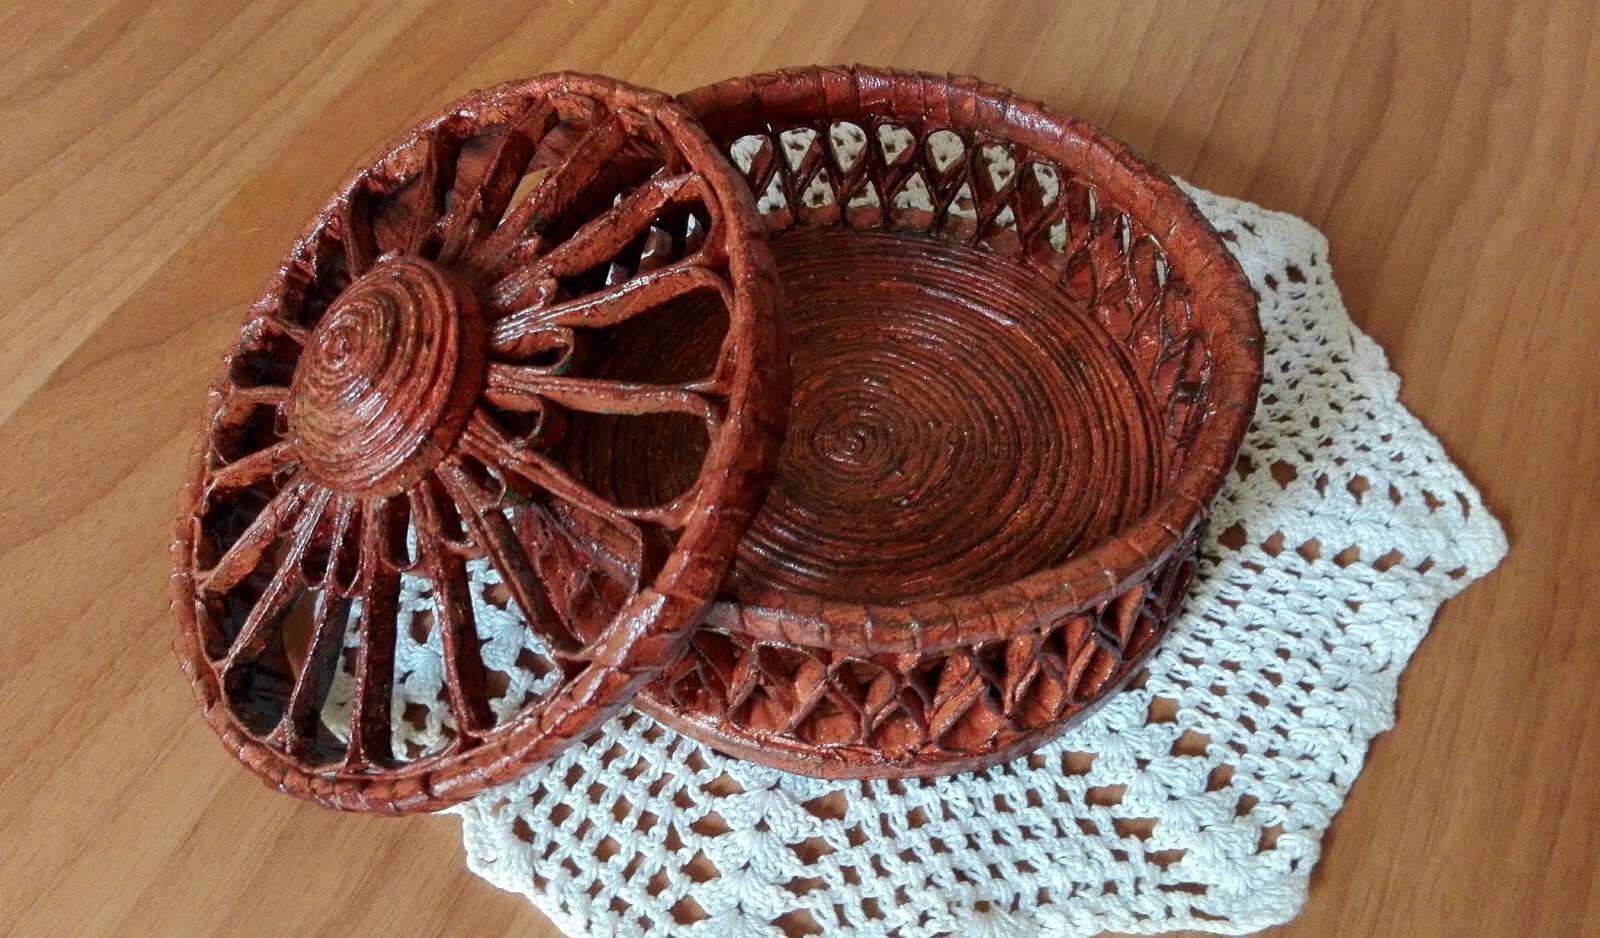
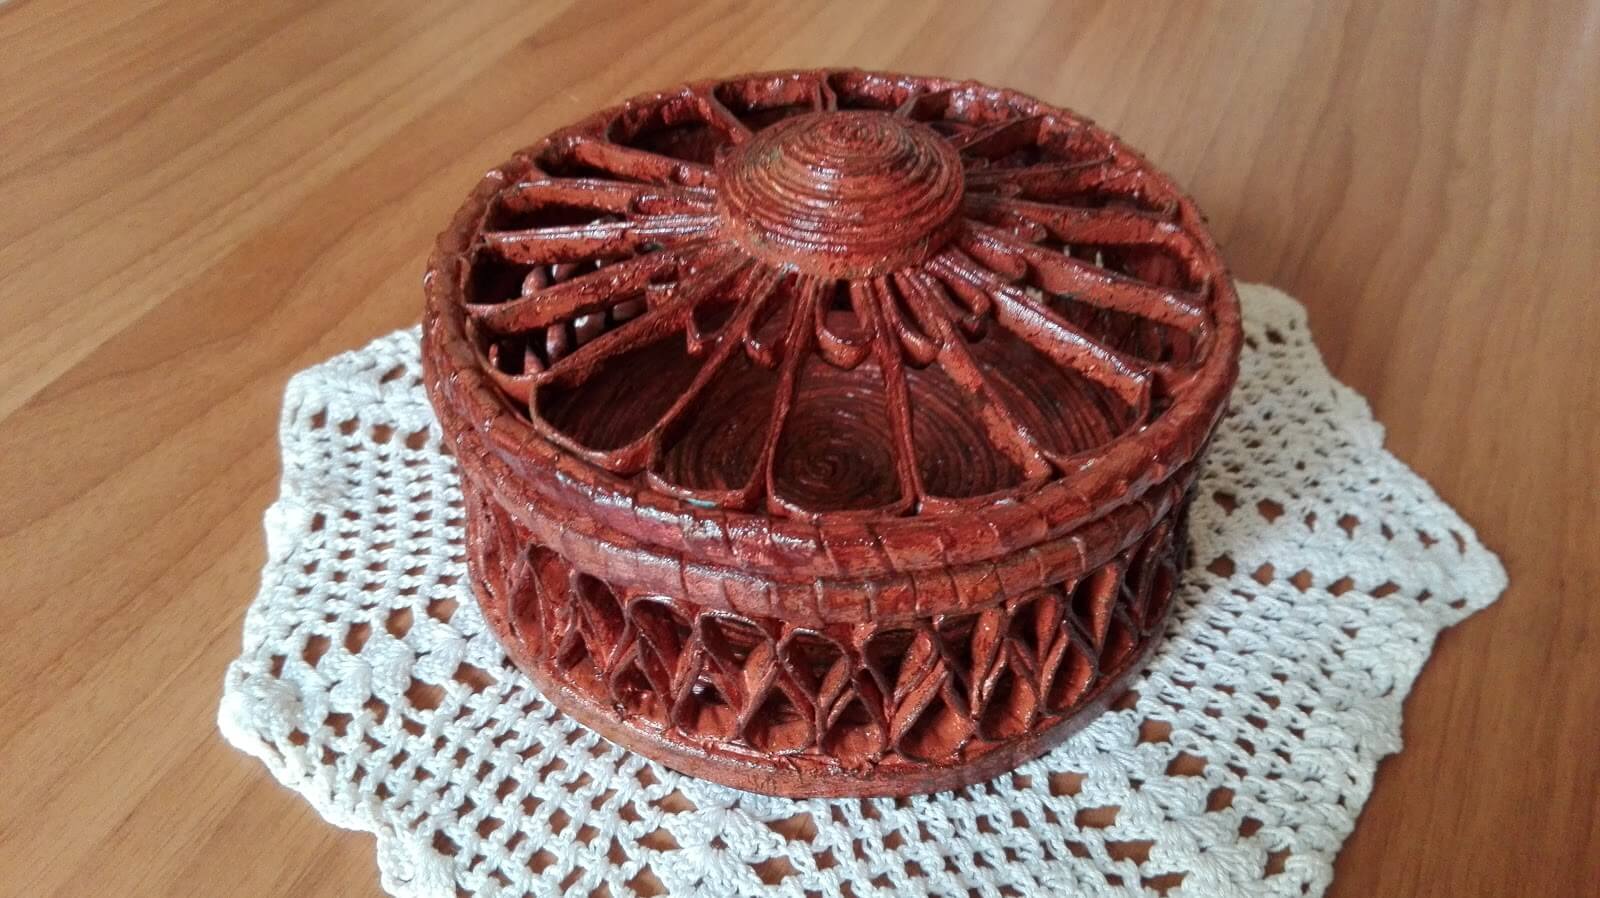
I really like and you?
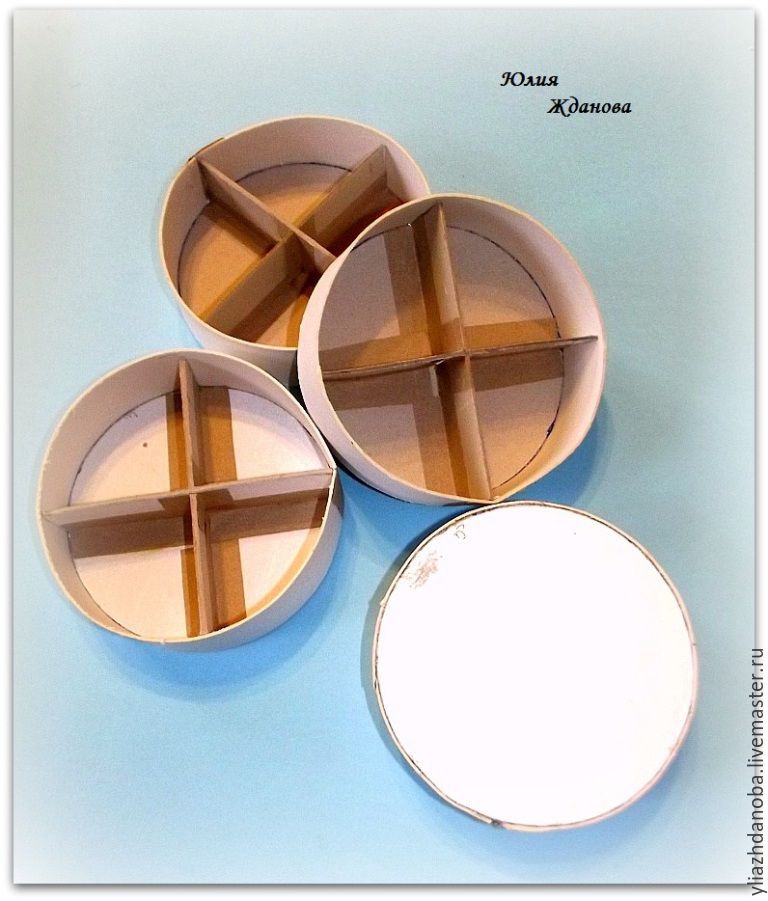
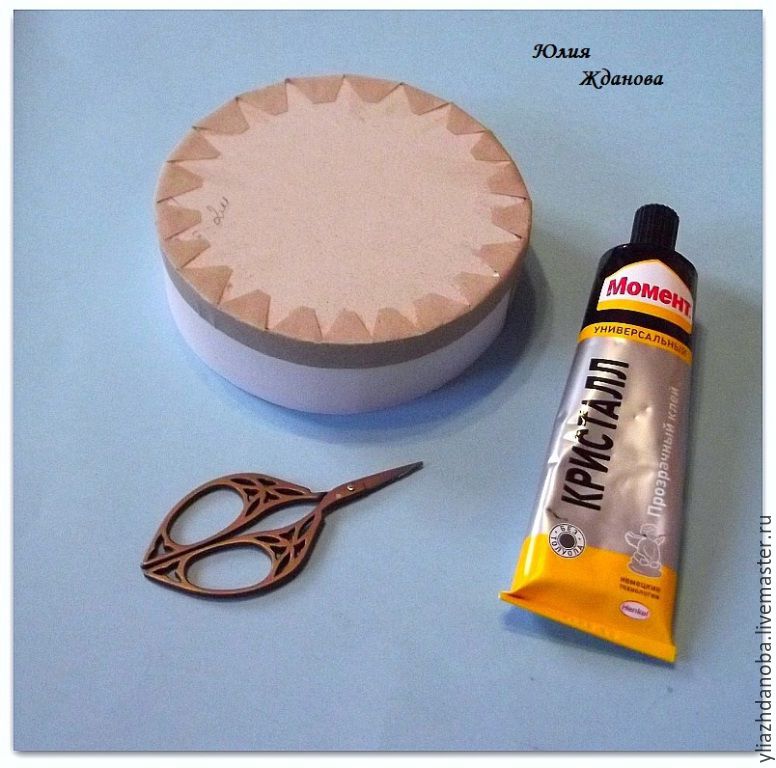
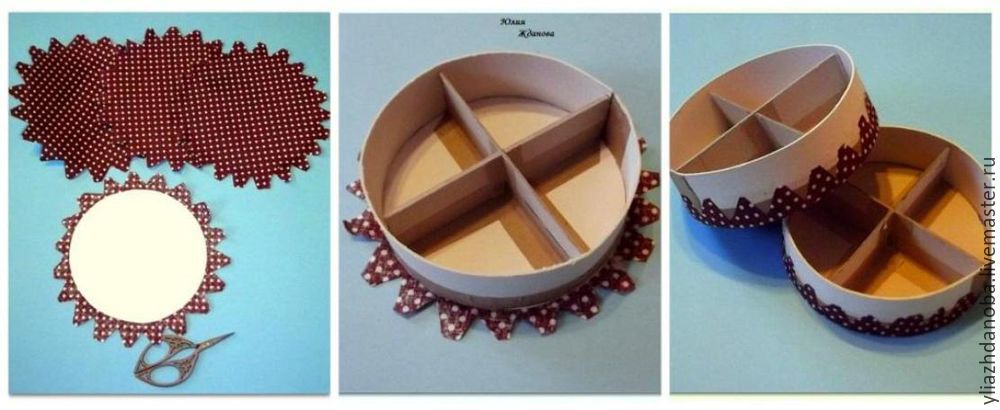
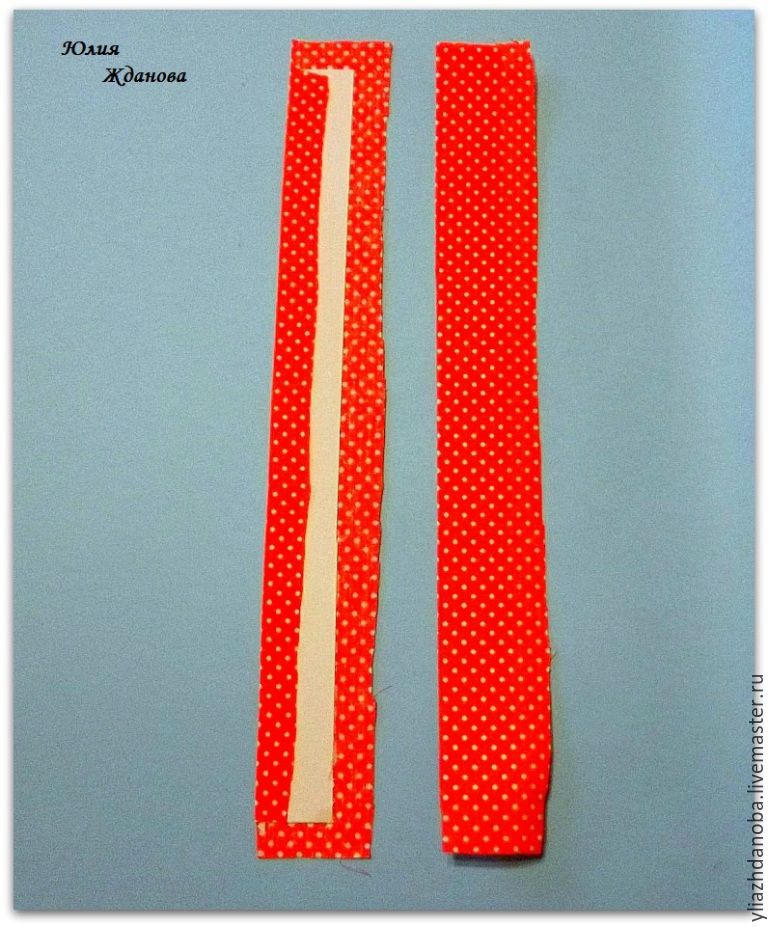
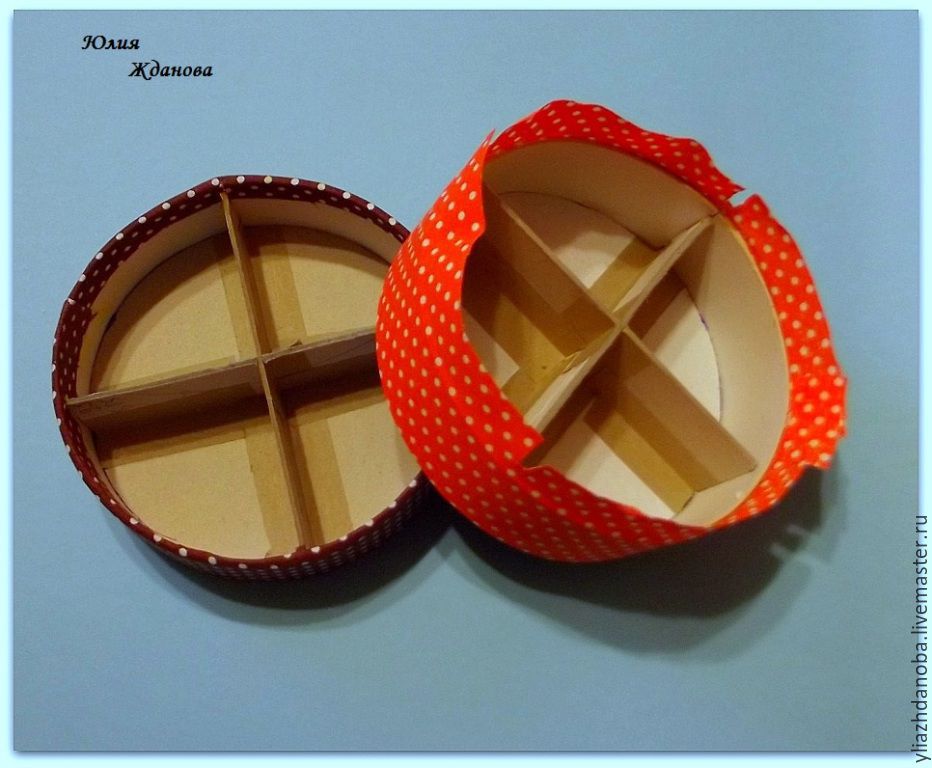
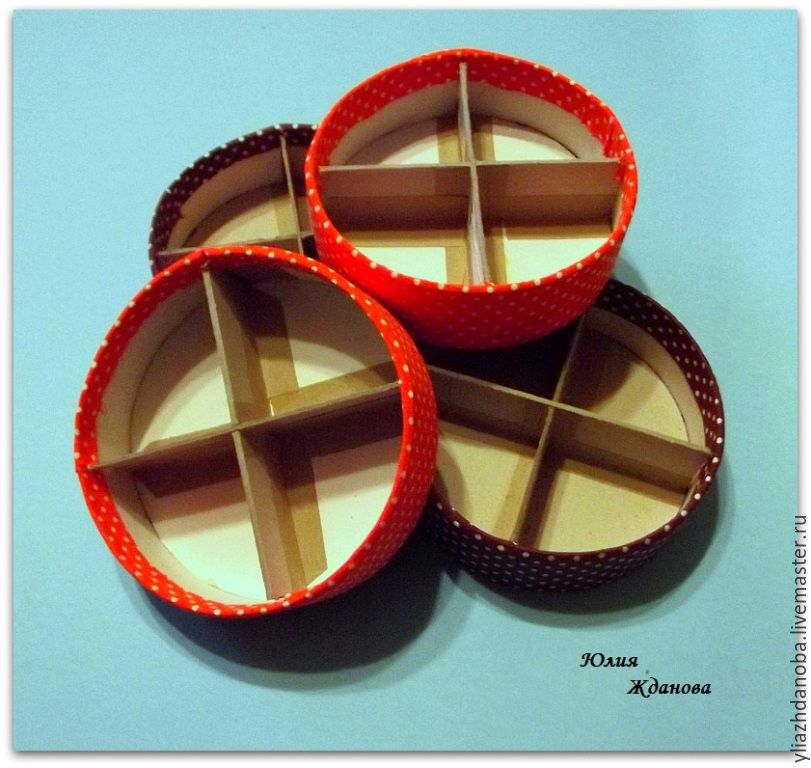
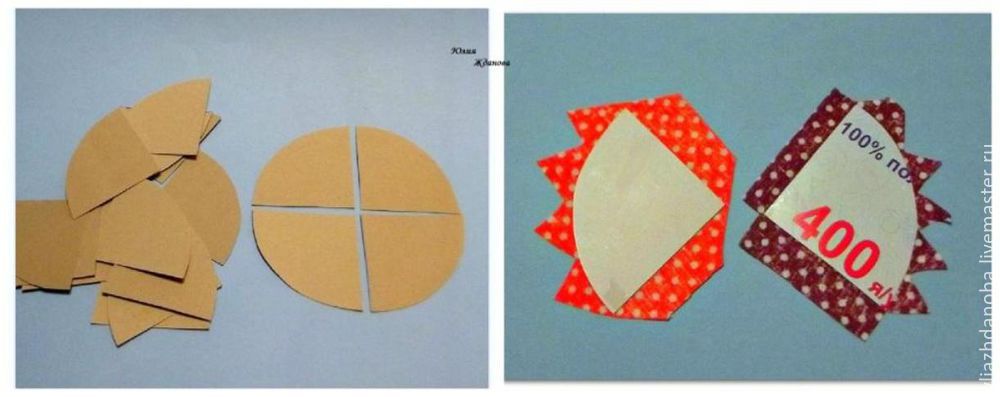
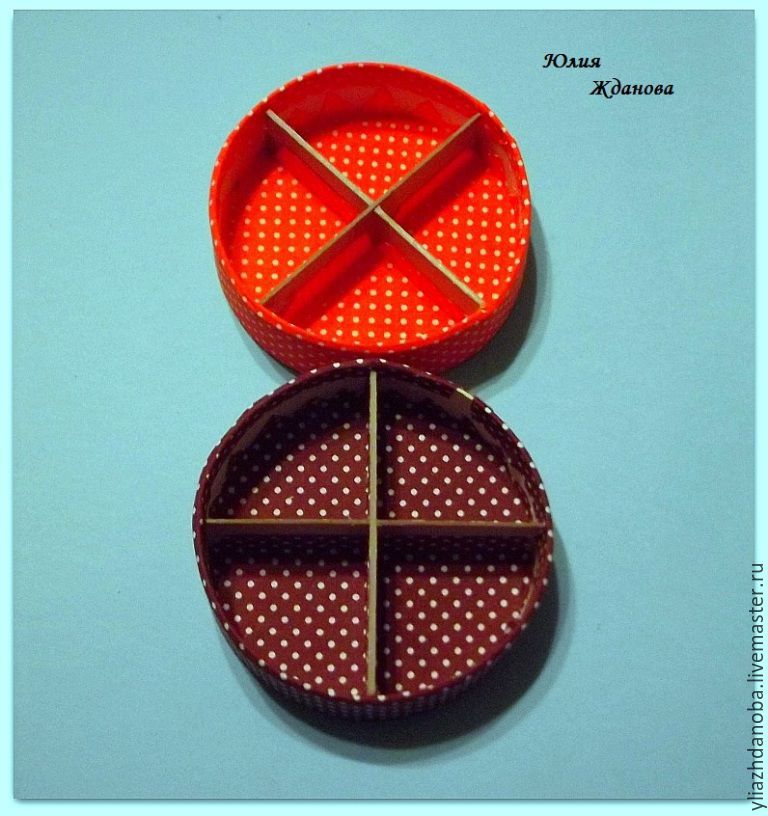

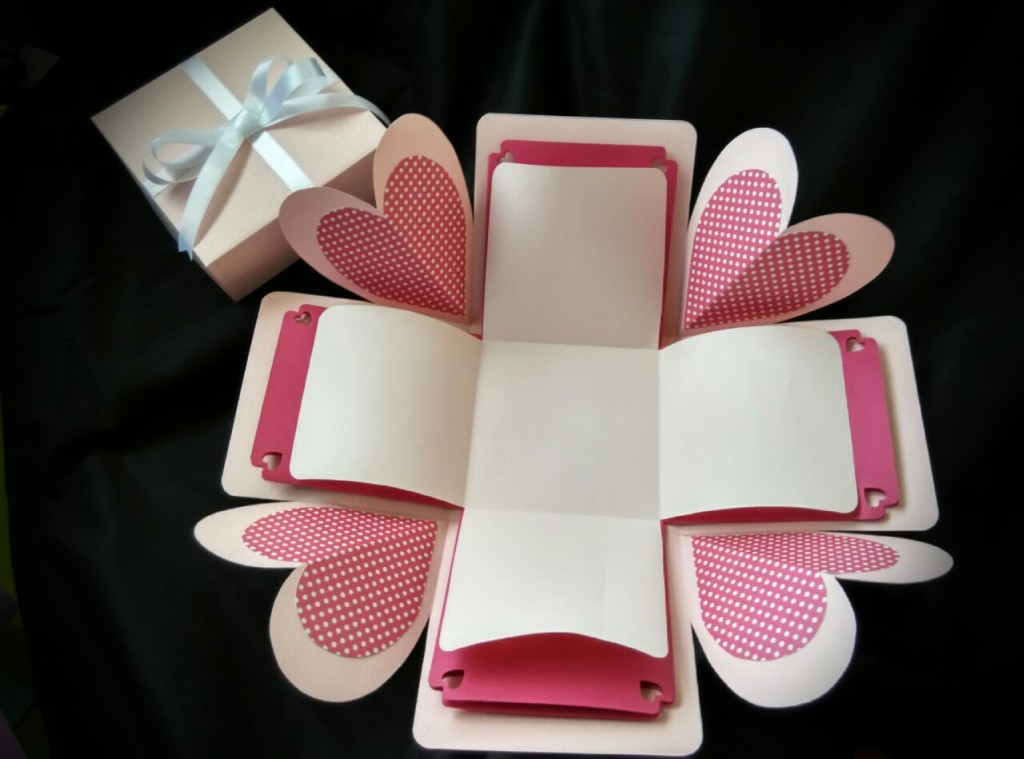
 Step1.
 Step2.
 Step3.
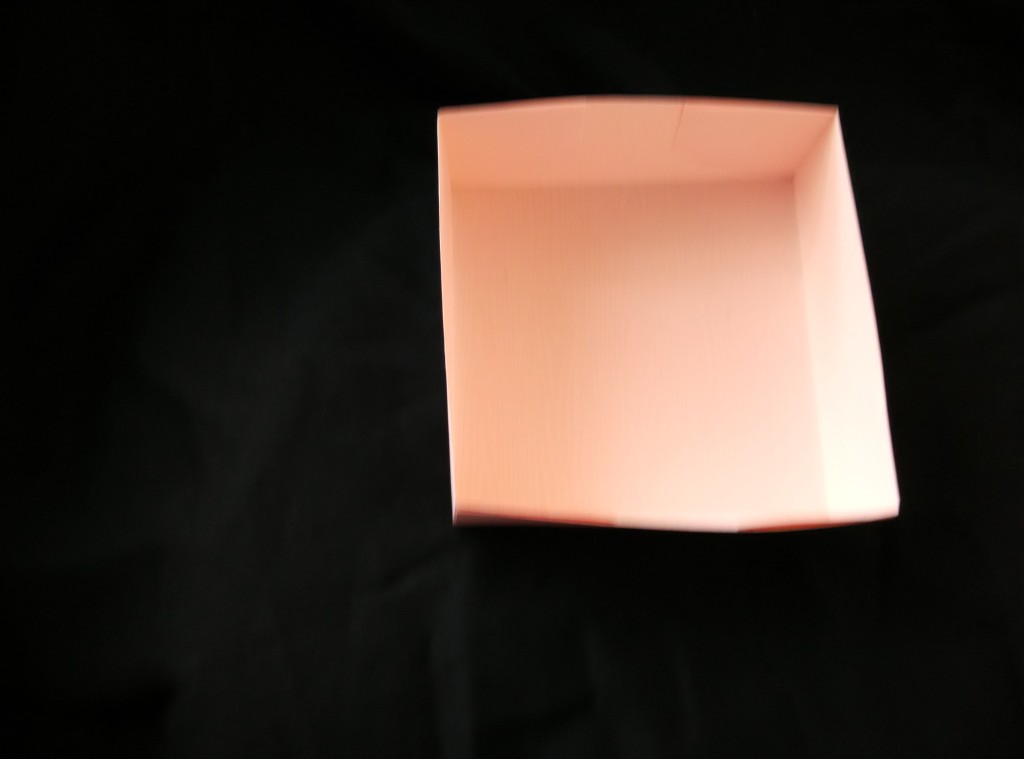 Step4.
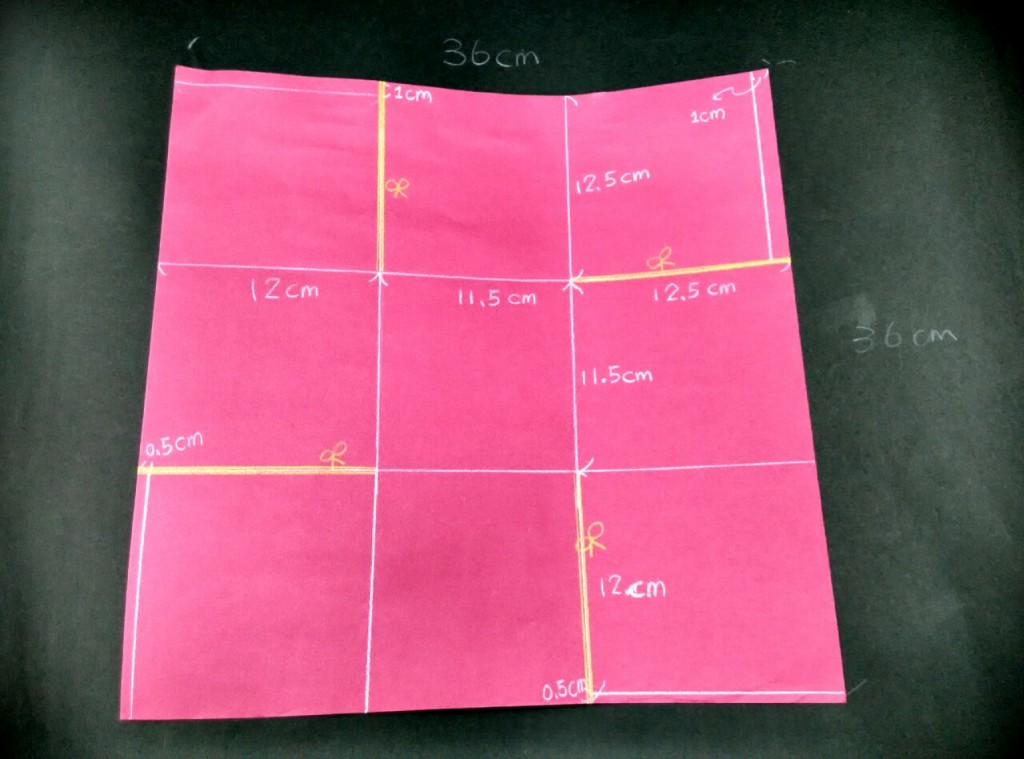
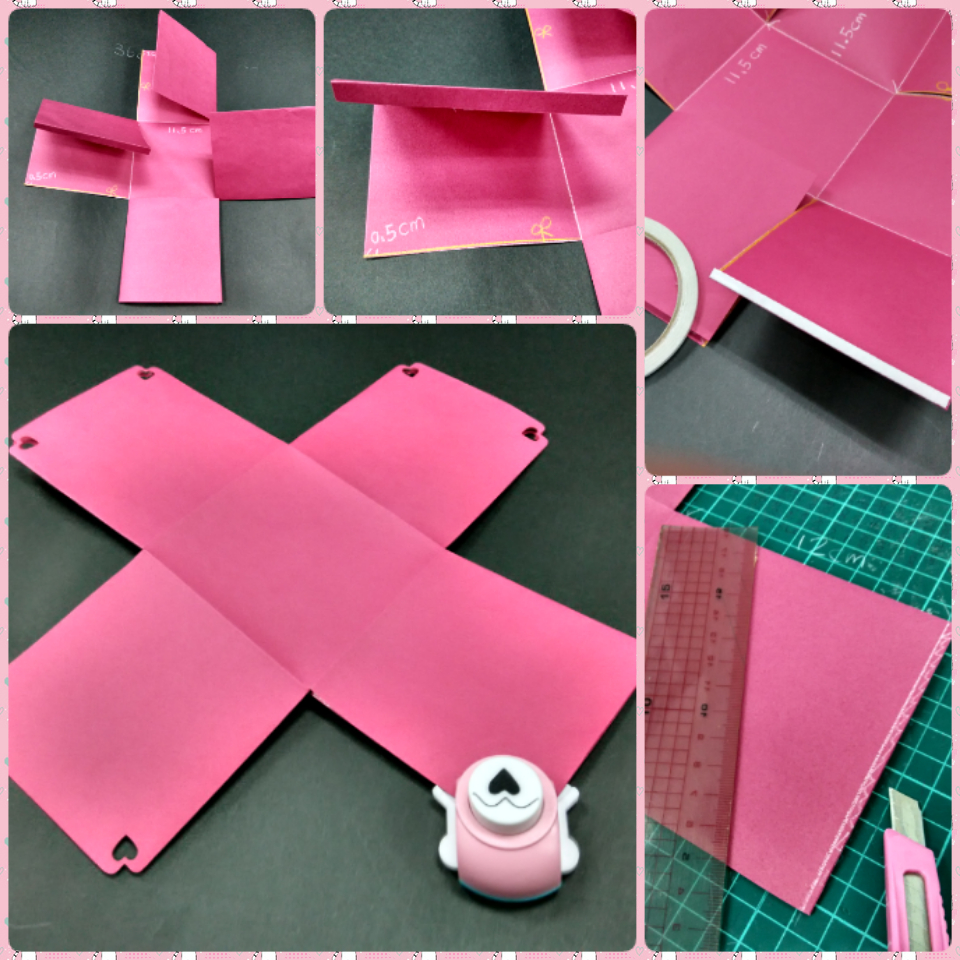
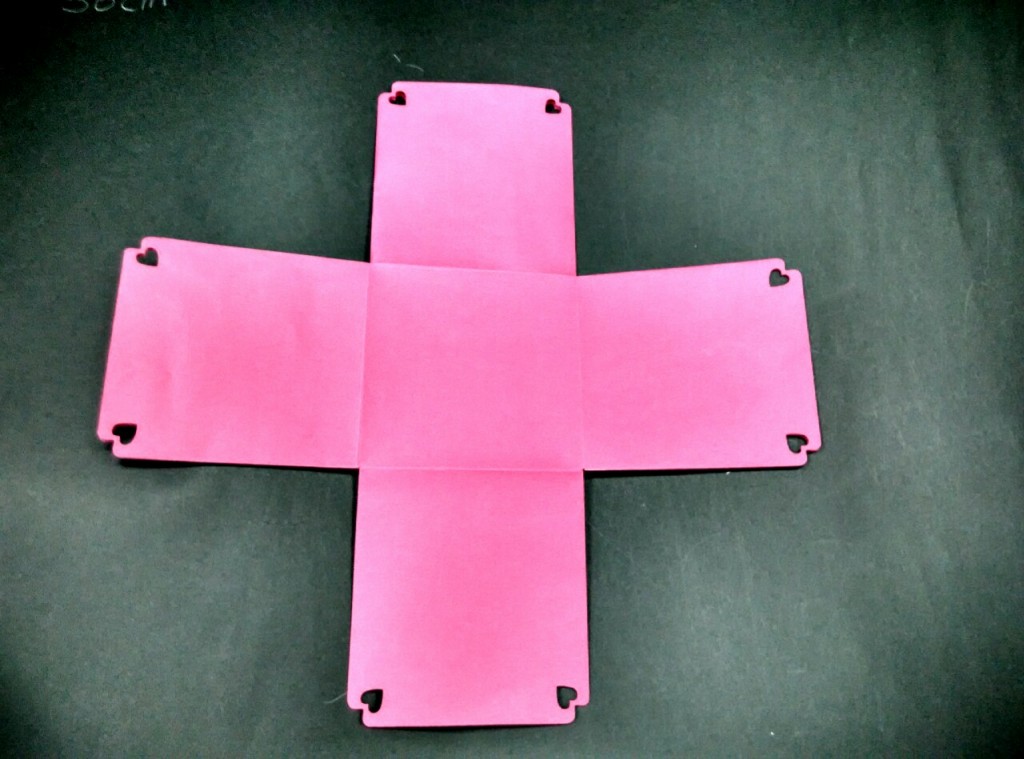 Step 5.
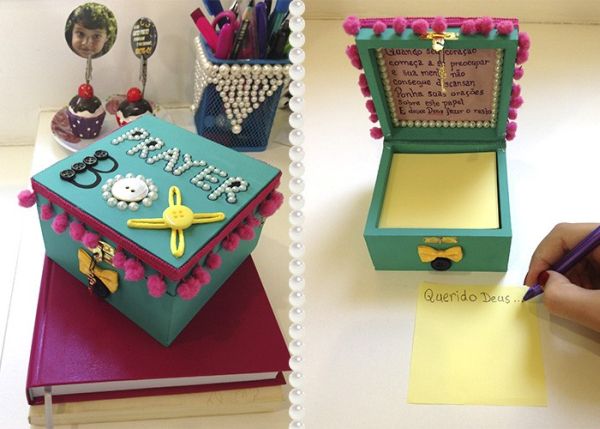
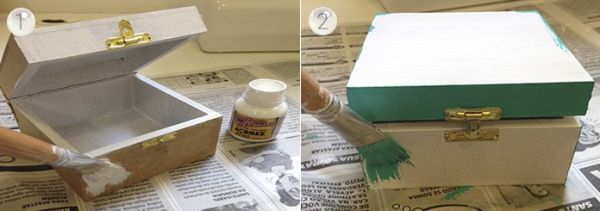
 Then line the place where you will work with your piece, with old newspaper, old paper, cardboard or plastic. Paint your wooden or MDF box first with the white color if you want. Allow to dry and then apply the chosen color. If you want a stronger and stronger color, apply two or even three layers of paint, but always let the paint dry very well between layers. Let the paint dry very well before handling your part again and continue to make your work.
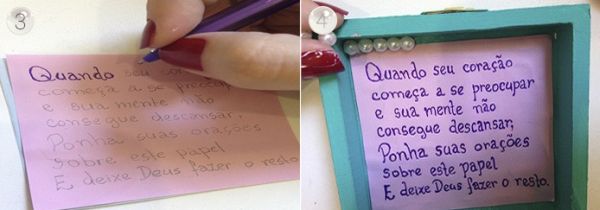
 Soon after, write a prayer or message, glue on the inside of the lid of your box and start pearl necklace around.
 Now, finish pasting the pearls inside the box lid and begin decorating the outside of your box.
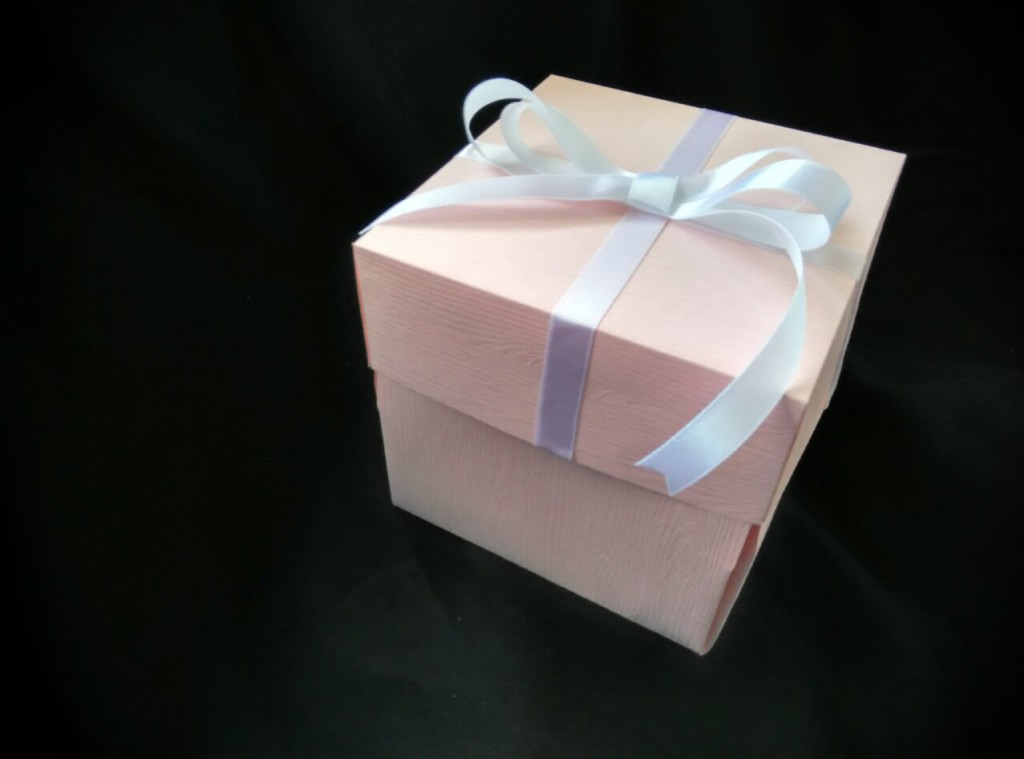
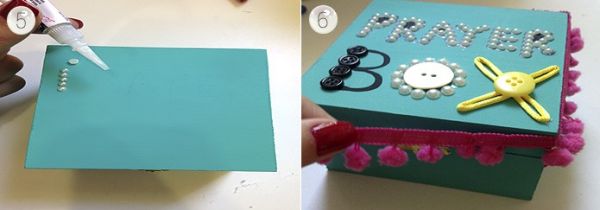 Then, to finish your piece, just finish decorating your box, with the trimmings you wish. And it’s ready!
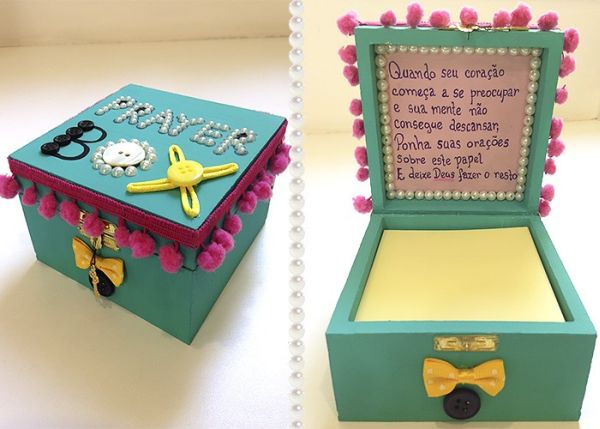 (Photo: stephania.com.br)
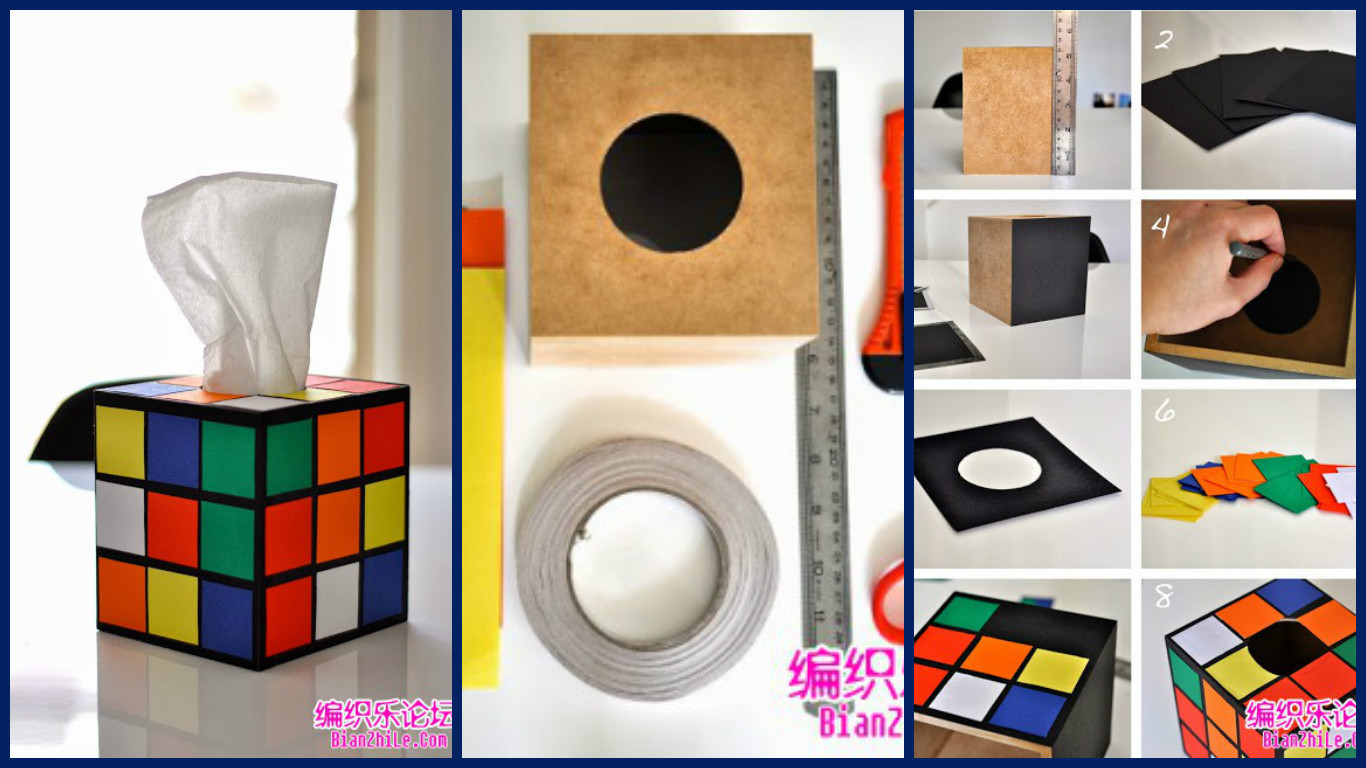
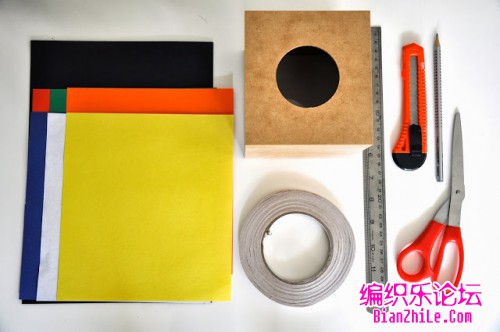
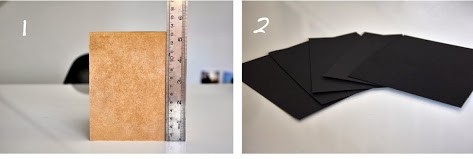
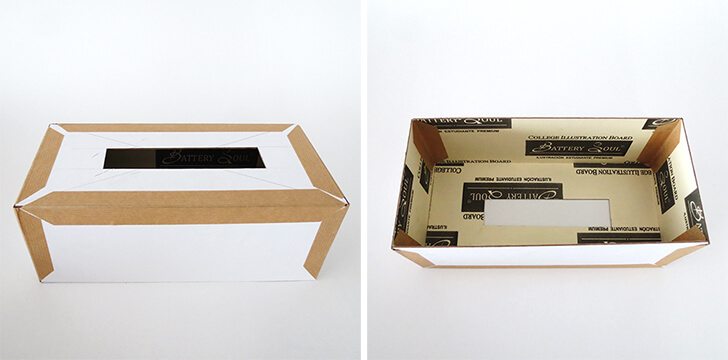
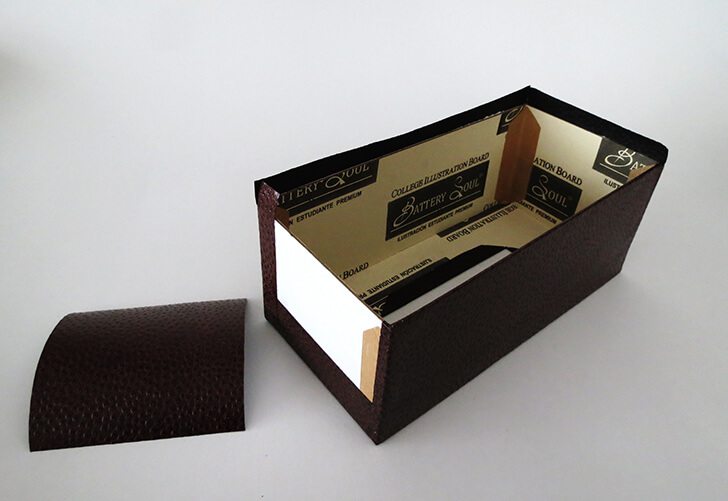
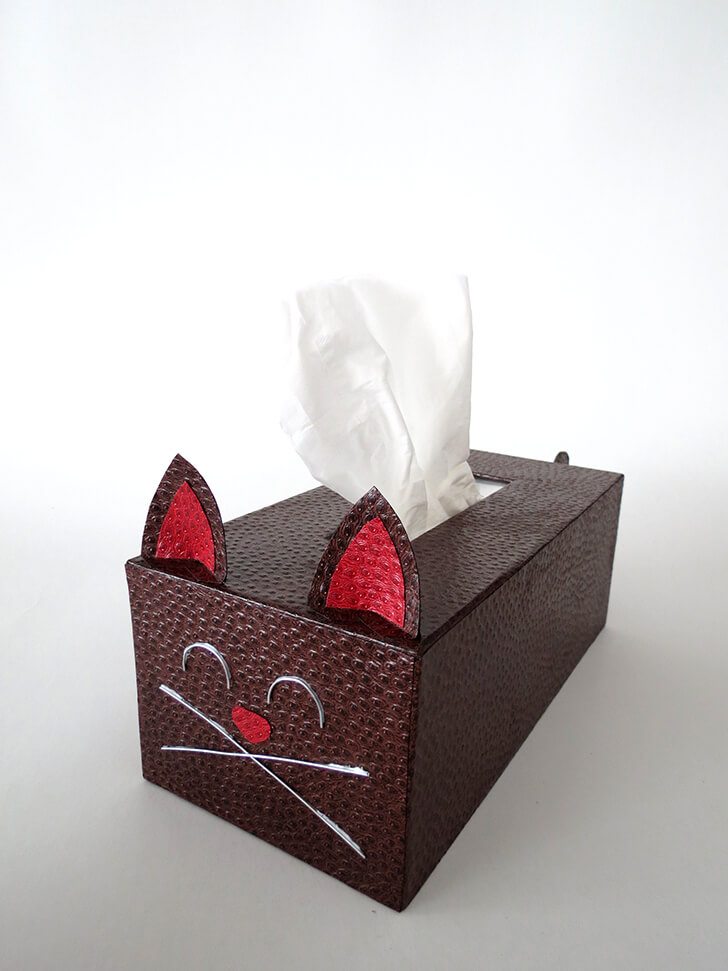
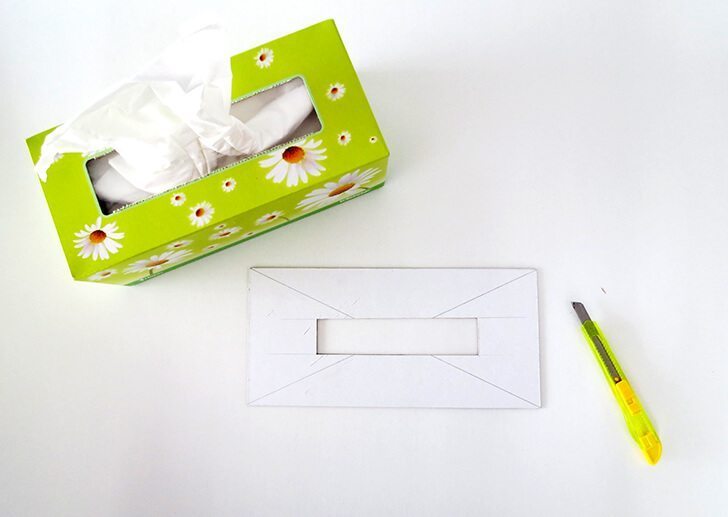 Measure, scratch and also trim the sides of the tissue box. Also with a little leftover for this part assembled by you to fit in the tissue box.
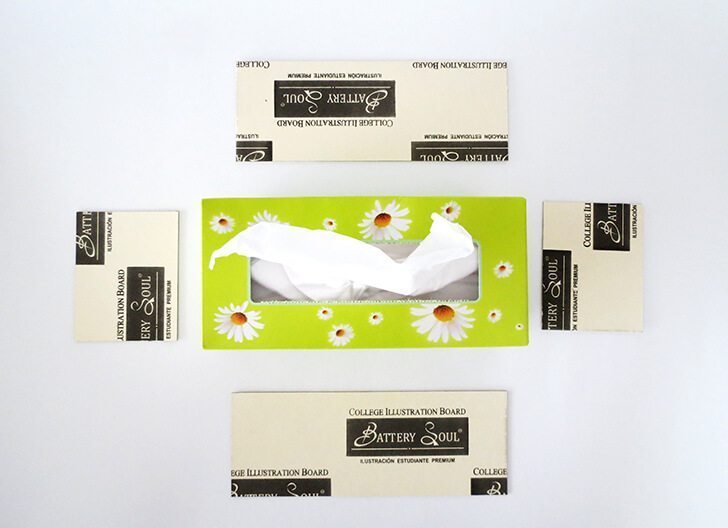 Mount your carton with the aid of a piece of adhesive tape being positioned inside and out of the carton.
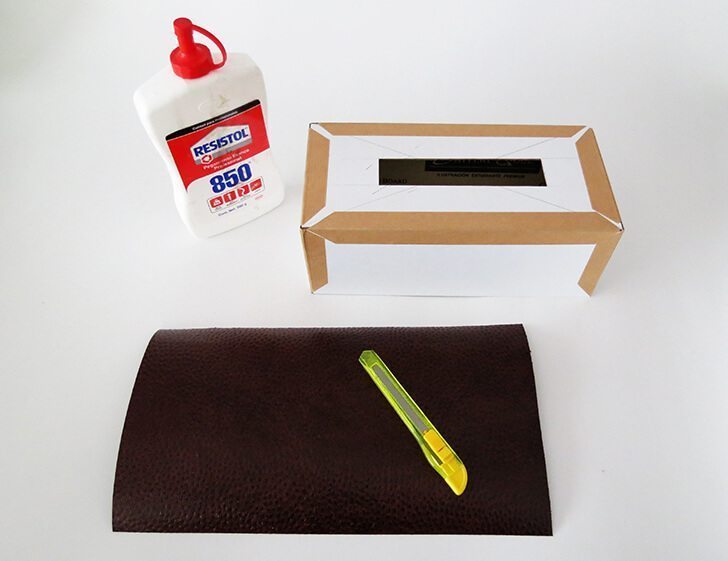
 Cut a piece of textured paper to the top of your carton.
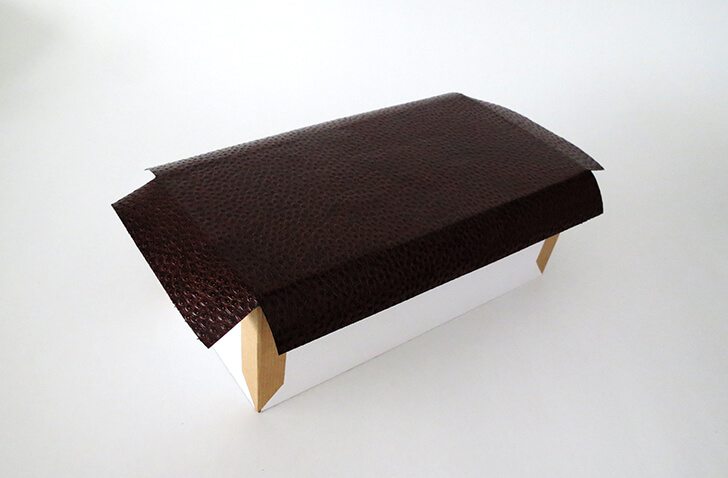
 Cut the corners and position on the box.
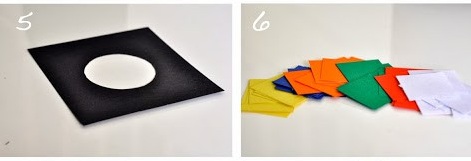
 Cut the inside of the opening and turn the paper envelope in, pasting them.
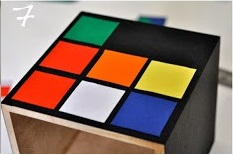
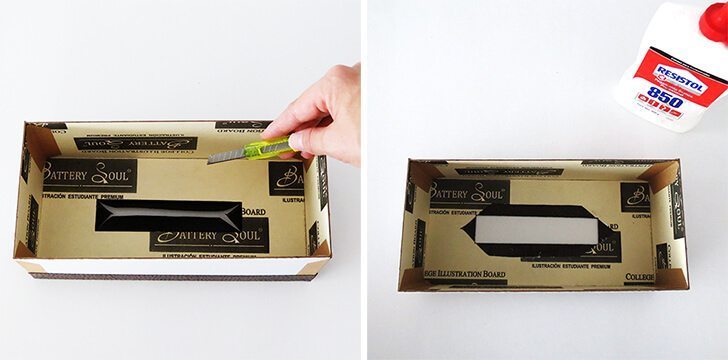 Cut and glue the sides.
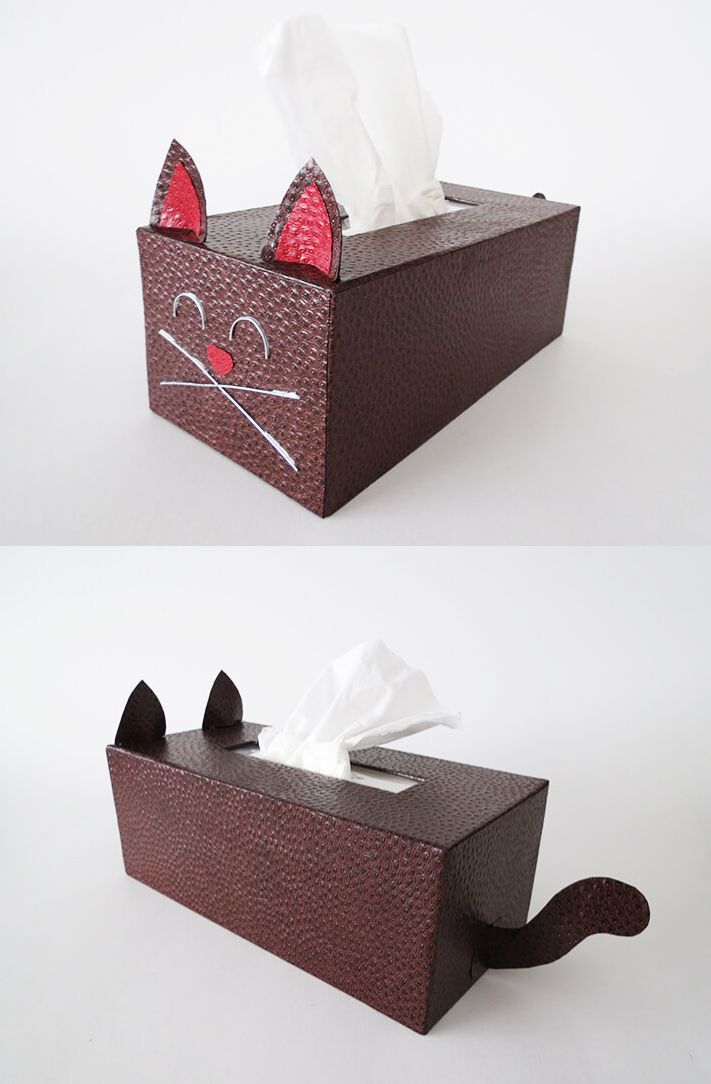
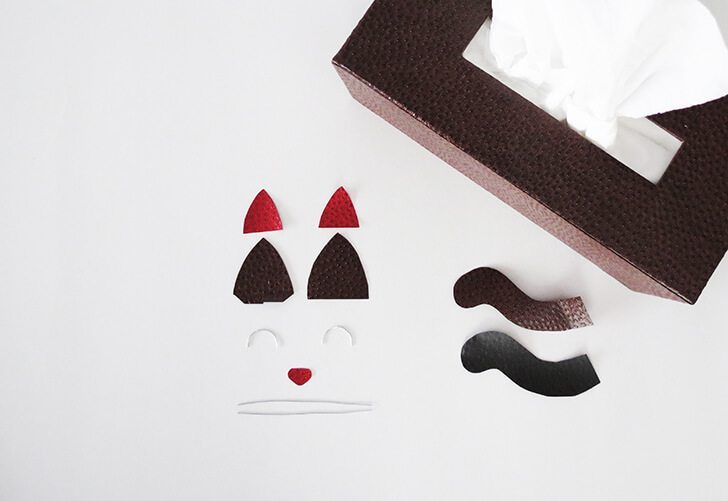
 Cut the cat’s tail, muzzle and ears into the papers. Also cut the whiskers and eyes on the waxed wire.
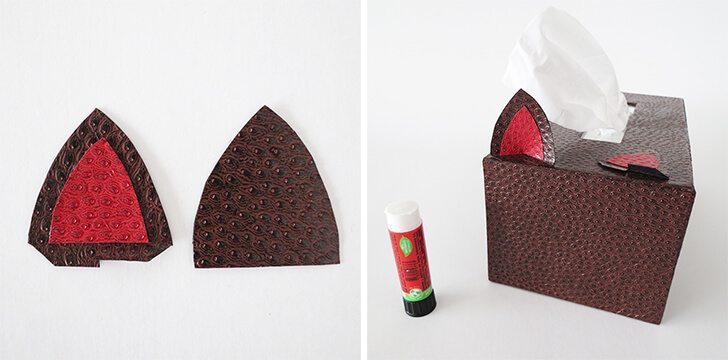
 Glue the inside of the ear, cut and fold the base, curving it, and glue it to one end of the box.
 To finalize your piece, glue the eyes, whiskers, muzzle and tail of the kitten. And it’s ready! Because this piece is removable, whenever the tissue box is finished you can remove the part of the kitten from above and position it in another tissue box.
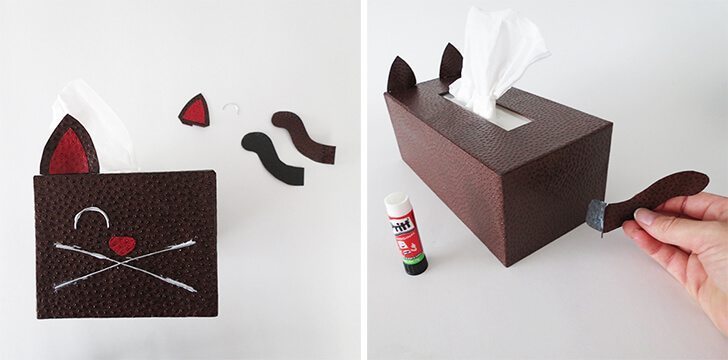
 (Photo: dreamalittlebigger.com)
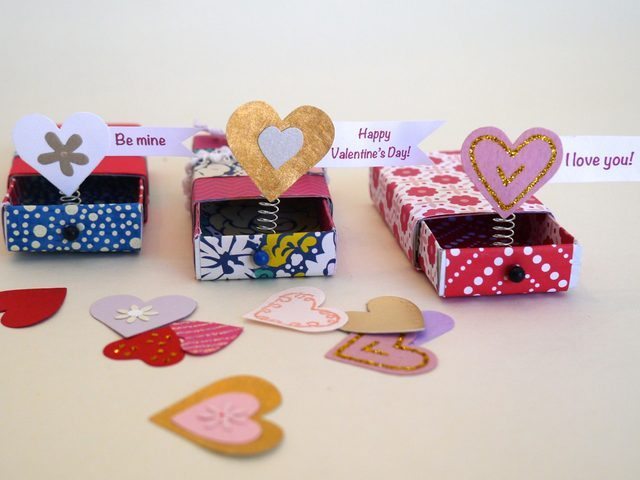
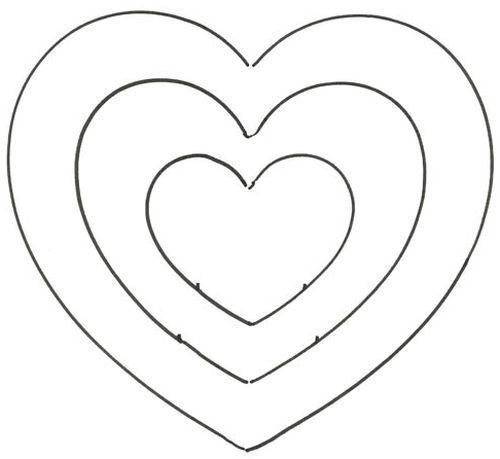
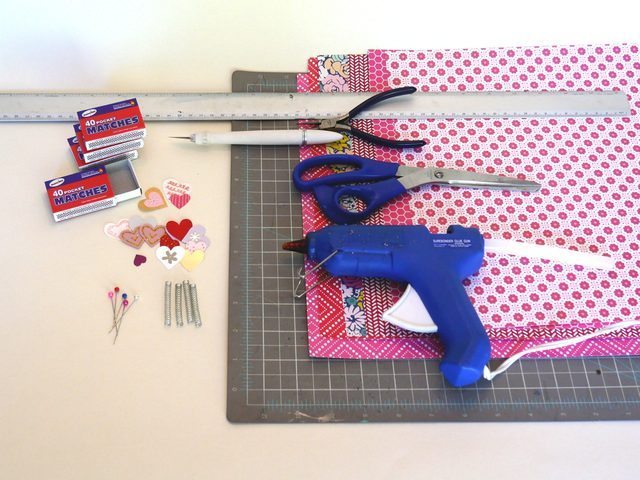 Measure the size of the inside of the matchbox and cut strips of paper.
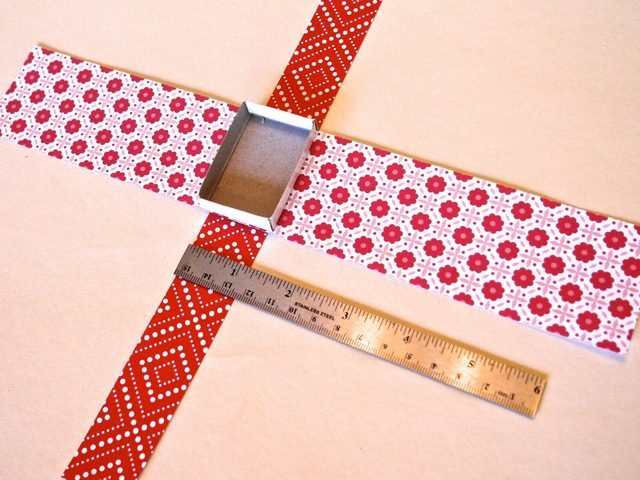 Coat the outside of the carton.
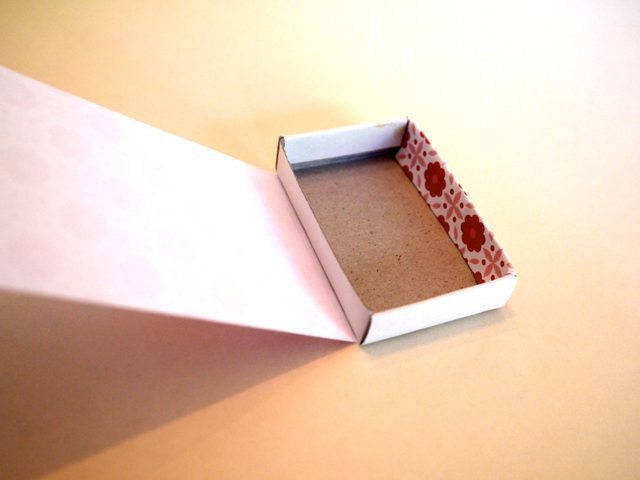 Cover the inside of the carton.
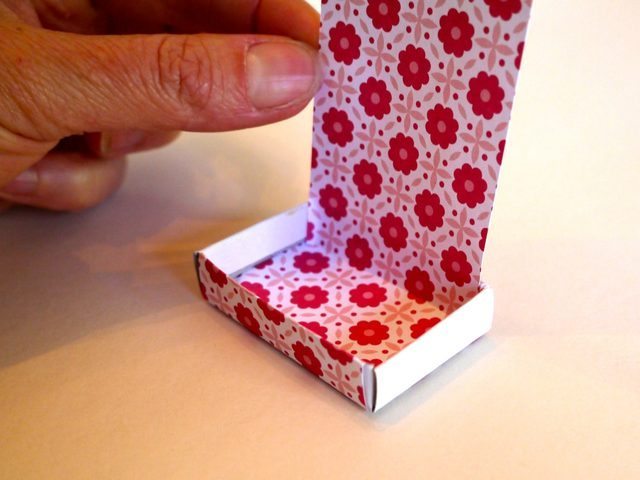 Glue the smaller strip to the length of the carton.
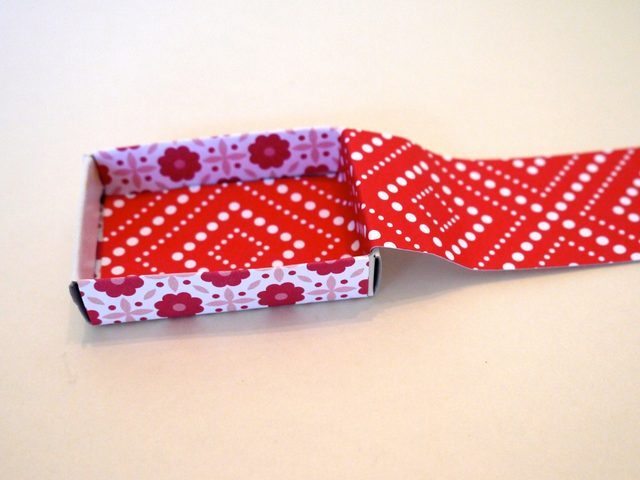 Remove the outside of the carton.
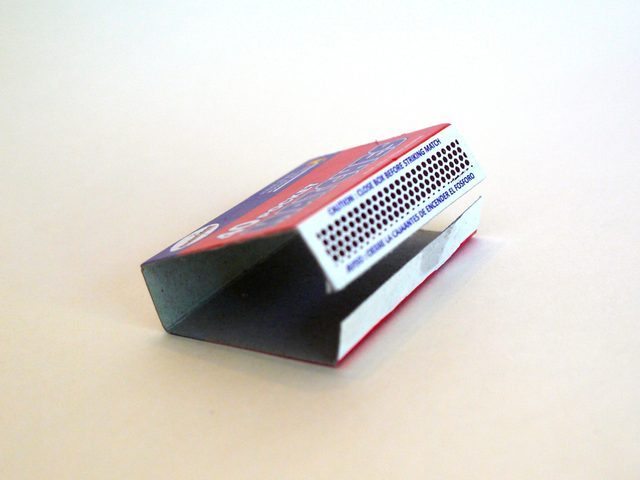 Cover the outside of the box and reassemble it by gluing the flaps with the aid of the hot glue gun.
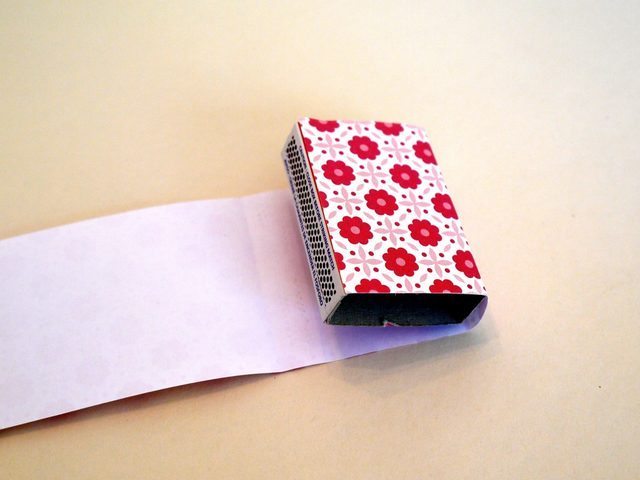 Cut one piece of the sewing pin through the end of the inside and fold the leftover pin inside to secure.
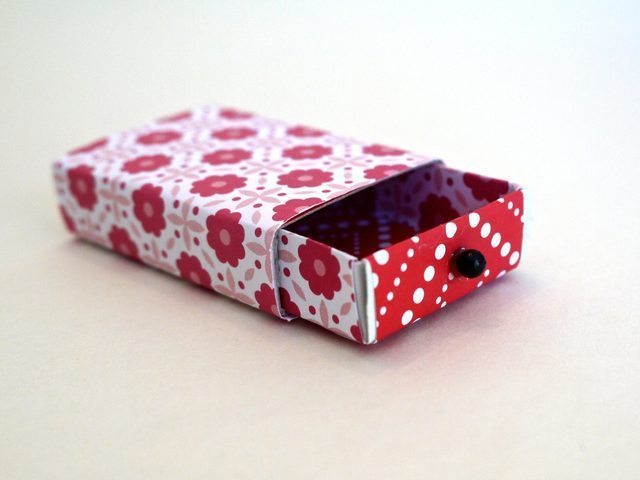
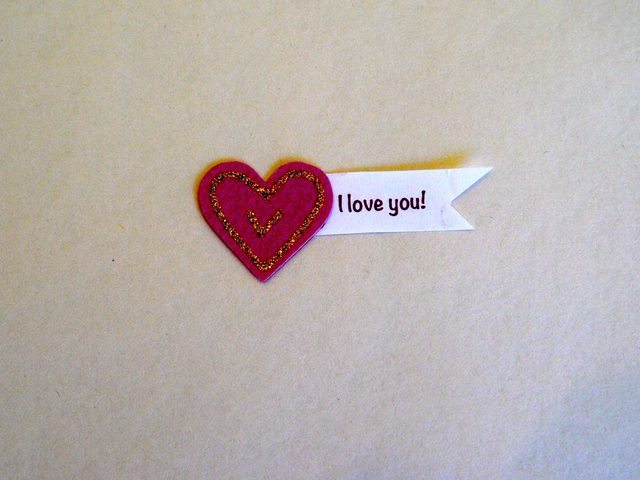 Cut a piece of the spring and glue it to the back of the heart with the aid of the hot glue gun.
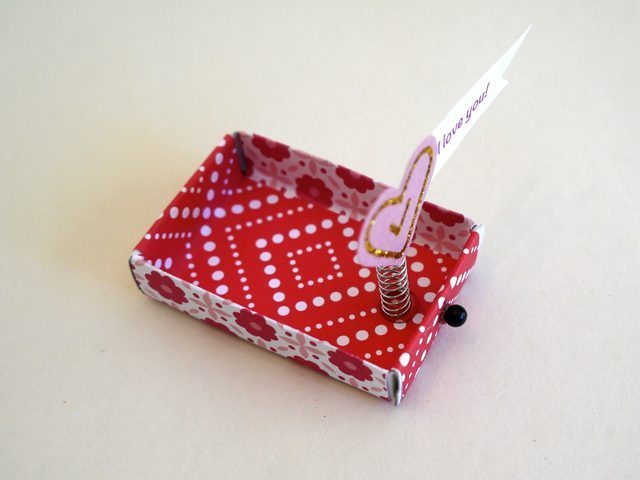
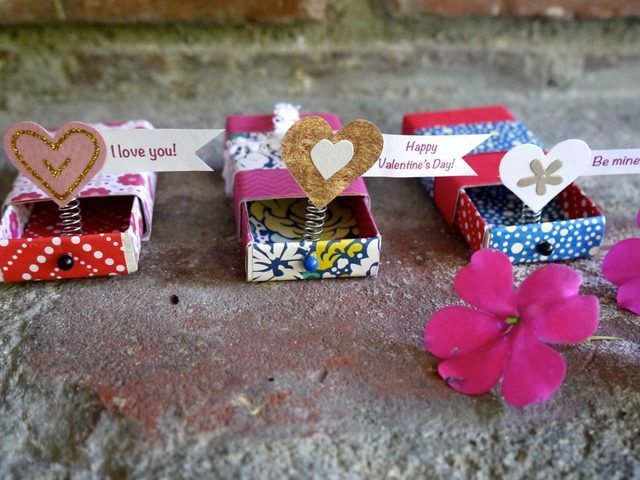
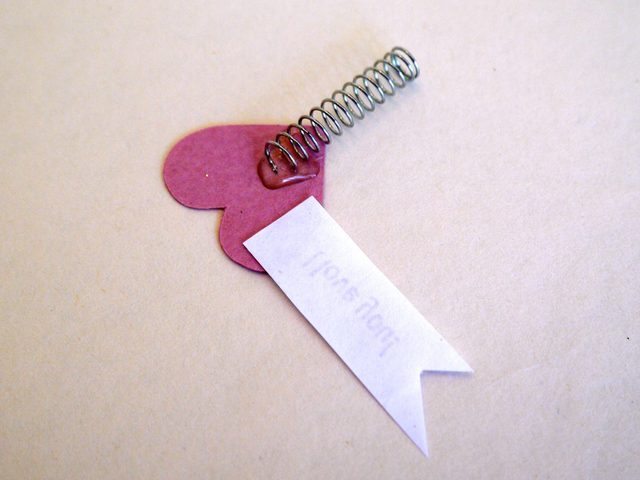 To finish your piece, glue the spring into the matchbox. And it’s ready!
 (Photo: ehow.com)
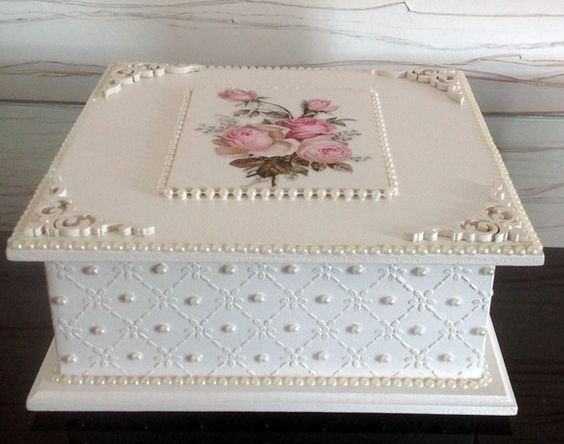
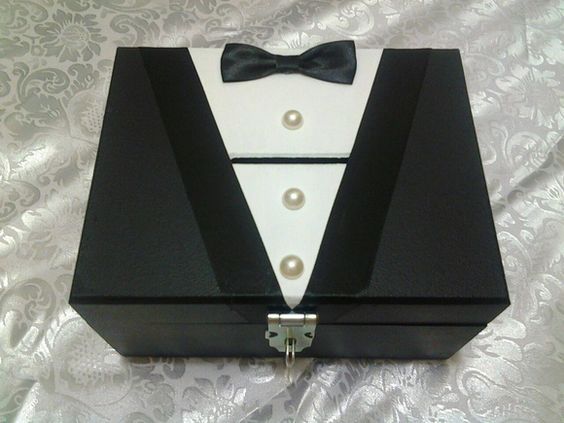
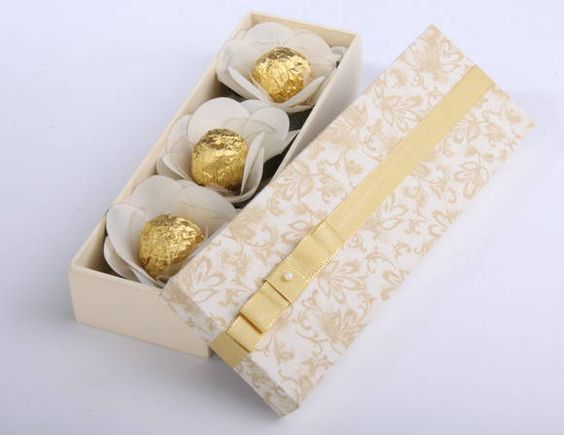
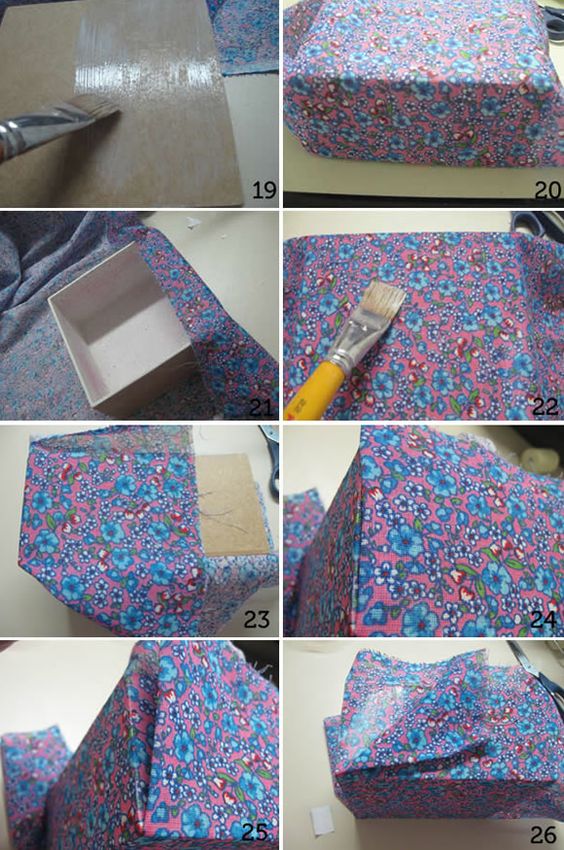 To enhance your party keepsake, you can customize the MDF box the way you want. It is worth to coat the box with the material you desire. And it’s also worth customizing your box of MDF in a stylized way, like painting the clothes of the bride and groom, to introduce the godparents of the wedding, for example.
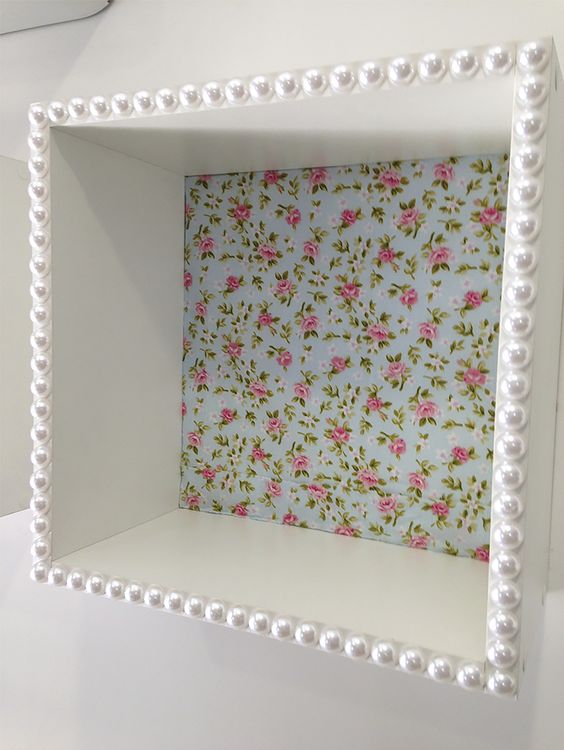
 A very different way to use an MDF box is by securing it to the wall to create a niche. You can customize the MDF box before attaching it to the wall, any way you want and according to the decorating style you want for your environment.
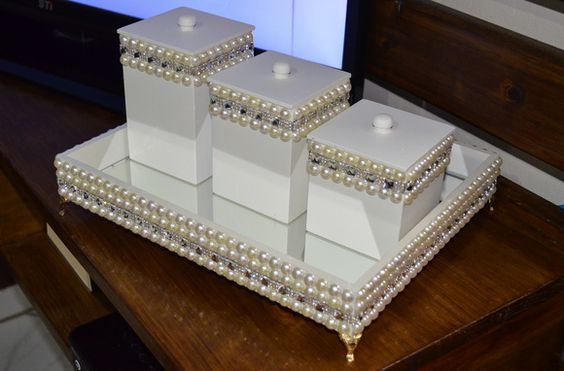 Besides there are numerous ways to customize your MDF box, as already mentioned and there are also a multitude of materials that can be applied in your box to embellish it, such as gemstones, beautiful letters, ribbons, attachments and more a multitude of Items. And after customizing your box you can use it to embellish your spaces, even if you do not store anything inside them.
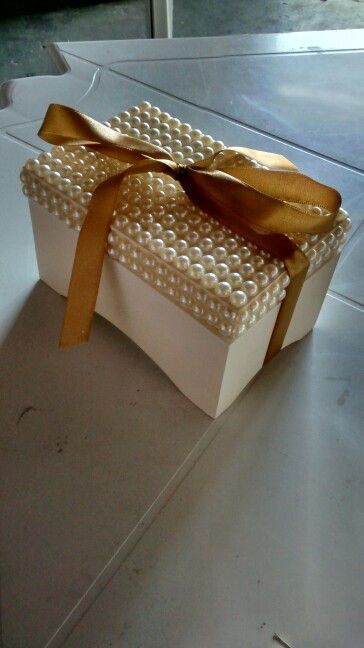
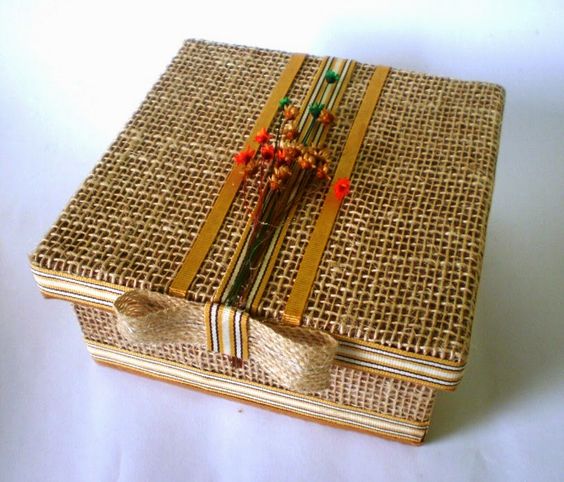
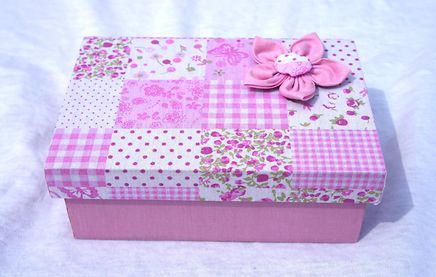
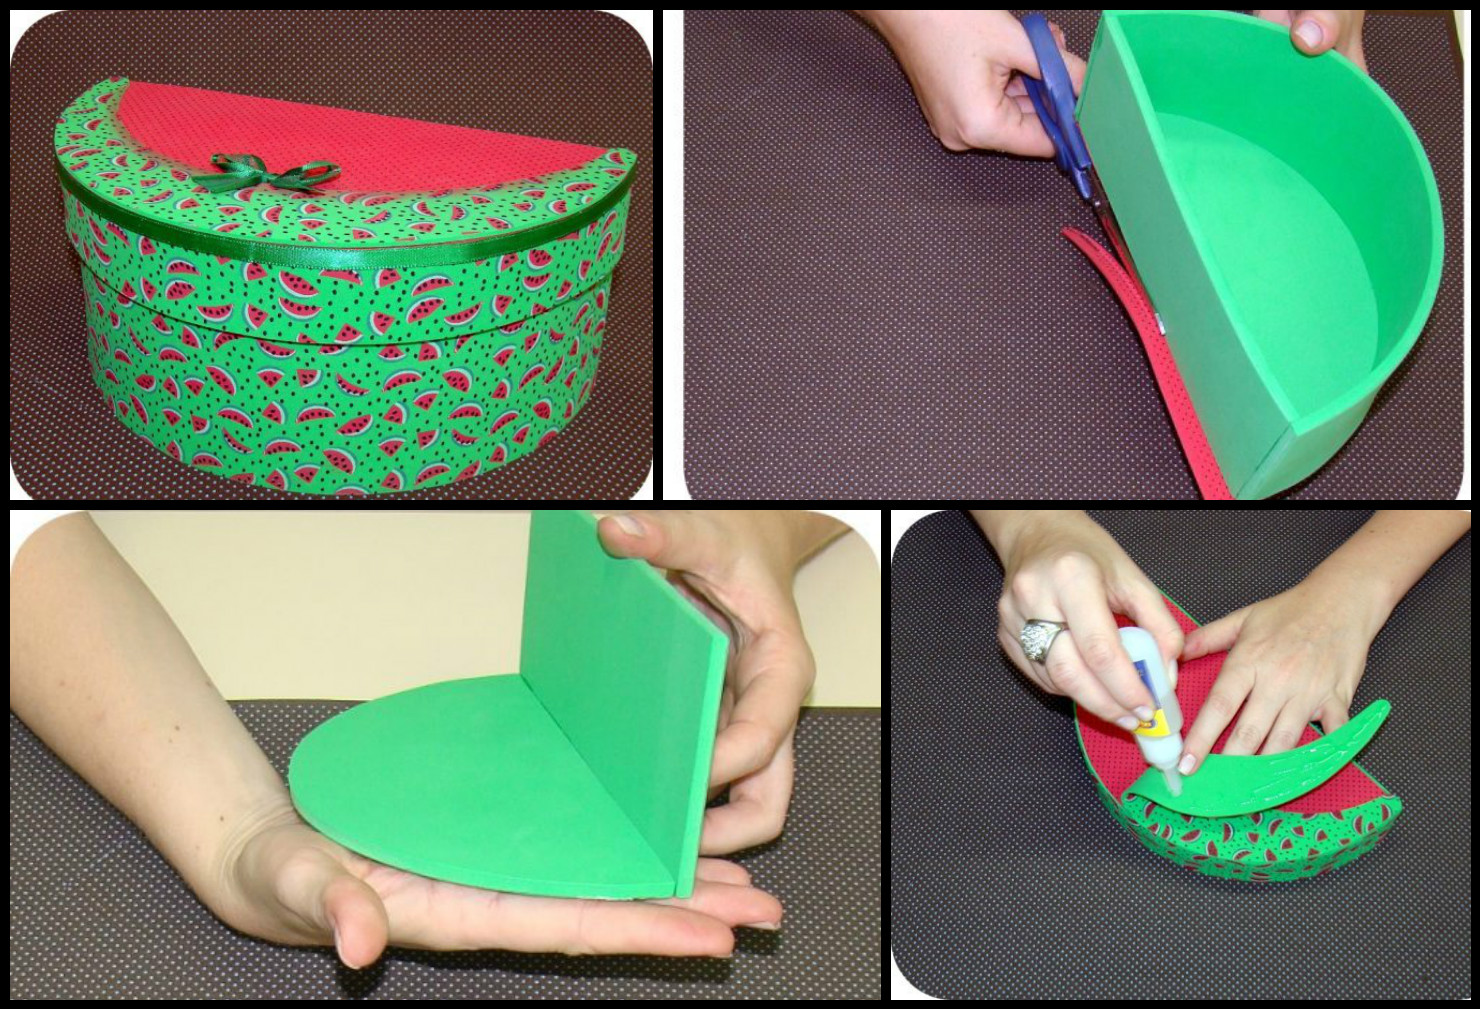
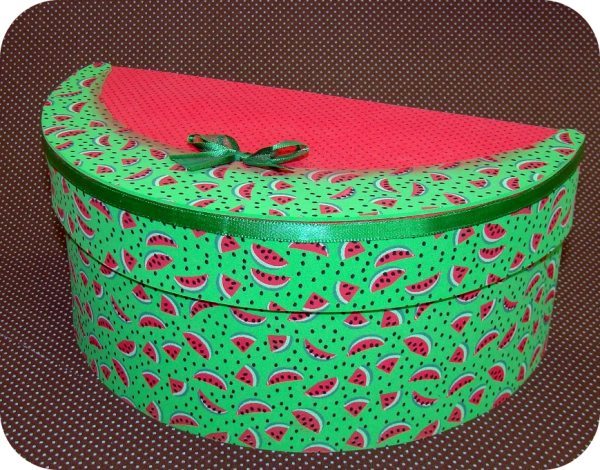
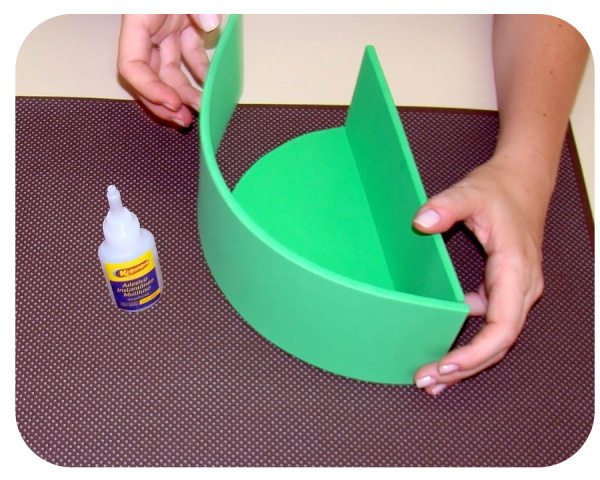
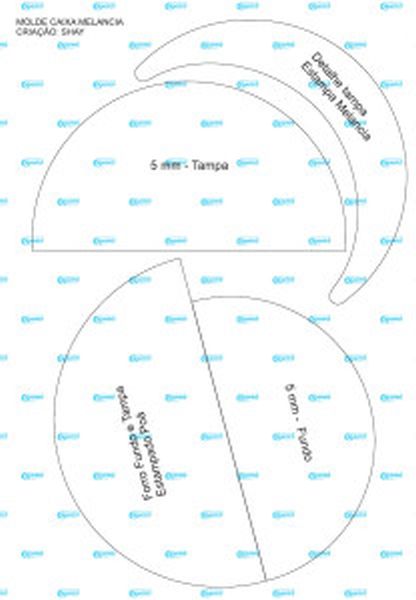 Start by transferring the mold parts to the respective colors of EVAs, with the help of stick BBQ. Then, with the mold parts already cut, join portions of the bottom side of the EVA and the case back using the glue you prefer to work with EVA.
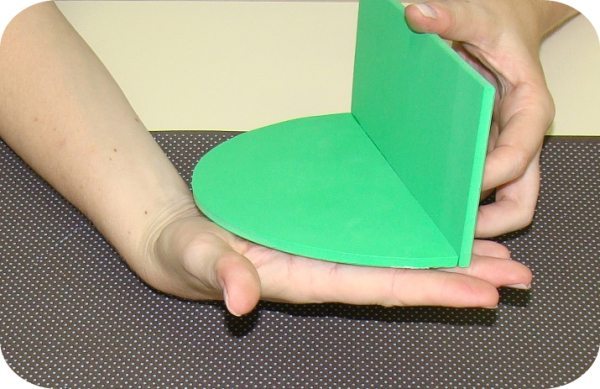 Then apply glue around the edges, uniting the parts already assembled, forming the structure of the box.
 Soon after, paste the structure of the box on the EVA with the balls, but with an upward pattern and cut out the excess.
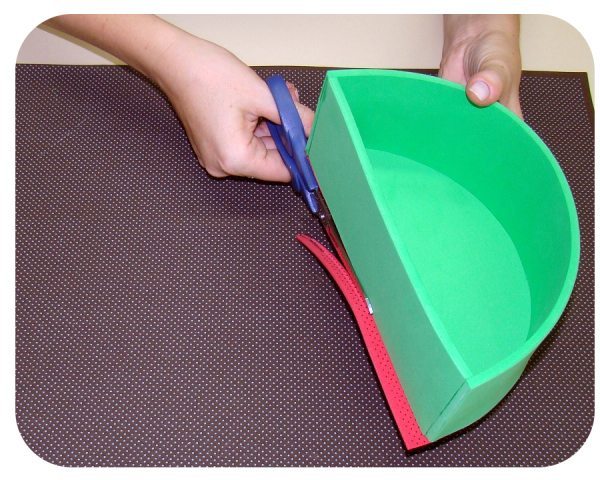 Now start gluing the side finishes in watermelon EVA from the center side of the background. Cole involving the entire side of the structure, and if there are leftovers, cut, making the finish. Glue the cover piece on the poá, leaving the dots to face down and cut out the excess.
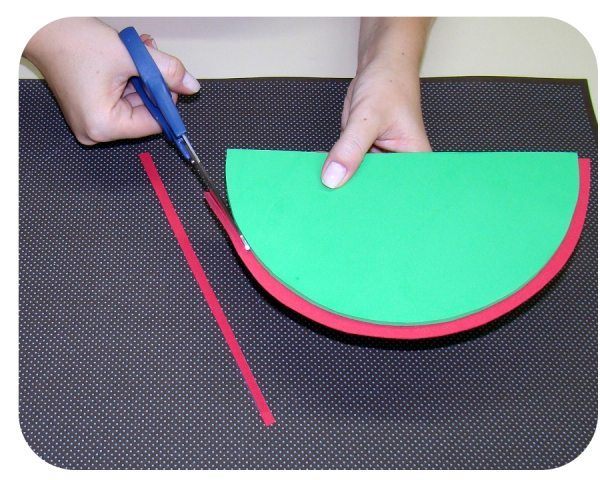 Then paste watermelon strip around the lid, as you did in earlier body structure. Press the strip in the corners, so it does not drop.
 Soon after, paste the watermelon detail on the cover
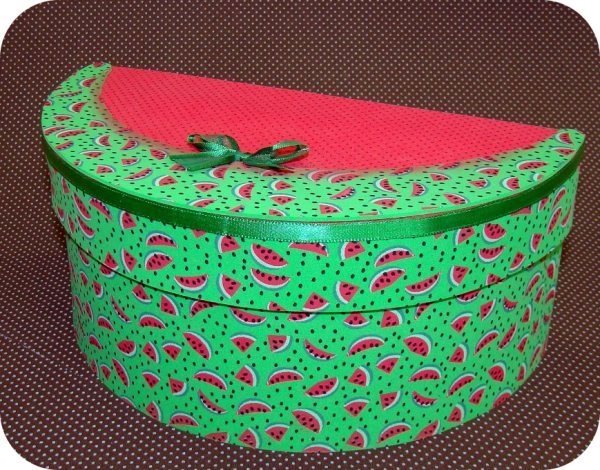
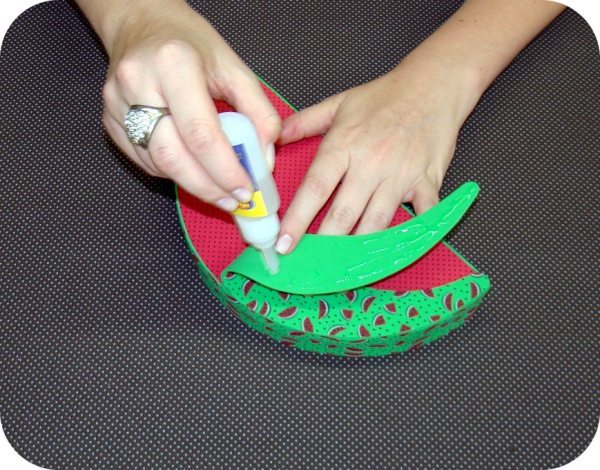 Now, to finish your piece, decorate the cover with a tie and finish around the cover seam with green satin ribbon. And you are done!