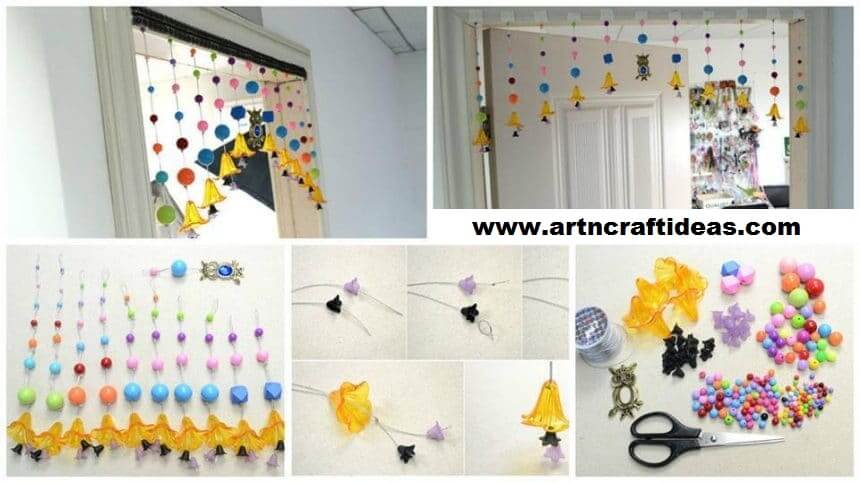
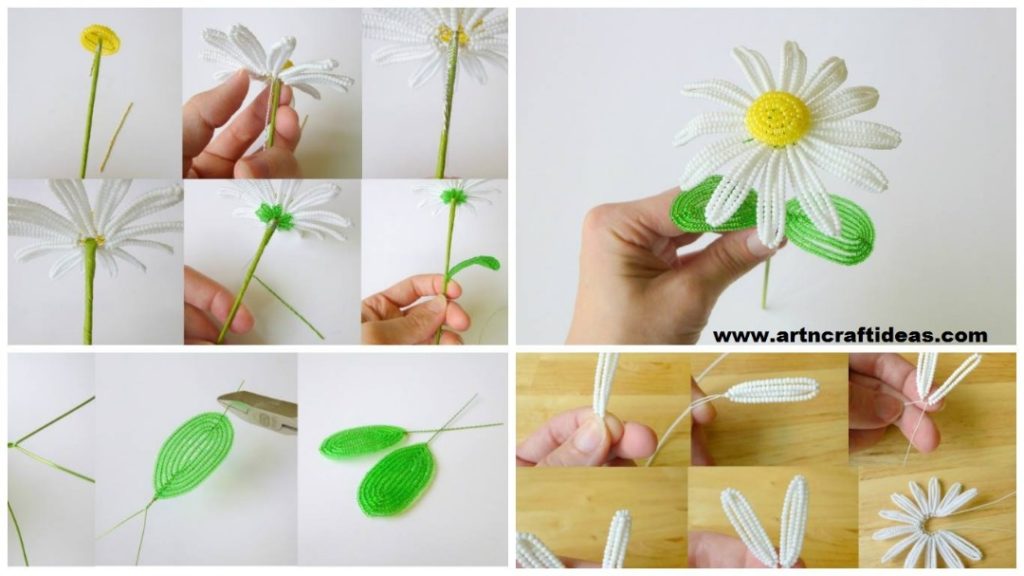
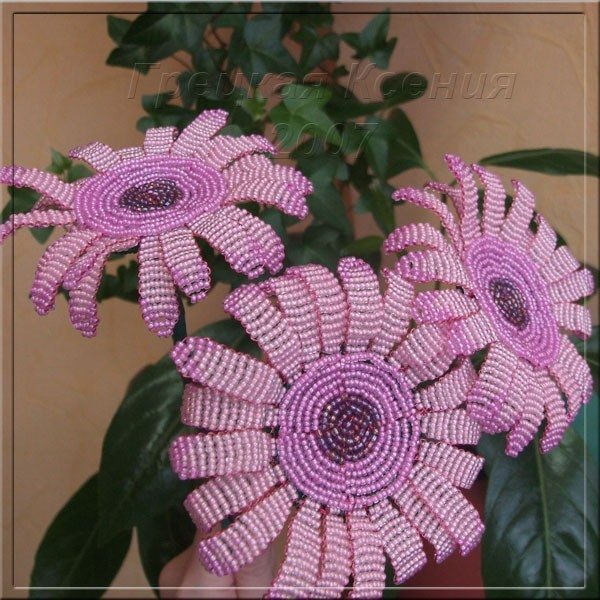
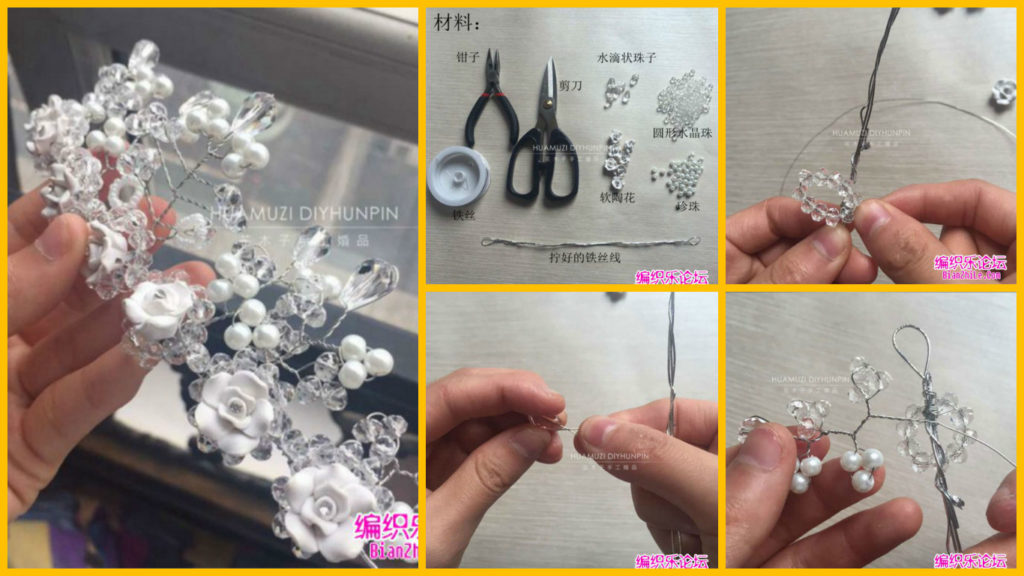
Posted onFebruary 6, 2017February 6, 2017inDIY, Jewellery, Step by step, Tutorial DIY: Beautiful beaded ornaments
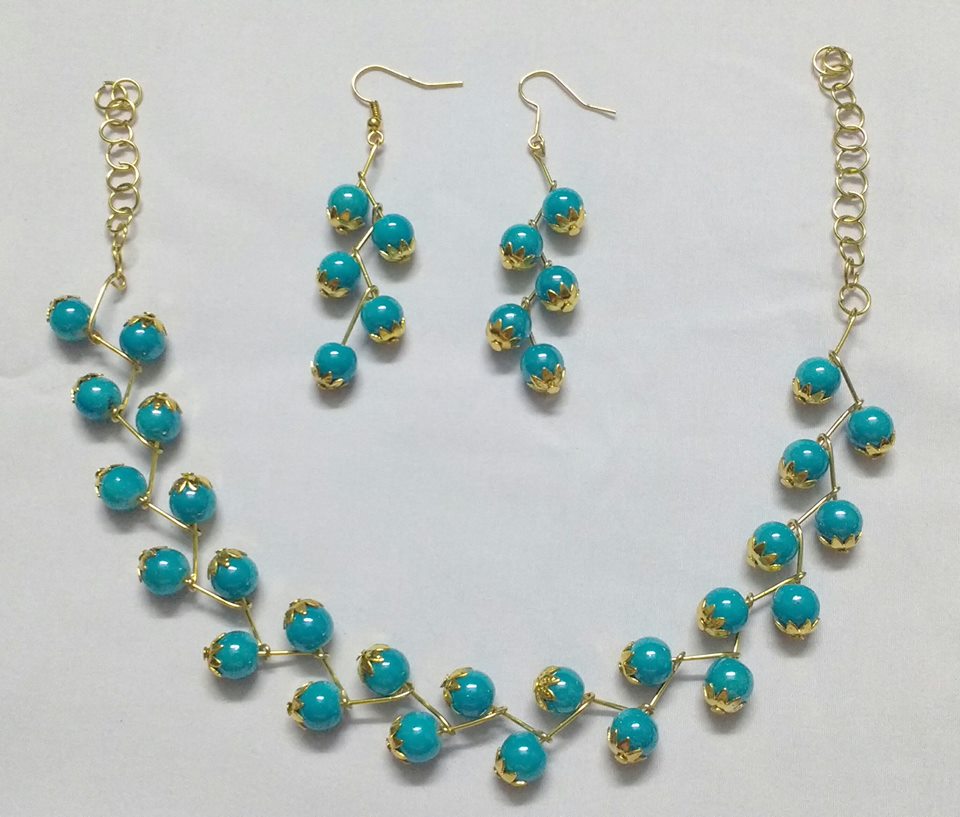
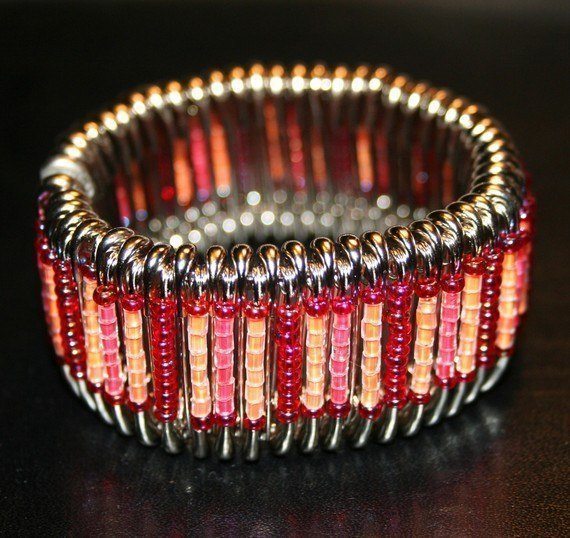
Posted onJanuary 7, 2017March 7, 2017inDIY, Jewellery, Tutorial Beautiful Elegant beaded pin bracelets