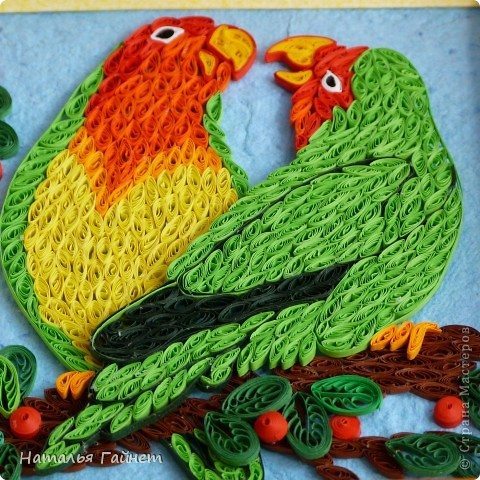
Posted onFebruary 11, 2017inDIY, Quilling, Step by step, Tutorial, Valentine’s Day, Wedding Paper Quilling Beautiful Lovebirds – Happy couple
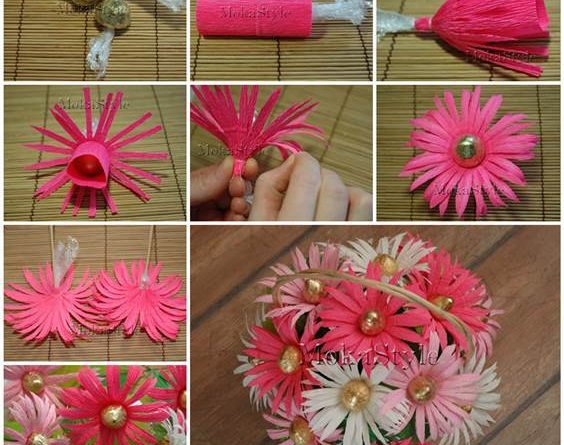
Posted onFebruary 1, 2017inBirthday, Christmas, DIY, Paper Crafts, Step by step, Tutorial, Valentine’s Day, Wedding DIY: Chocolate Gerbera Flower Bouquet
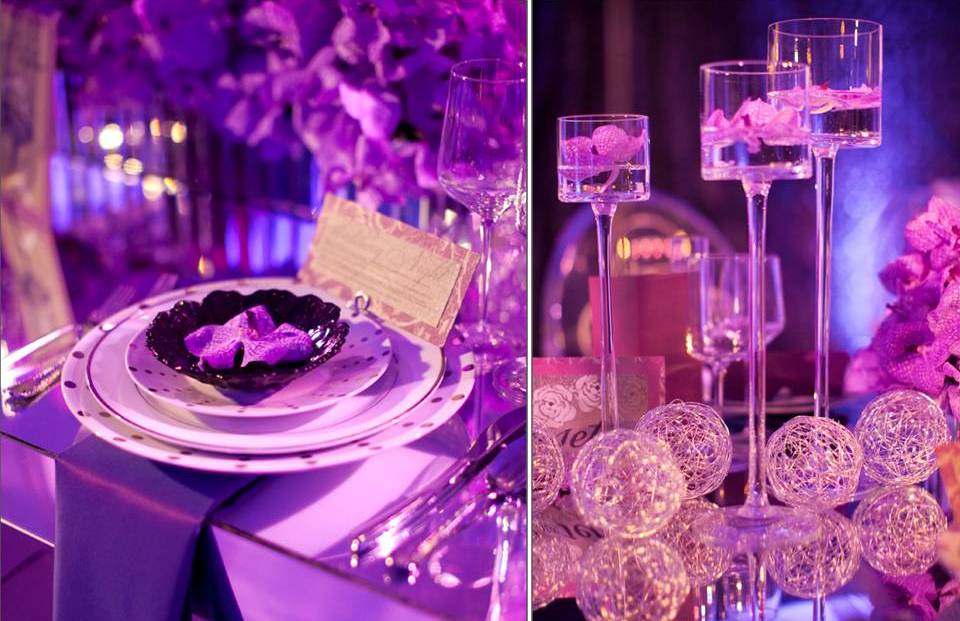
Posted onJanuary 21, 2017inDecorations, DIY, Ideas, Wedding 15 Elagant Wedding Reception Centerpieces Ideas
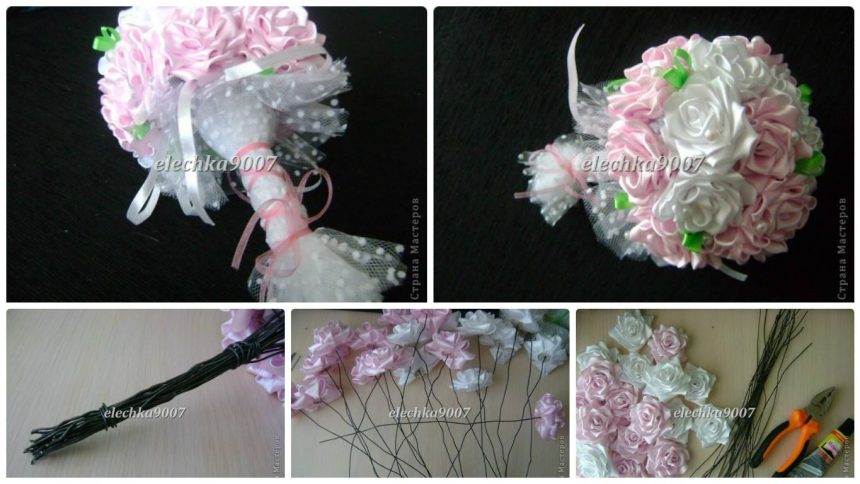
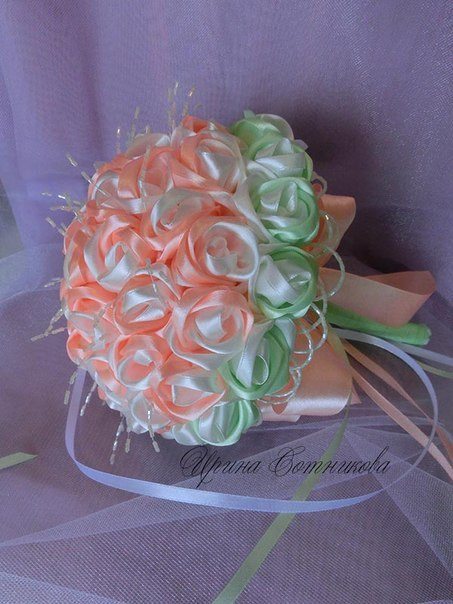
Posted onJanuary 19, 2017inStep by step, Tutorial, Wedding How to make beautiful wedding bouquet of ribbon flowers
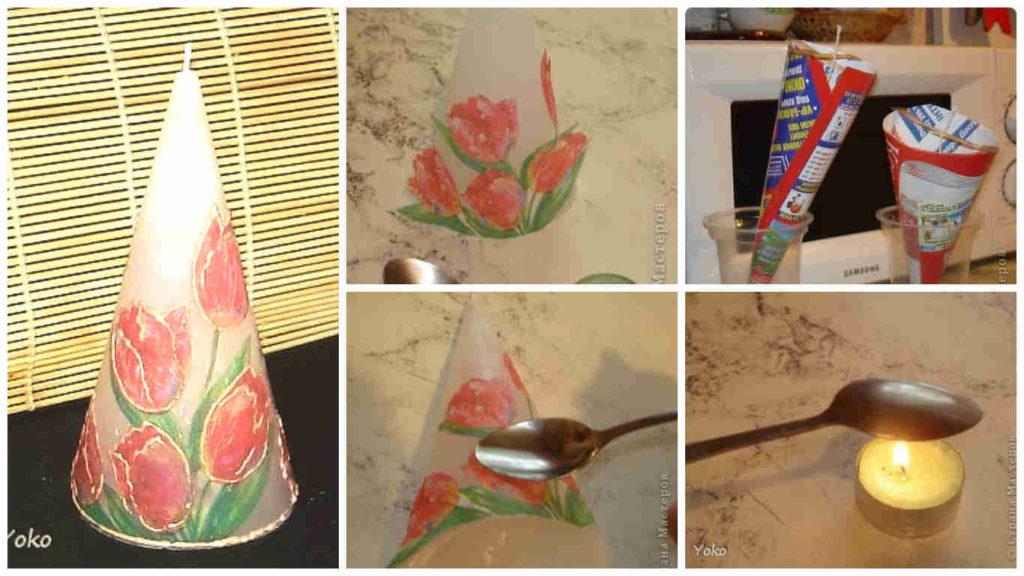
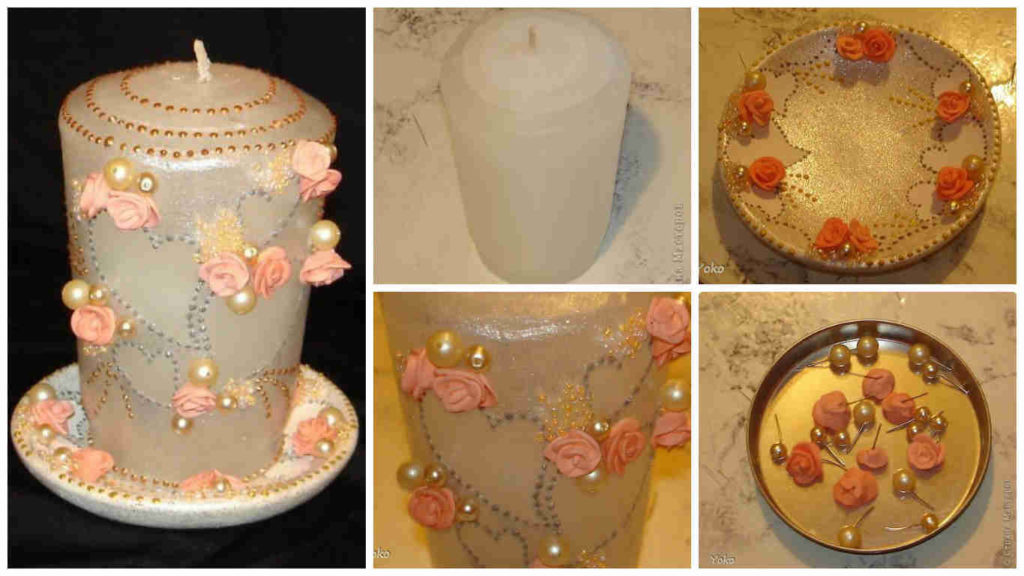
Posted onJanuary 16, 2017inStep by step, Tutorial, Wedding How to make decoupage candle – Step By Step
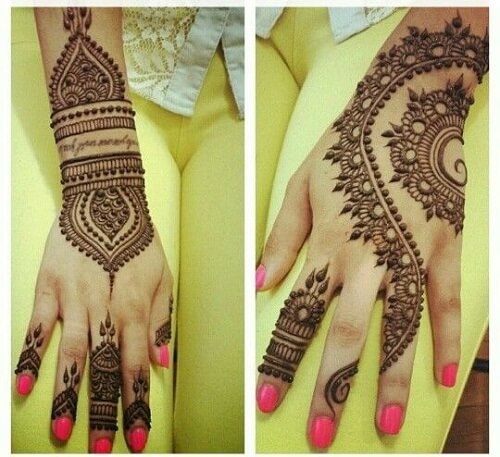
Posted onJanuary 10, 2017inBirthday, Diwali, Ideas, Mehndi, Wedding 10+ Simple Arabic Mehndi Designs [2017]
Posted onJanuary 9, 2017inDIY, Flower Crafts, Step by step, Tutorial, Wedding DIY Bouquet of satin ribbon