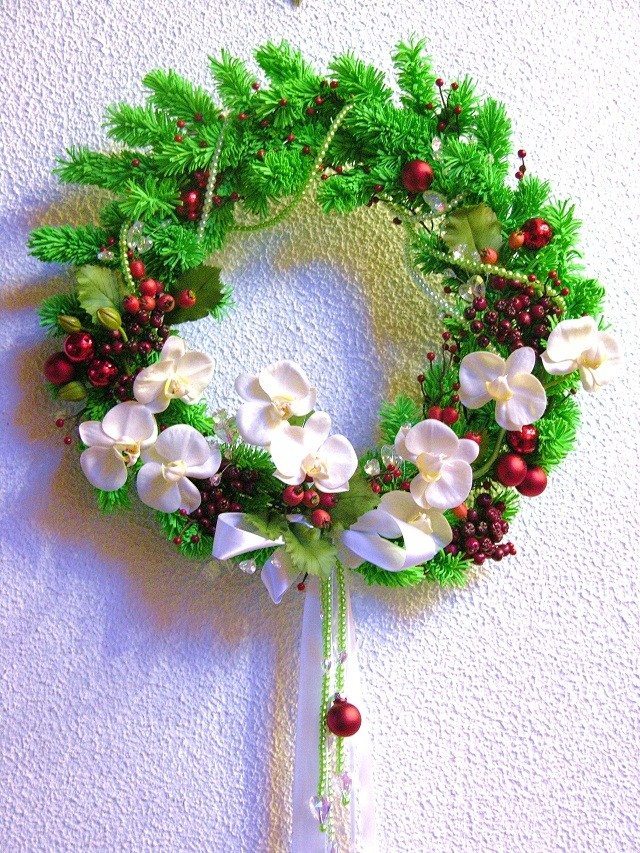

Ceramic floristry Christmas wreaths

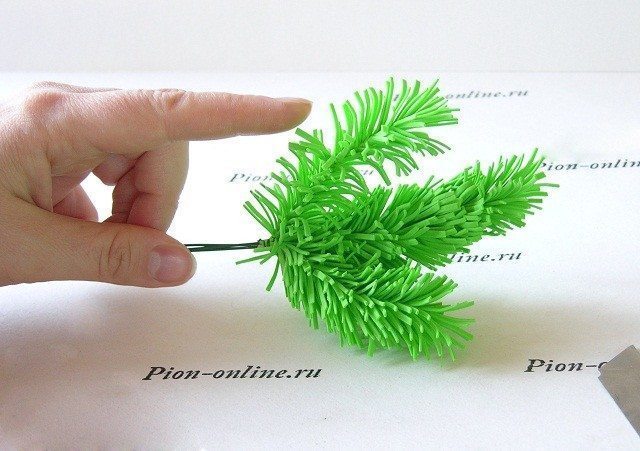
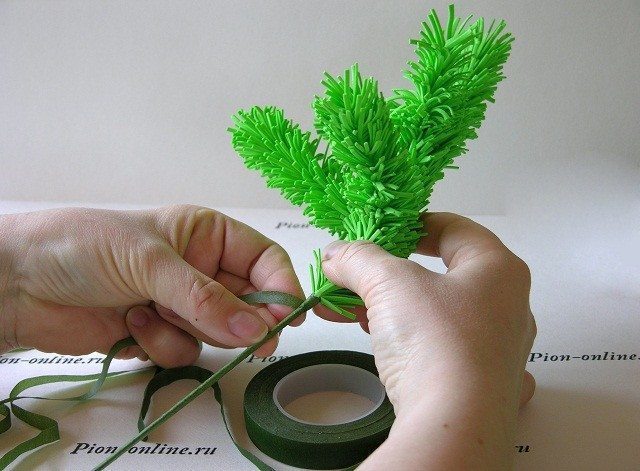
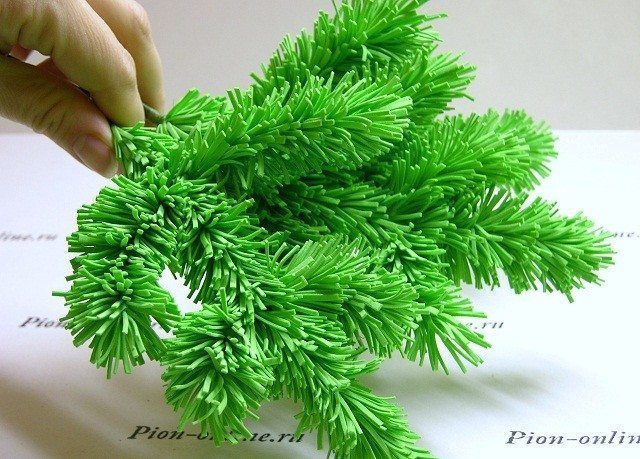
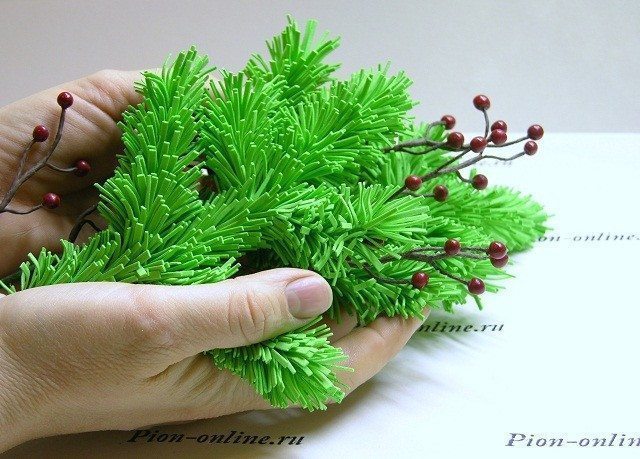
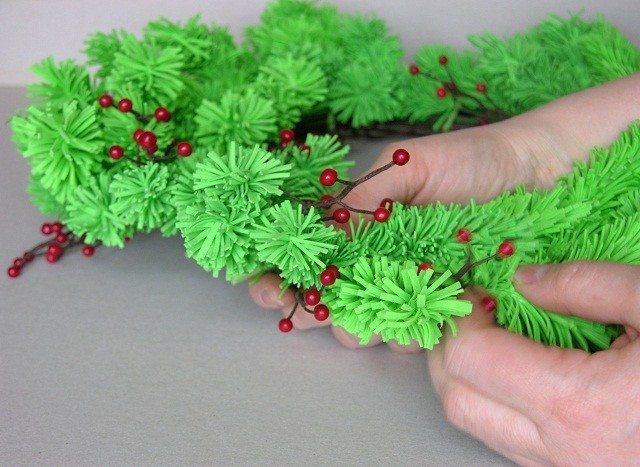
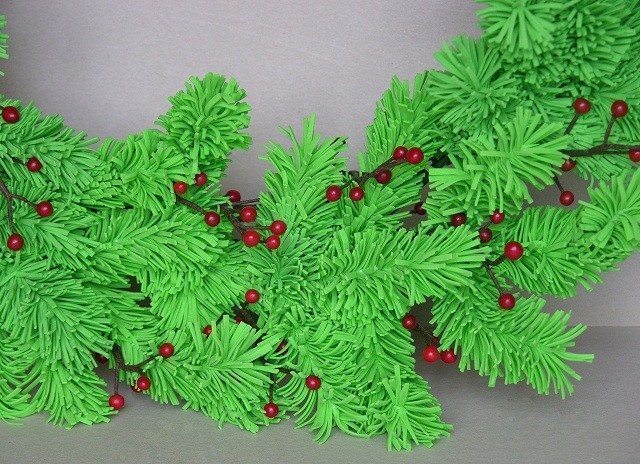
To make the wreath base, we need spruce branches. Manufacture them from foamirana. On his regime into strips 2 cm wide.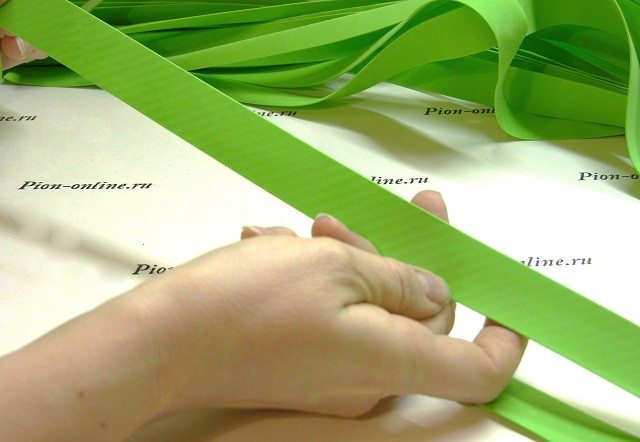
Conveniently and quickly cut foamiran folded into several layers.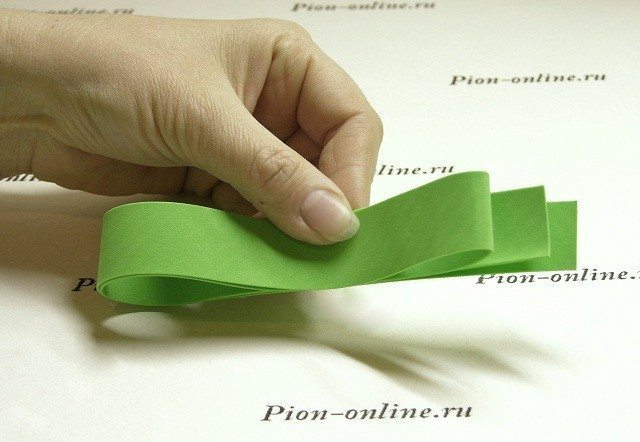
to edge 3-5mm, create fringe.
Our branch is unusually soft and fluffy.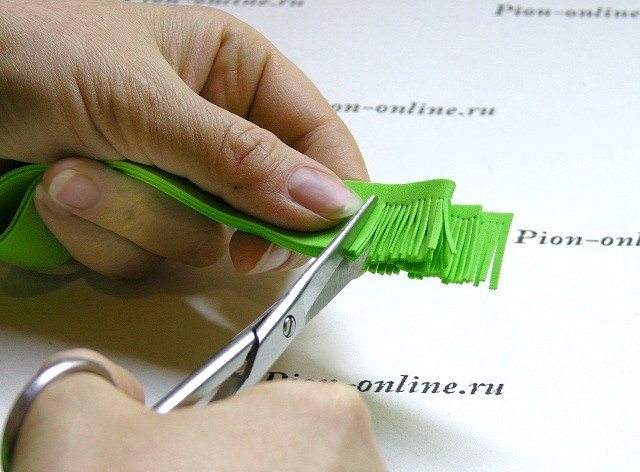
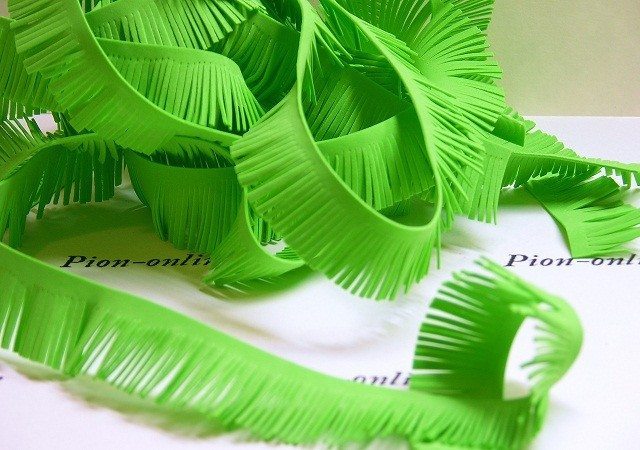
For the base branch is better to take a thicker wire. To it easier to glue the blank.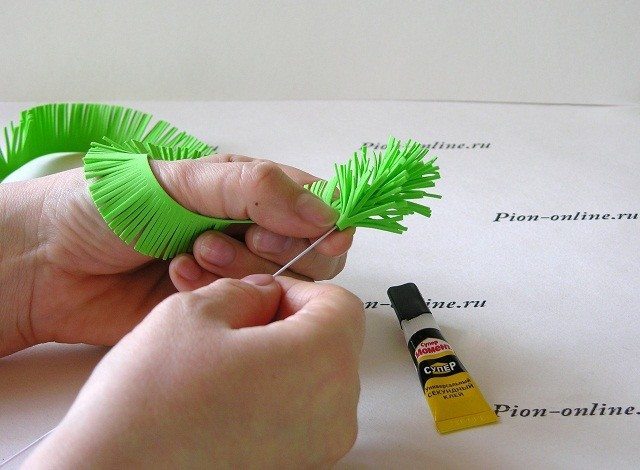
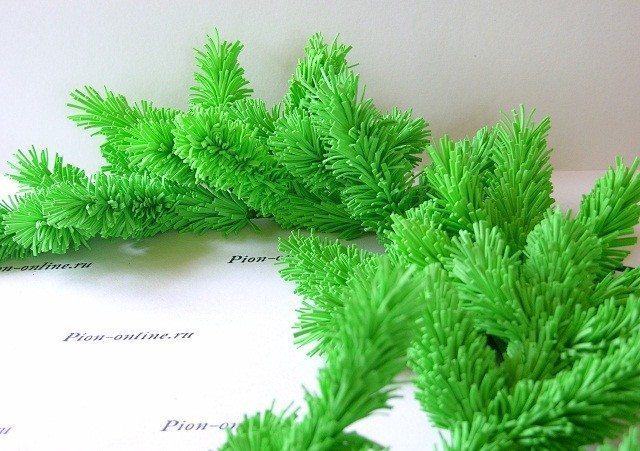
Wreath our Christmas .Poetomu quite appropriate to use in its decoration decorative vetochki.Oni very simple in design, but very refresh our greens. Working with polymer clay Pion-online. This may come up and the remains unused clay and even has her okrashennoy.Nechego sohnut.Vsё goes to work!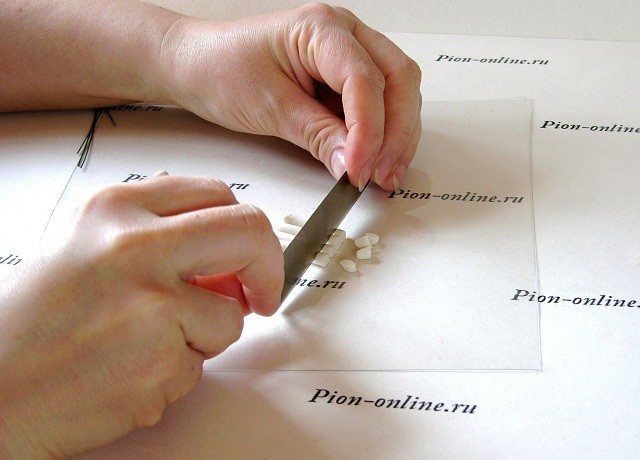
Cut pieces conveniently stored under glass, or any other similar items. Because the film has to deploy all the time, and the cup securely protect our polymer clay from drying.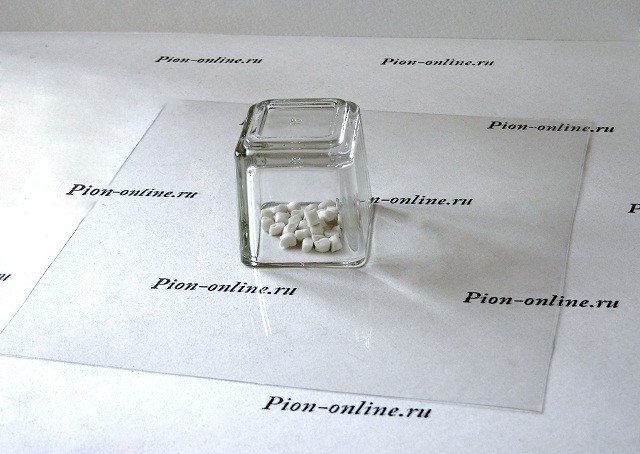 Roll out small shariki.U us 6 mm.
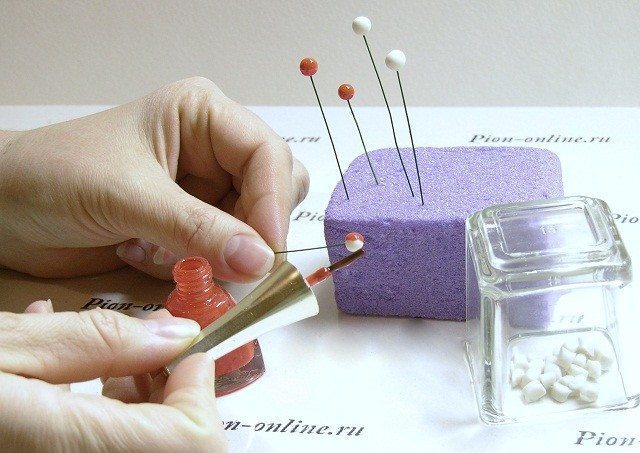
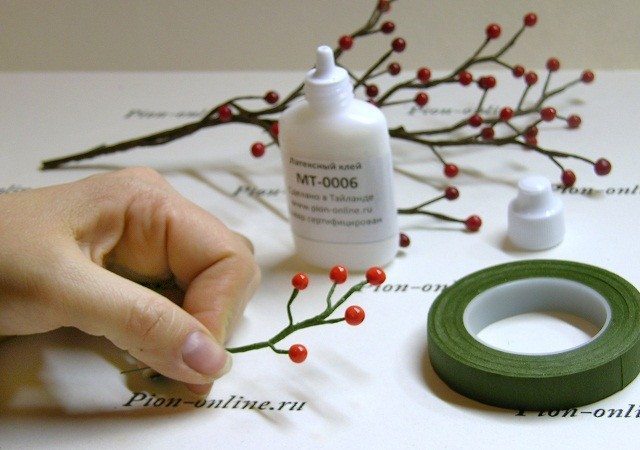
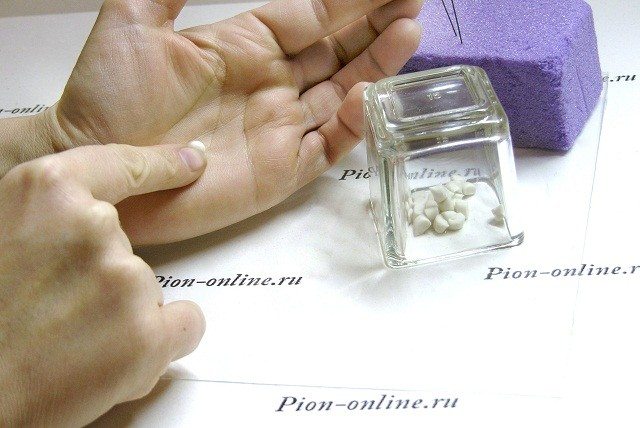 Glue the wire using a latex adhesive and dry.
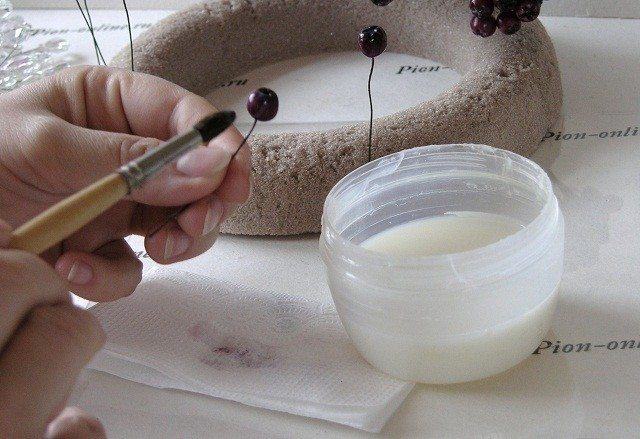
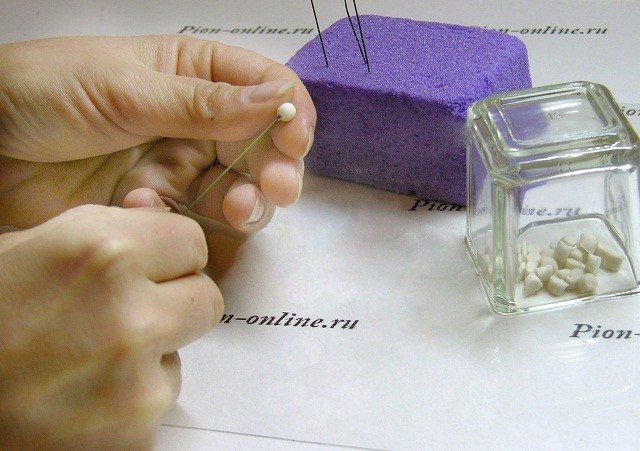 Painted in red color in the usual nail polish. Balls will turn bright and vivid.
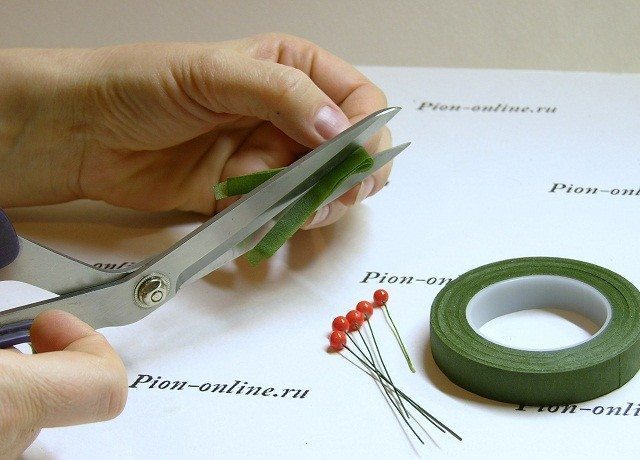
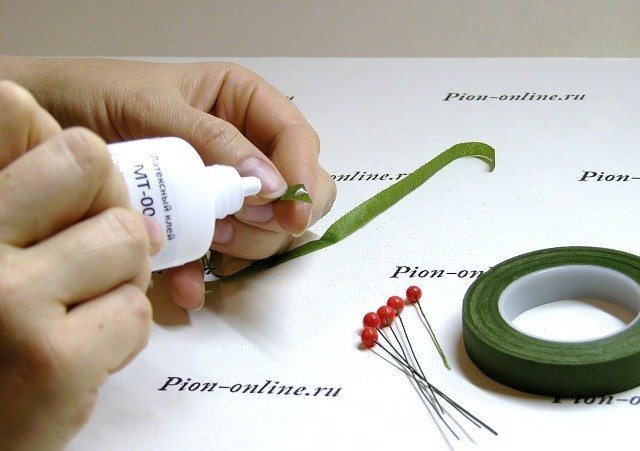
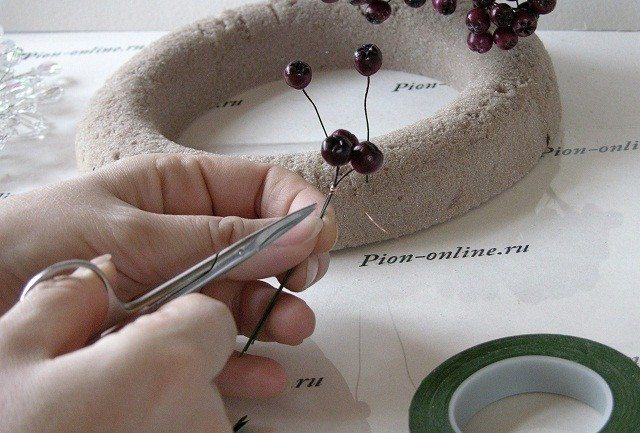
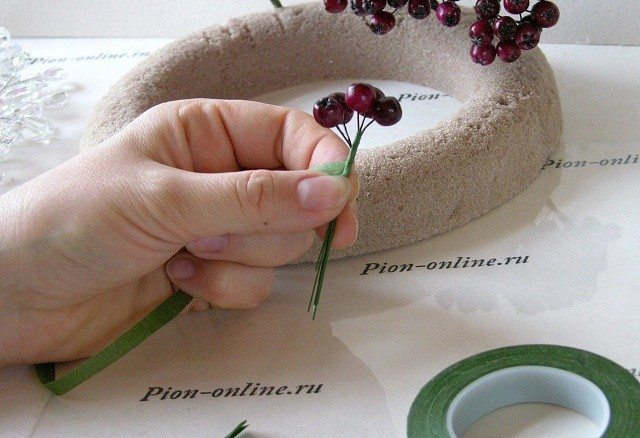
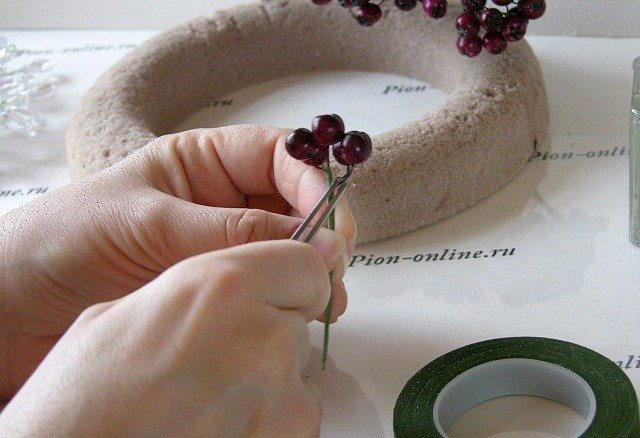
 Cut the tape along the floristic and wrap each stalk berries.
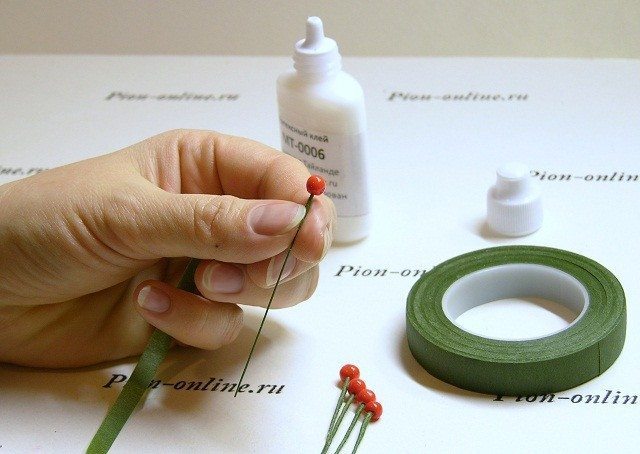 Putting a twig.
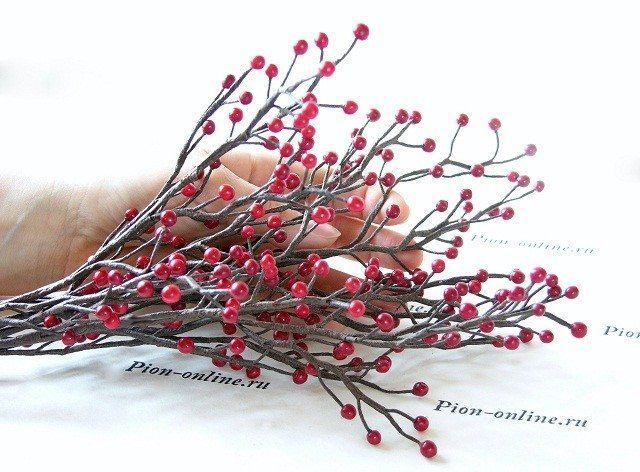 Well! Already looks fun.
 Prepare wires for berries.Na package drip a little acrylic paint and draw the white wire, clasping her hands pastrami….it will stay clean.
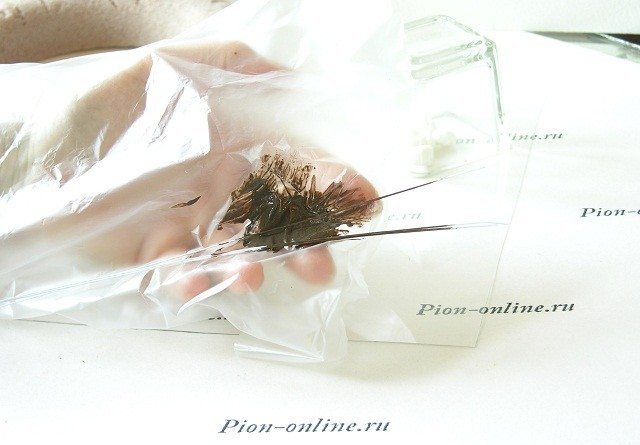
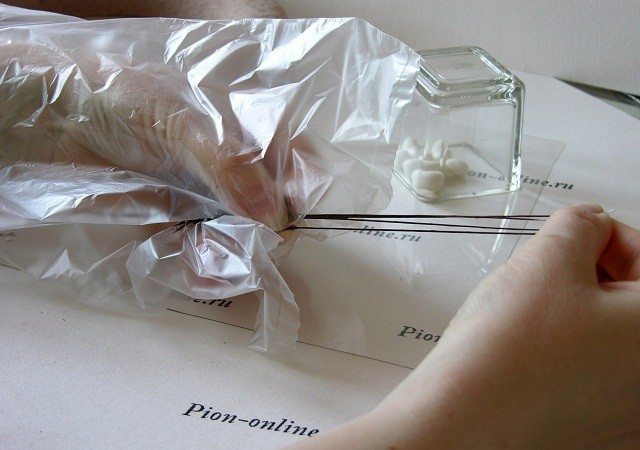 Cut blanks made of polymer clay. Pieces of a glass!
And they ran for. Joke.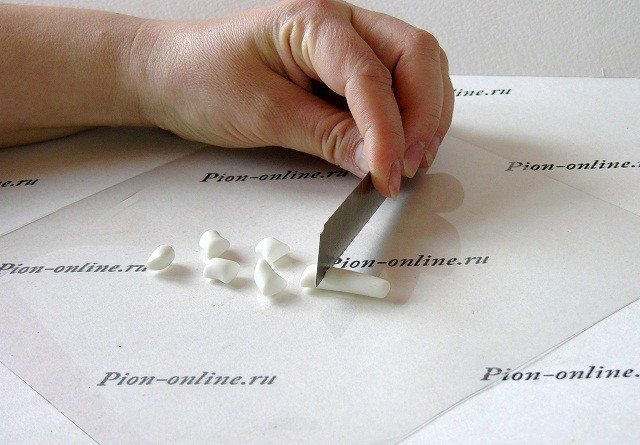
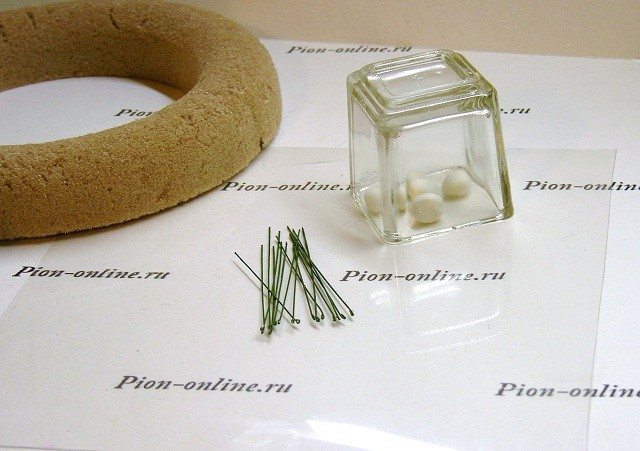 Roll out the ball.
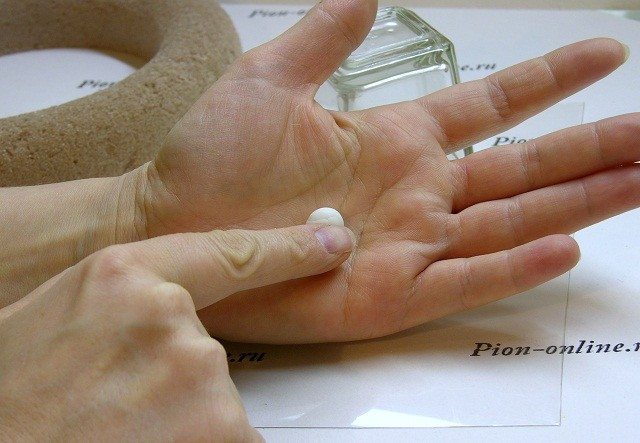 Stack squeezing asterisk and glued to the wire.
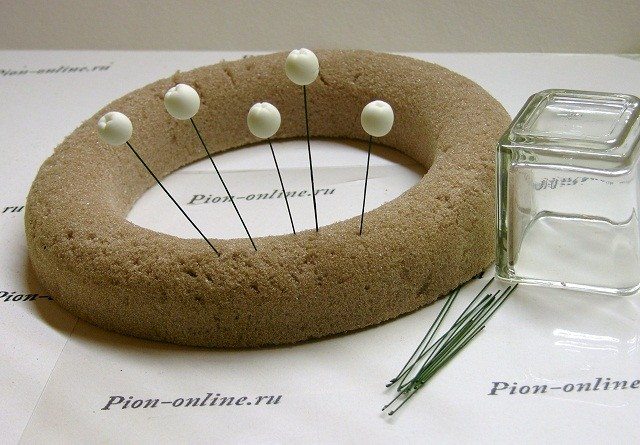
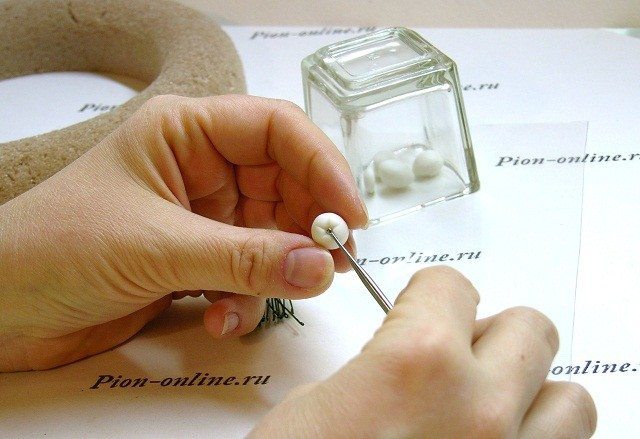 Dry them.
 For staining, we use 2 colours (black and burgundy) .Because we Rowan is not simple, but “Nevezhenskaya” .She is sweet and tart as chokeberry, but with flavour and light bitterness as krasnaya.Na view slightly larger than usual rowan. droplets on the sprocket and feathered maroon acrylic.
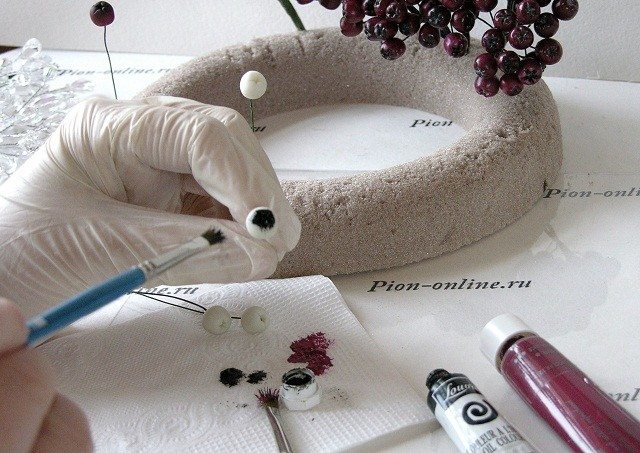
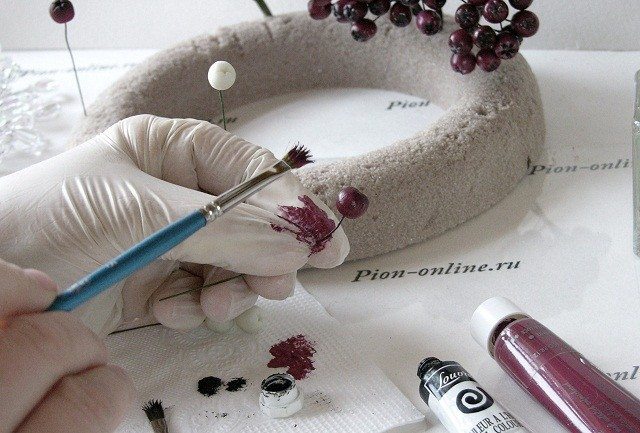 Slightly brushed nail polish and brush to collect.
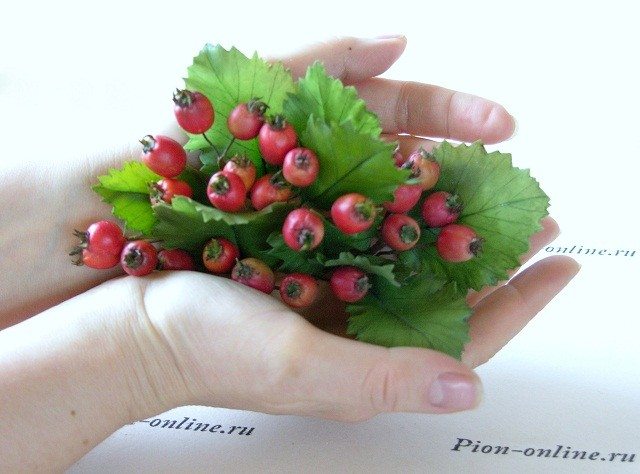
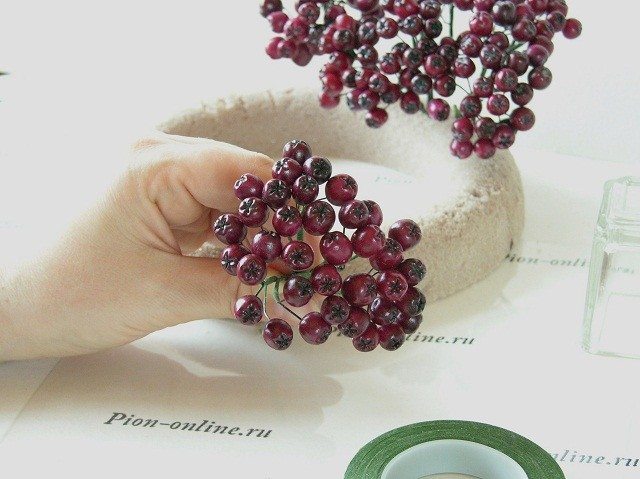 Complicate the work and add to our song hawthorn. Intuitively, he asks.
I want !!! hawthorn
slice polymer clay painted in yellow color.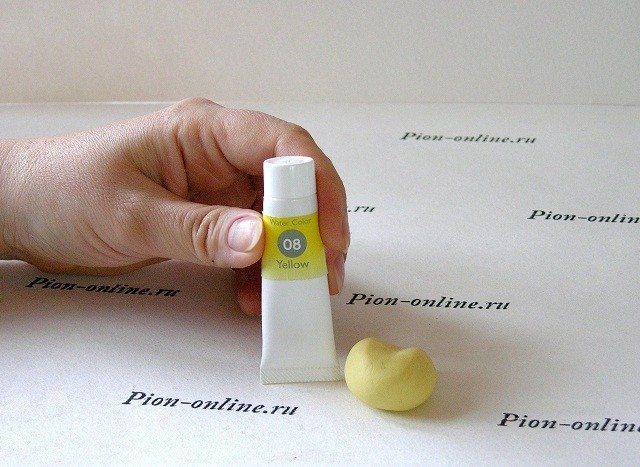
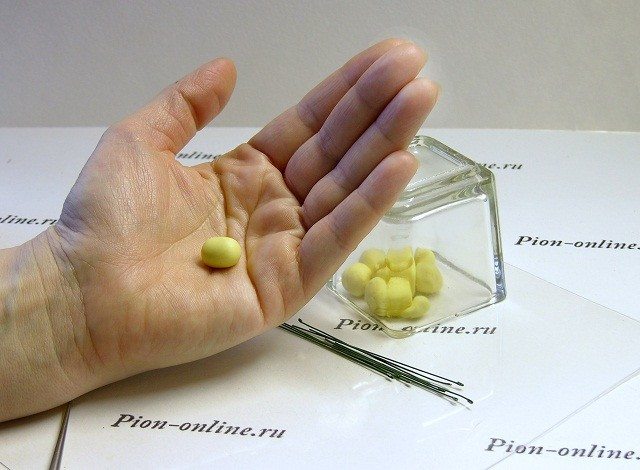
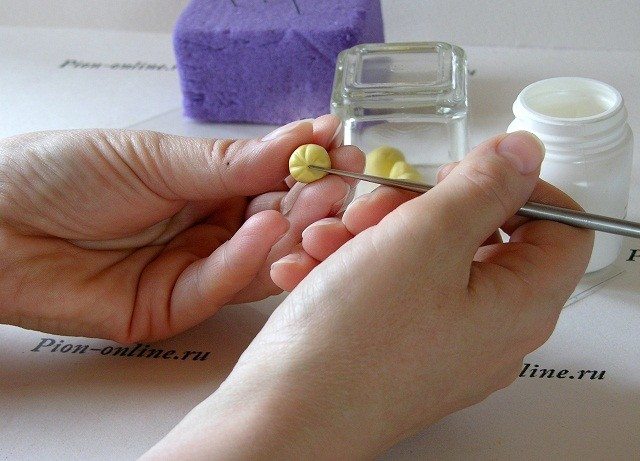
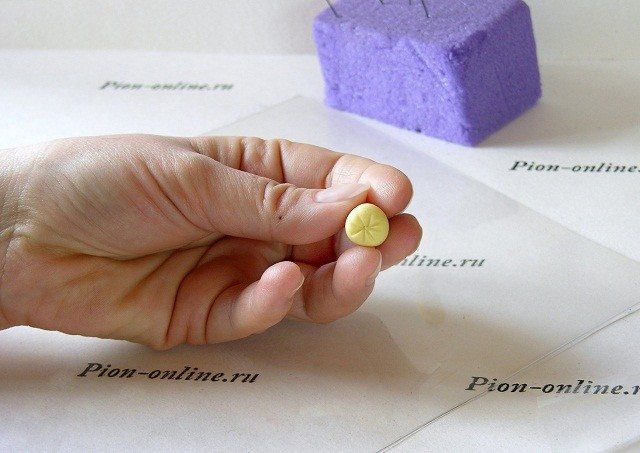
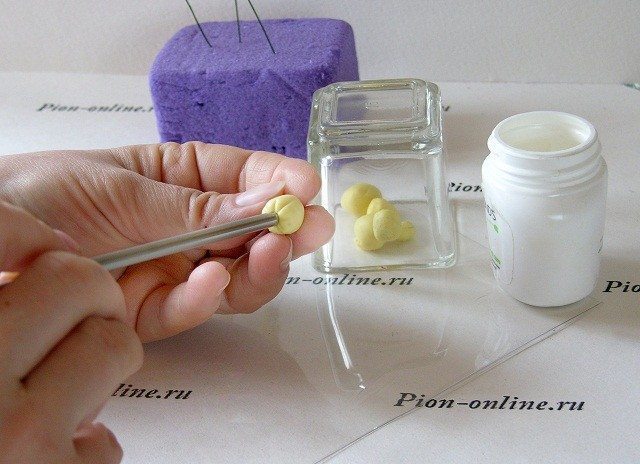
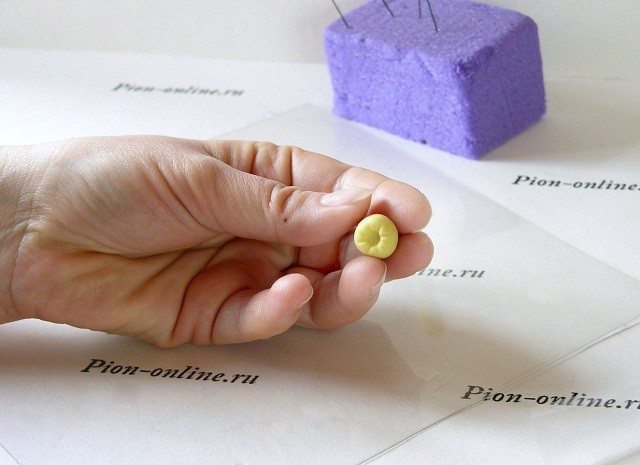
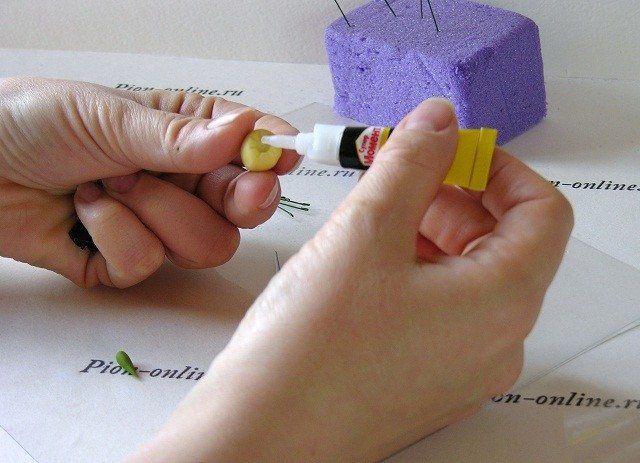
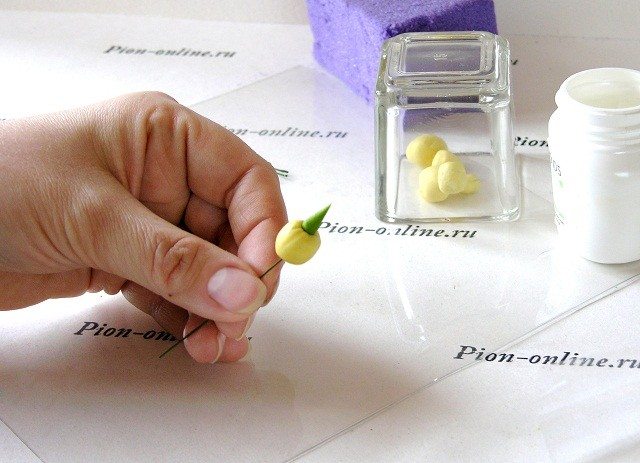
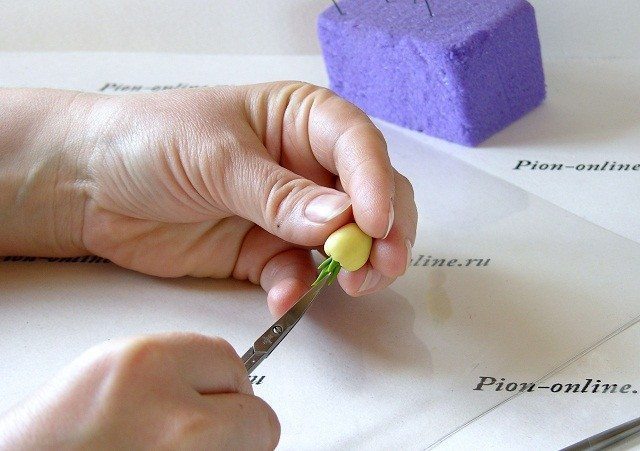
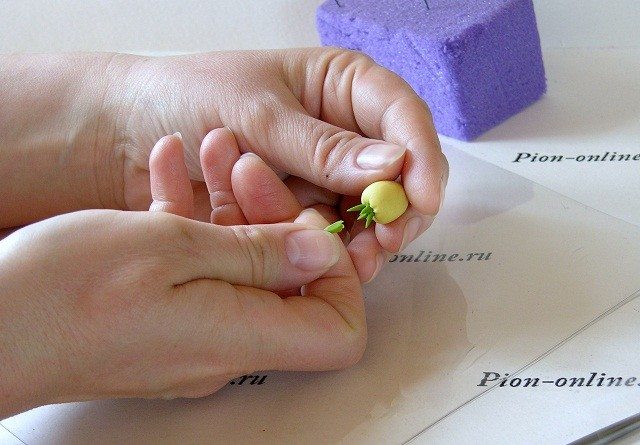
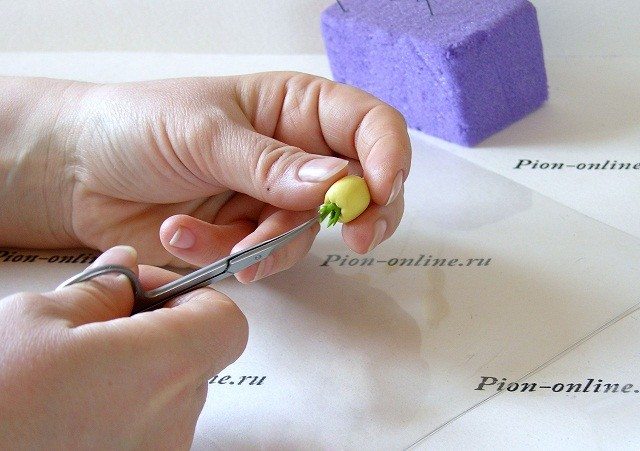
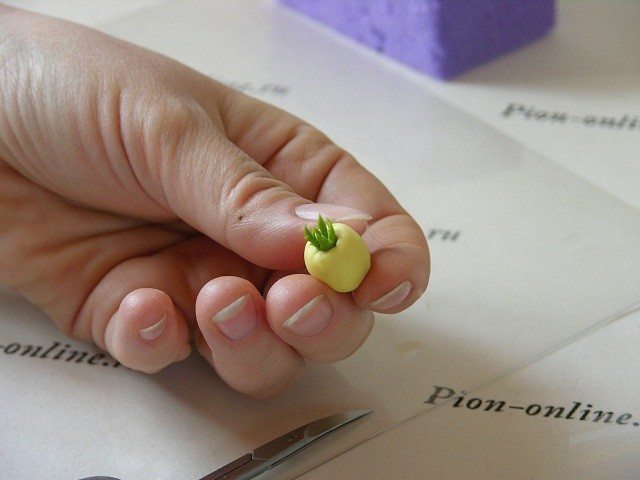
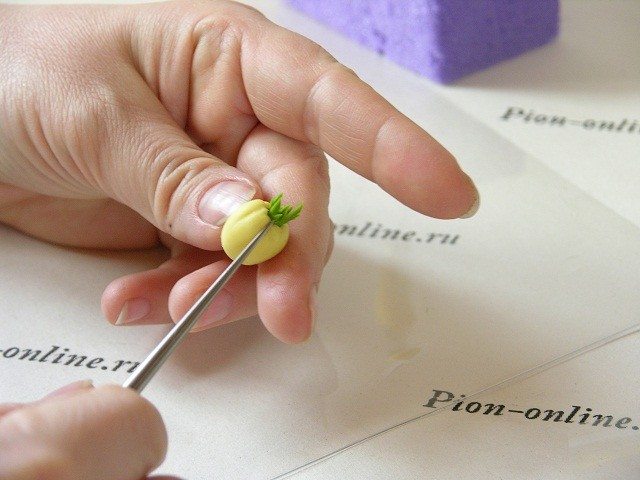
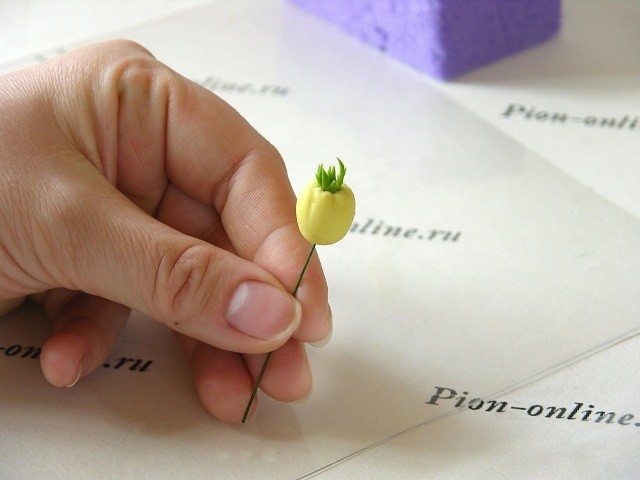 Paint oil paints our billet
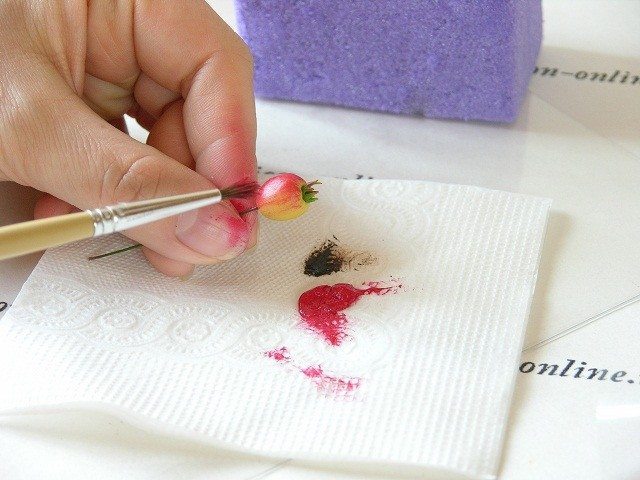
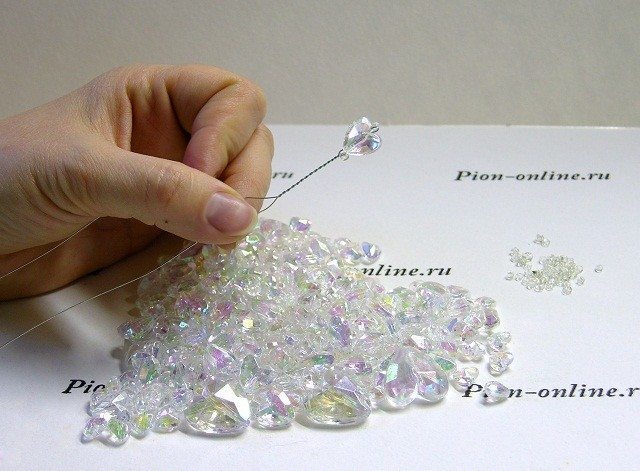
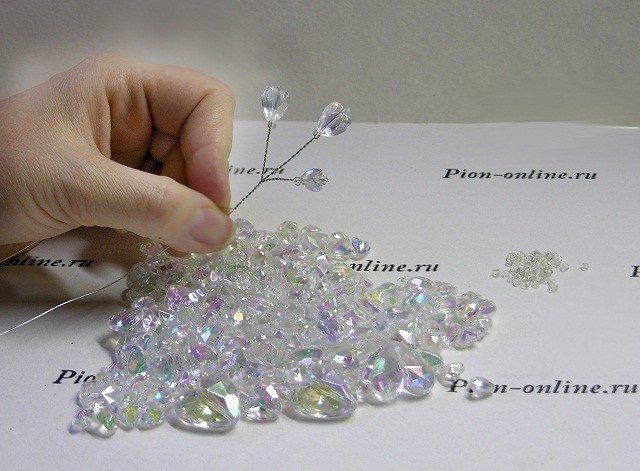
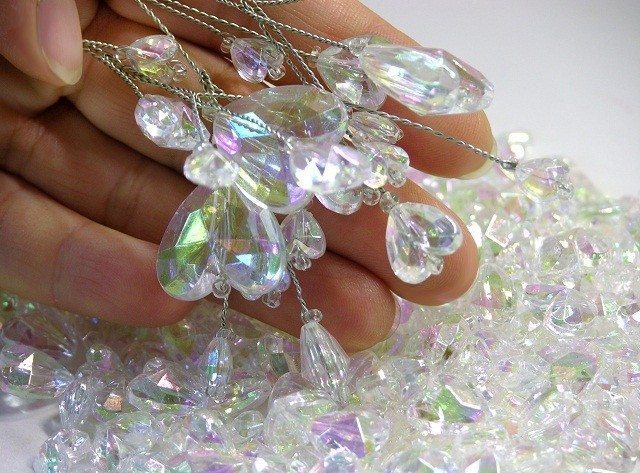 Beads.
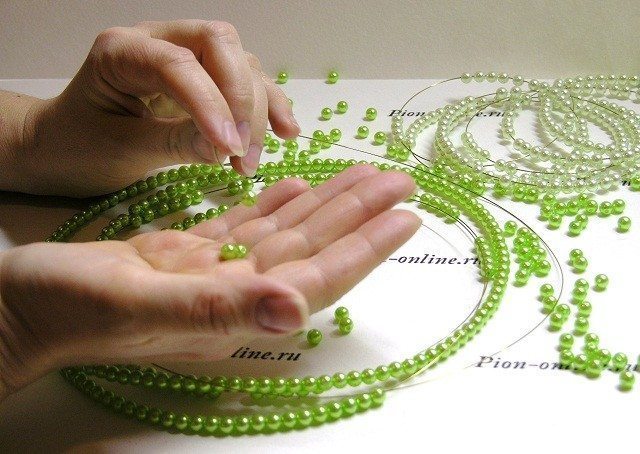 Suspension of beads.
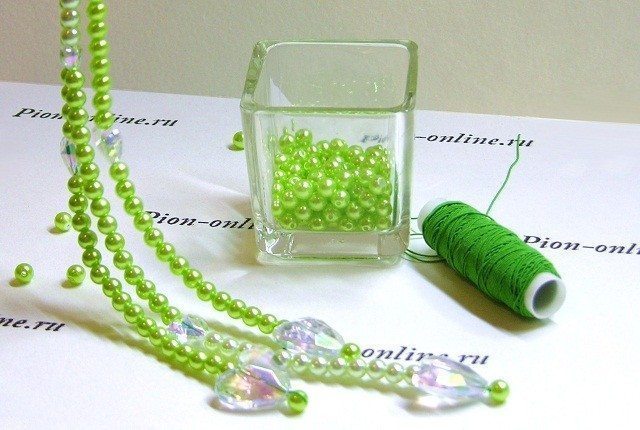 Assembling.
Let us give the branches rounded shape.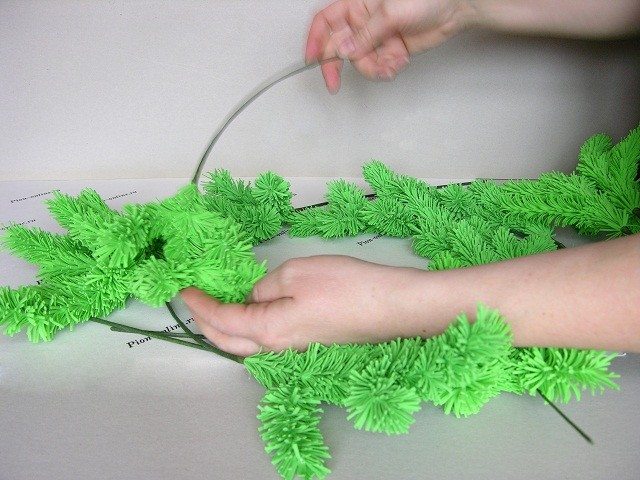 Count up all the branches, put them in venok.Poka simply folded and not too small to see whether our idea li.Sootvetstvuet Christmas wreath.
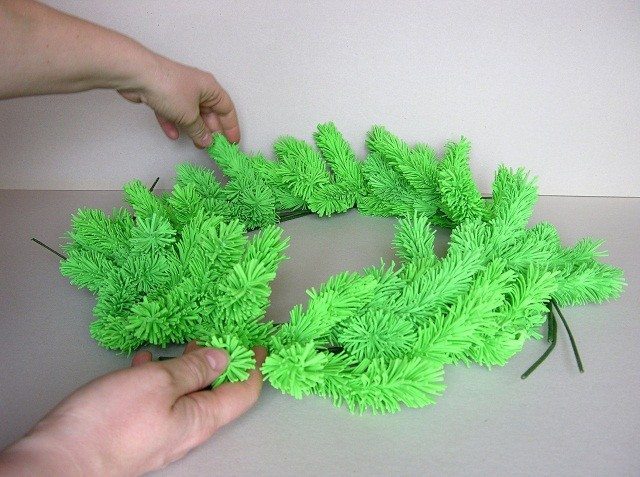 Putting all the pieces of the temporary kreplenie.Eto wire paper obmotke.Oni well keep the whole composition and allowed to insert new elements.
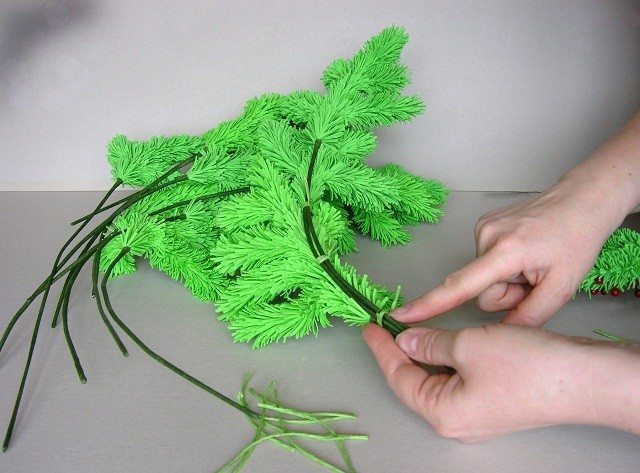
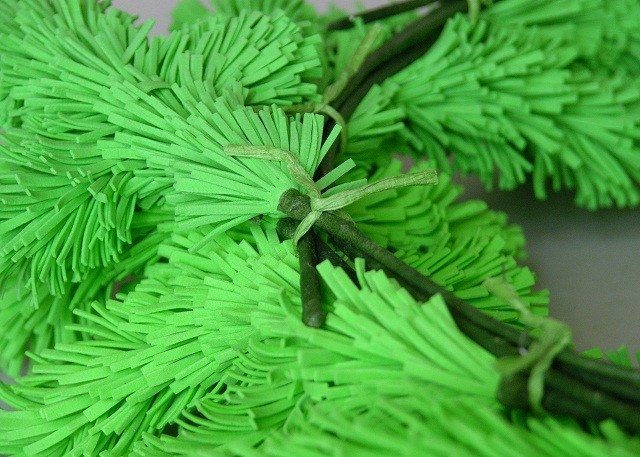
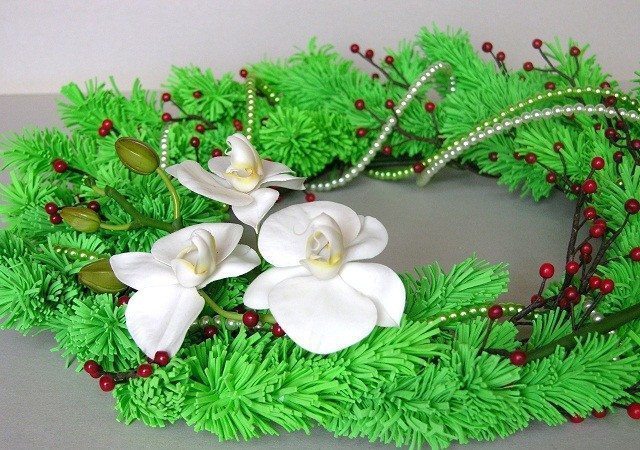
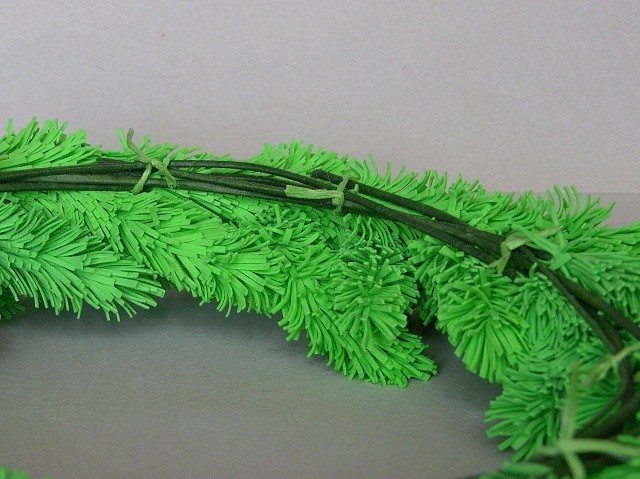 Top of fir branches fasten decorative sprigs. All fasten the same piece of wire.
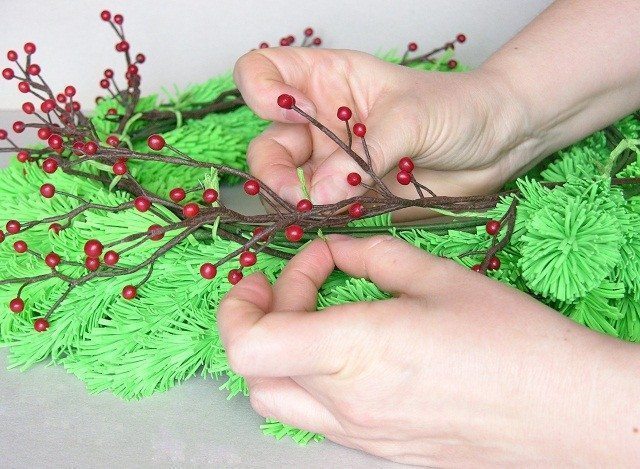 We correct sprigs displays all the beauty on the face side.
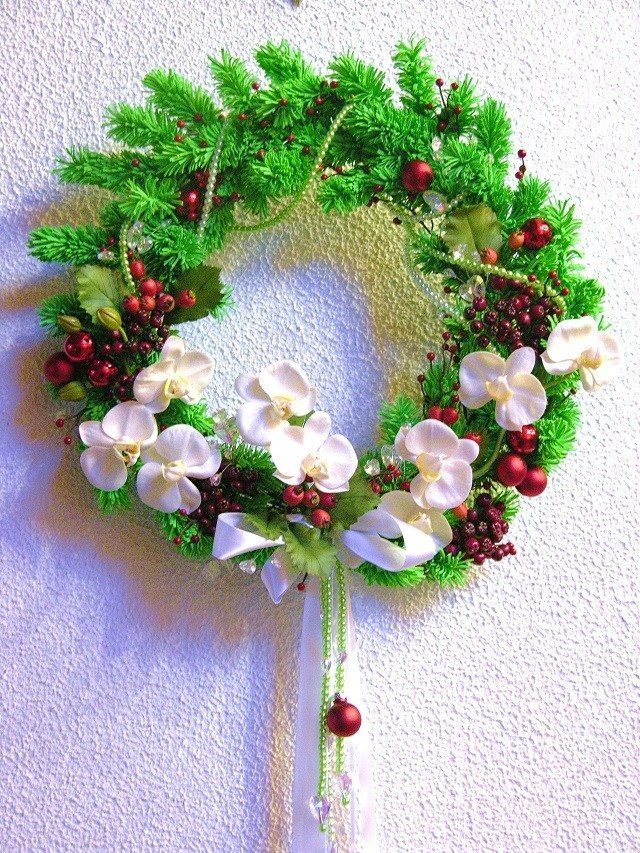
 Here’s what you should have.
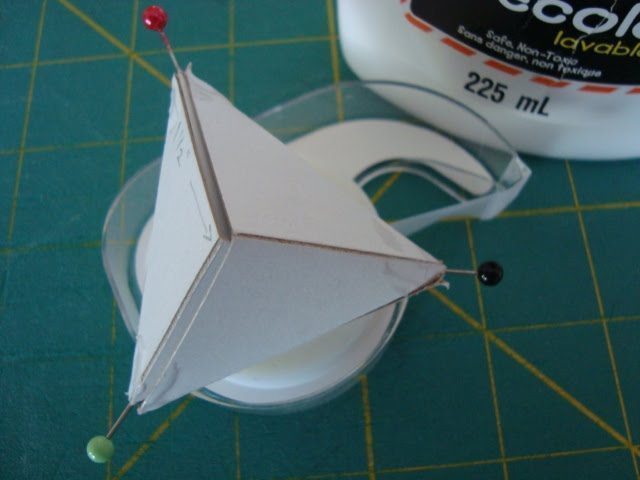
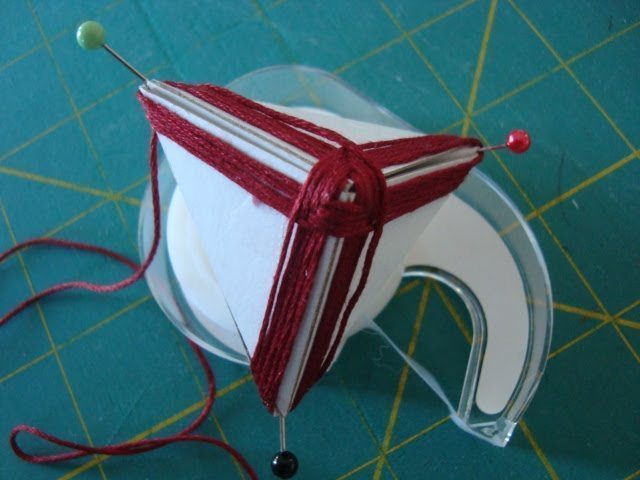
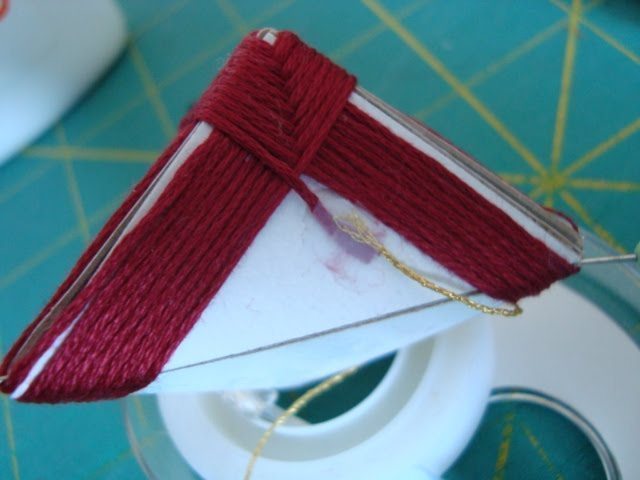
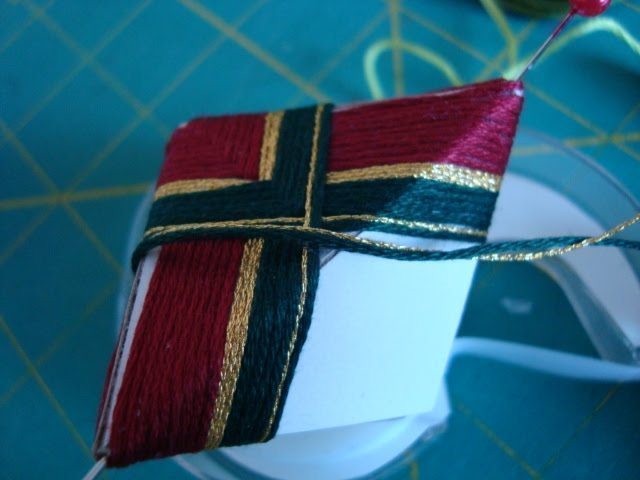
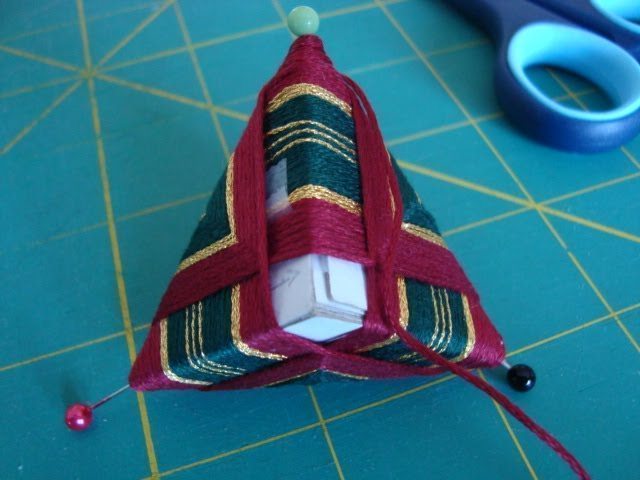
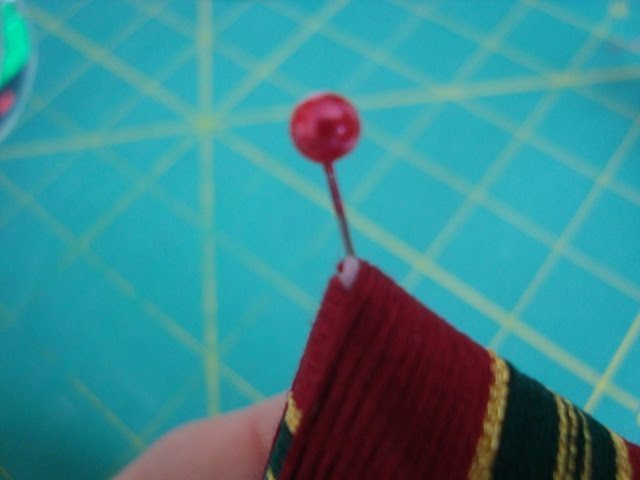
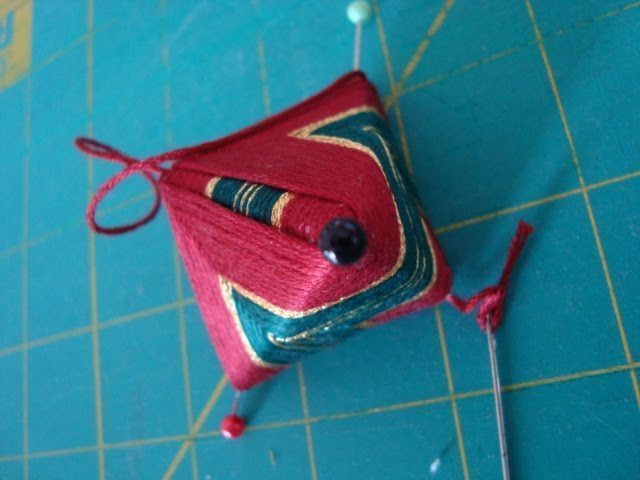
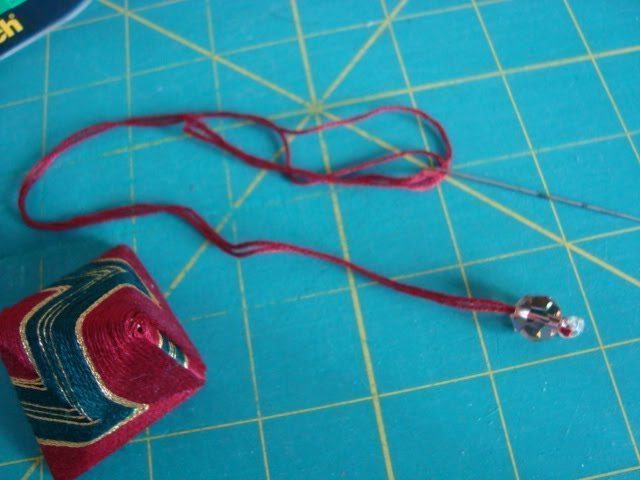
How to make Japanese lantern
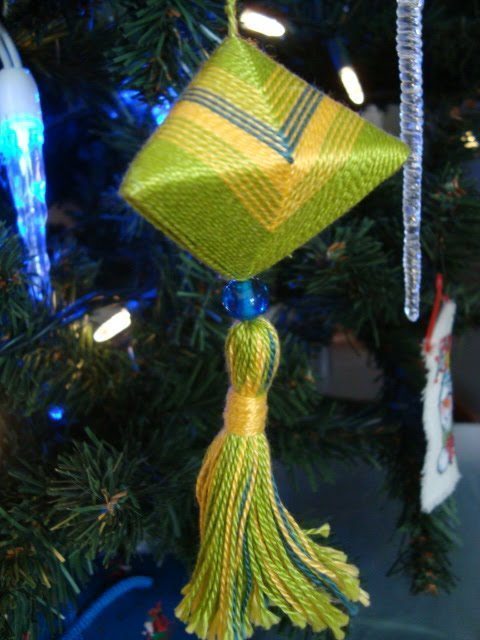
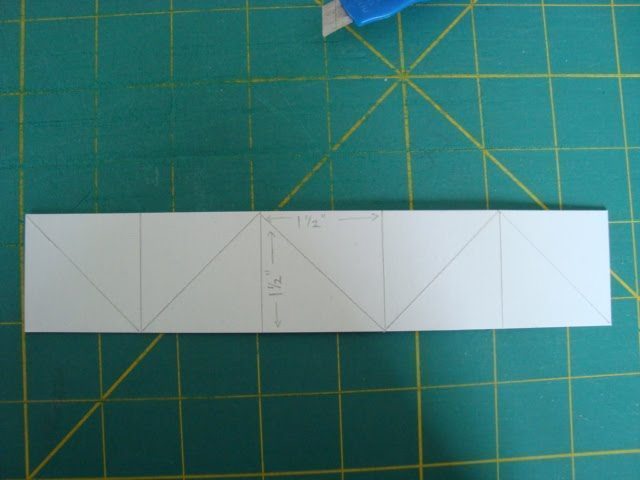
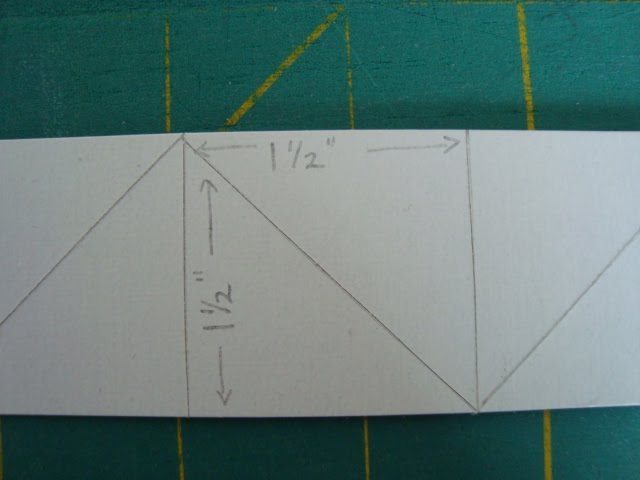
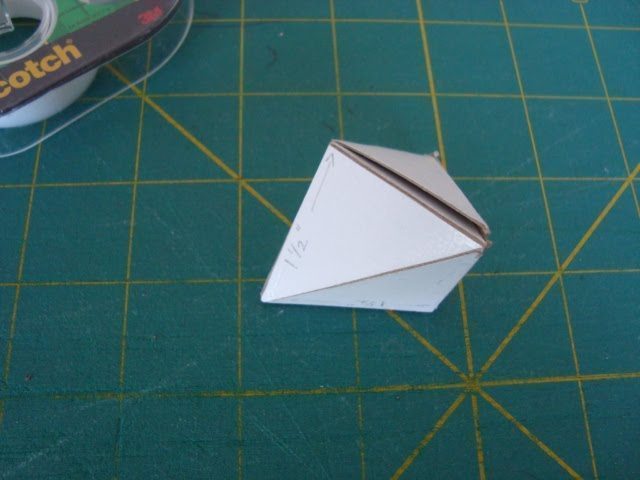
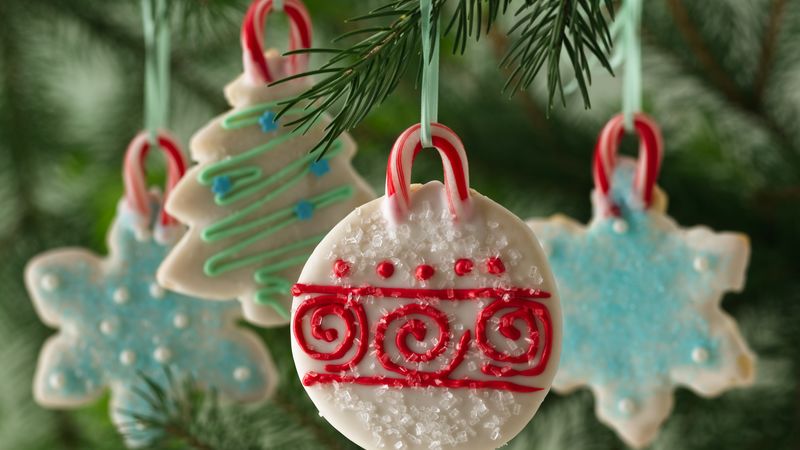
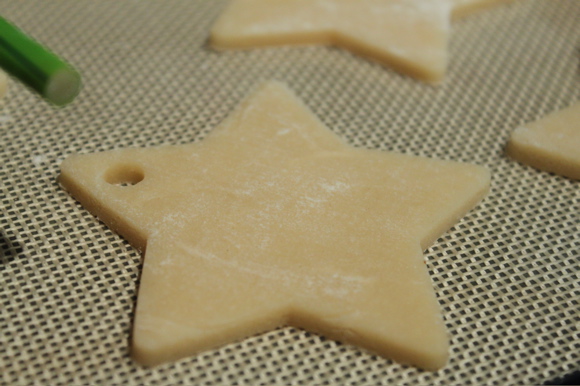
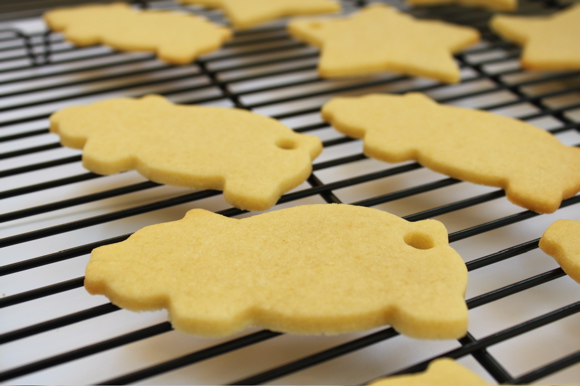
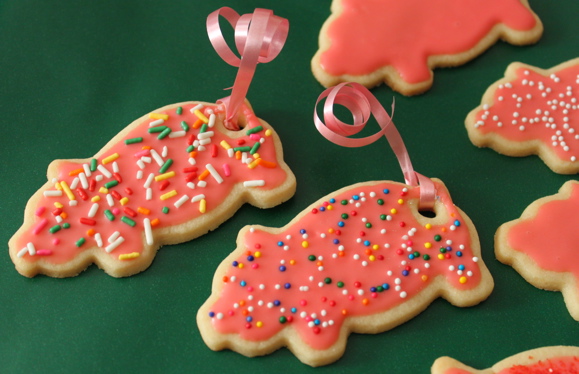
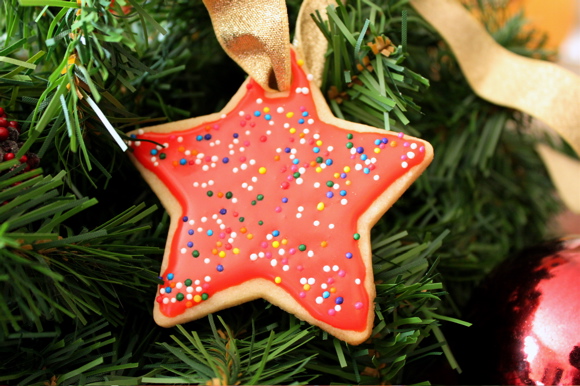
How to Make a Cookie Ornament
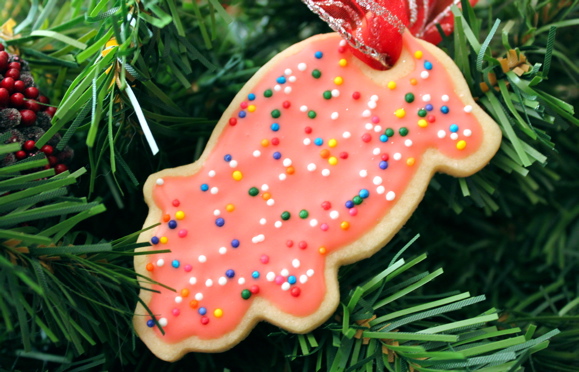
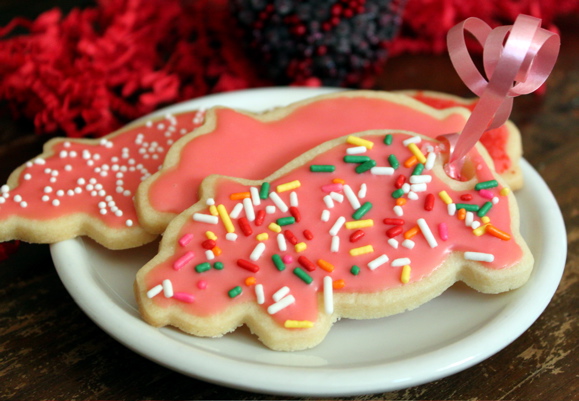
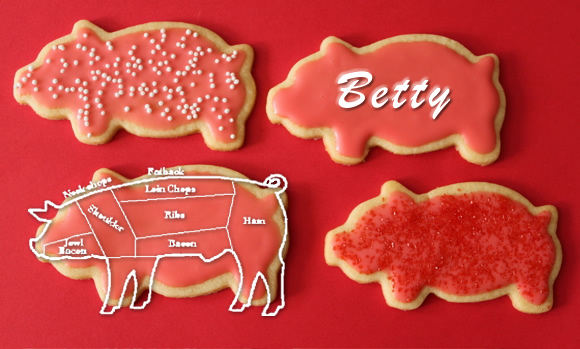
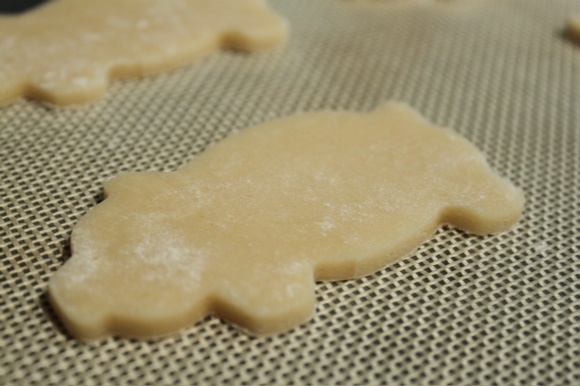
Ingredients for Sugar Cookies:
3/4 cup (1 1/2 sticks) salted butter
3/4 cup granulated sugar
1/4 teaspoon salt
2 teaspoons vanilla
1 large egg
2 cups unbleached all-purpose flour
icing, colored decorating sugars
Icing/Glaze for One Dozen Sugar Cookies:
1/2 cup powdered sugar
1 tablespoon milk
Easter Baskets & Ideas for Spring Activities
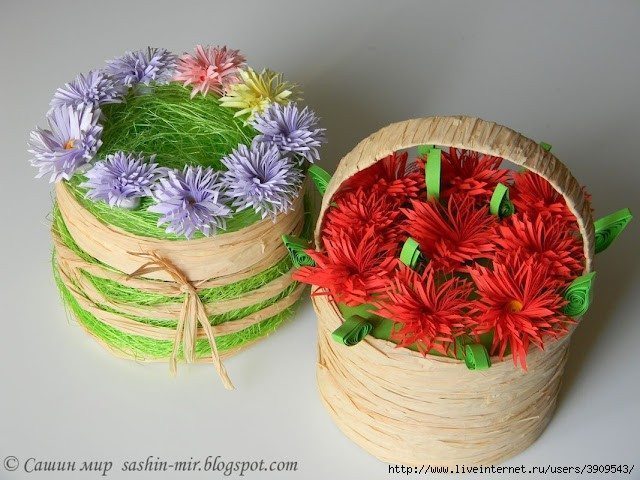
You need to prepare the following materials:
- Core tape: type of 6cm wide or more (take advantage of the roll of tape has run out as the box itself)
- Paper color: multicolor
- Hard Paper (bottom and lid made)
- Wire decorative paper (you can replace it with wire cloth, rope small …)
- Glue 2 sides
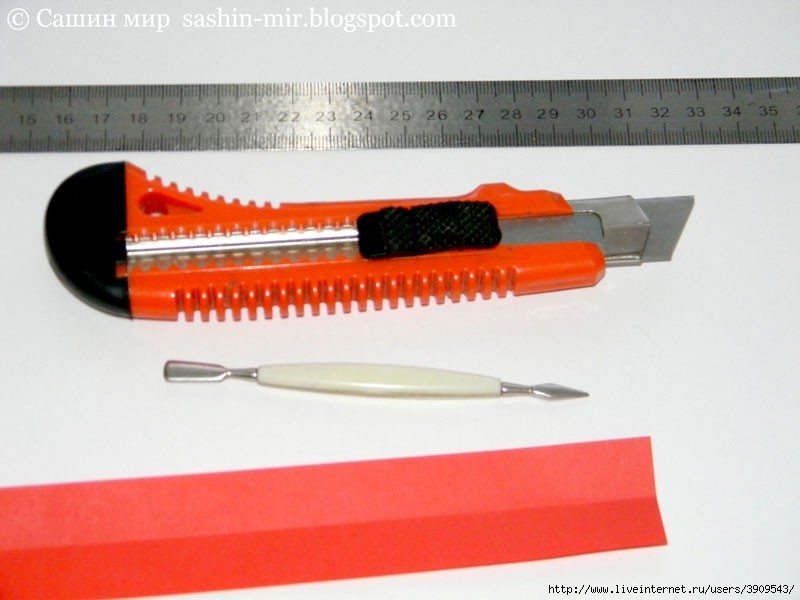
- Drag, stylus
Step 1:
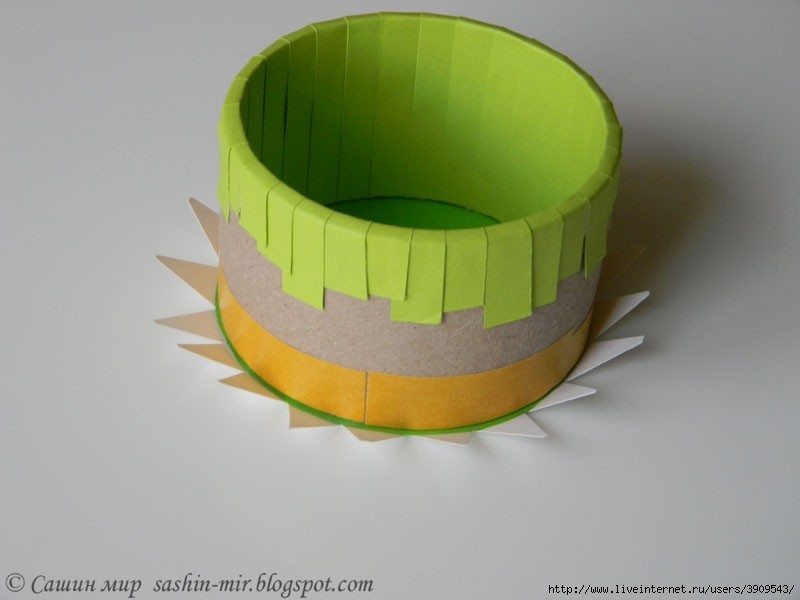
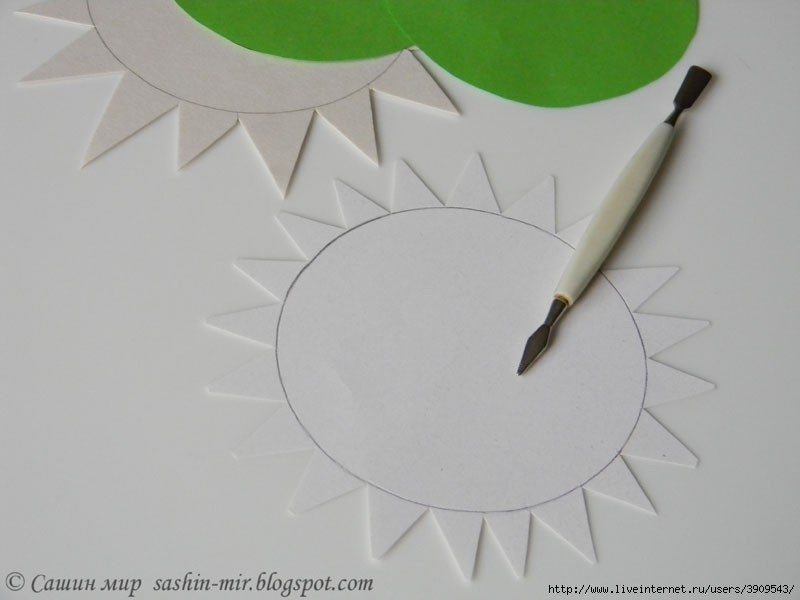
First, place the tape on core blue paper plate, grab a pencil drawing circles around the core paper and cut out. You need 3 green circle like that. Next place the tape on cardboard cores draw circles around the core paper, cut jagged around outside the circle has drawn close to the length is 1.5 cm. You need 2 serrated circle. Use milk glue green circular sticker on the white jagged circle, gently fold the steep surrounding jagged blue circle.
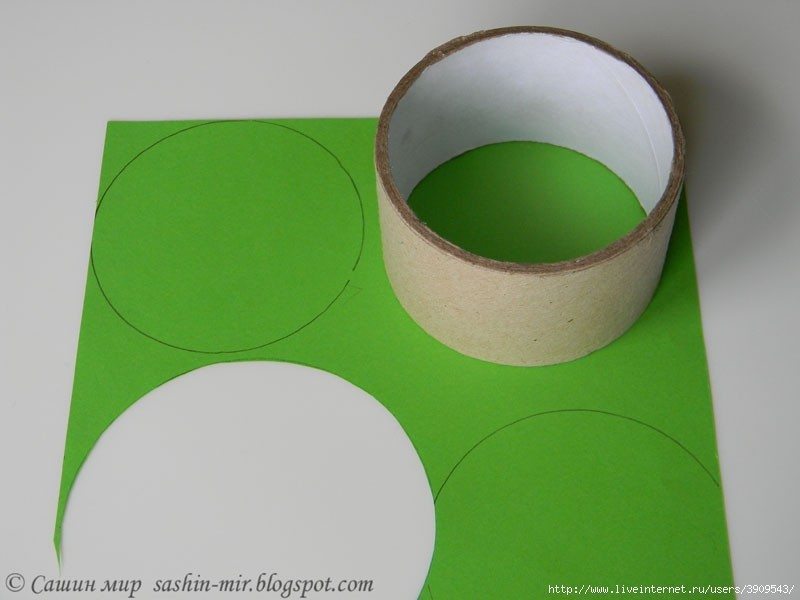
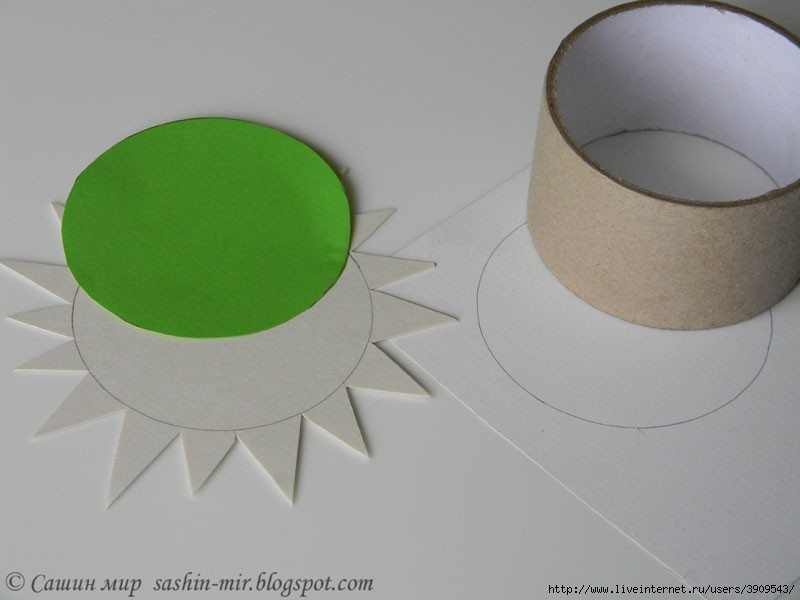
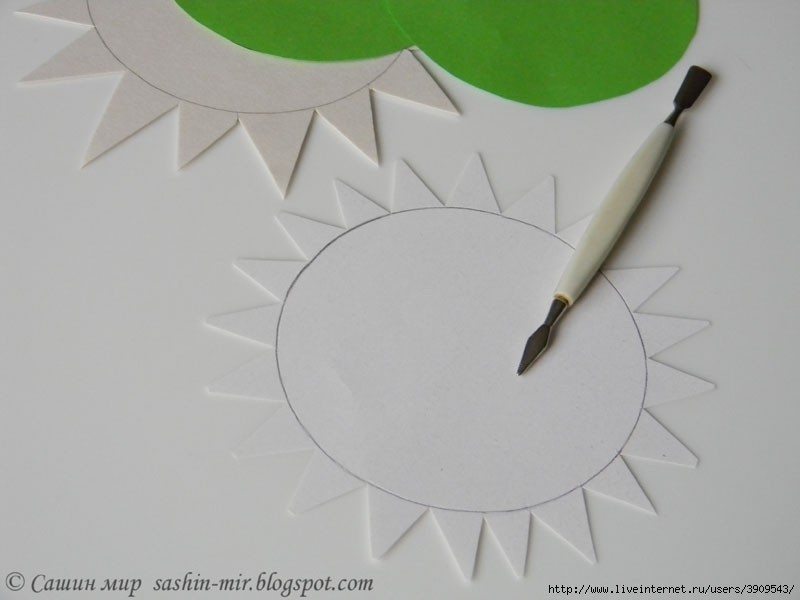
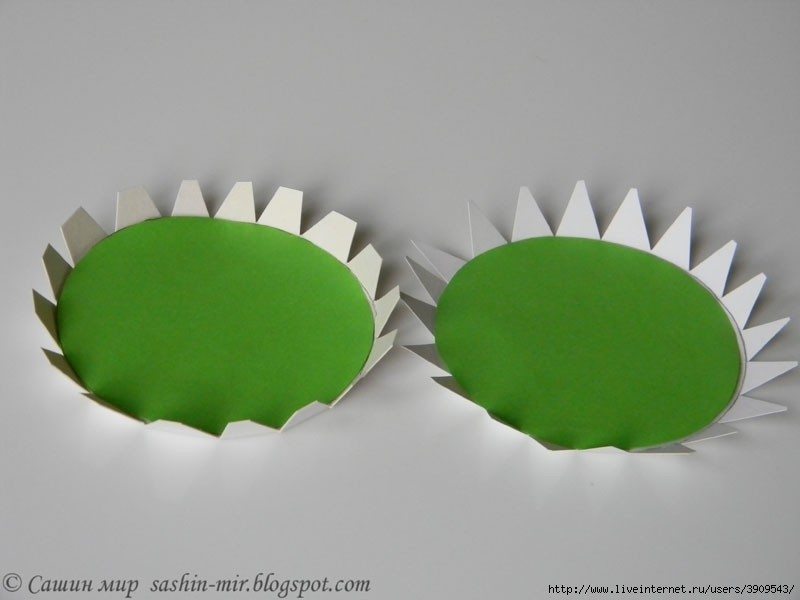
Step 2:
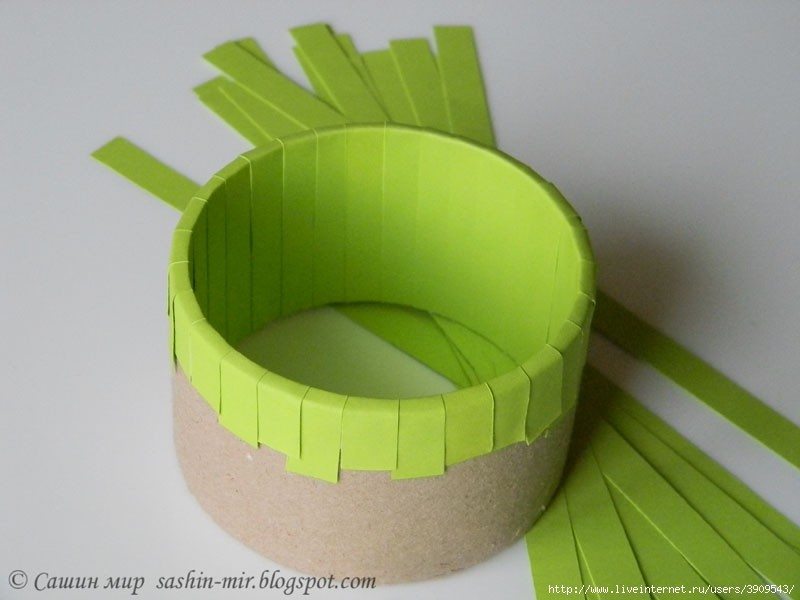
Green paper cut into long strips with a width of 1cm, the length by the width cores plus 1cm tape to paste outside. Cutting with the double sided tape 1cm wide tape inside the core paste and paste outside. Turn blue paste strips of paper, starting from the inside and outside corrugated paste. Sealed off tape inside the core.
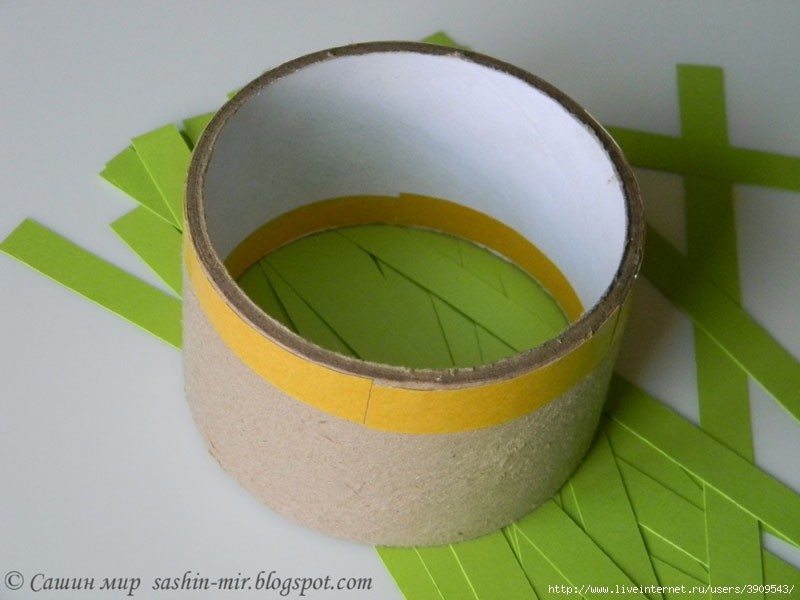
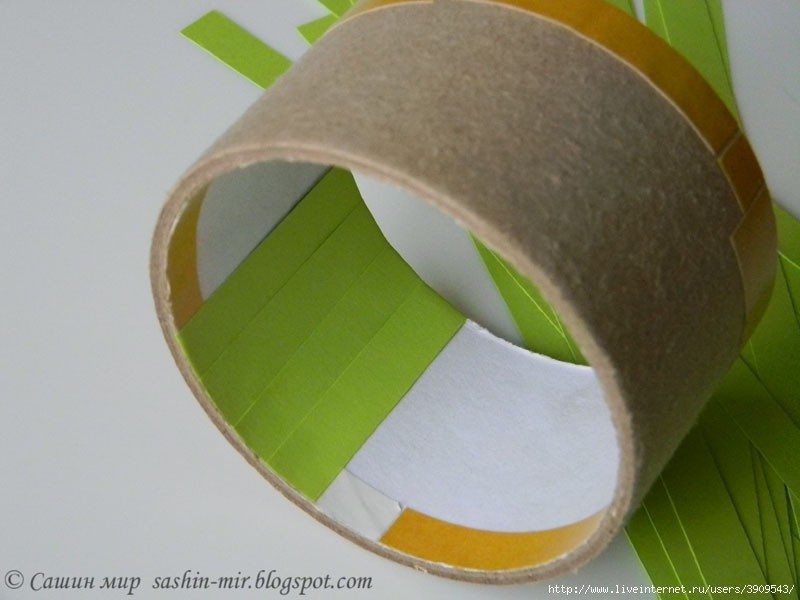
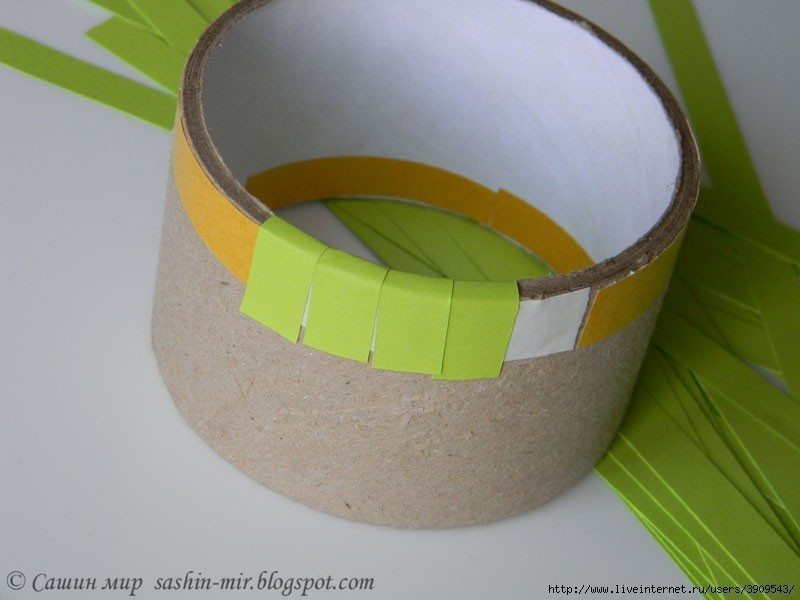
Step 3:
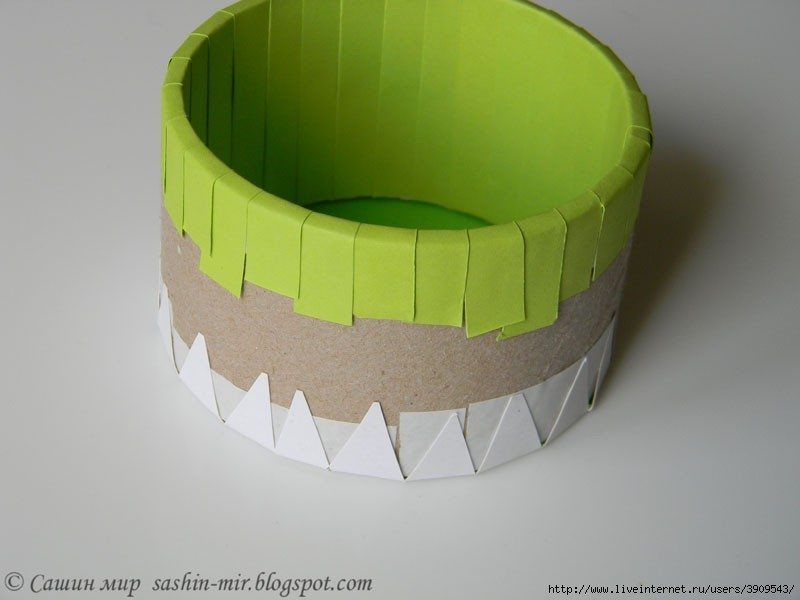
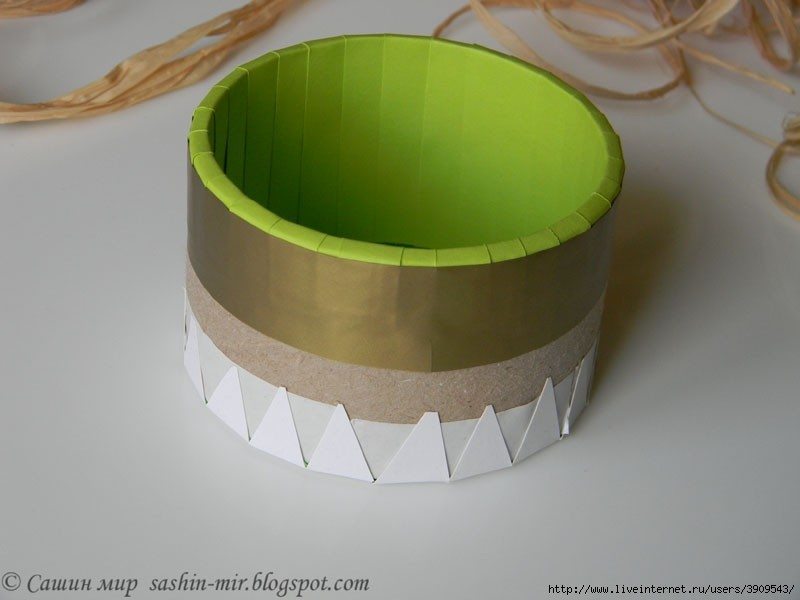
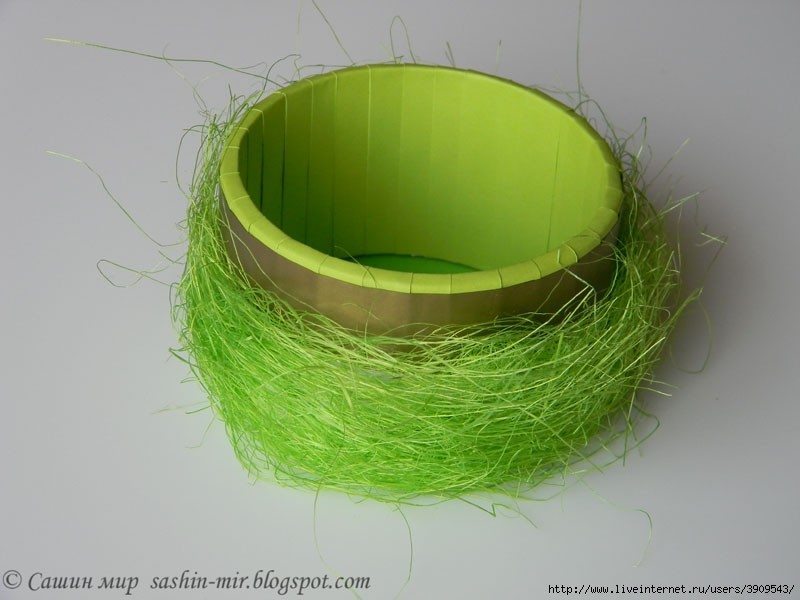
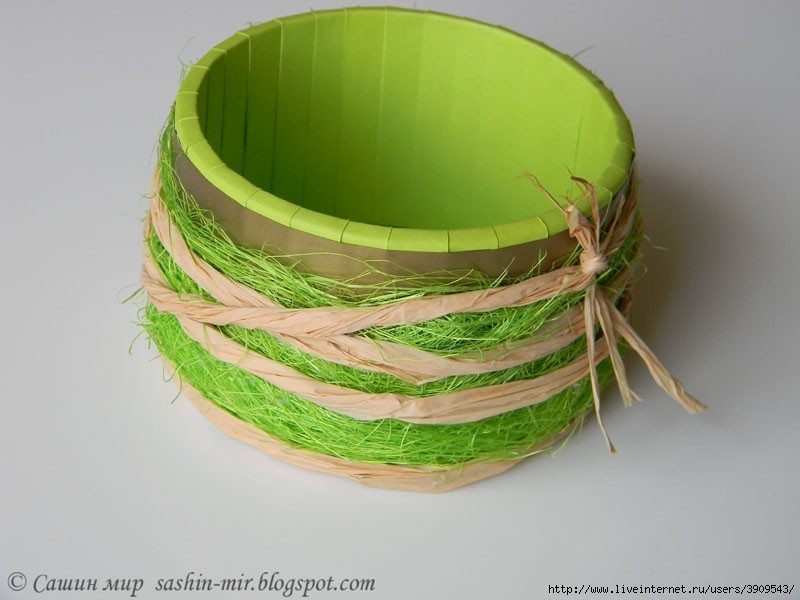
Next, you put the tape pasted core blue paper recently grafted onto bottom circle in step 1, double-sided adhesive stickers one round outside, gently fold the saw teeth overlap the glue paste. Cut 1.5 cm wide strips of colored paper glued moss outside layer stack of blue paper. Add glue paste outside serrated layers ensure adhesion sure. You box yourself.
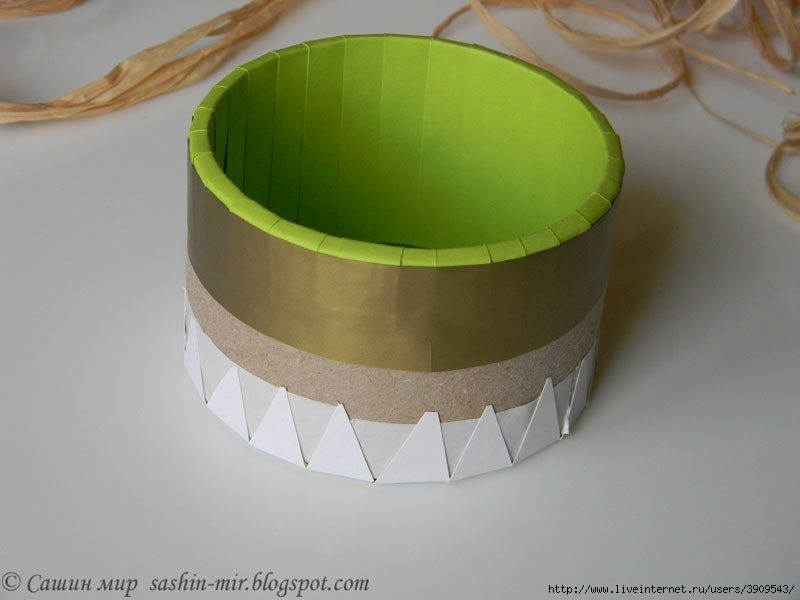
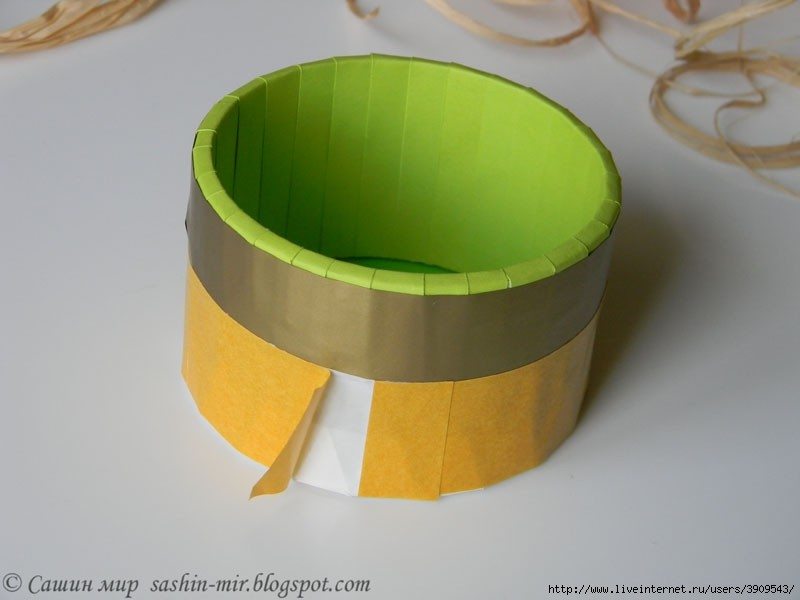
Step 4:
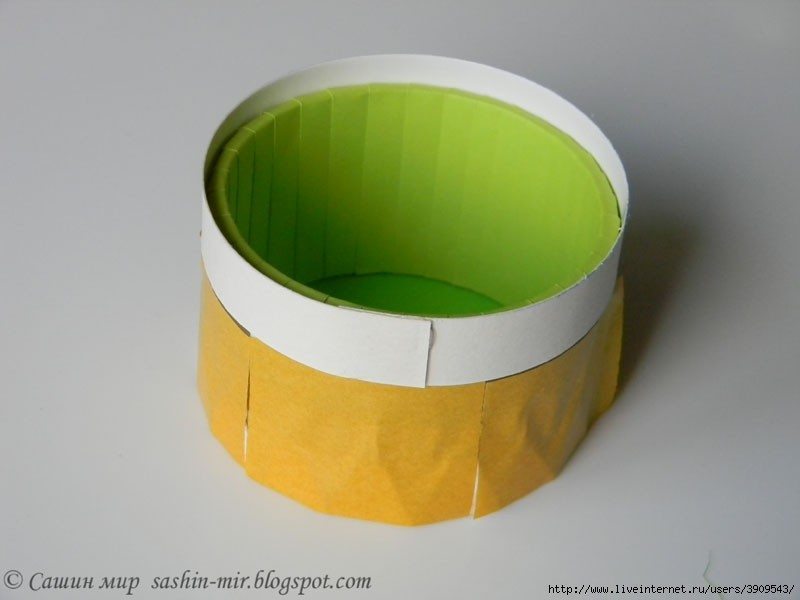
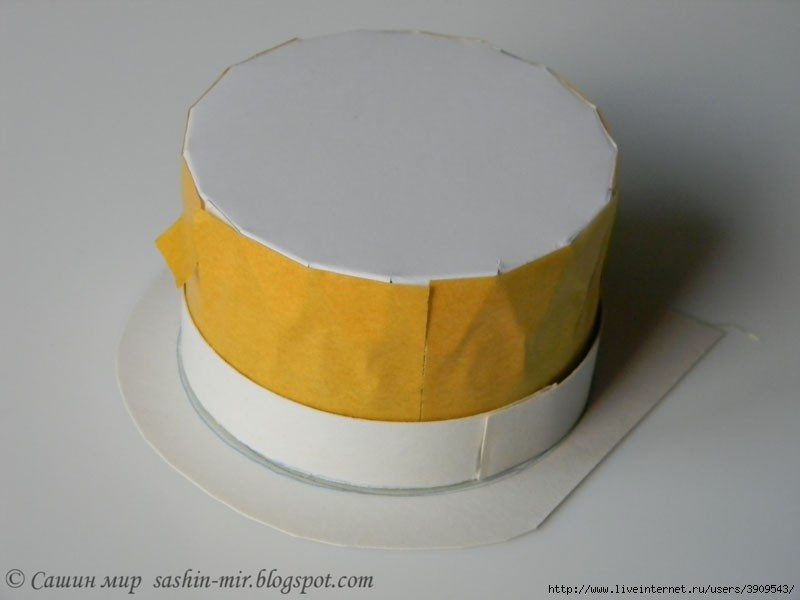
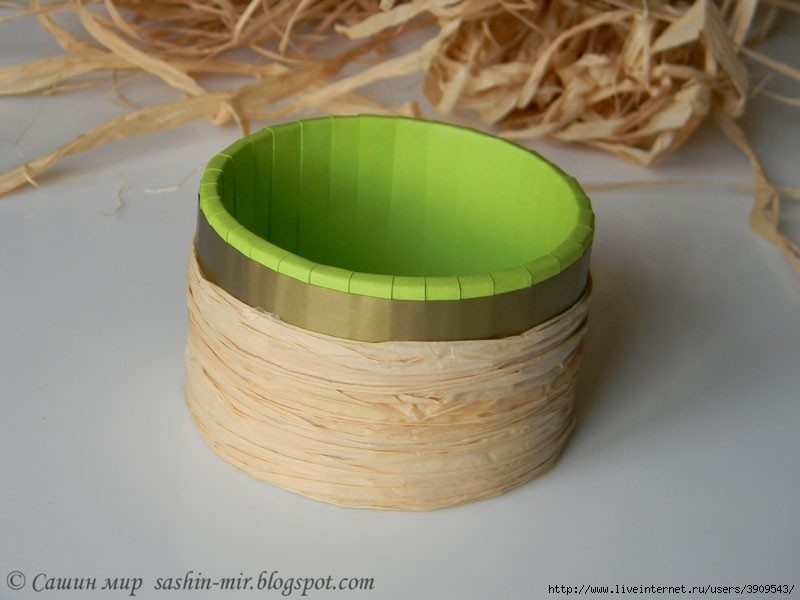
Cut a long strip of paper with a width of 1.5 cm Hard wrapped around the outside layer of moss colored paper, cut and paste paper strips into circles. Note: do not stick to the core circle of paper tape. Paper core upside down on cardboard, draw a circle outside, jagged cut around the circle just drawn, pasted on the circular serrated circular plate as the lid.
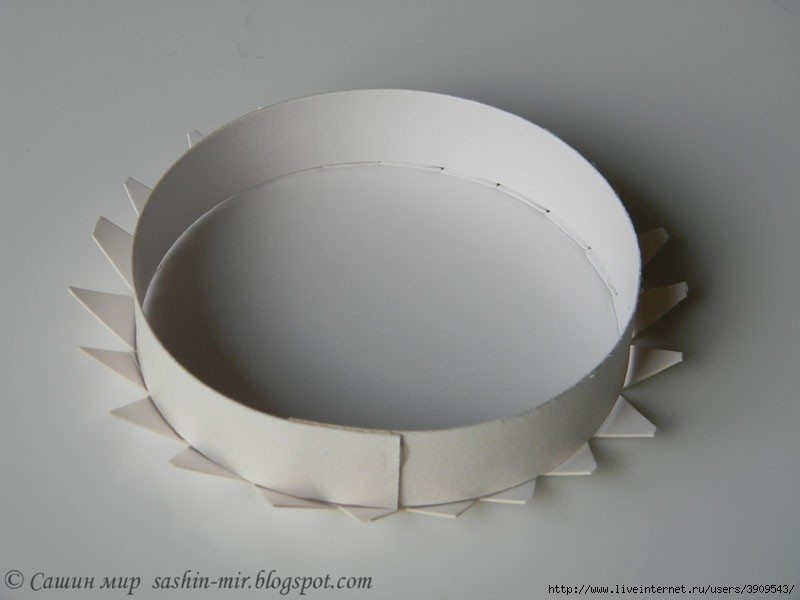
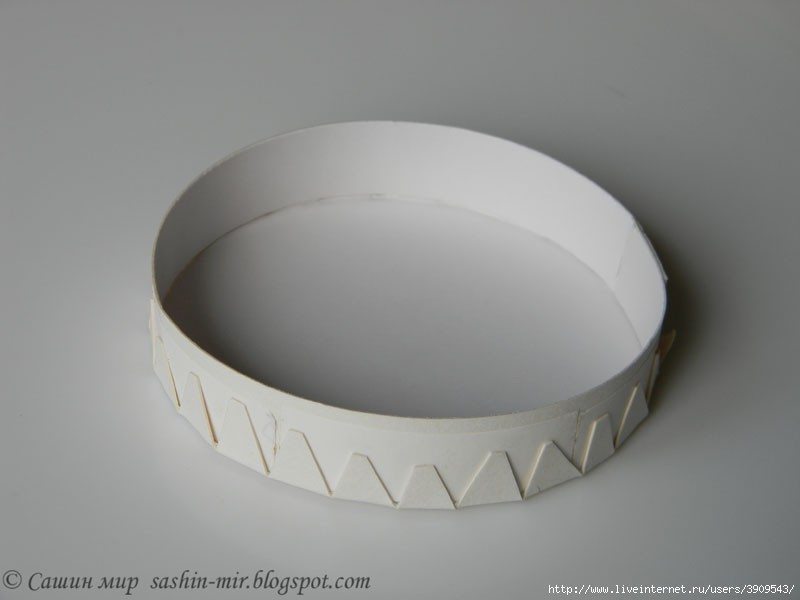
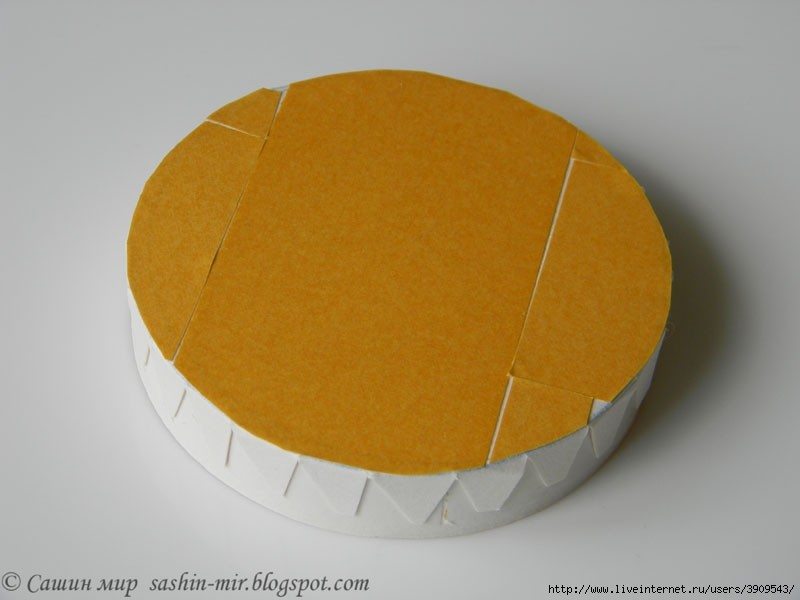
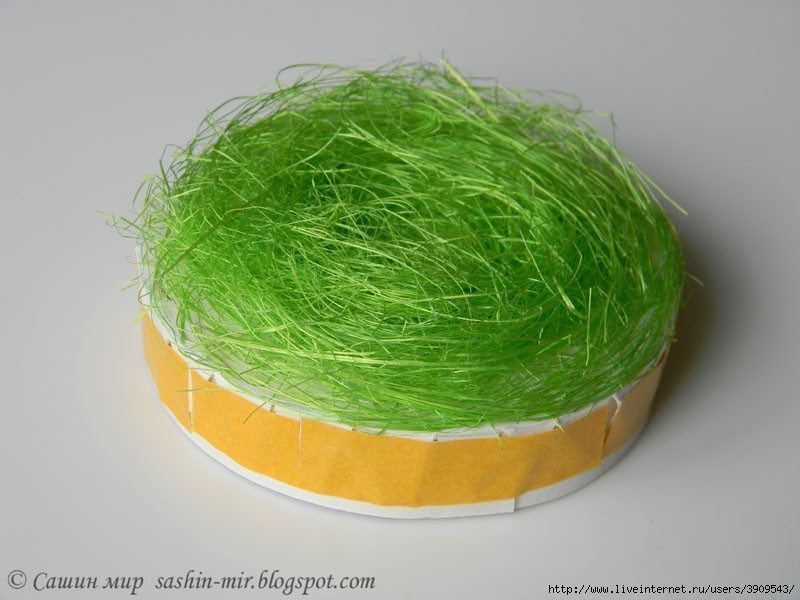
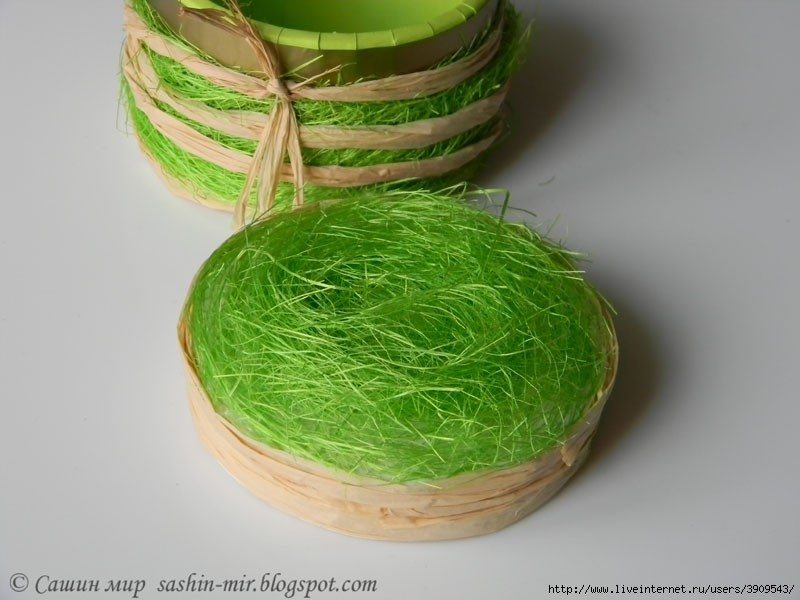
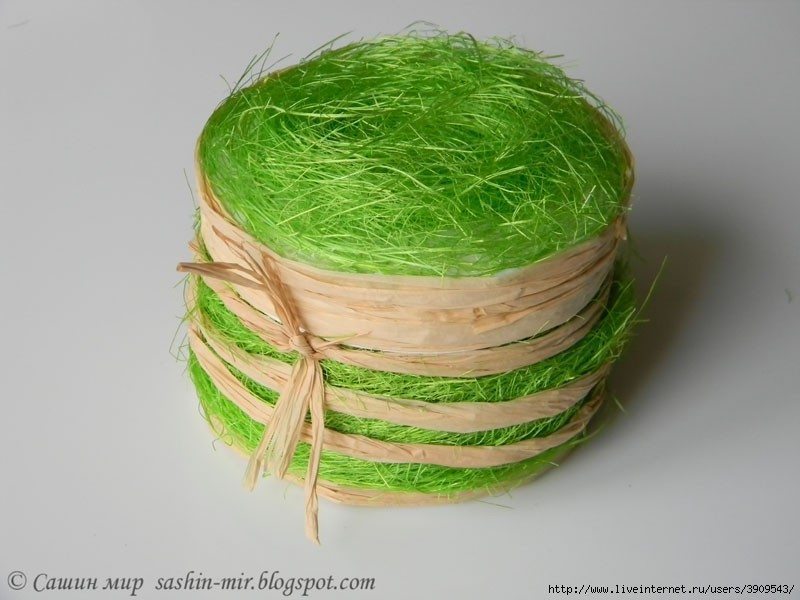
Step 5:
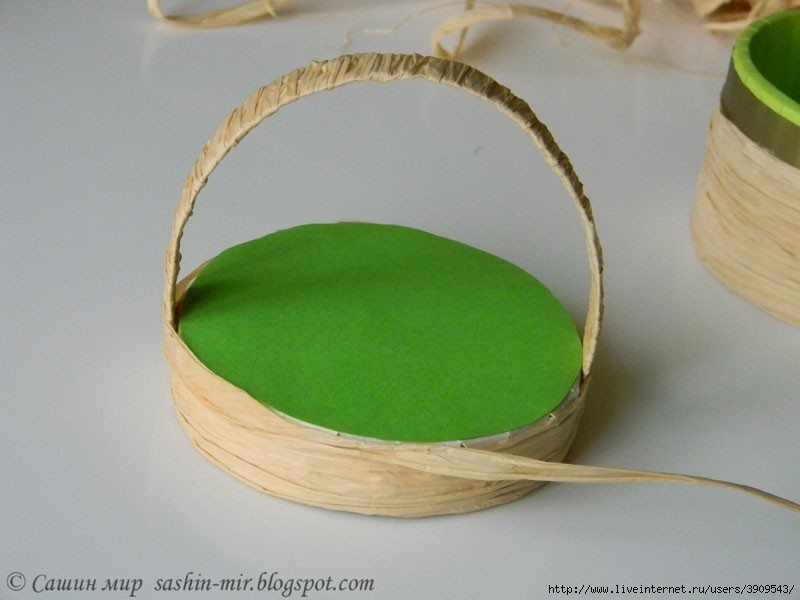
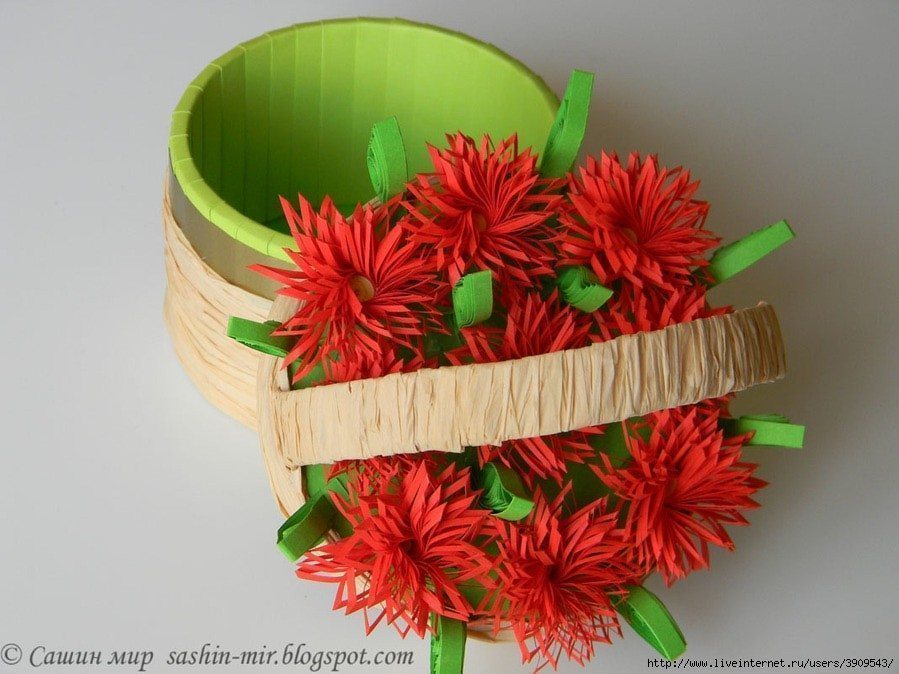
Making the box with a handle: blue circle Paste (cut in step1) sticker on the side of the lid, the next you cut 1cm wide strips of long white colored paper wrapped around two sides and then glued to the lid, glued strips around the fixed paper, paste red flowers (made above) decoration on the lid.Your body paste paper strips sealed box around.Gift box your finished!
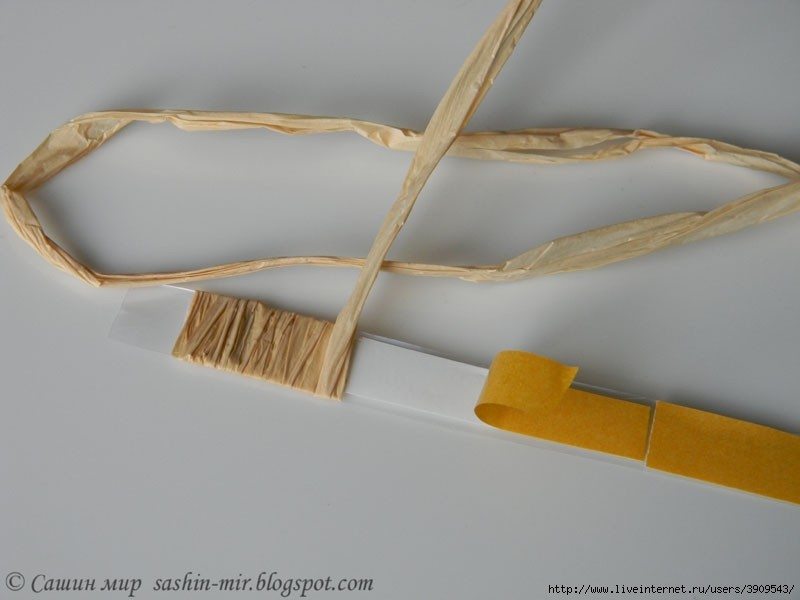
Step 6:
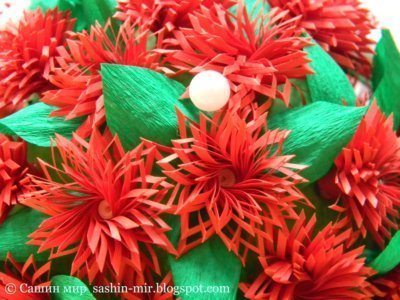
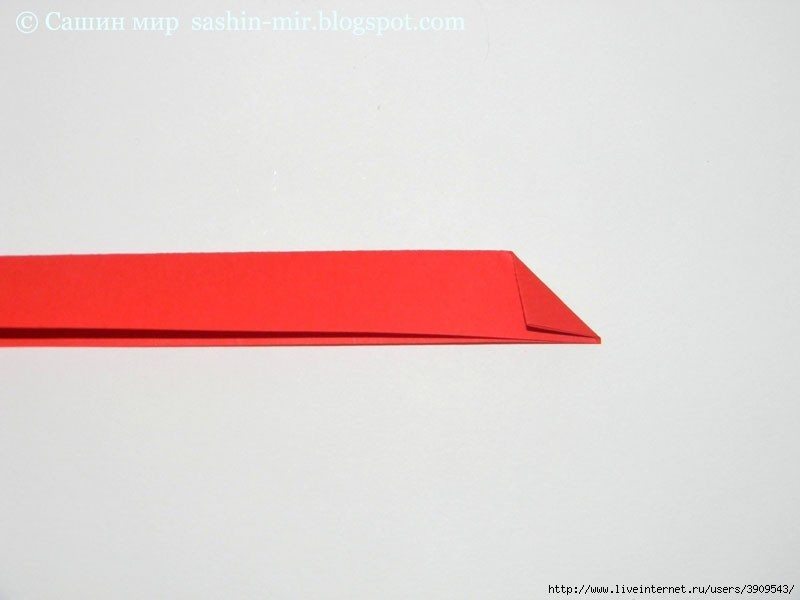
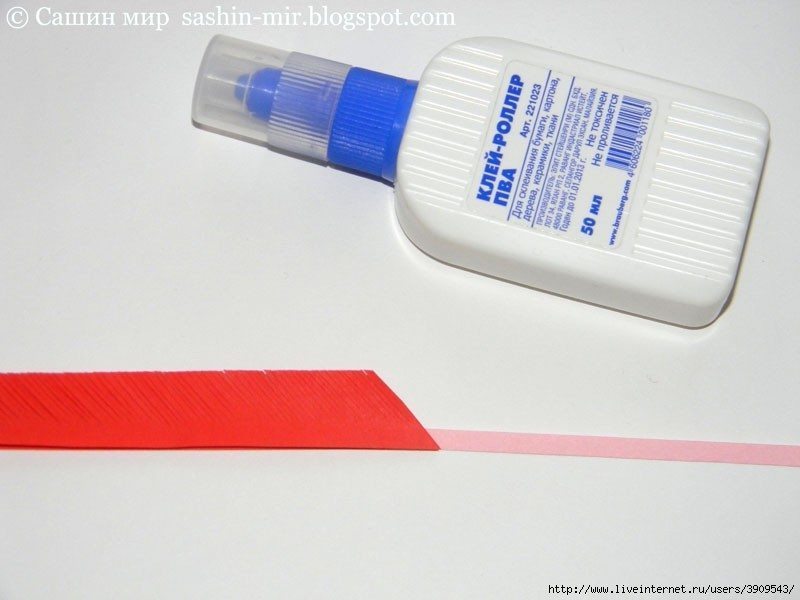
How to make paper flowers: you need a wide strip of pink paper 0.3 – 0.5cm long 15 cm, and 1 strip of red paper with a 6cm 15cm wide. Double the red paper strips, using straight strokes on the folds size. Fold one corner of the triangle and cut diagonally to form.Perform tassels cut paper strips parallel to diagonal cut.The tassels with a 0.1 cm wide – 0,2cm, length 2.5 cm.Glue strips of milk paste a pink top at the beginning of the red paper strips just finished cutting.

Step 7:
Place the tip of the pink paper strips into the slot of the twisted paper instruments (without this tool, you temporary head lightly glued toothpick or sharp awl for easy scrolling) rolled into strips pink, pink roll out continues Roll with a red circle. When you notice the book Roll tightly and evenly hand. After finishing the book fixed with glue paste of milk, you have red flowers twisted paper. Similarly you make more red flowers to decorate gift boxes to add highlights.
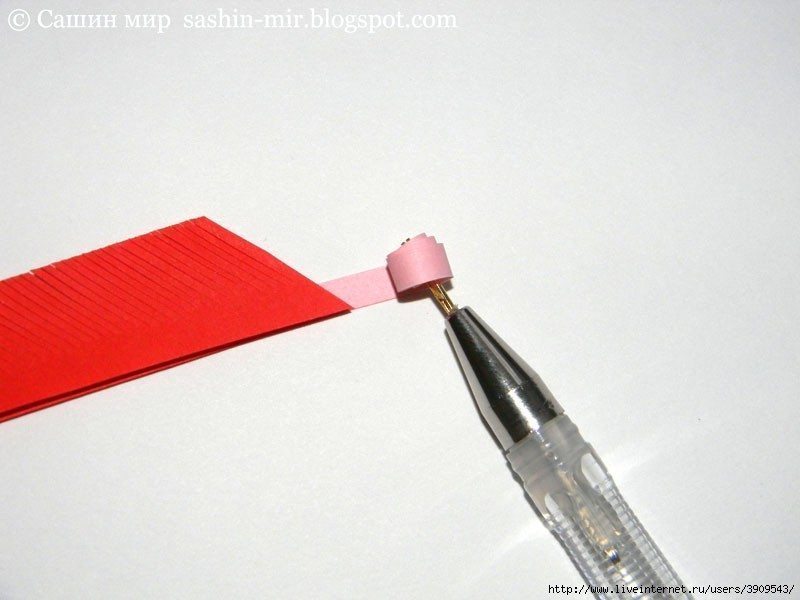
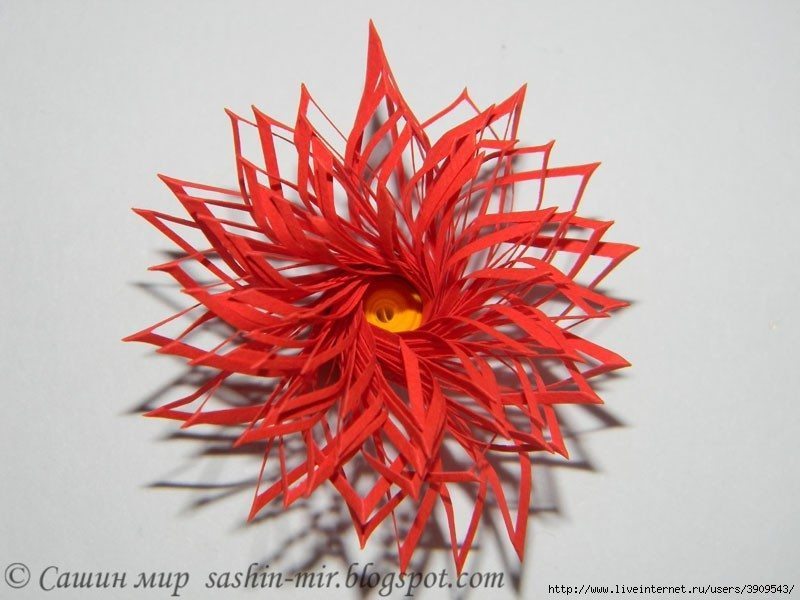
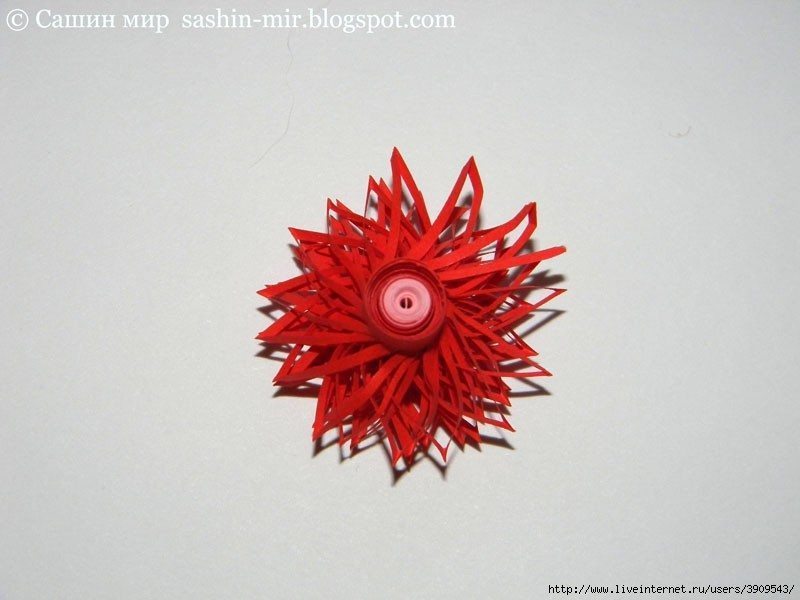
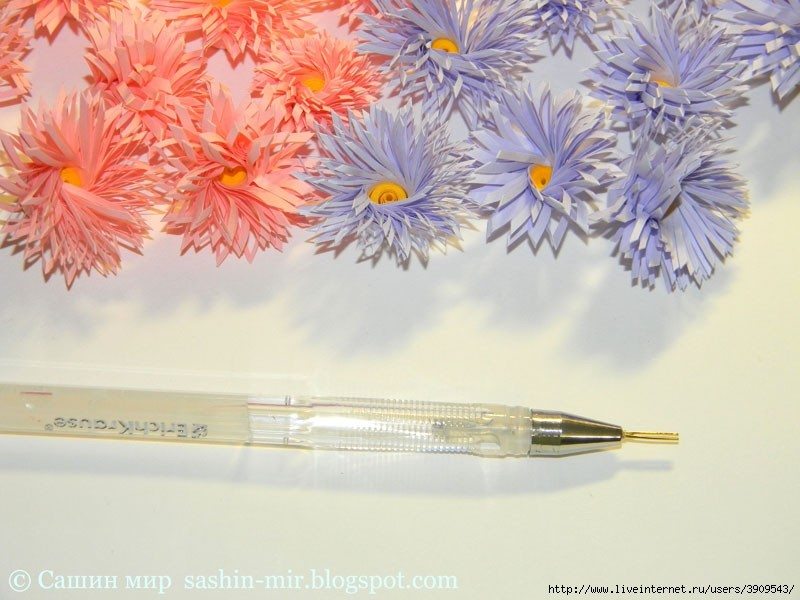

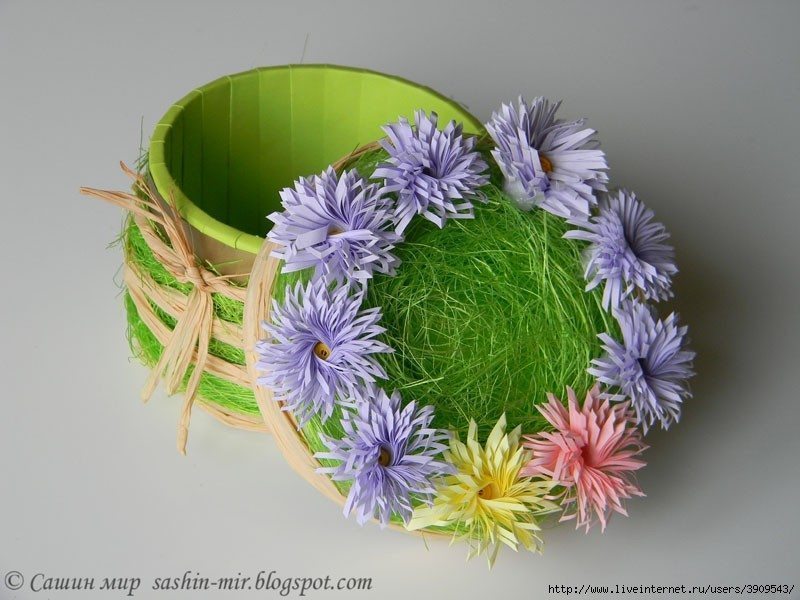
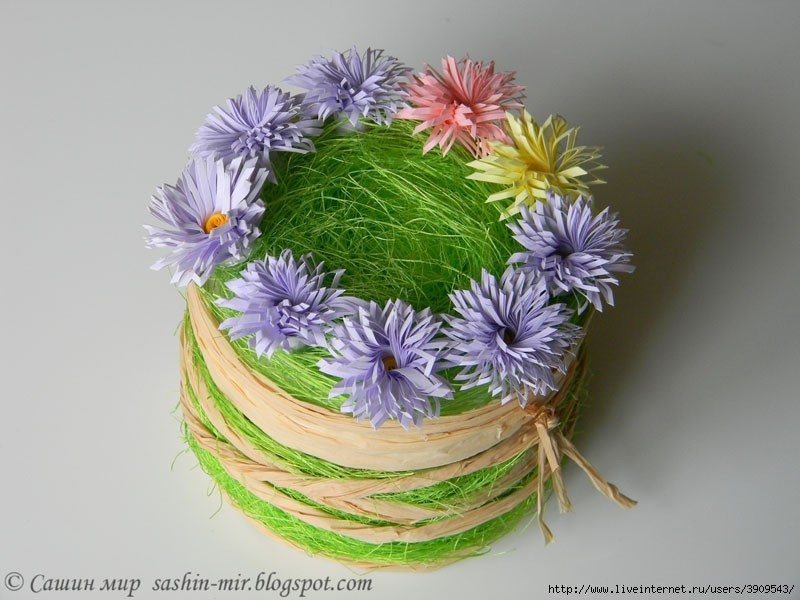
With just a bit of paper cores and colored tape, through skillful hands of you, it has turned into a gift box cute!
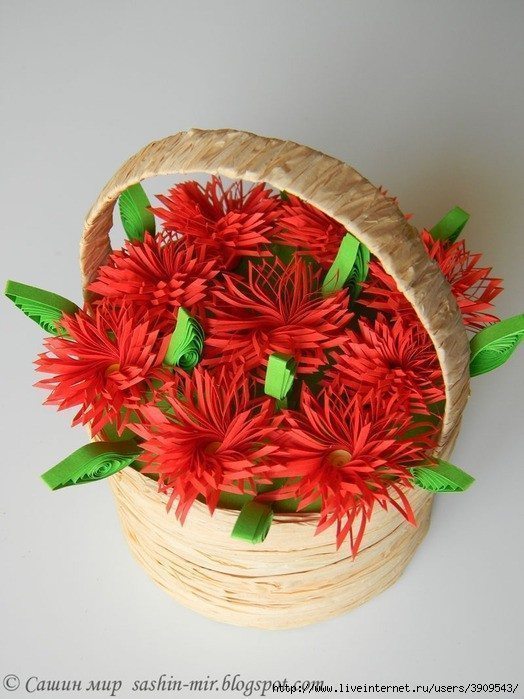
This should be a simple gift that interesting, to your surprise gift for your loved ones! Good luck!
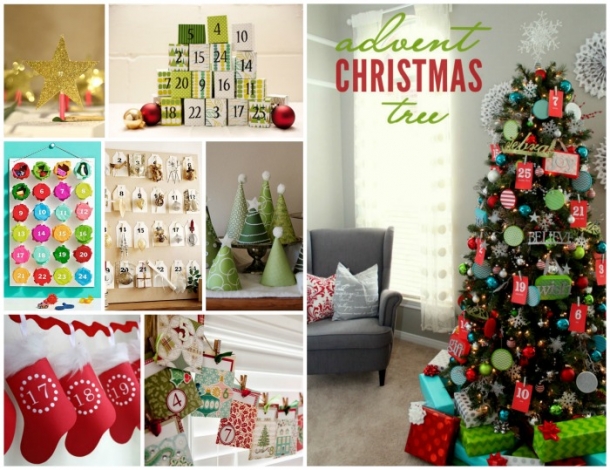
10+ Homemade Advent Calendar Craft Ideas
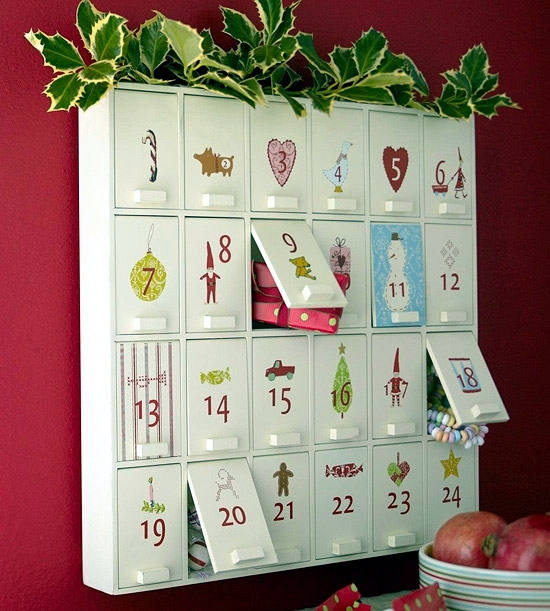
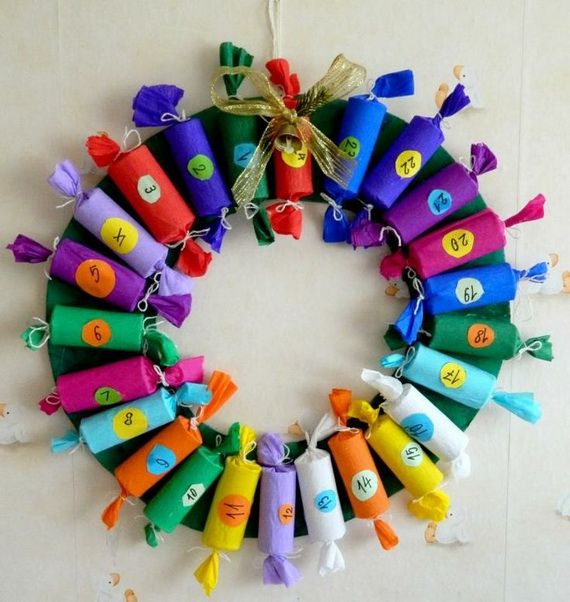
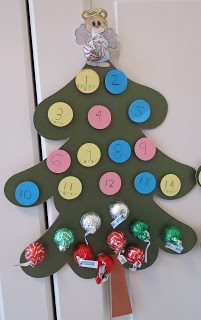
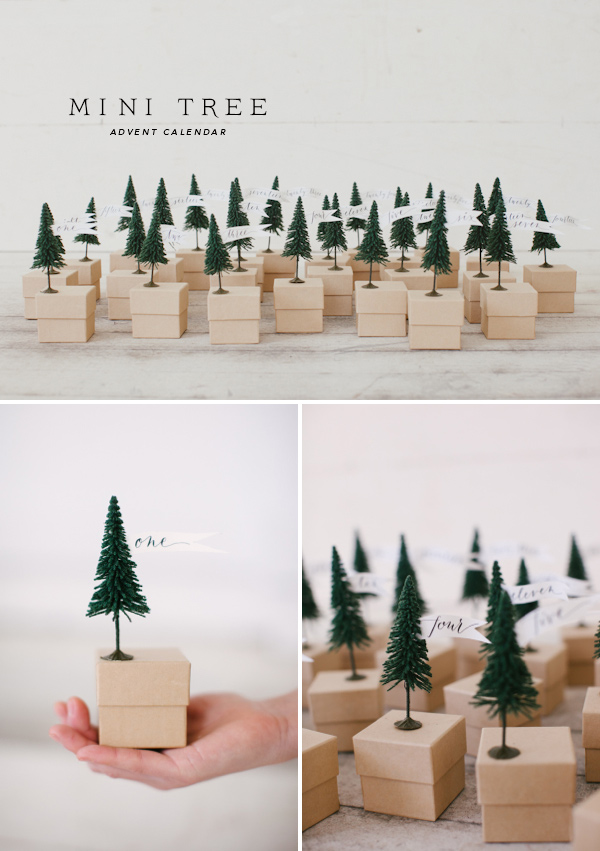
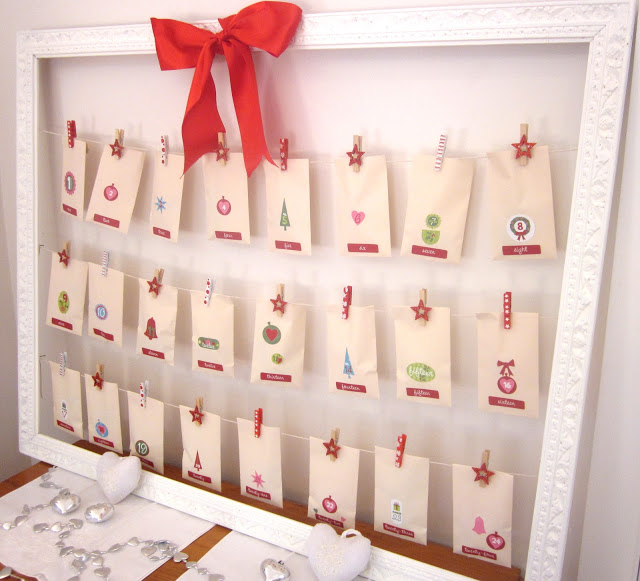
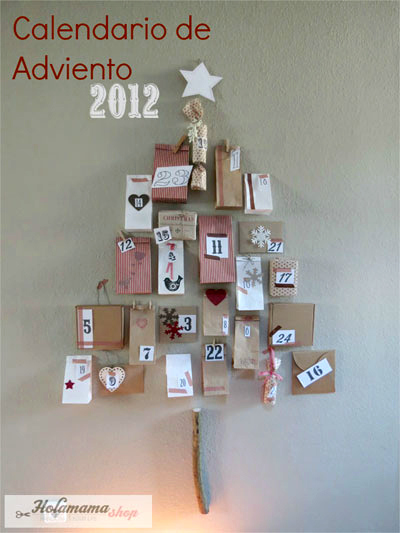
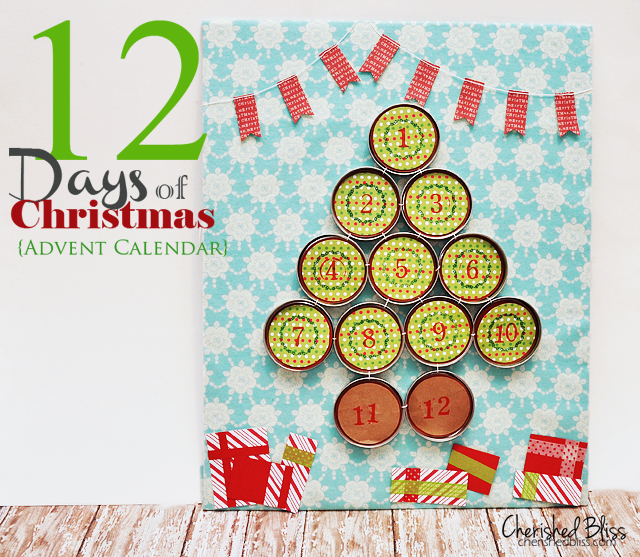
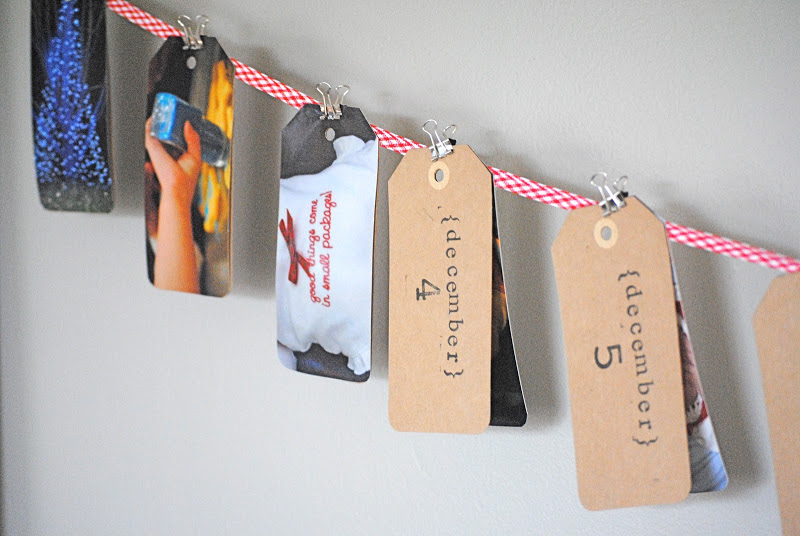
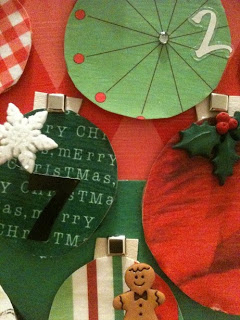
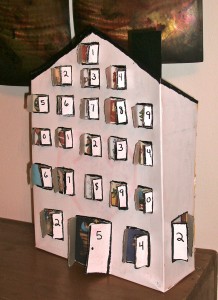
Which one your favorite? Please tell us in the comments below. And be sure to follow on Pinterest for more ideas!
Thank you for visiting our website. Keep Creating with Art & Craft Ideas!
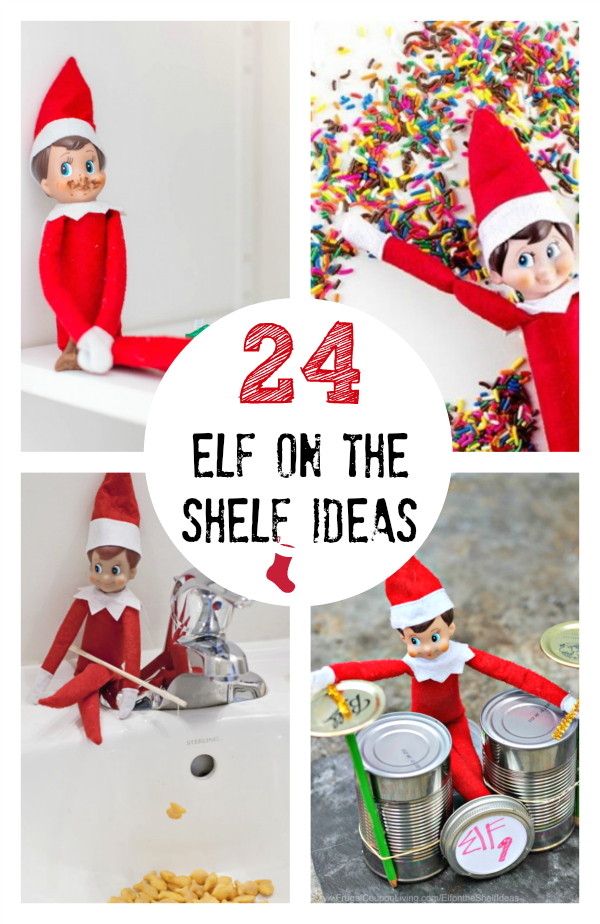
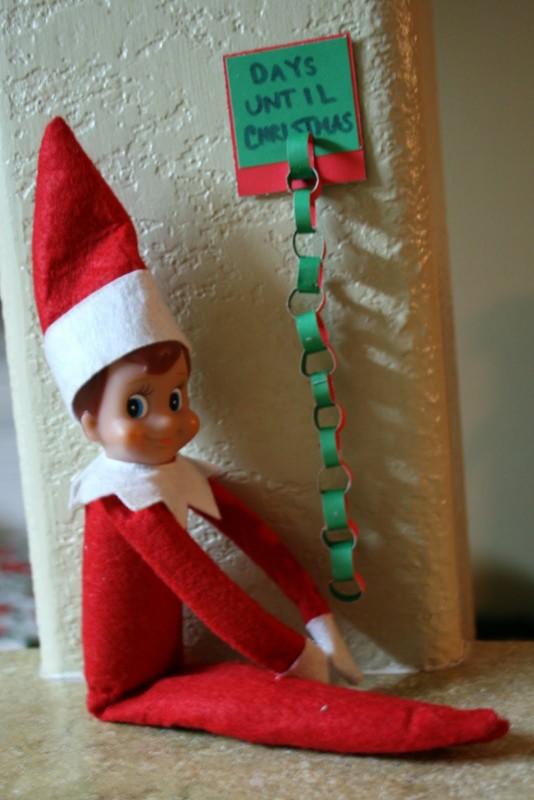
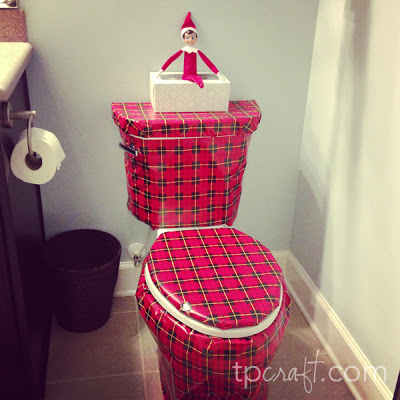
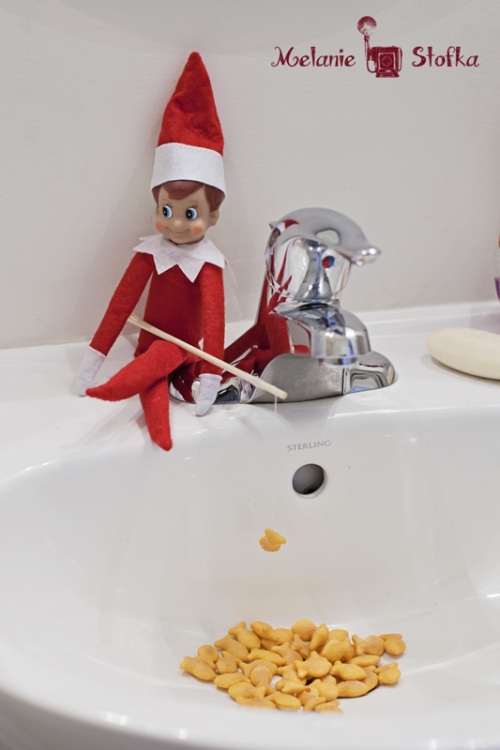
24 Awesome Elf on the Shelf Ideas for Christmas
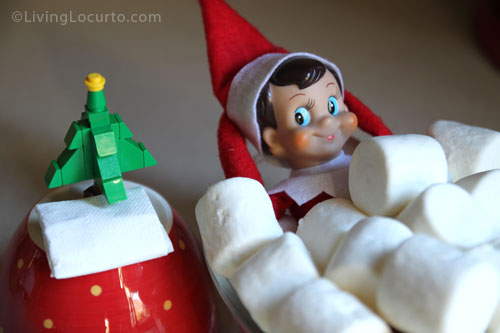
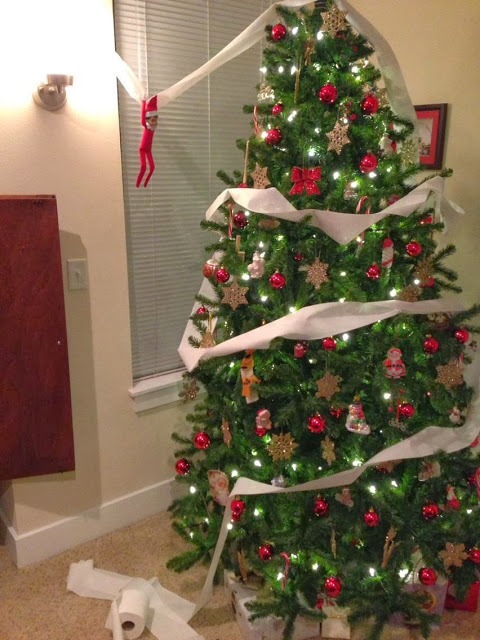
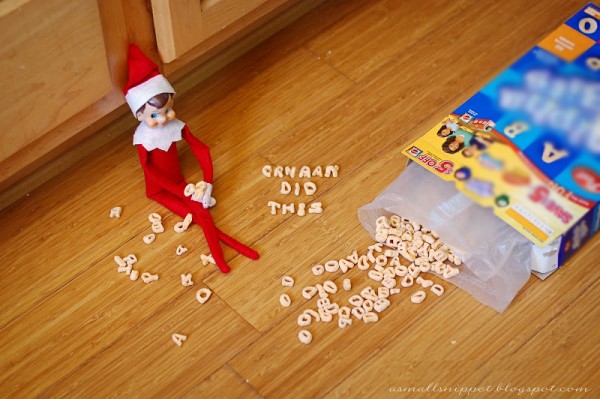

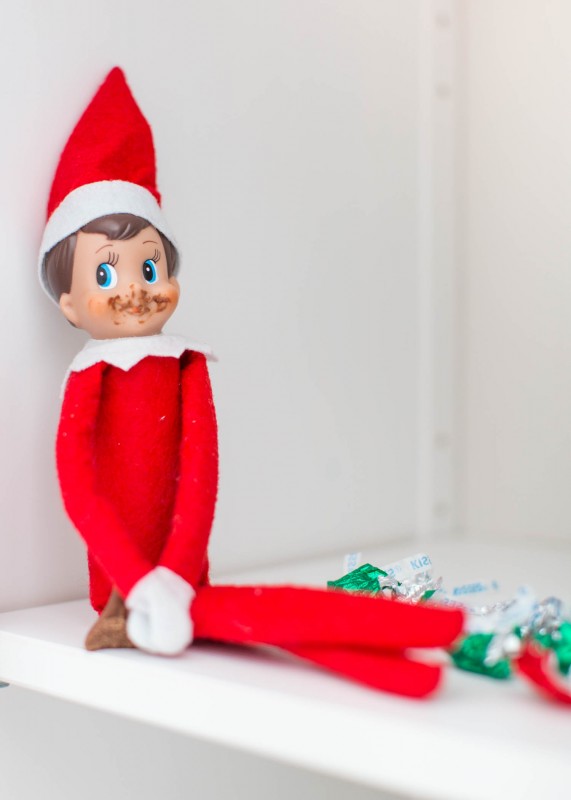
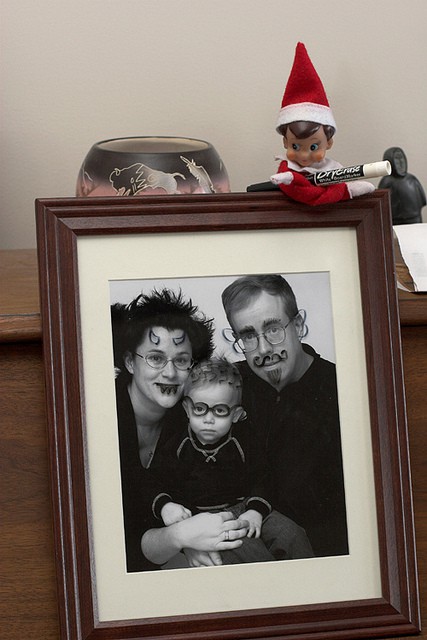
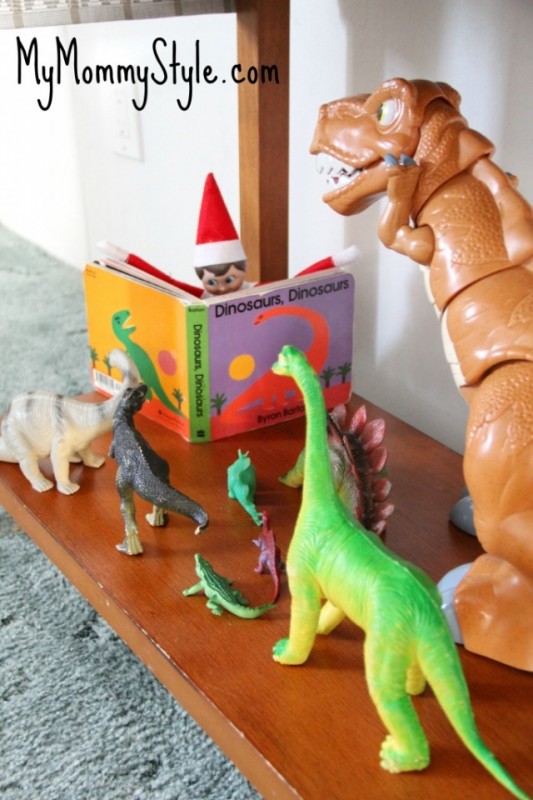


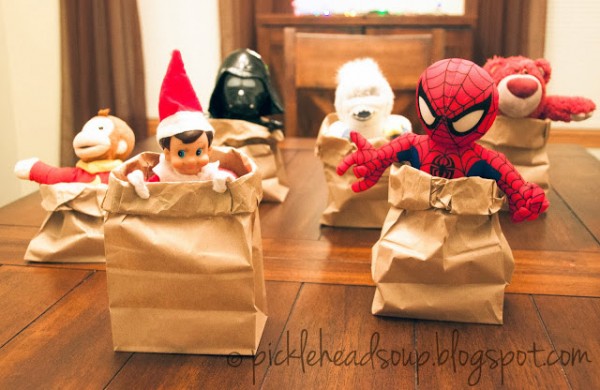
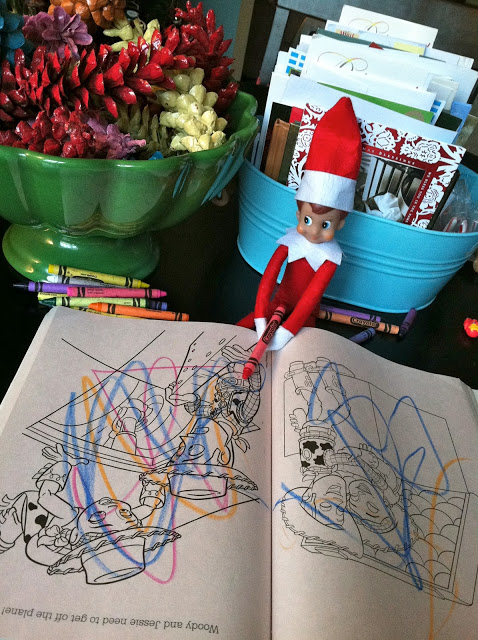
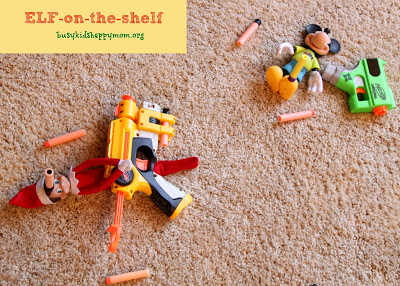
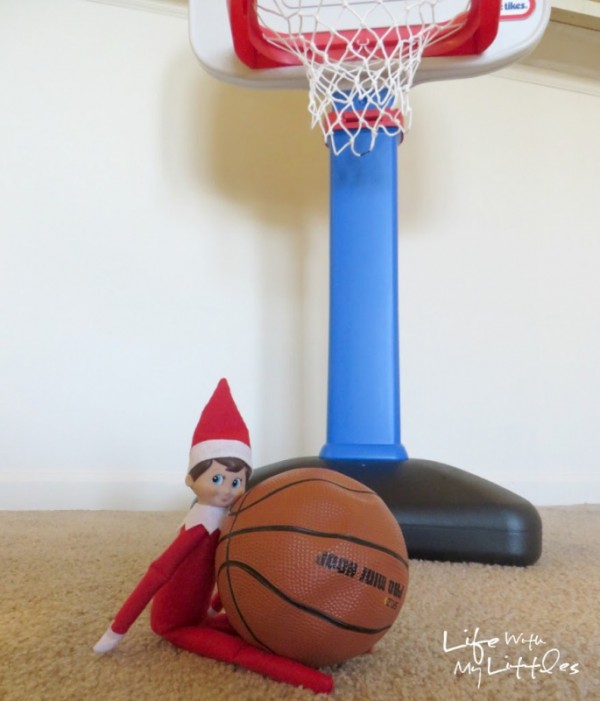
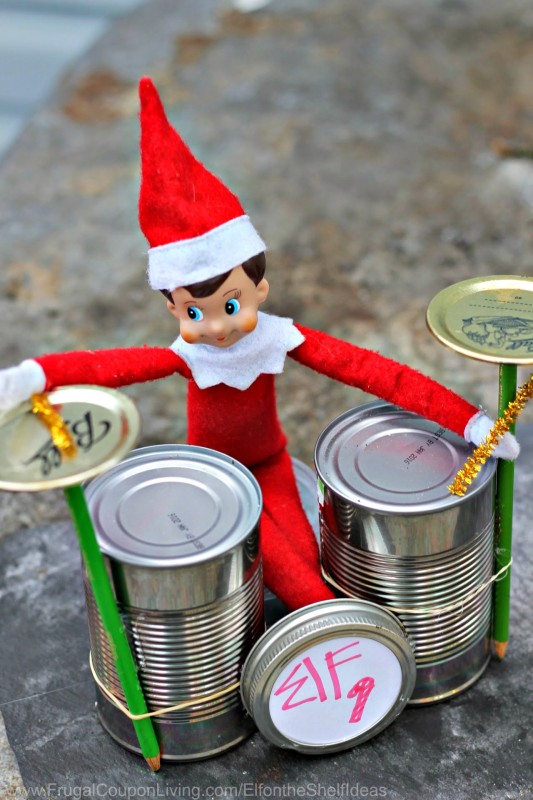
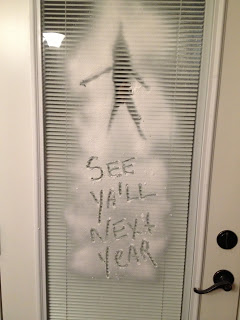
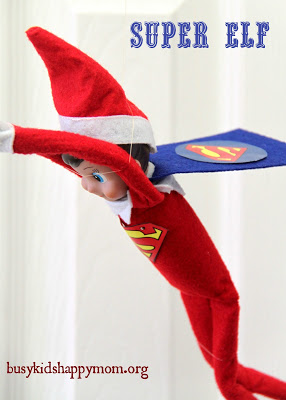
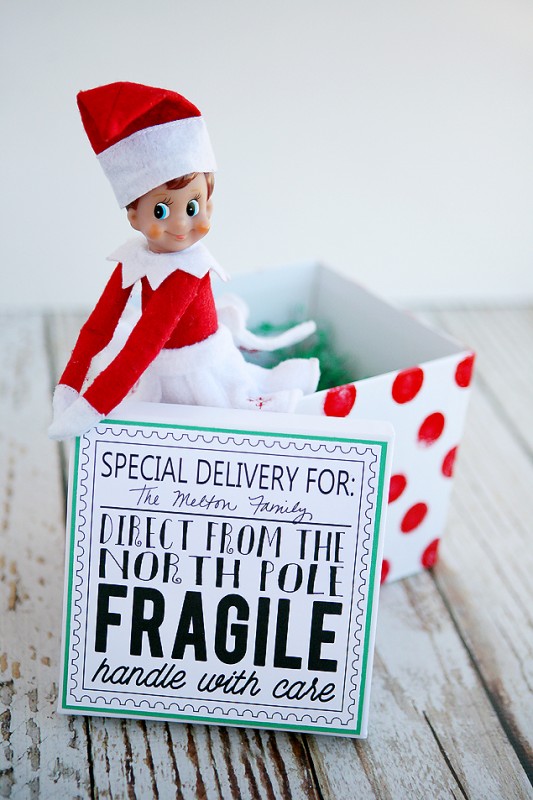
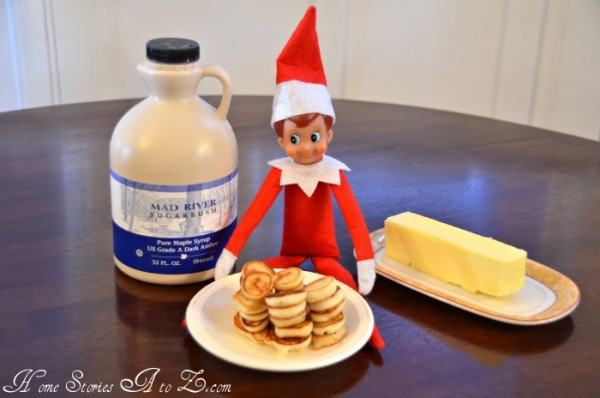
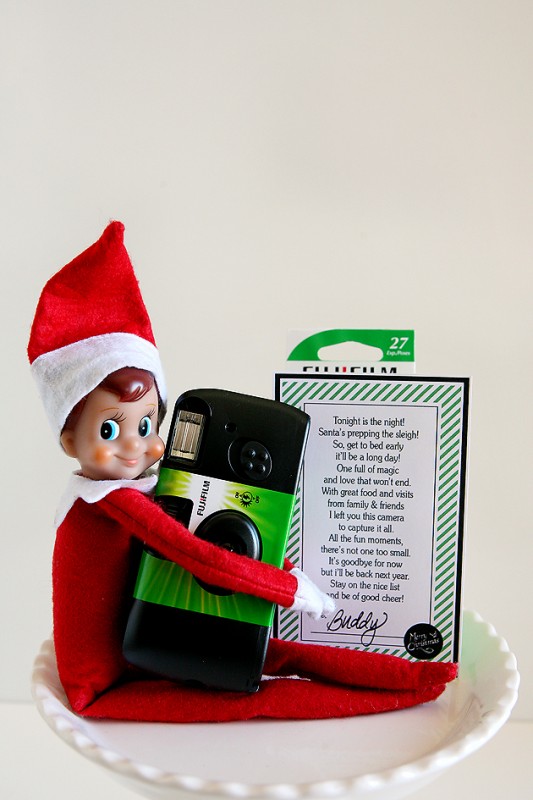
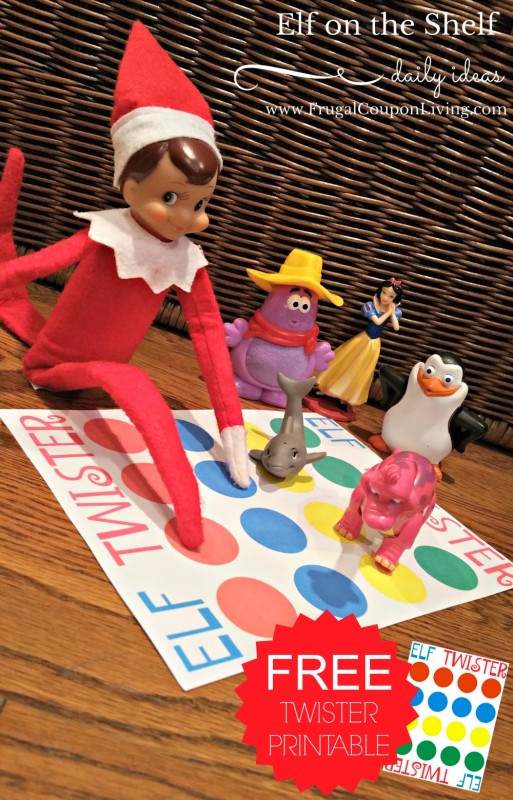
Which one your favorite? Please tell us in the comments below. And be sure to follow on Pinterest for more ideas!
Thank you for visiting our website. Keep Creating with Art & Craft Ideas!
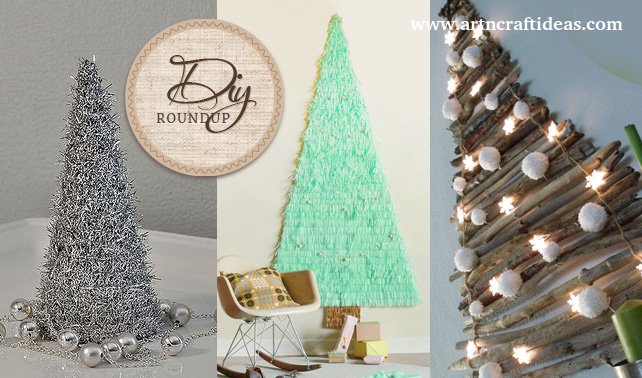
20+ Easy Step by Step Christmas Tree Making Tutorials
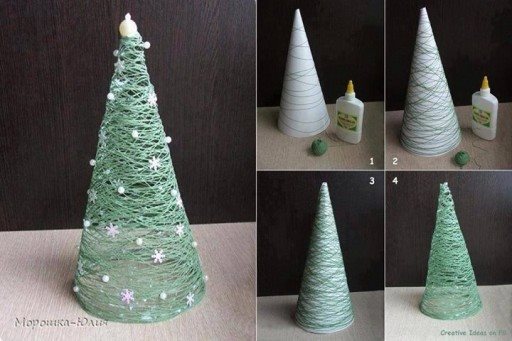
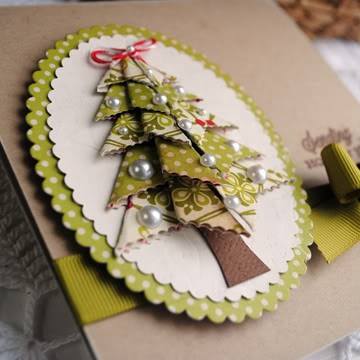
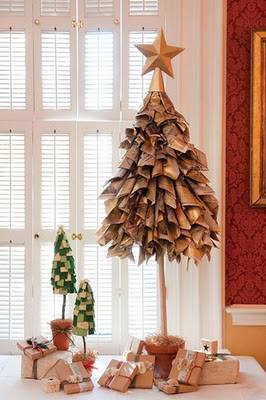
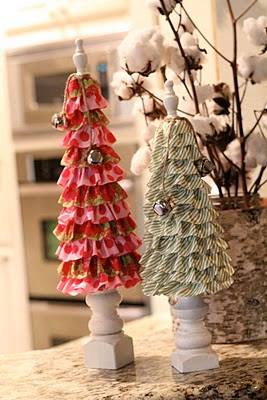
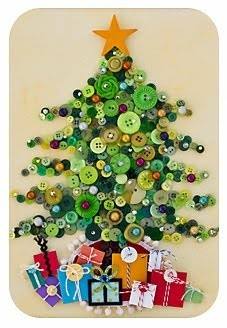
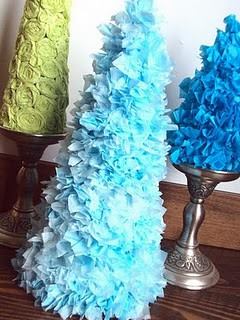

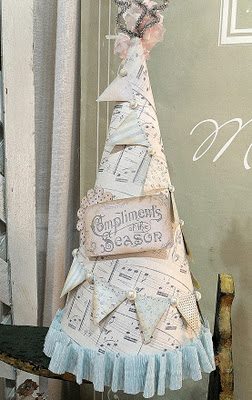
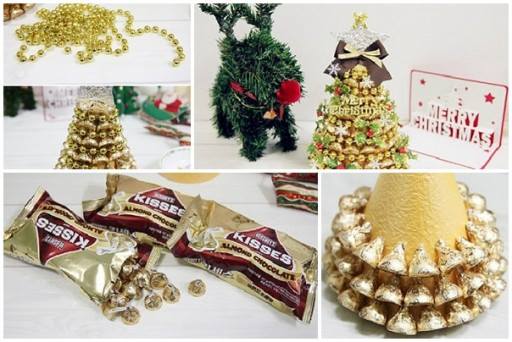
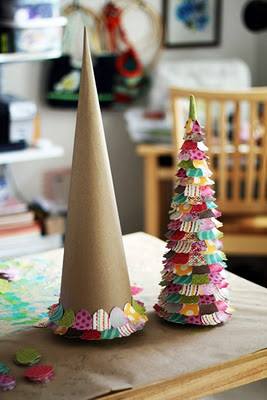
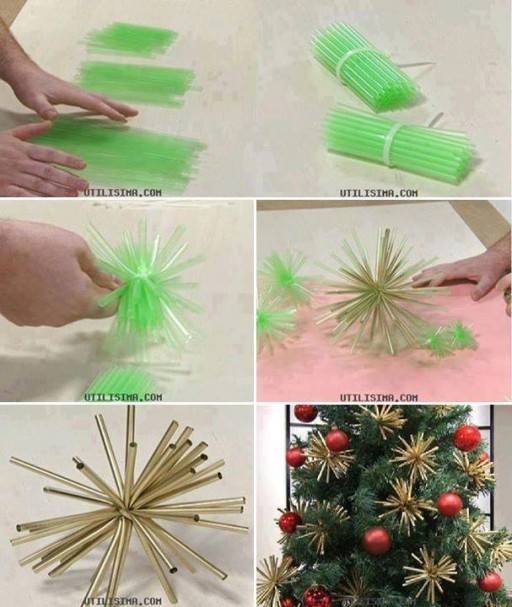
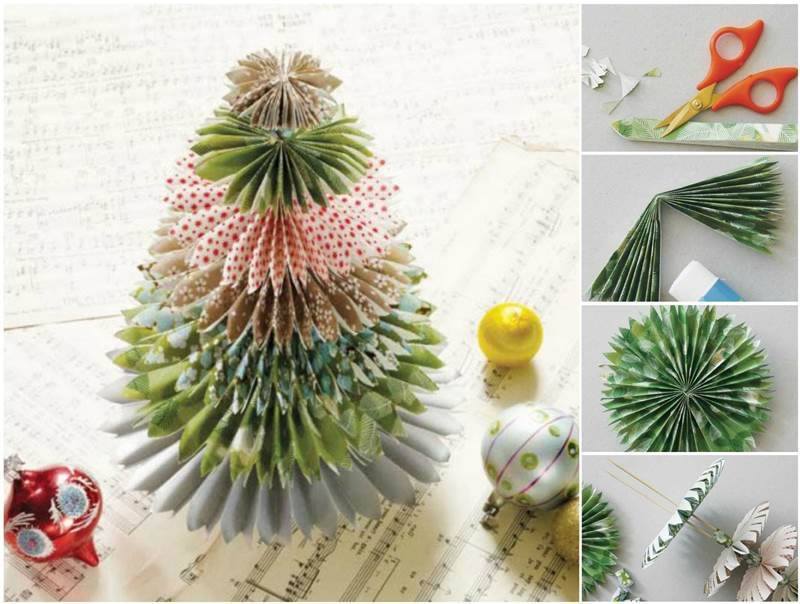
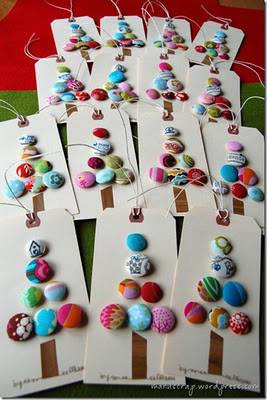
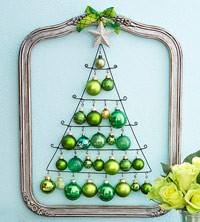
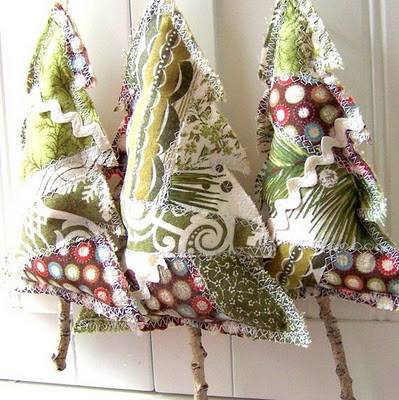
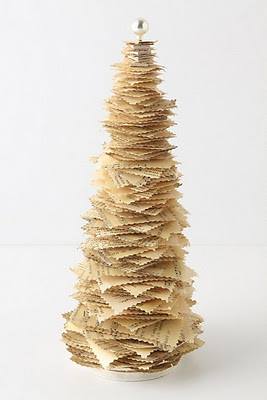
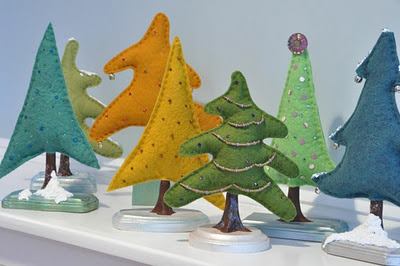
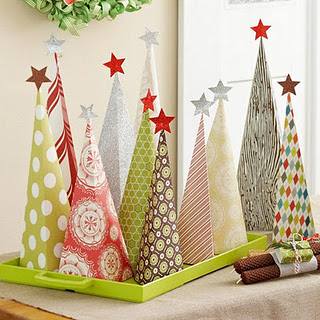
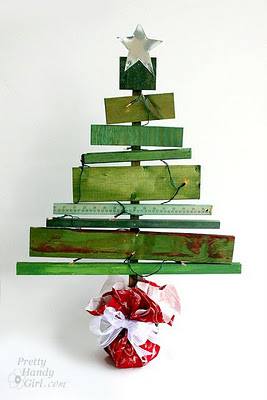
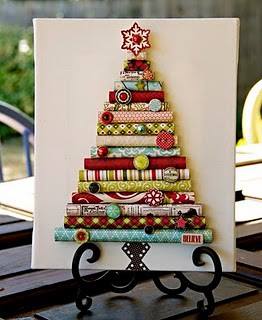
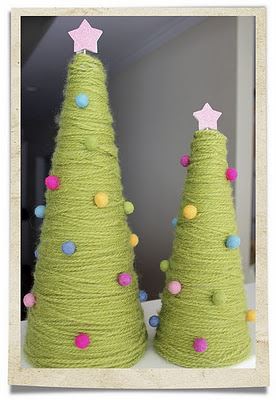
Which one your favorite? Please tell us in the comments below. And be sure to follow on Pinterest for more ideas!
Thank you for visiting our website. Keep Creating with Art & Craft Ideas!
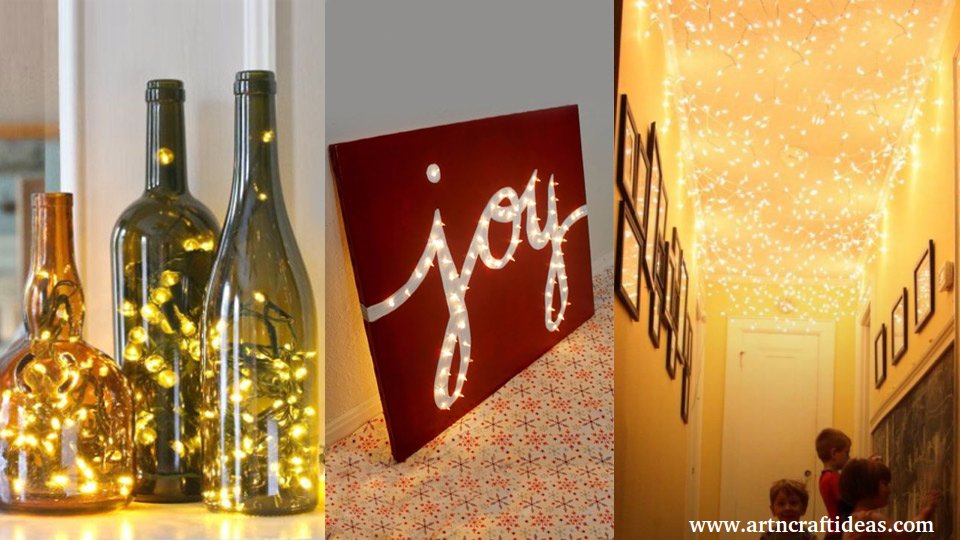
10+ Impressive Ways To Use Your Christmas Lights
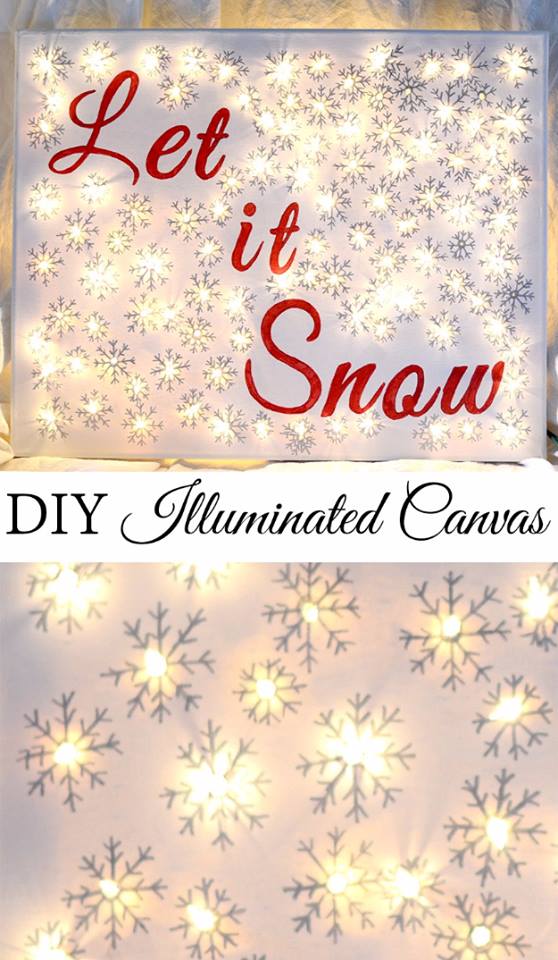
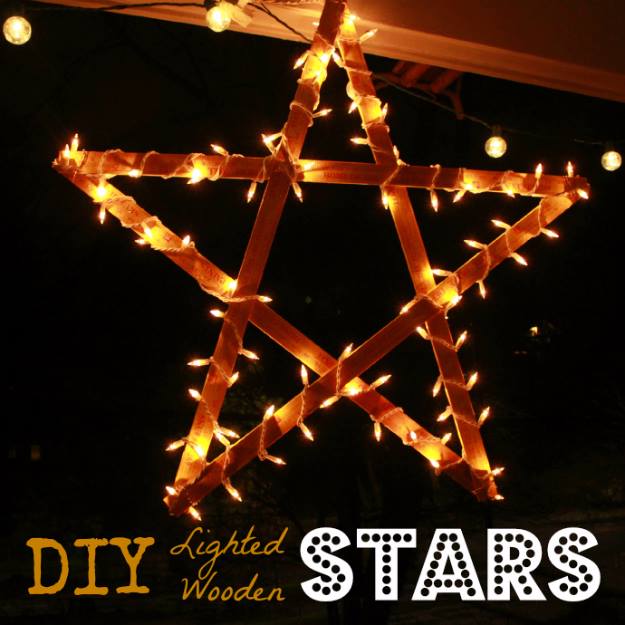
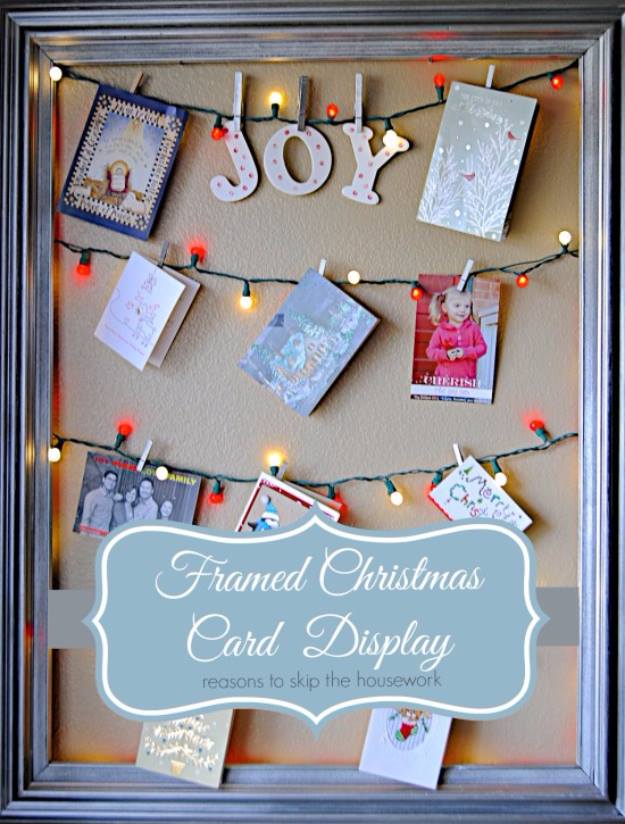
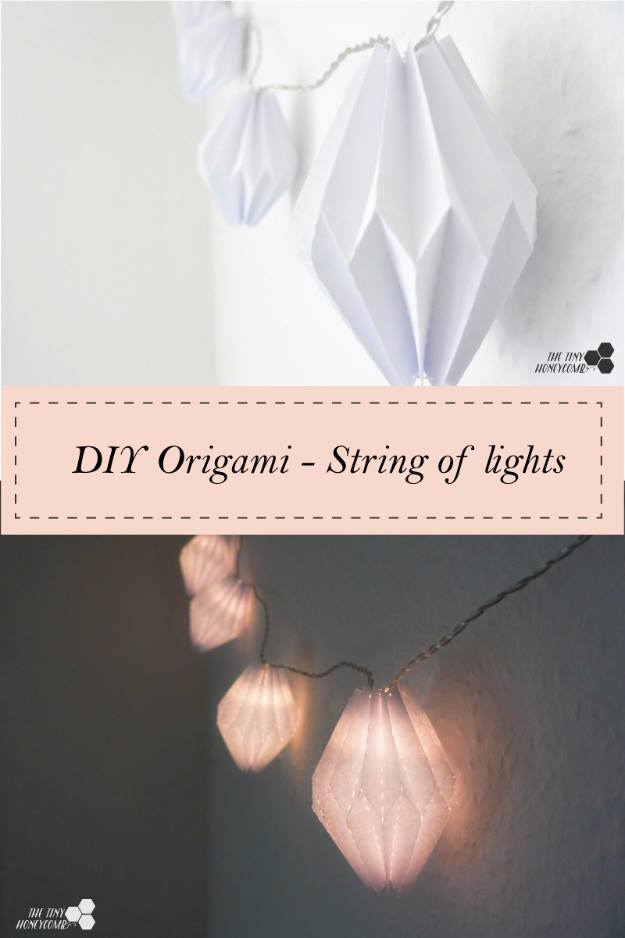
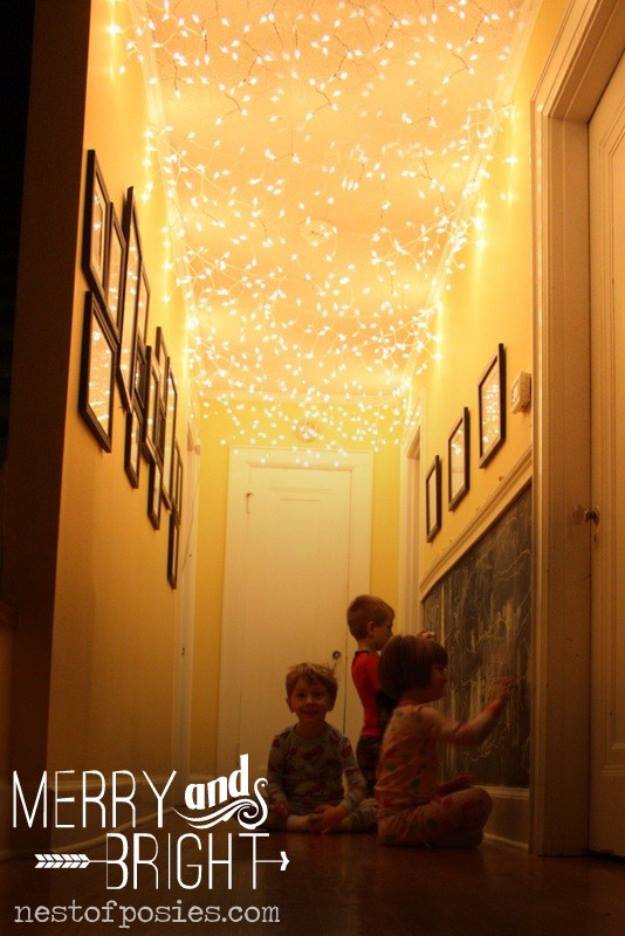
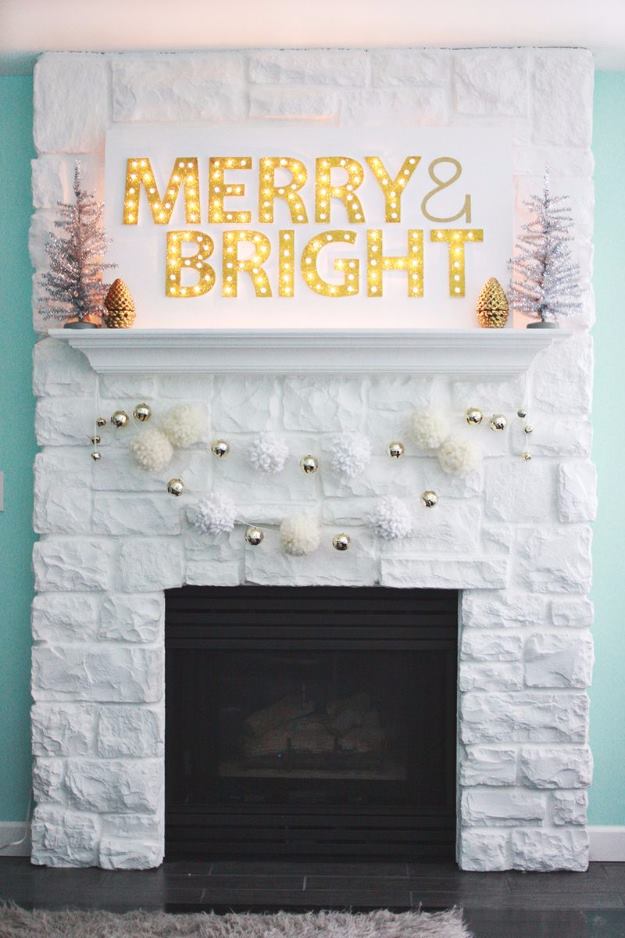
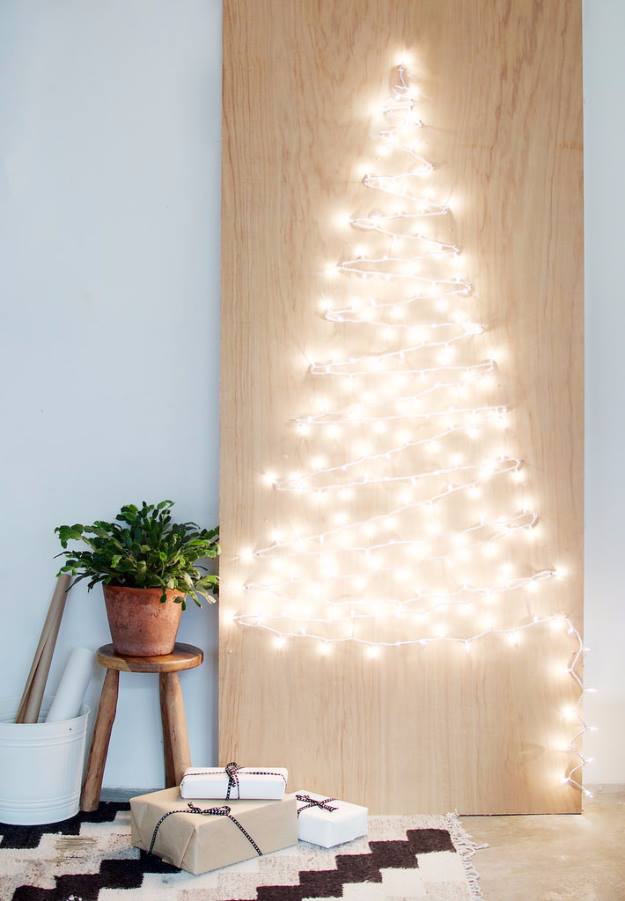
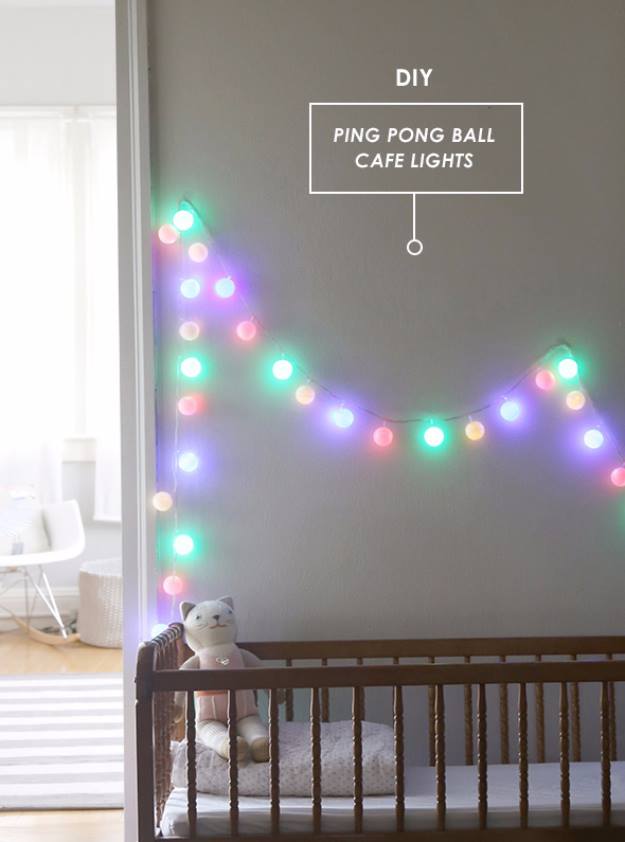
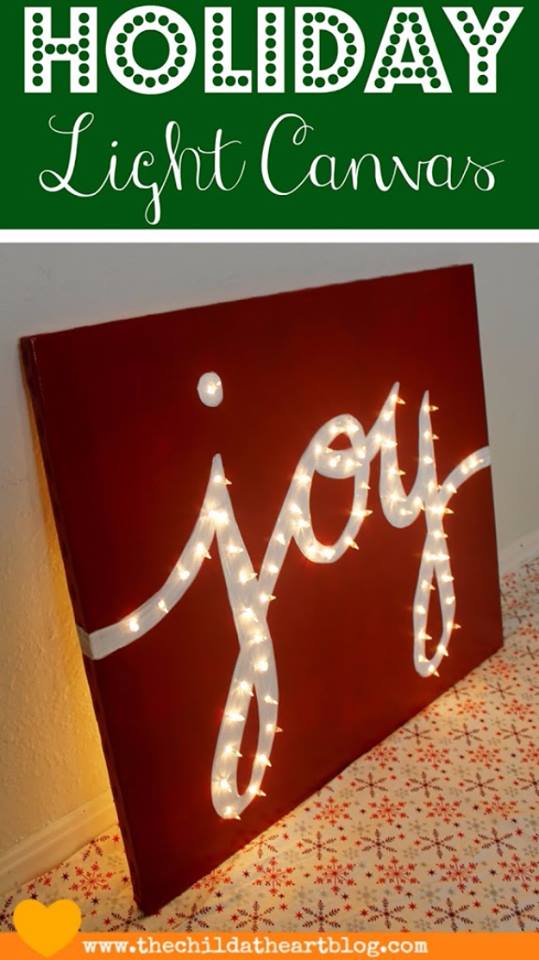
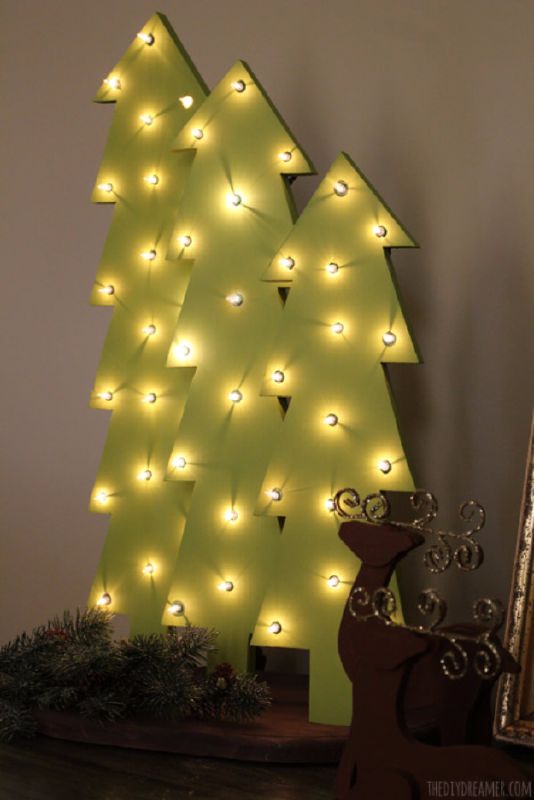
Which one your favorite? Please tell us in the comments below. And be sure to follow on Pinterest for more ideas!
Thank you for visiting our website. Keep Creating with Art & Craft Ideas!
