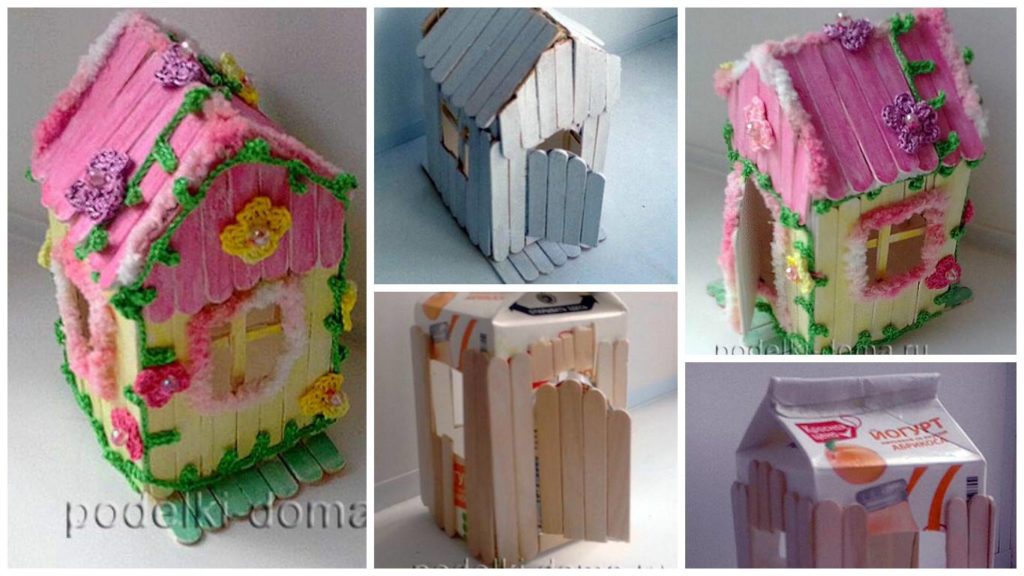
Posted onJuly 1, 2017July 1, 2017inCraft, Kids Corner, Tutorial How to Make a Ice Cream Stick House for Baby Doll
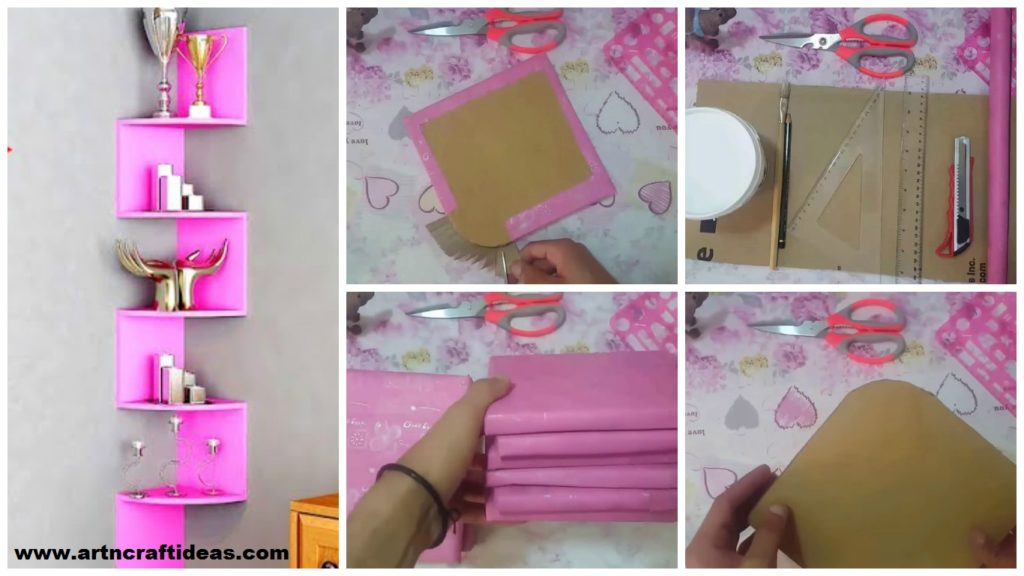
Posted onJune 19, 2017inBest out of Waste, Craft, DIY, Home Decor, Tutorial, Video Simple DIY Corner Shelf For Toys
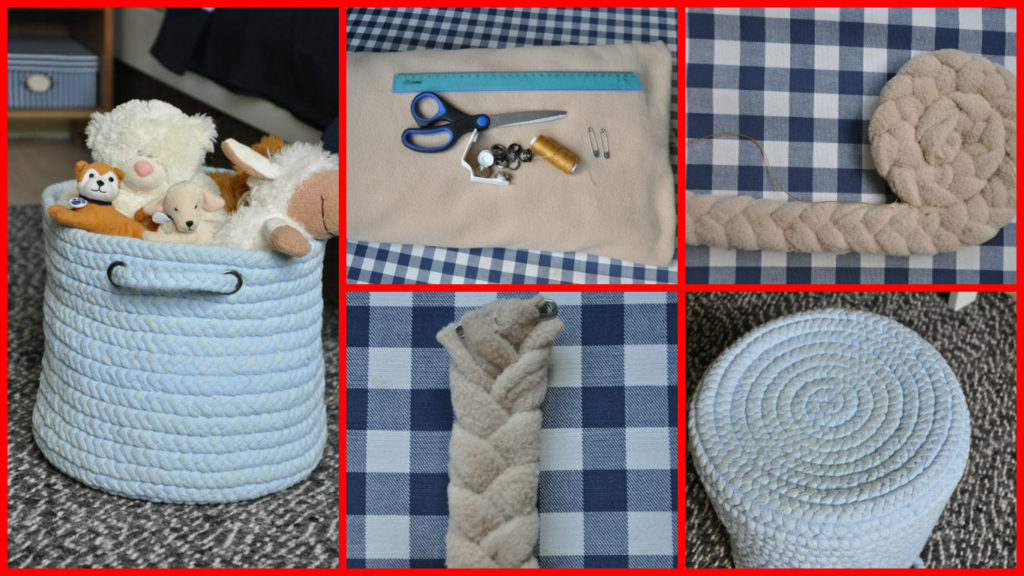
Posted onFebruary 4, 2017inBest out of Waste, DIY, Step by step, Tutorial How to create a basket of toys