You’ll need:
- an indigo dye kit
- natural fiber clothing or fabric
- 2 5 gallon buckets
- rubber gloves
- small wood squares
- rubber bands
- twine
- a PVC pipe
- a long wooden stick
- a drop cloth
- rubber gloves

When choosing fabric or clothing, it’s important that made of natural fibers. Cotton, wool, silk or linen work best. I also like to pre-wash my fabric before dyeing. Here I’m using rectangular dinner napkins but obviously, any shape or article of clothing will do! Here are just a few basic binding techniques to try:
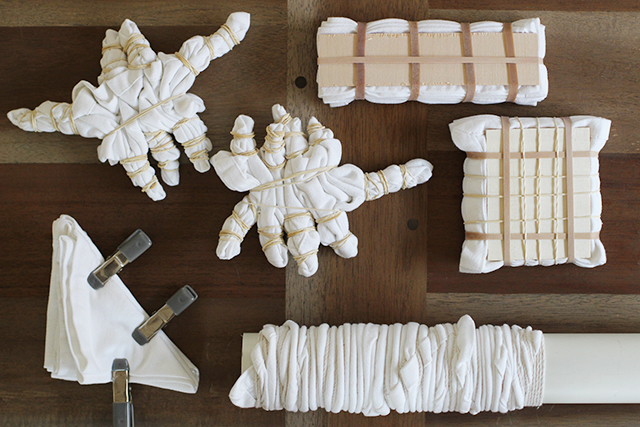
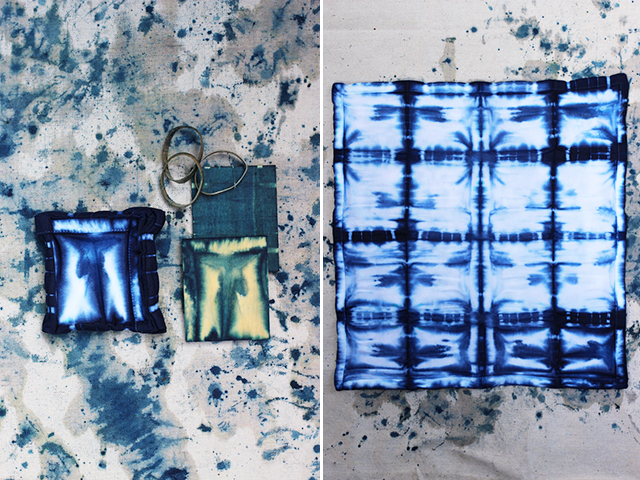
Itajime shibori is known as the shape-resist technique. To start, fold the fabric like an accordion.
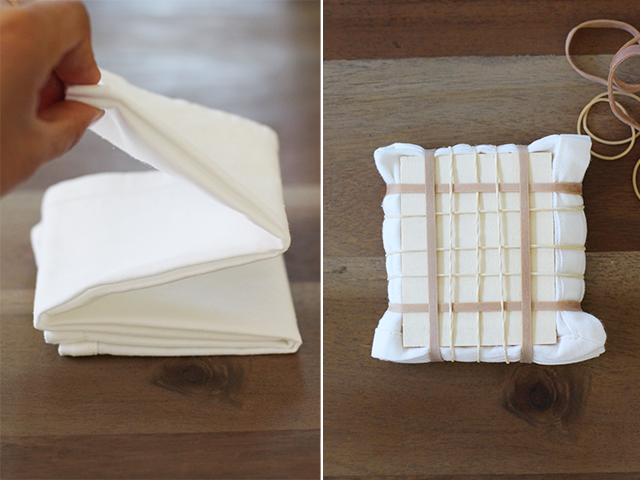
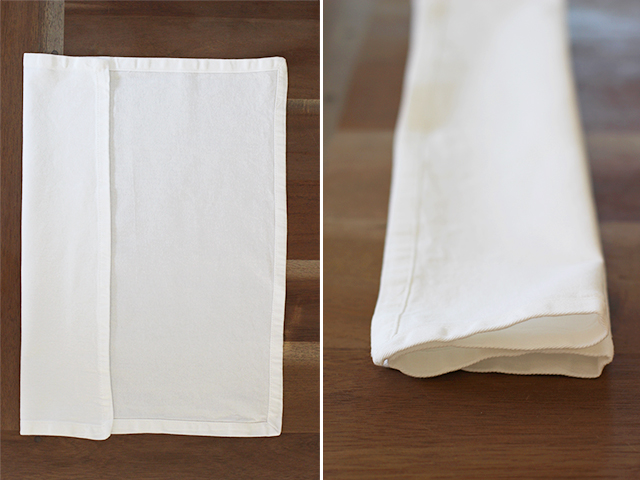 Fold it again in the other direction – again, like an accordion. Place it between two pieces of wood, or any flat shaped object, and bind it together with string or rubber bands. The shapes and rubber bands will prevent the dye from penetrating the fabric they cover. The larger the shape and the more rubber bands you use, the more white you will see. The smaller the shape and fewer rubber bands you use, the more indigo you will see.
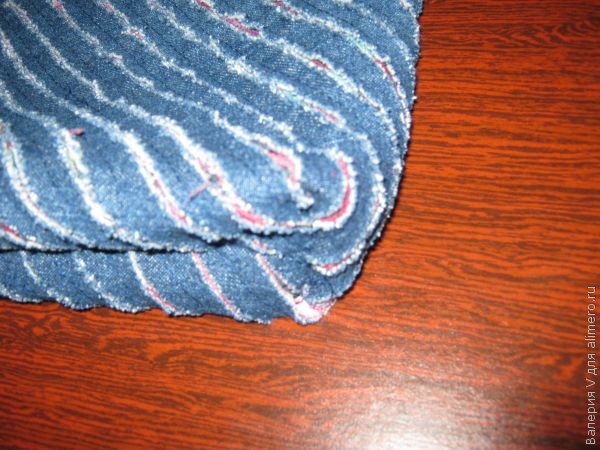
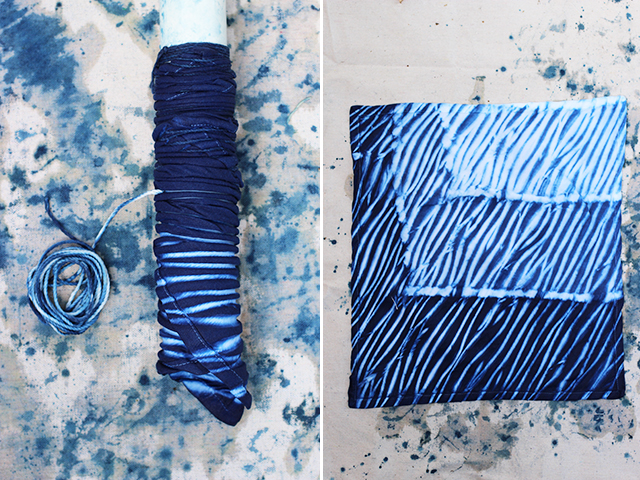
 Arashi is the Japanese term for “storm” and it’s also known as the pole-wrapping technique. It starts by wrapping fabric around a plastic PVC pipe at a diagonal. Once the fabric is wrapped, tie a piece of twine into a double knot at the base of the pipe.
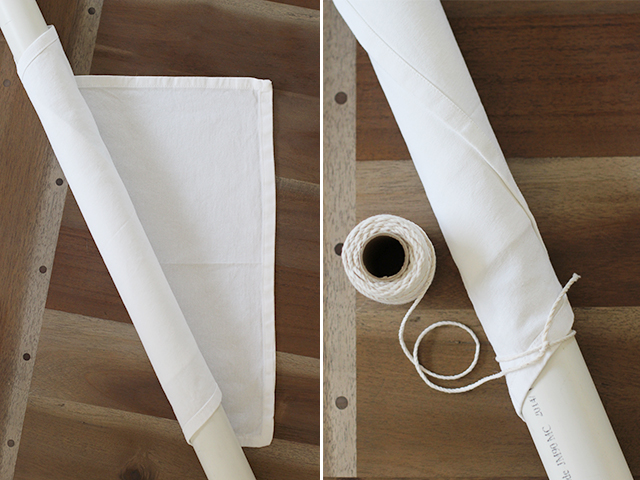 Wrap the twine around the fabric. After 6-7 wraps around the pipe, scrunch the fabric down. Give the twine a strong tug to tighten. Tightening before scrunching will make it more difficult to control and move the fabric.
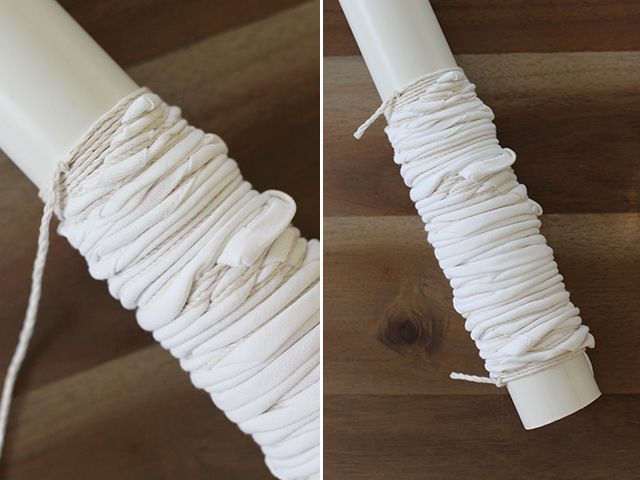
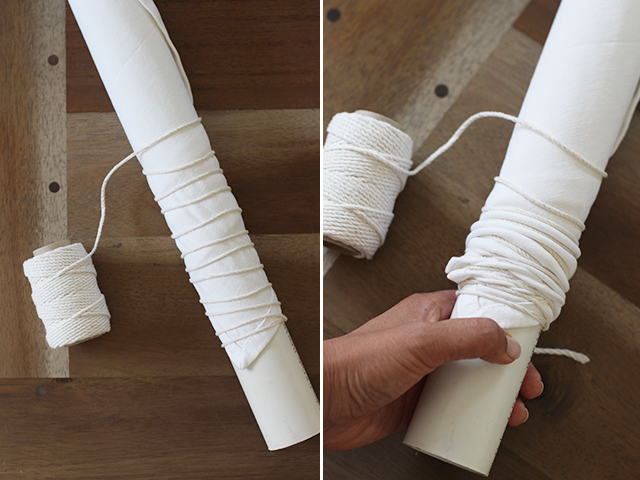 Continue wrapping, scrunching and tightening until all the fabric is compacted. Tie a knot above the fabric. The pattern will be on a diagonal with thin lines of white, where the twine is binding the fabric.
 Kumo shibori is known as the pleat and bind technique. It involves binding the fabric in very close sections, which results in several spider like designs. This is just one of many ways to experiment with this technique. Start by folding the fabric into an accordion. Pinch and bind into equal sections.
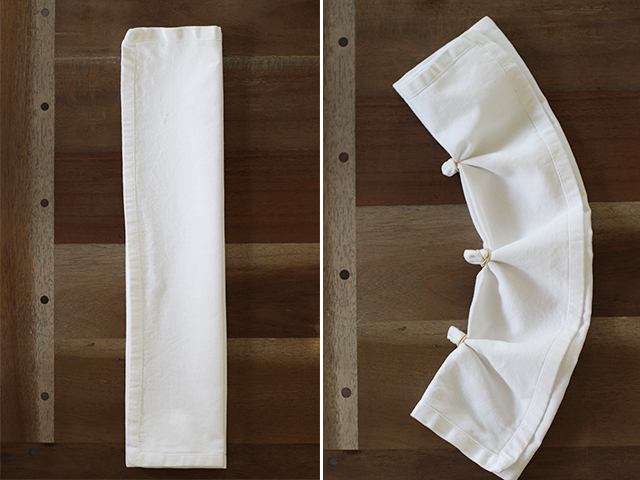 Do the same with the opposite side, in staggered sections. Continue binding with rubber bands, working your way towards the center.
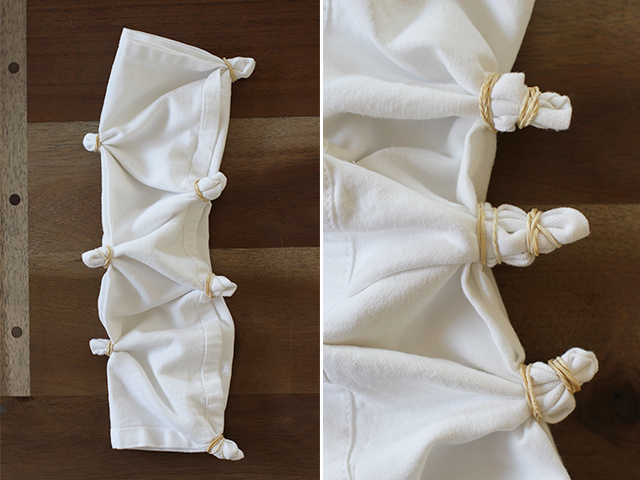 Keep binding until you can’t go any further. Add additional rubber bands to make the fabric into a tight bundle.
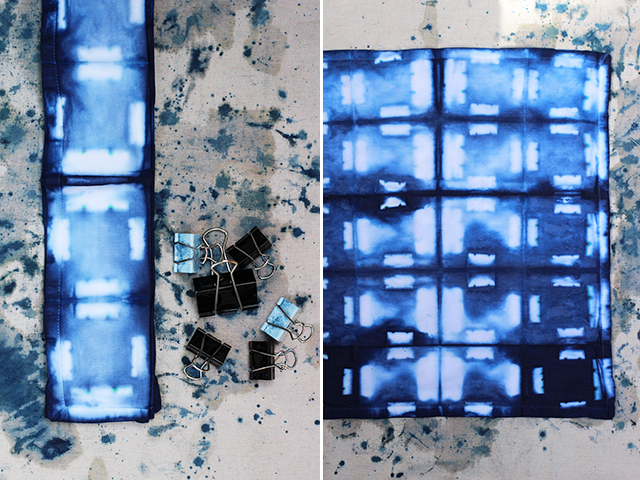
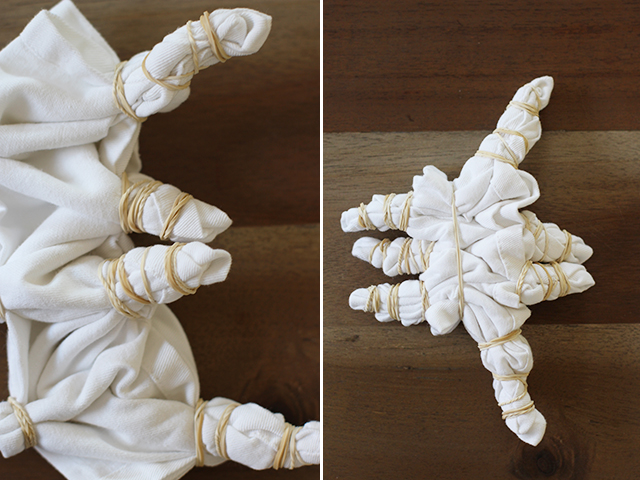 Be resourceful when binding – use clamps, paper clips, binder clips, odd shaped wooden pieces, canning jar lids, etc. There is no right or wrong way to shibori!
 To set up the indigo dye vat, follow the accompanying dye kit instructions. For this particular kit, start by filling a 5 gallon bucket with 4 gallons of warm water. Pour the indigo dye powder into the bucket and stir in a circular motion.
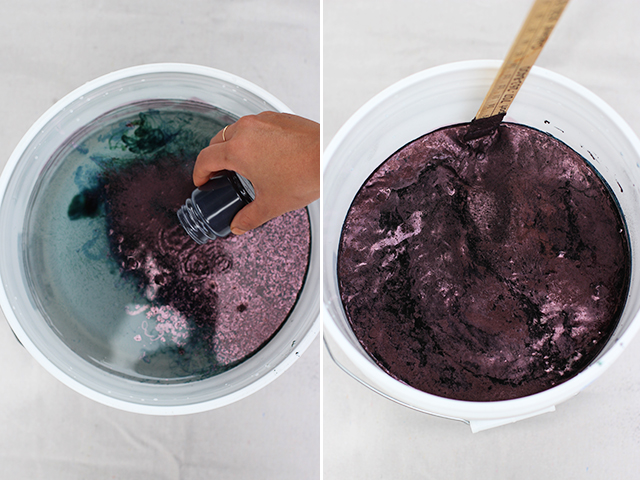 Then pour in the soda ash and reduction agent. Stir again in a circular motion and then in reverse. It is important not to oxidize the dye bath so keeping it covered and stirring it gently is recommended. Once the dyed is well mixed, cover for at least an hour. When you check on the dye, you’ll notice a foamy oil-slick looking top layer and a neon yellow-greenish colored liquid below. This is when you know the dye is ready.
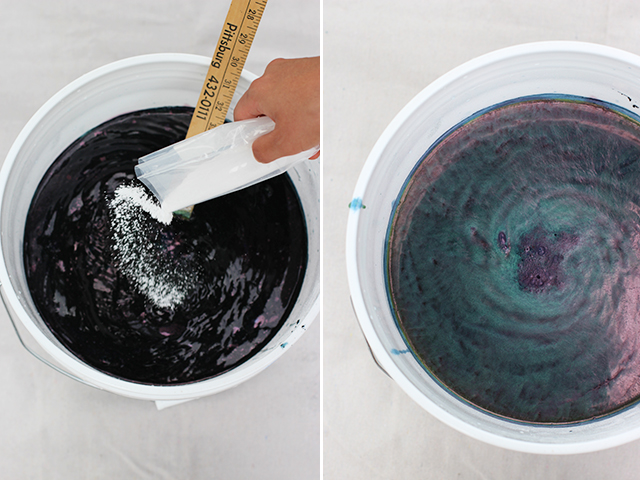 Rinse the fabric in another bucket of clean water. Squeeze out all the water before submerging it into the indigo dye bath. Gently manipulate and massage the dye into the fabric. Again, try not to agitate the dye by working gently under the surface of the dye.
 After about 5 minutes, take the fabric out of the dye. It will have a green hue but after several minutes, as it is exposed to oxygen, it will turn dark blue. Carefully peek inside one of your pieces and you’ll see the areas in which the dye wasn’t able to penetrate. Lookin’ good!
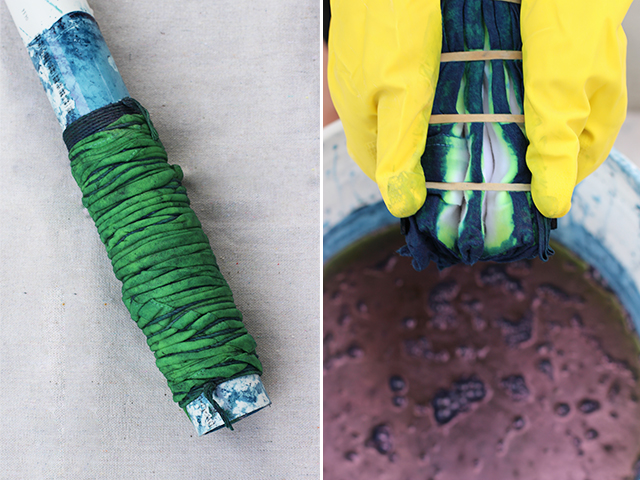 After all the pieces have been dyed and allowed to oxidize, go ahead and repeat the dying process. The more it goes into the dye bath, the darker the indigo hue the fabric will be. And remember, the fabric will always look darker when wet and will fade a bit when washed for the first time.
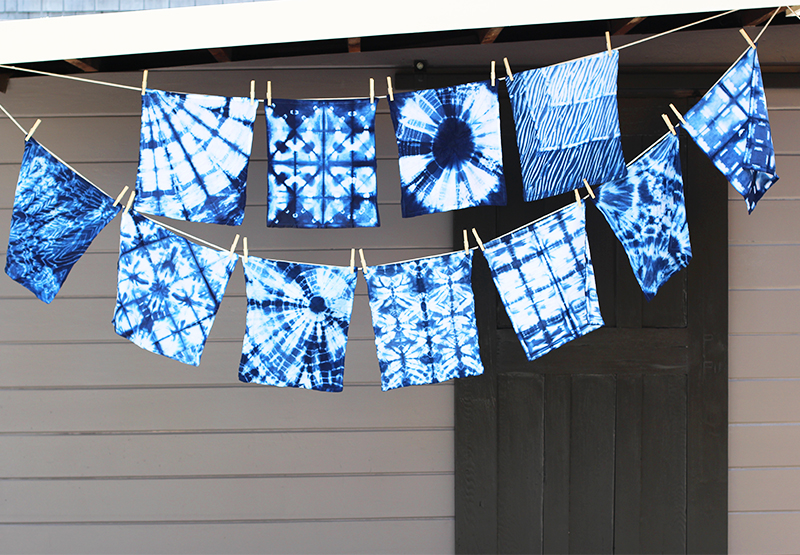
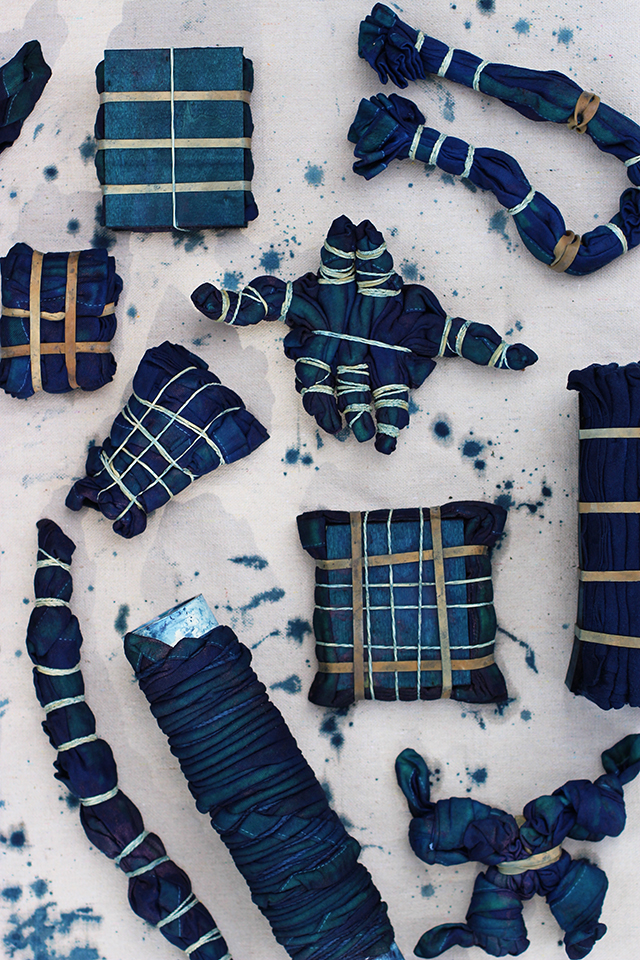 After dyeing, allow the pieces to dry and set. I like to leave them overnight before unwrapping the pieces. Put on a fresh pair of gloves, grab a pair of scissors and keep that bucket of clean water nearby. Give the bound pieces a good rinse in water and then carefully snip away the rubber bands and twine. First up is the shape resist technique. See how the fabric is gridded with striped lines from the rubber bands? My wooden squares weren’t able to exclude the dye completely and I love it! That is the beauty of shibori – there are no mistakes.
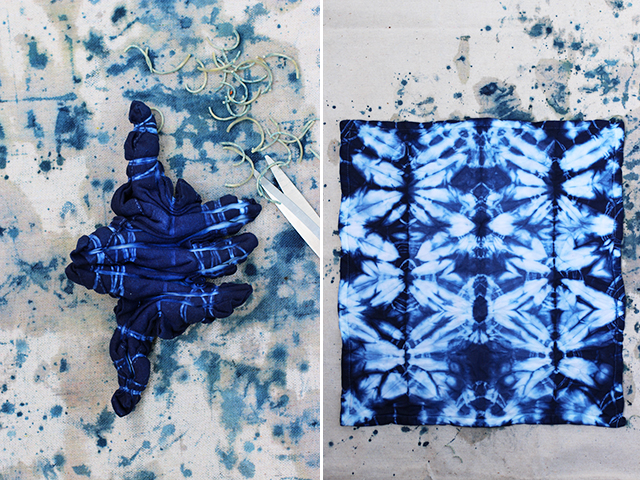 Now for the pleated and bound resist technique . . .
 And the pole tying technique . . .
 I used binder clips here to bind a square accordion fold.
 Here, I simply knotted all four corners of the fabric individually.
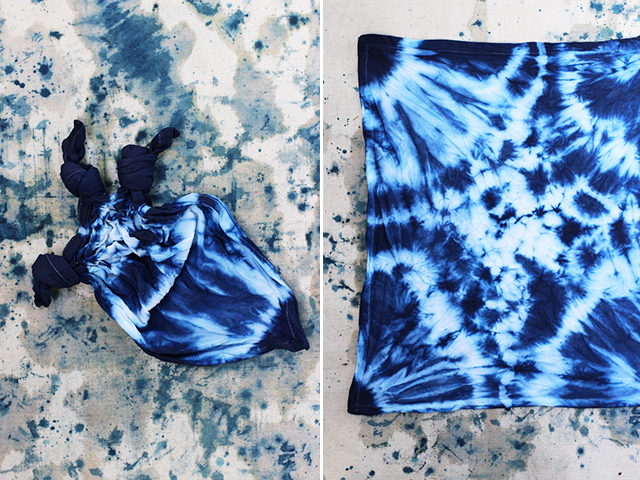 And then there is the good ol’ binding method we all did in grade school.
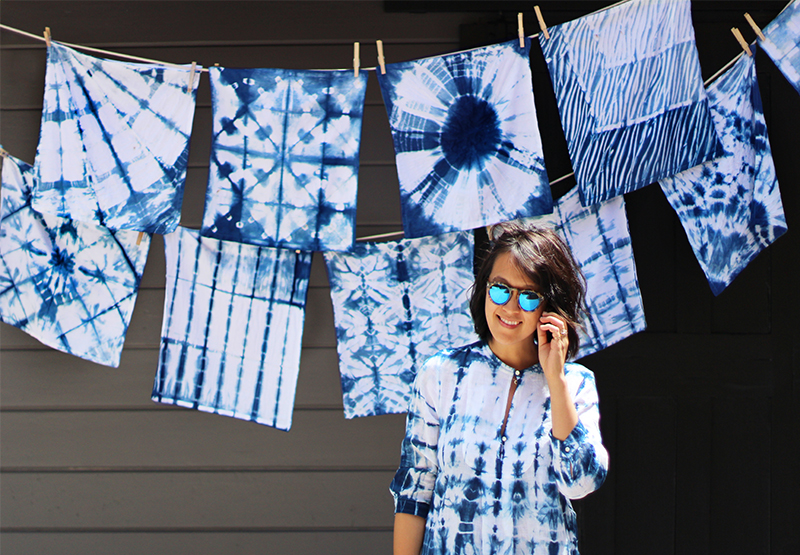
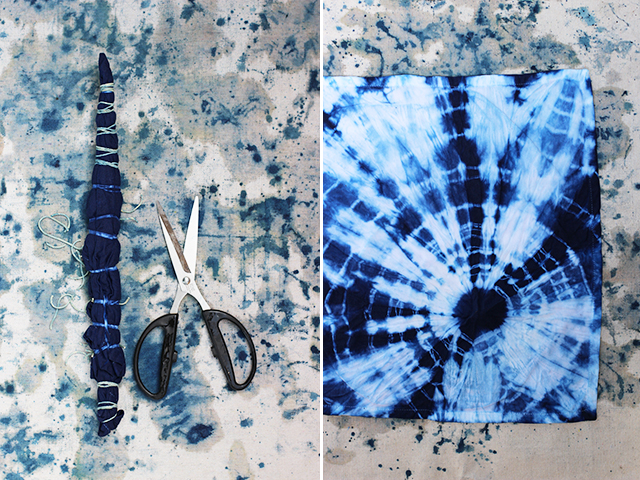 Once all the pieces have been unwrapped, wash them in the washing machine with cold water without detergent. Line dry, or dry on the lowest heat setting in a dryer, and iron to set the color.
The dye vat should allow you to dye at least 5 pounds of fabric. If you keep it covered after each use, it should last up to 5 days. Have fun!
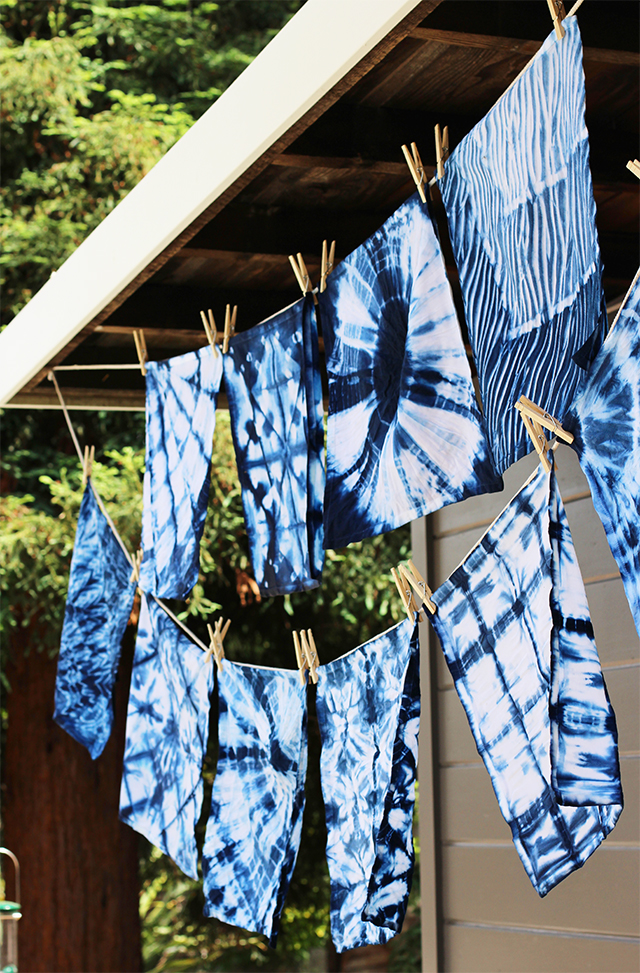 (images by HonestlyWTF)
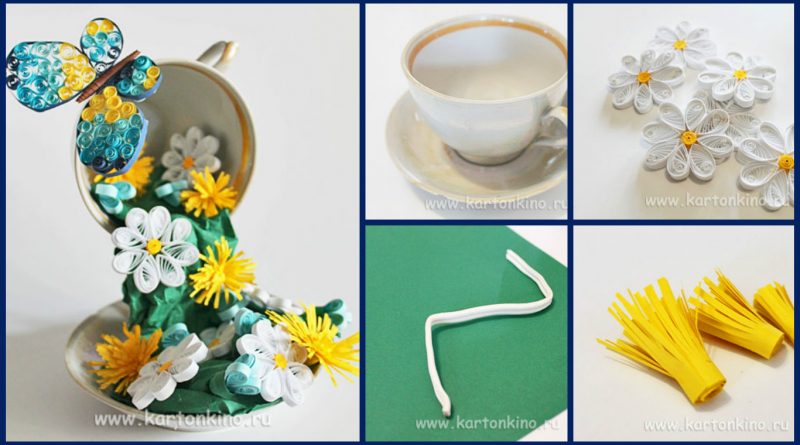
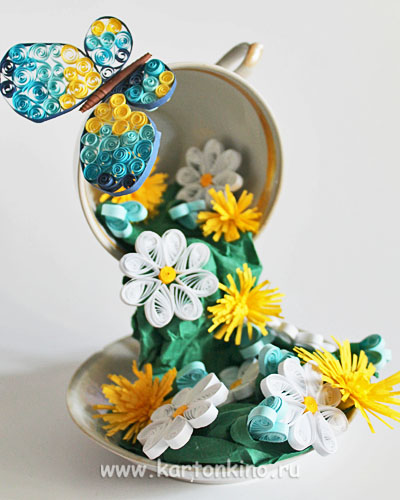

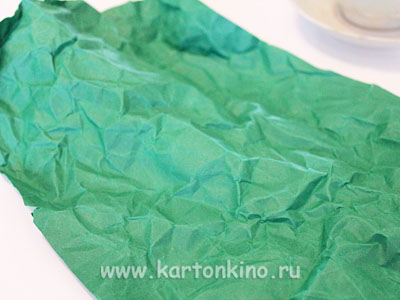
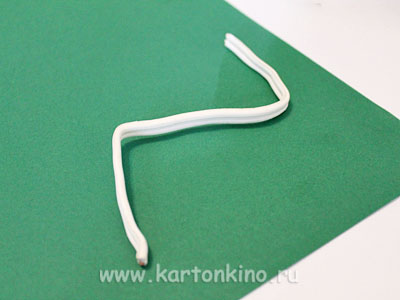 A Dense green paper well crumples, and then smoothes – it’ll drape the wire.
 Wire wrapping paper. We attach basis for quilling composition suitable form.
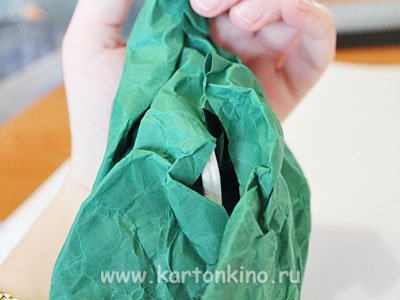
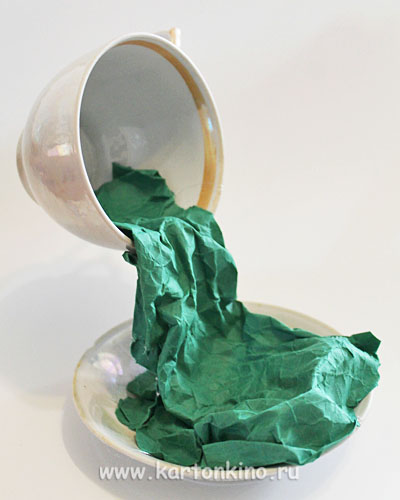
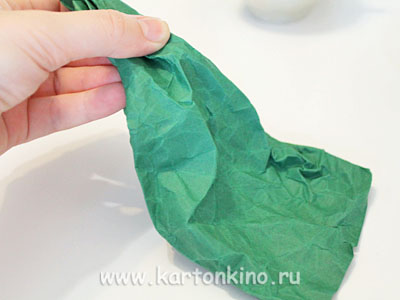 One end of the blank is glued to the saucer via Melt. Give the glue to harden properly.
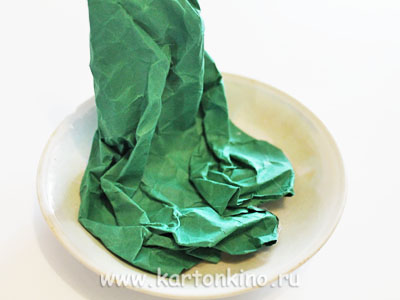 The second end of the wire into the workpiece is pasted plates. Beautifully draping paper.
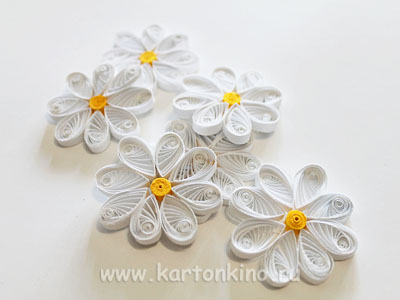 Making flowers dandelions. Take a strip of yellow paper, with a broad end and a narrow one from another.
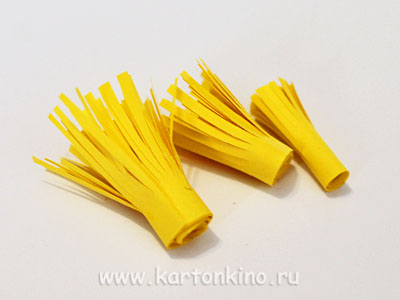
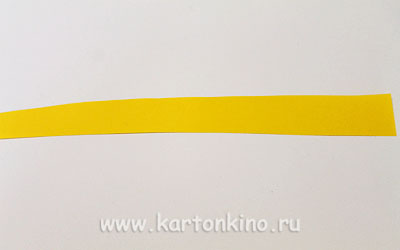 Cut her “grass.” And, since the narrow end, to roll the strip to curl. Unveiling the bud and get a dandelion.
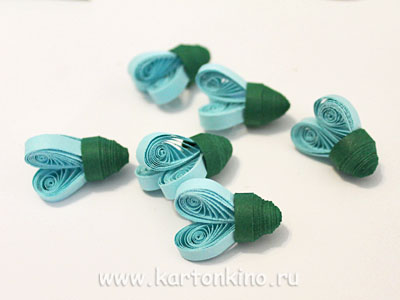
 From rolls of dark green color and the elements of the “drop” blue crocus buds do.
 Glue the flowers to the heart of our abundance bowl, prepare the composition.
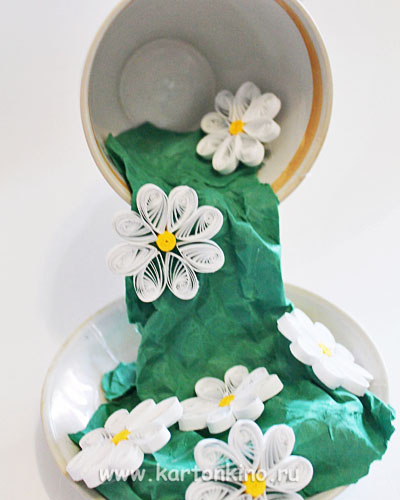 In a cup of “planting” butterfly quilling technique, made in an appropriate color scheme (as do those of butterflies, you can remember
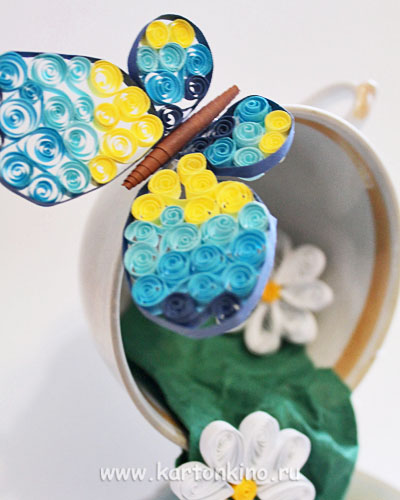 It would be possible to completely close the green background with flowers, but I felt that a part still to be seen.
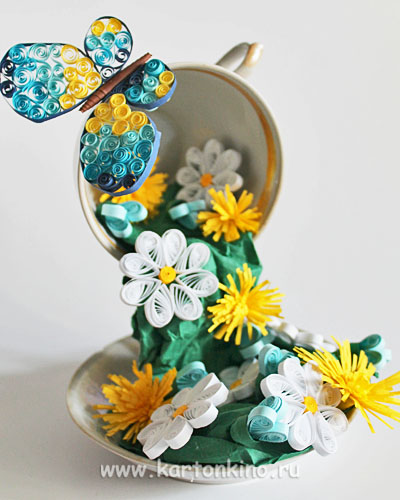 You can also use other colors to create quilling abundance bowl – help you with this. Do not limit your imagination and you will succeed!
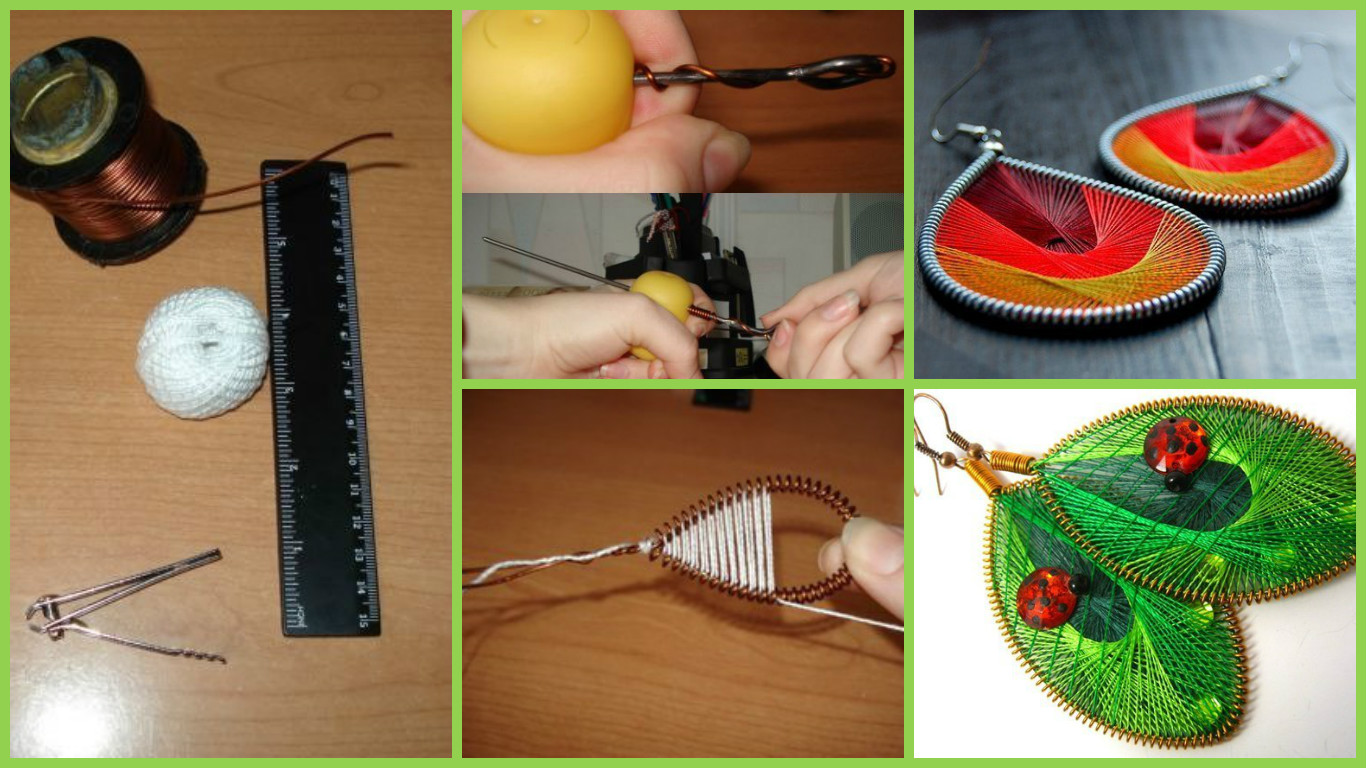
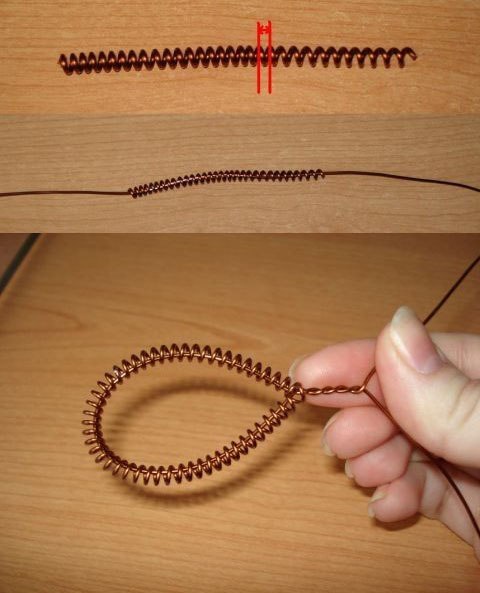
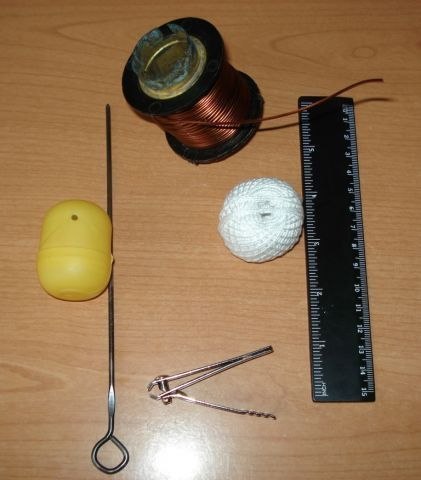 Threaded needle into the egg, fasten
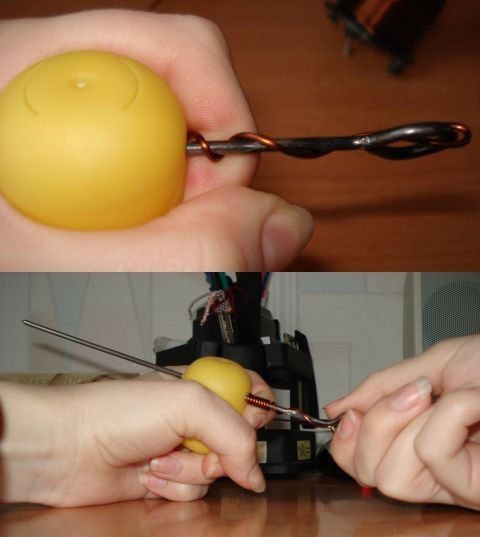
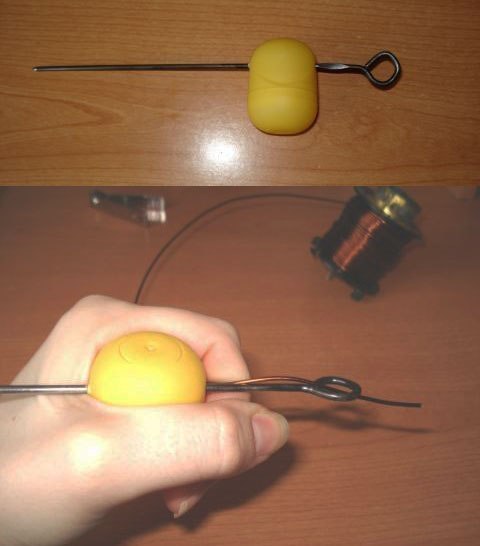 And proceed to the winding wire needle in a spiral. egg stop working in this business
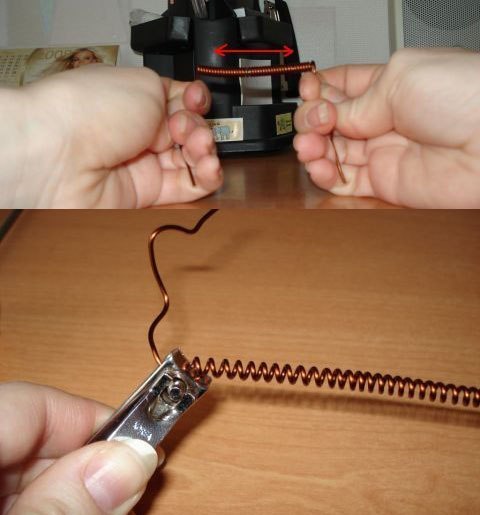 Now get put on a spring-loaded on a piece of a wire – it is necessary to give the earrings a particular shape, such as a circle or droplets
 You can wrap in different directions
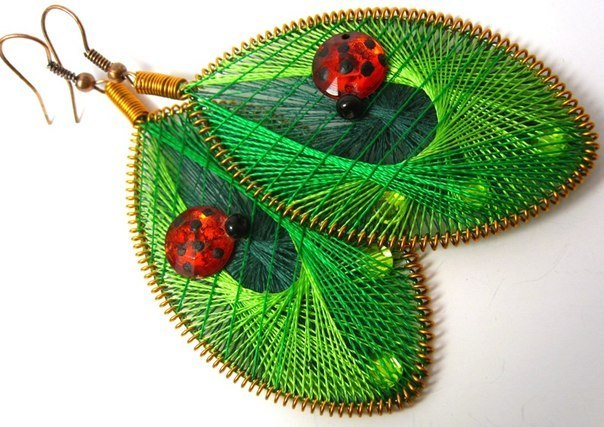
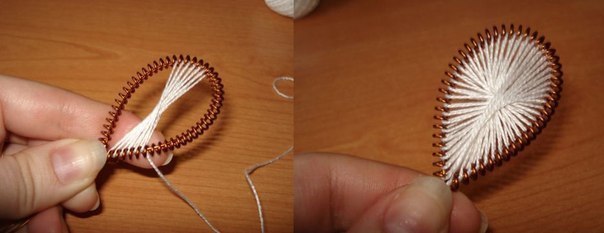 … And different colors
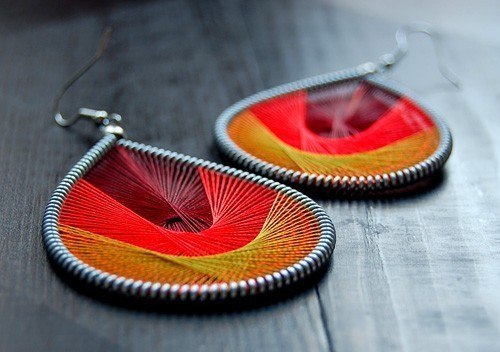 that’s such a beauty, we will end up – literally 5-10 minutes of work 🙂
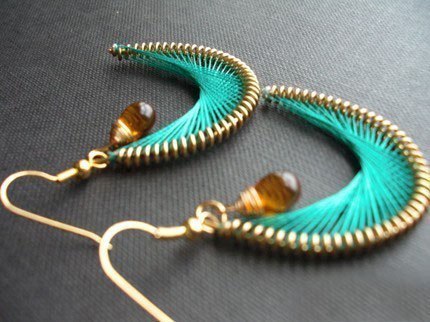 Then they can continue to further decorate – with beads, sequins, feathers, and of course, in the end, do not forget to attach to seventy earrings. All our work of art is ready! It can start to wear 🙂
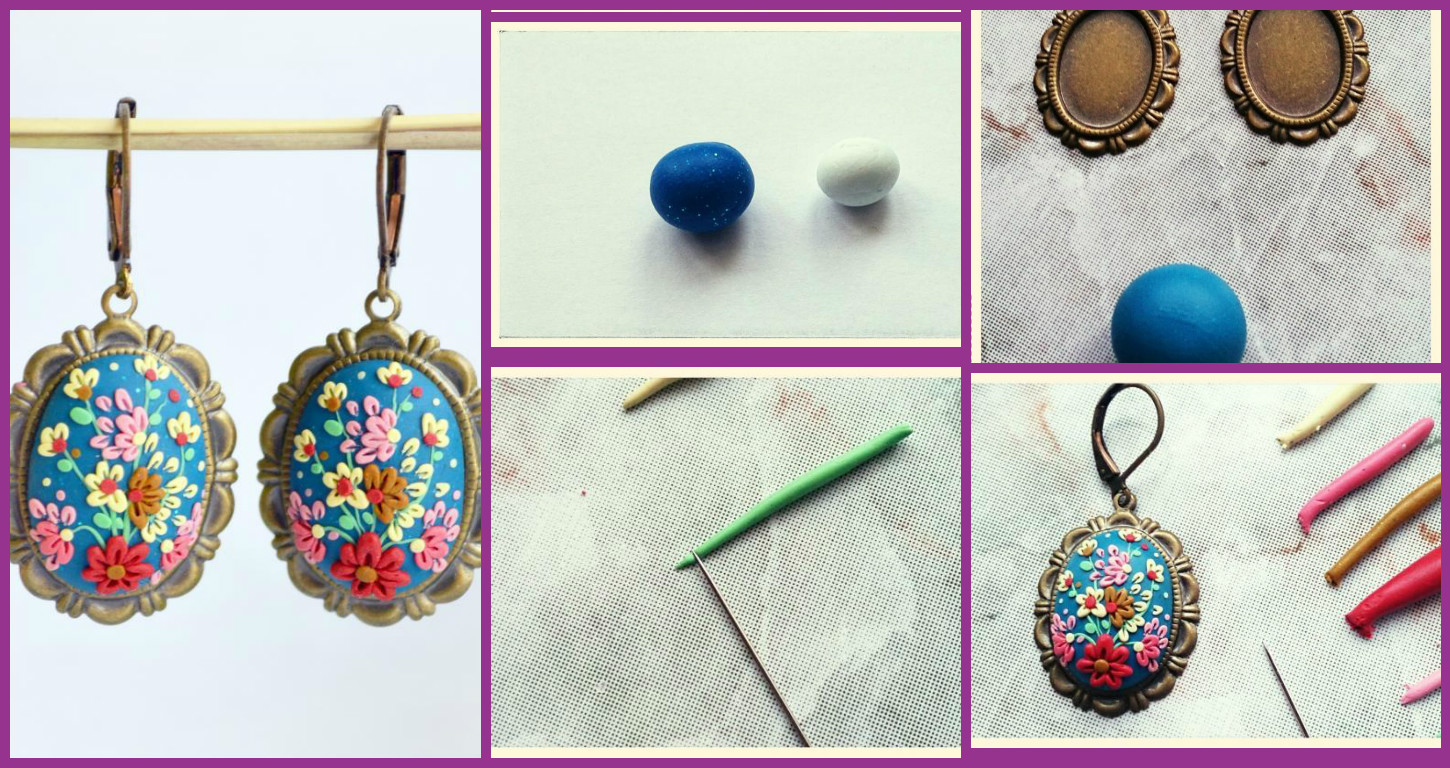
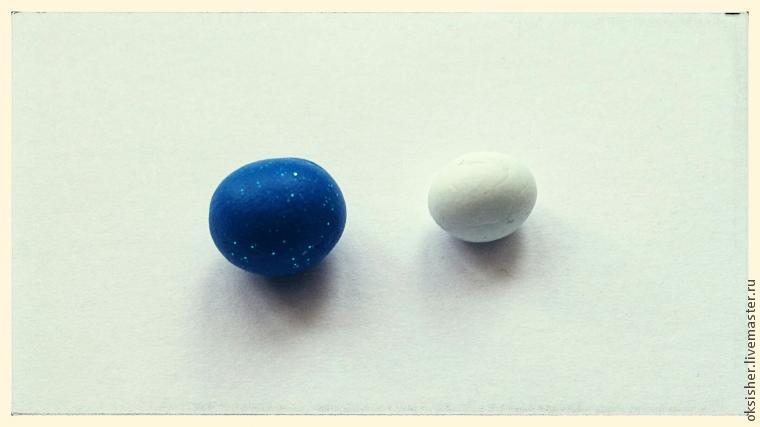 After adding olive green clay.
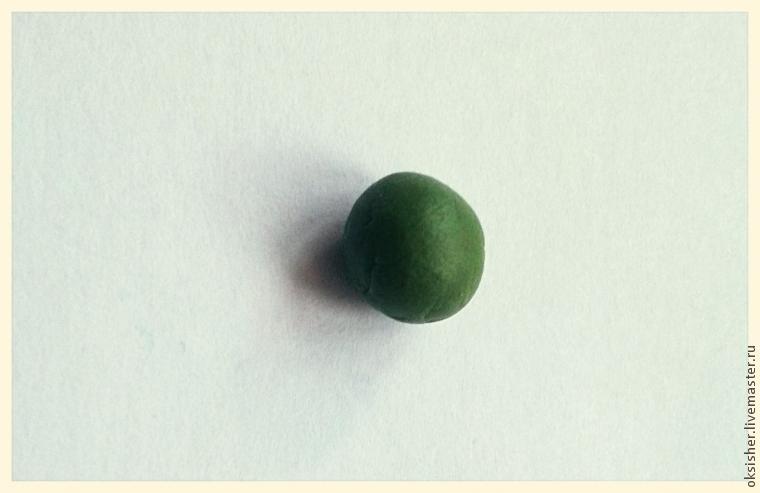 Adding it so much that in the end turned out here that color as celadon.
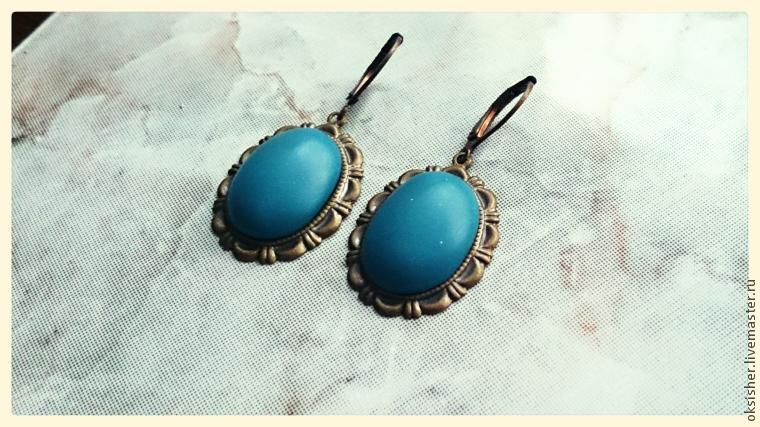
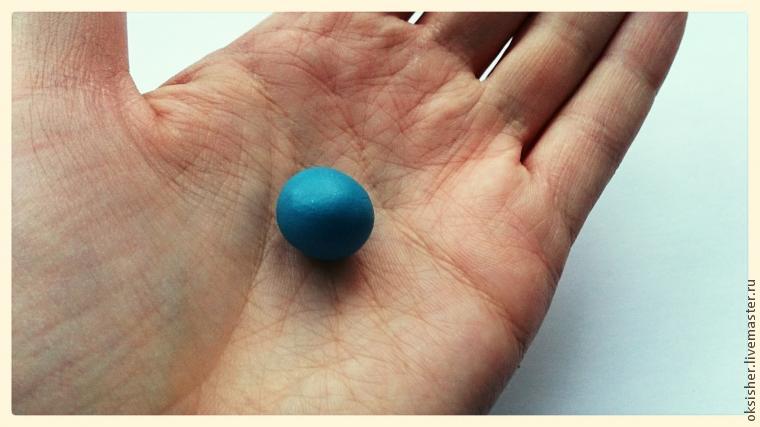 Take the metal framework for earrings and get the ball.
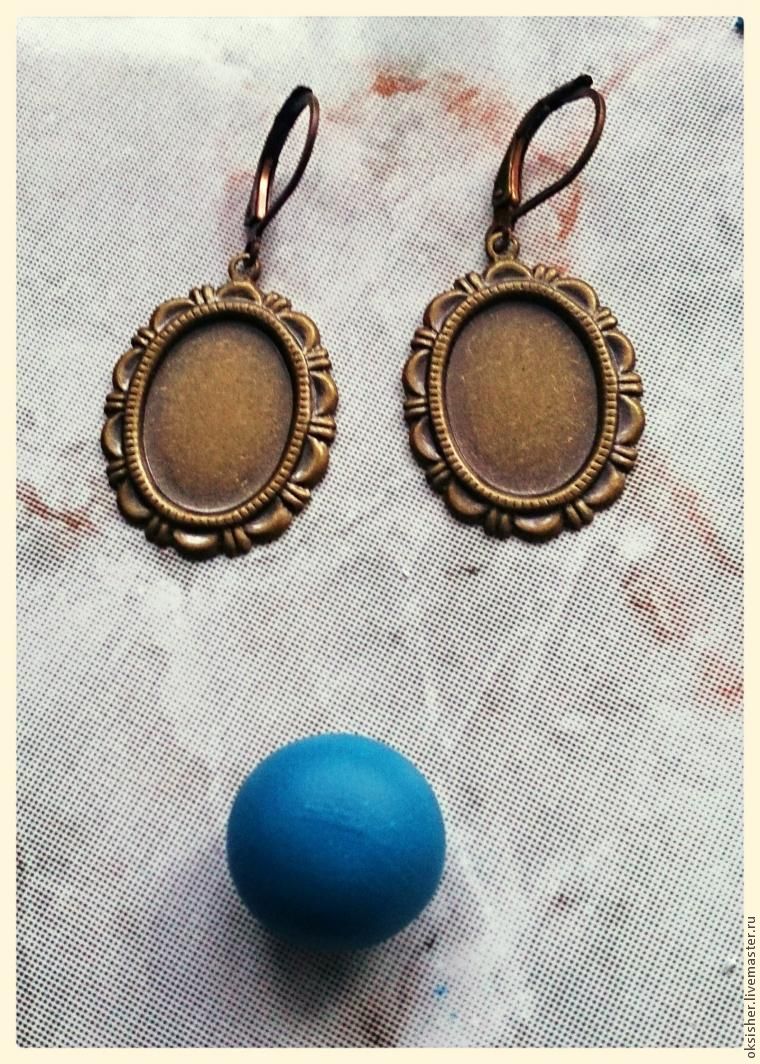 Now we need to share our ball exactly in half. To do this, we perform with a scoop of the following manipulations:
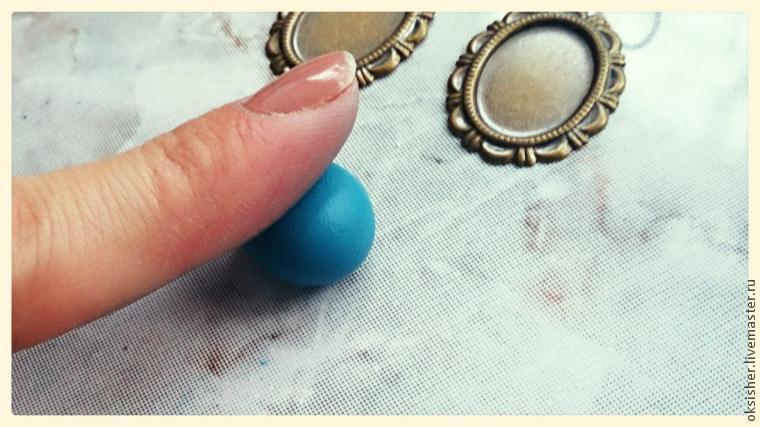
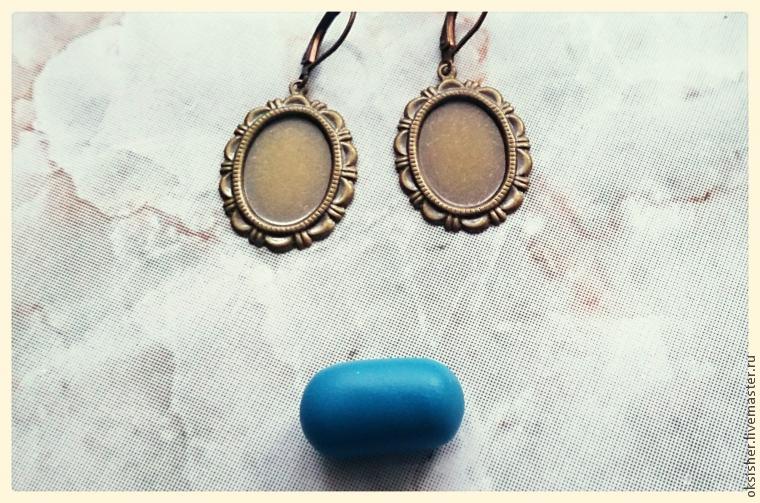
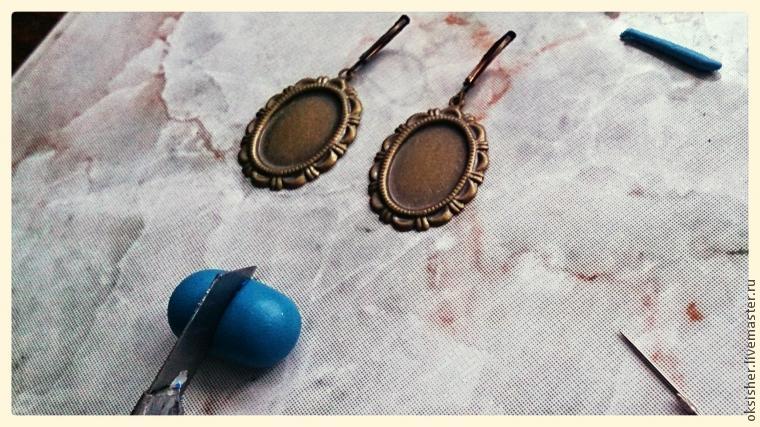 The resulting halves of the roll into two balls.
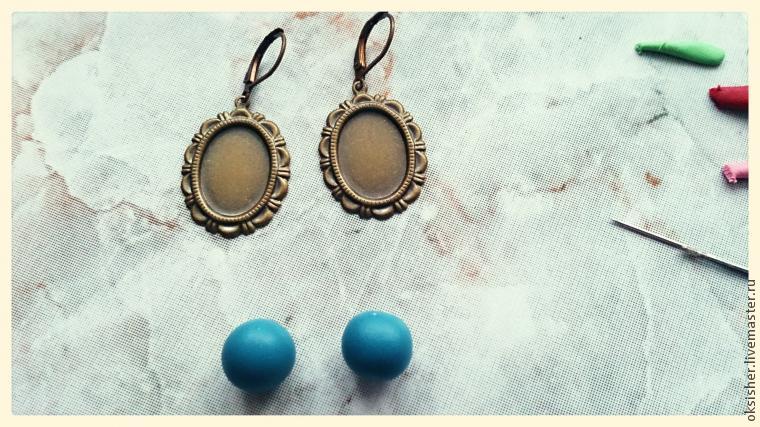
 Take the base with clay, the clay is pressed down the middle of the palm (where there is a small depression) and was equal to our clay finger on the edges of the frame (if necessary, crushing and rubbing a finger).
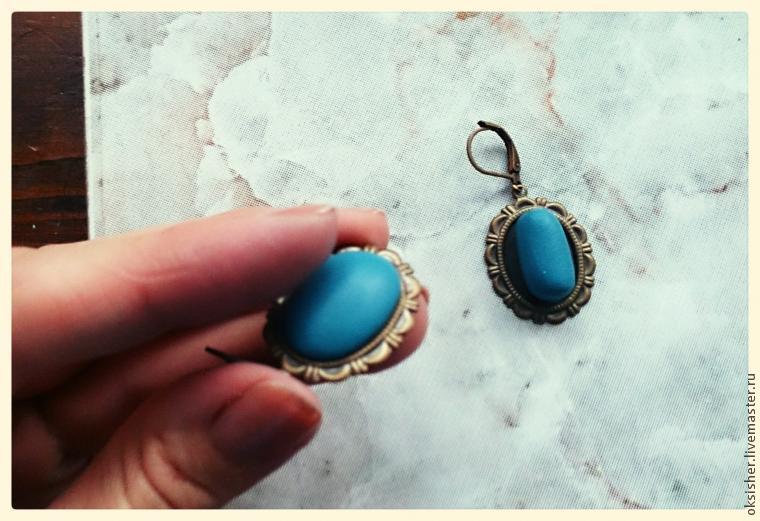 It is important to make sure that the clay is even across the surface of the setting.
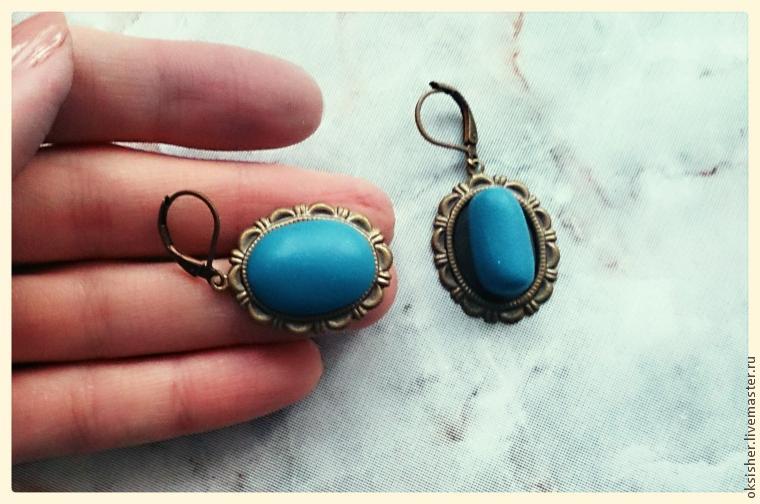 It is important to make sure that the clay is even across the surface of the setting.
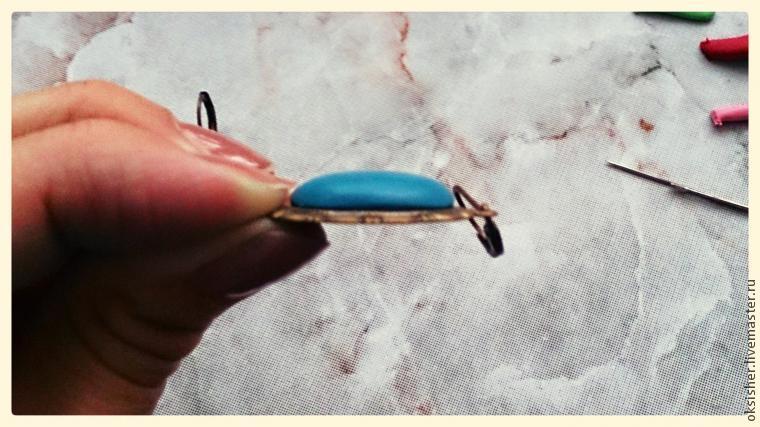
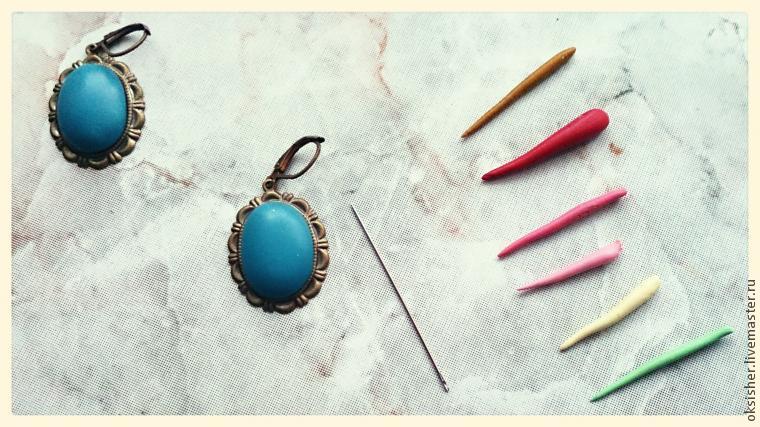
 I have prepared in advance such sausages we need colors.
 Take the needle green, in an amount such that it was possible to roll a thin sausage for the longest branches of our “flowers of the tree.”
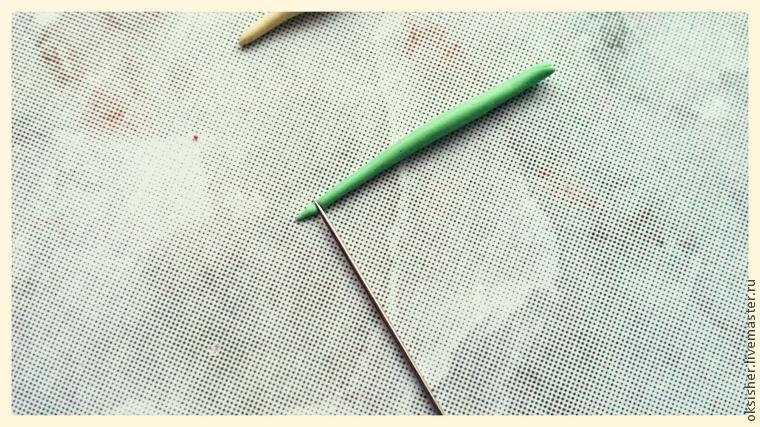
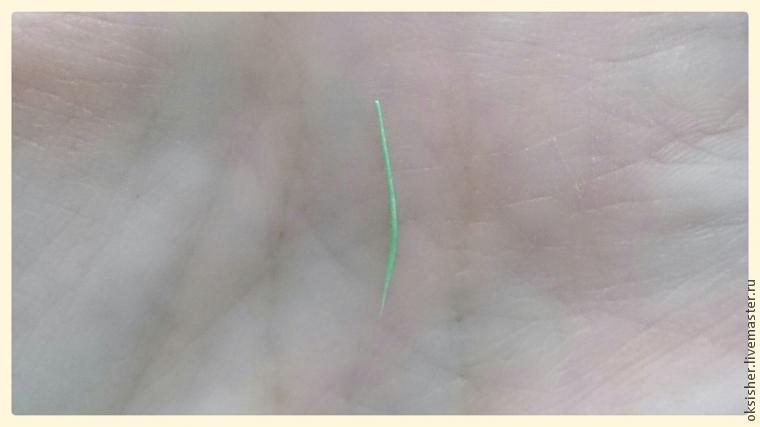 Carefully take the sausage with a needle and using it and are putting our finger on the base of the twig. Use your fingernail to gently press down sausage along its entire length.
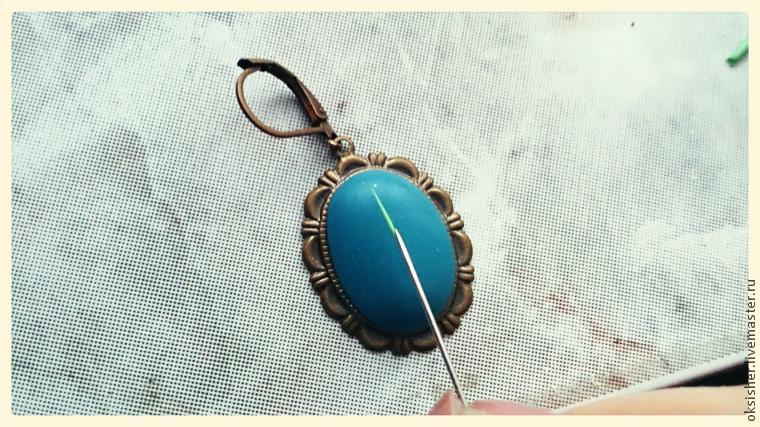
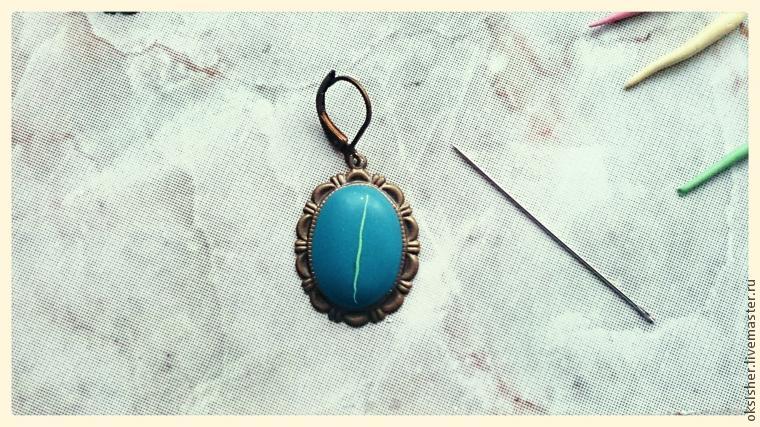 In this way, we lay out all the “tree”, looking at the photos.
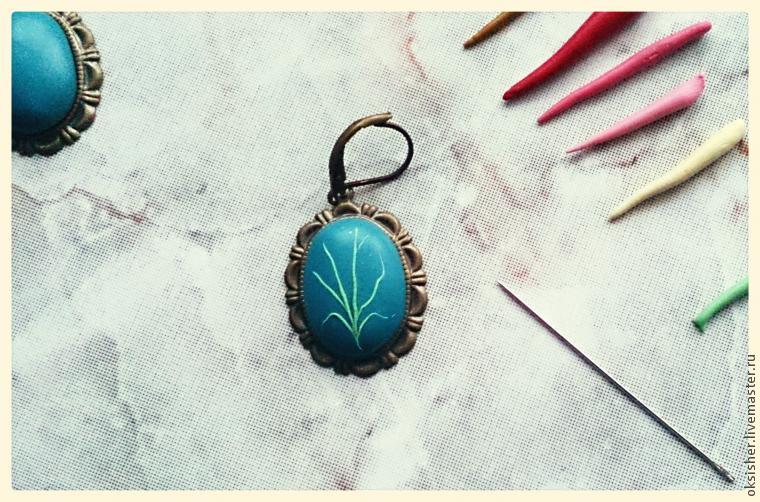
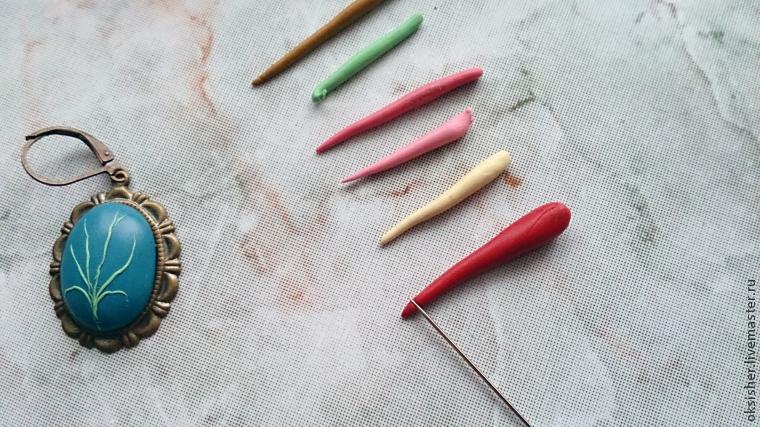 A small piece of clay slips into the palm of your finger. It is important that the clay was not homogeneous and crumbled! It should look like this.
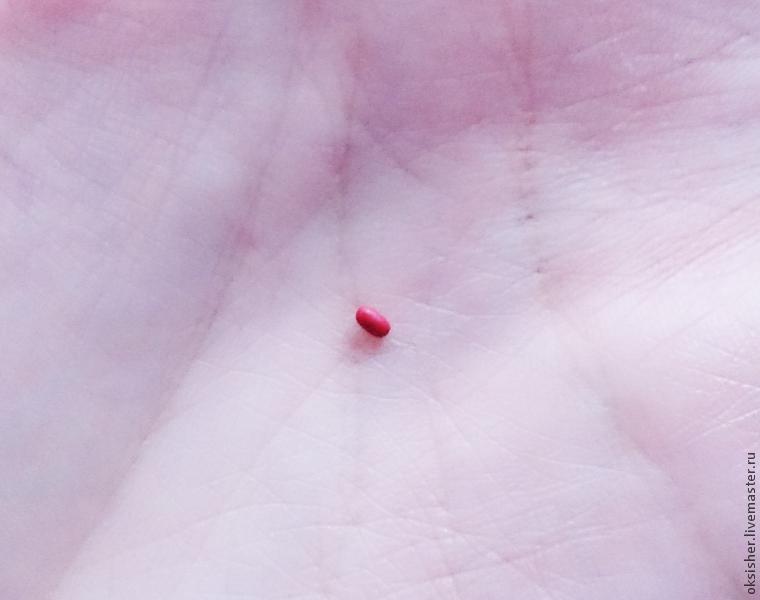 Take the needle and gently put on top of a “tree”, drawing from the middle to the end of the petals groove, thus pinning it to the base.
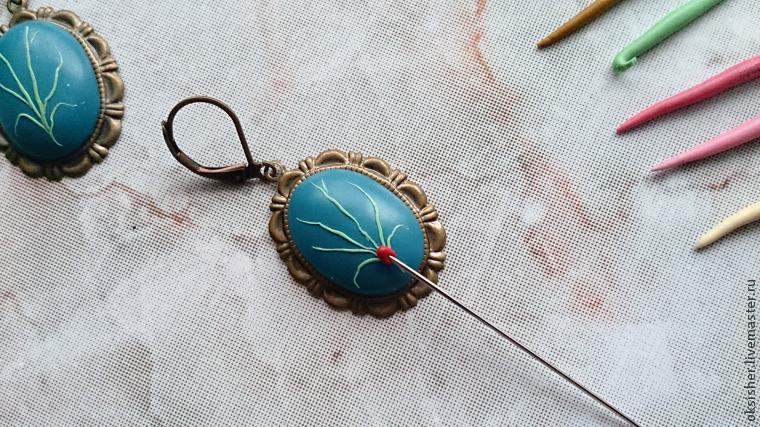 Further, as we put each petal circle. At the end of the flower gently press down with your finger.
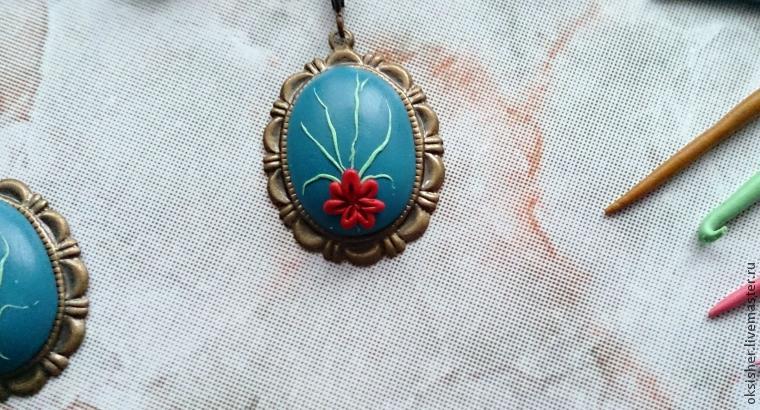 We continue to put the flowers from the bottom up.
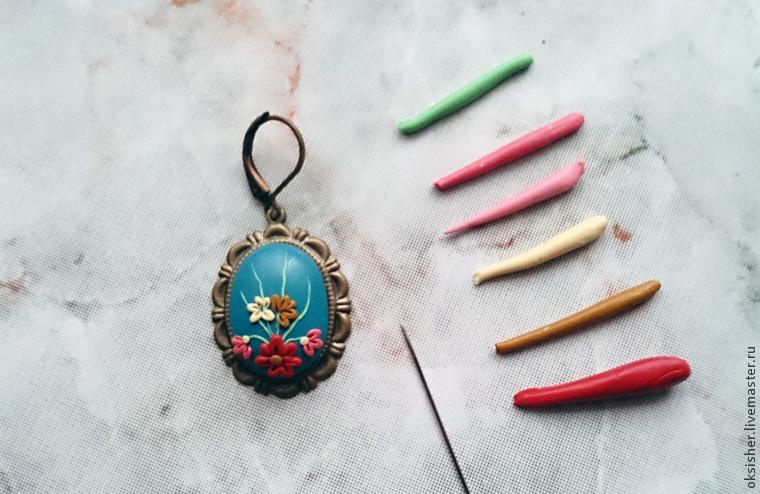 Lower pink flowers we put a dark tint, top pink flower – light. Serdtsevinki flowers do with a small ball of clay and press down gently with your fingernail.
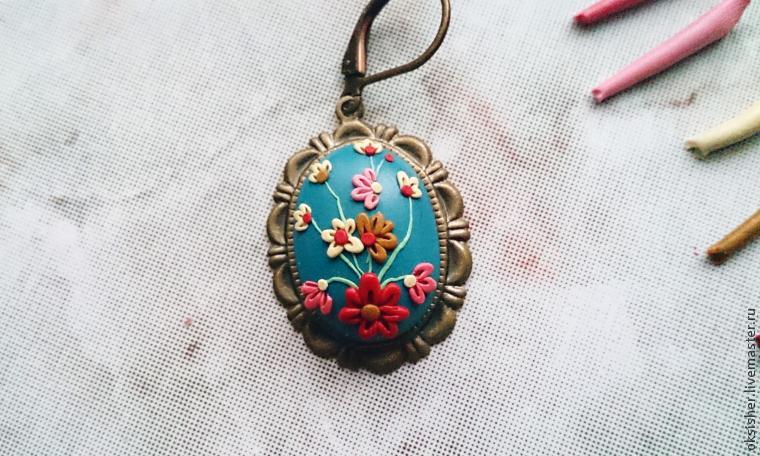 All the flowers in place. The painting looks unfinished. Apply extra petals tinged color light corresponding to each.
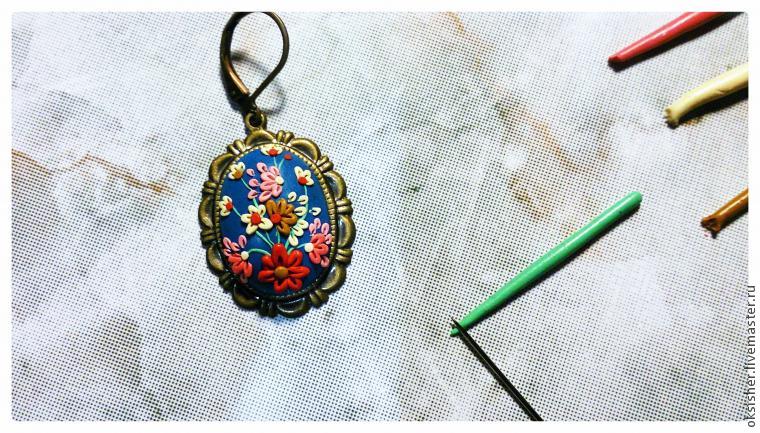 Prior to the full completion of the picture we put the leaves where they are appropriate, and we put the finishing touches in the form of small dots.
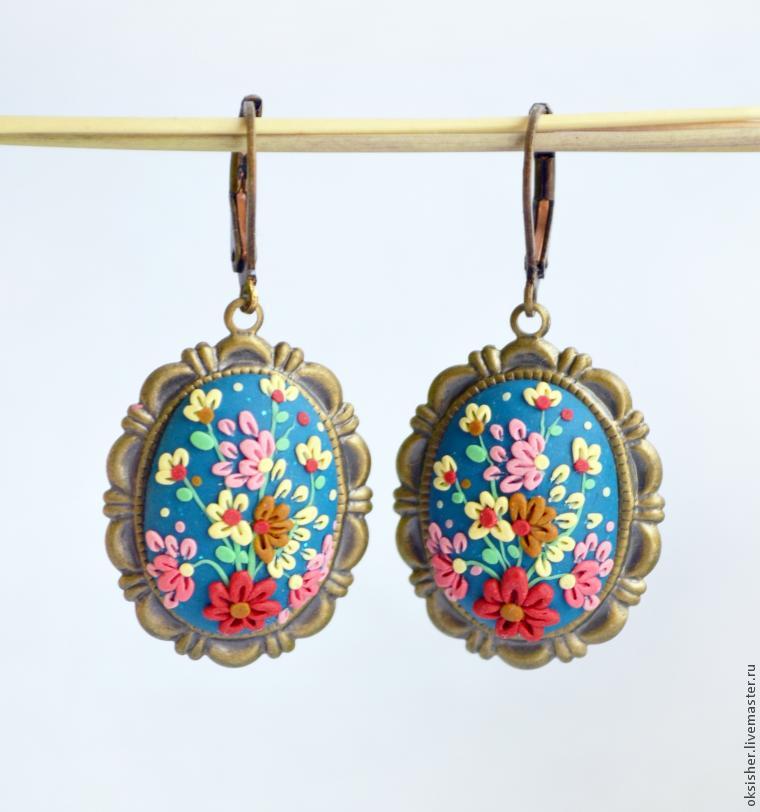
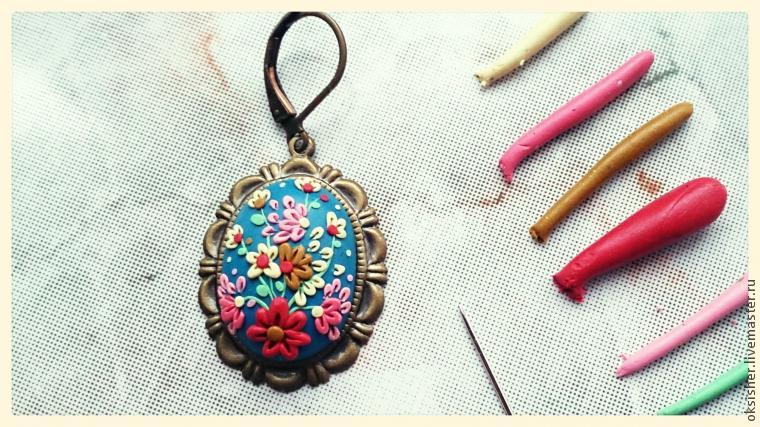 The picture is ready! We perform just as well and the second earring.
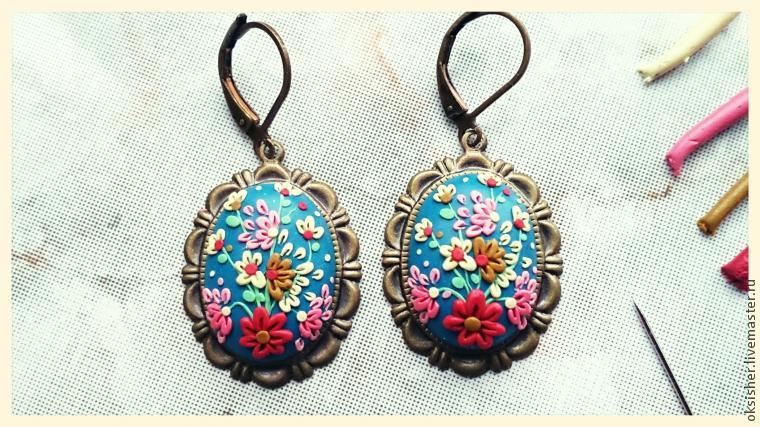
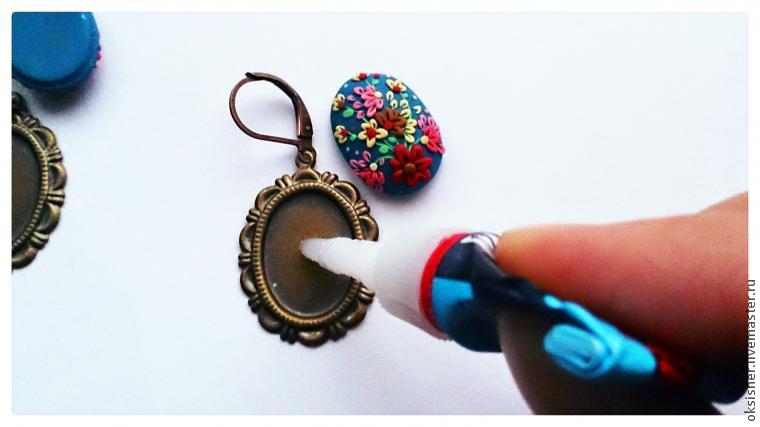
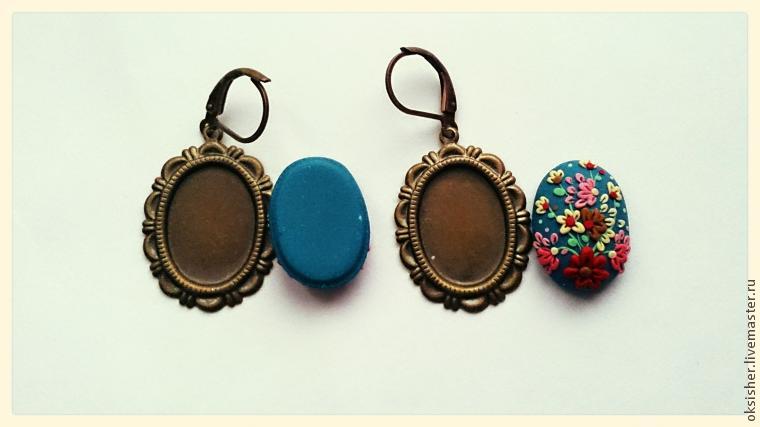 Glue clay to a metal substrate using superglue or gel-adhesive polymer clay. It is important to apply the adhesive in a moderate quantity, so that when you press the glue leaked out.
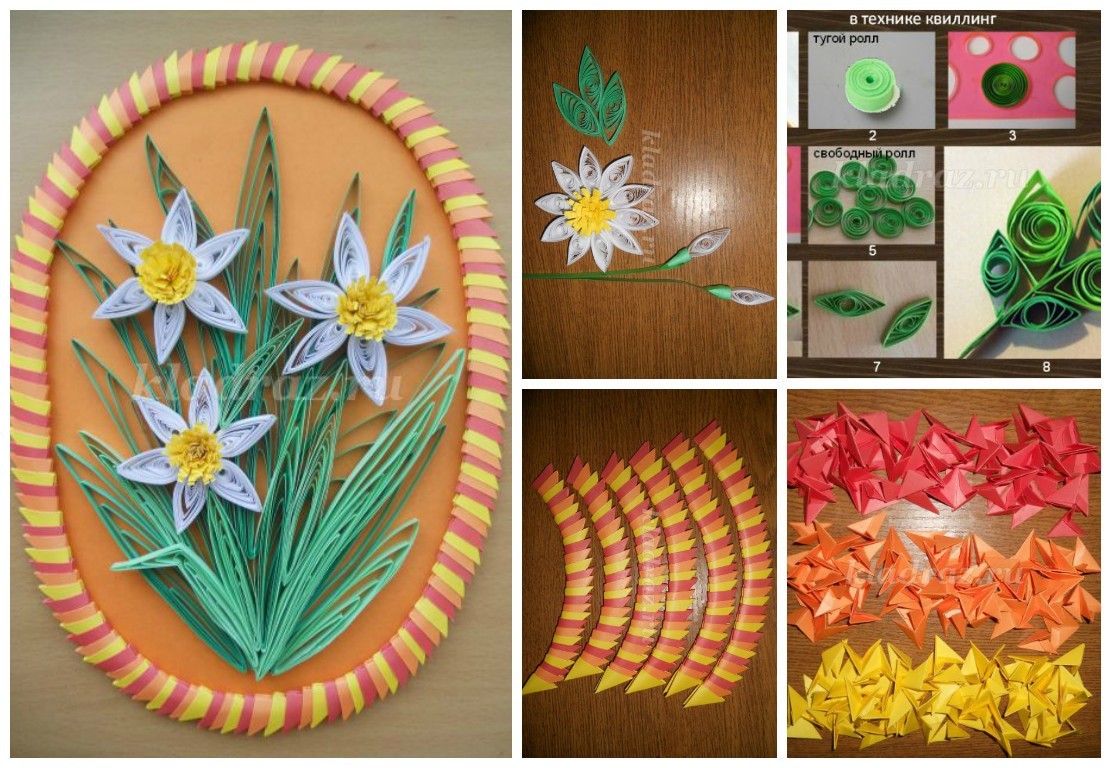
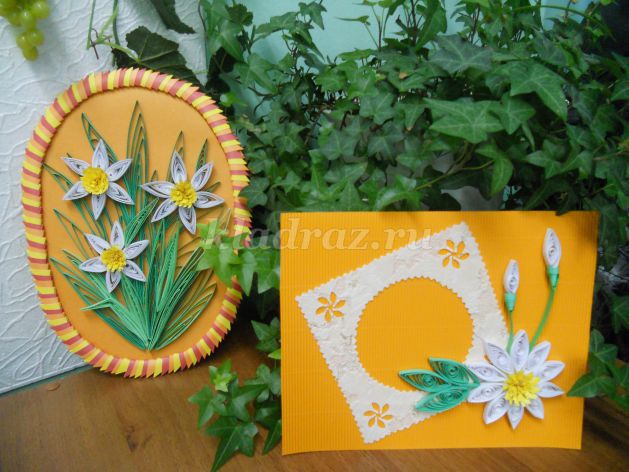
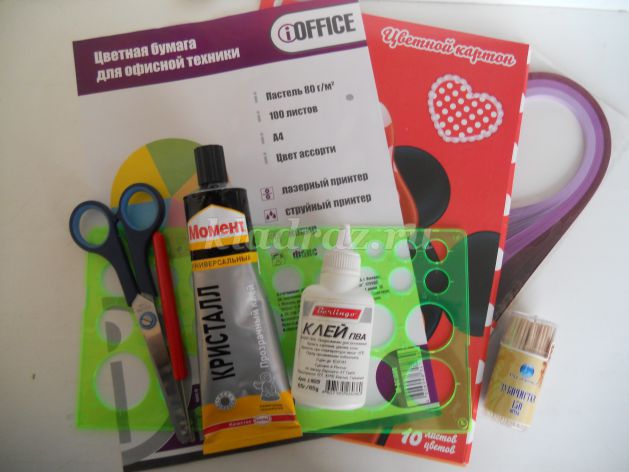
 Materials: colored paper, colored cardboard, paper quilling, ruler stencil, toothpick, tweezers, PVA glue, glue “Moment”, a pair of scissors, a ruler, compasses, scissors curly, curly punch.
 Step by step description of the work:
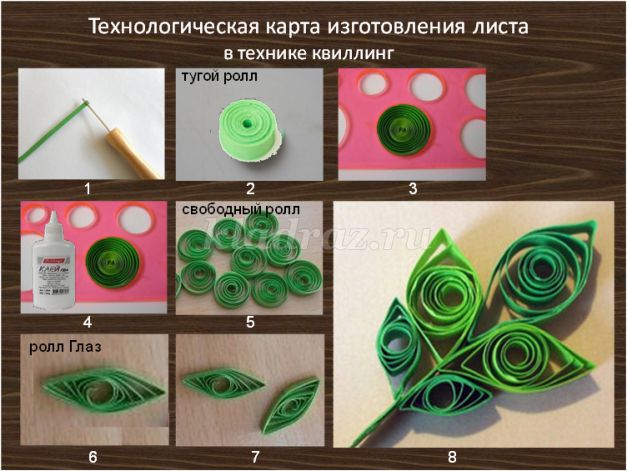 1. From ready-made strips of paper quilling, with a toothpick, twist tight roll.
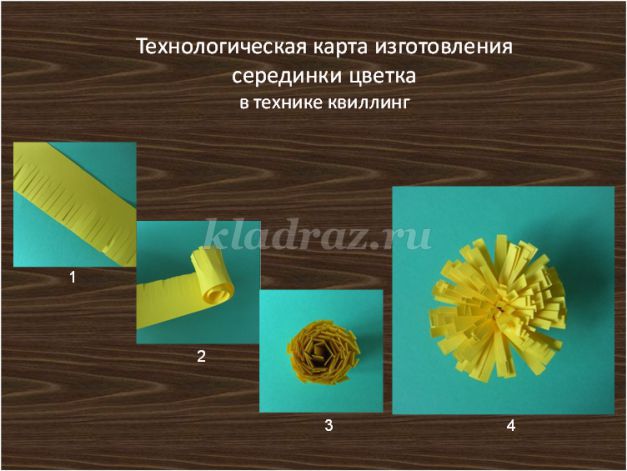 1. Folded paper in two horizontal layers 1 cm cut.
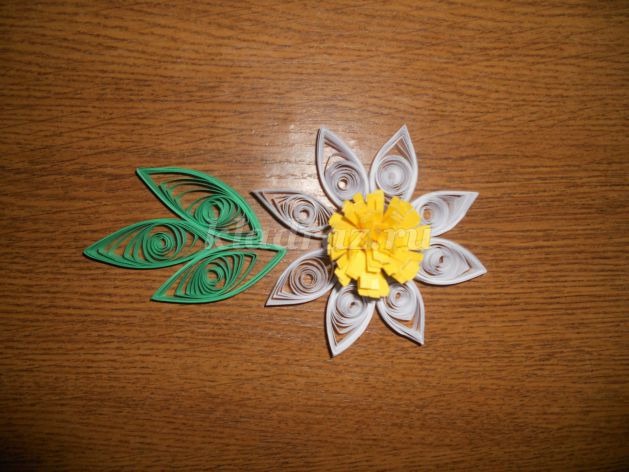
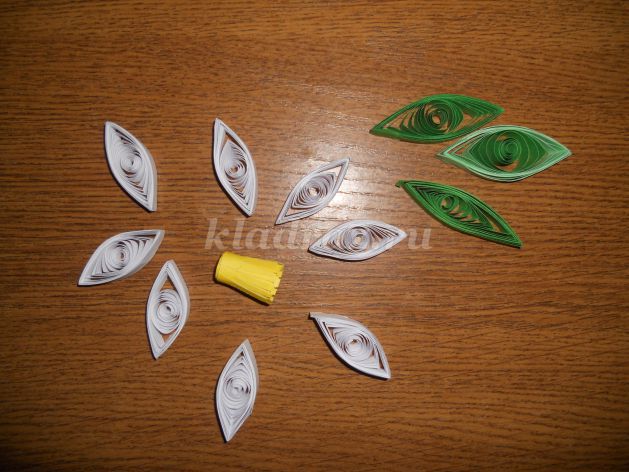 Glue the parts together to form the flower and leaf.
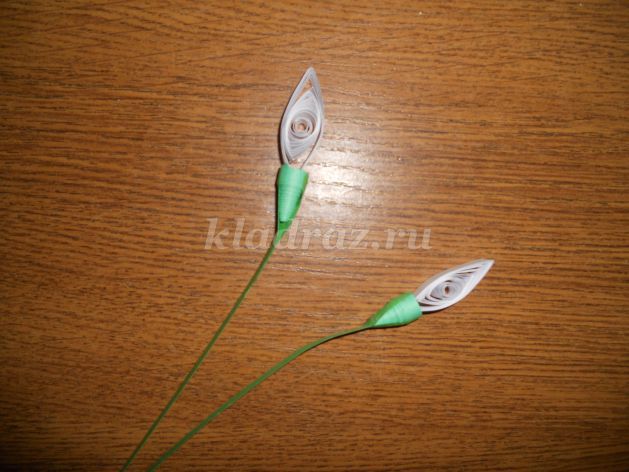
 By routing number 3 to make a flower bud.
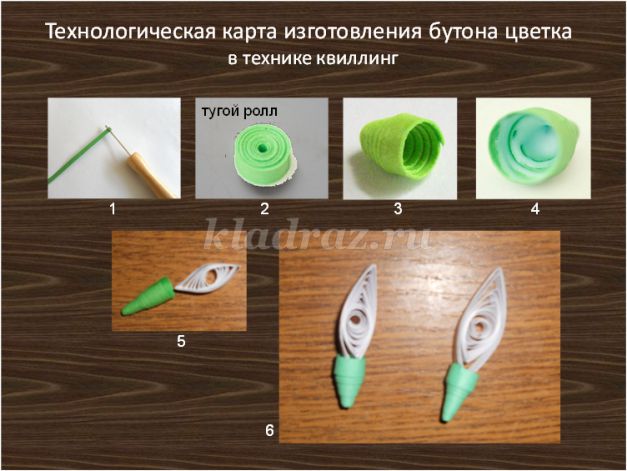 1. From ready-made strips of paper quilling with a toothpick, twist tight roll.
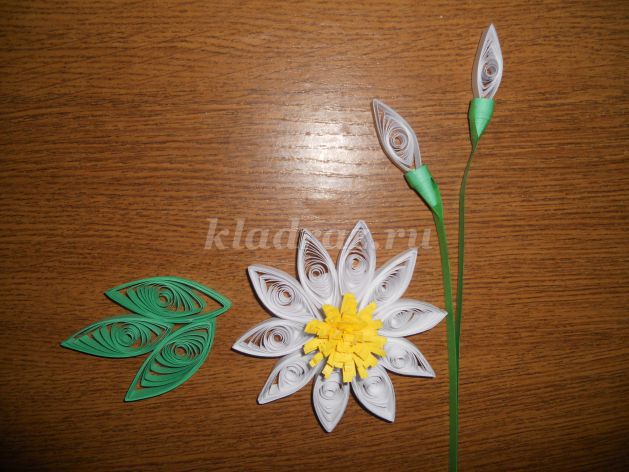
 Elements flower ready.
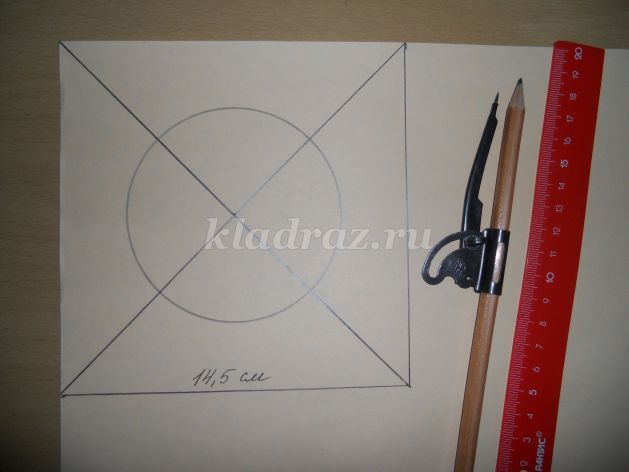
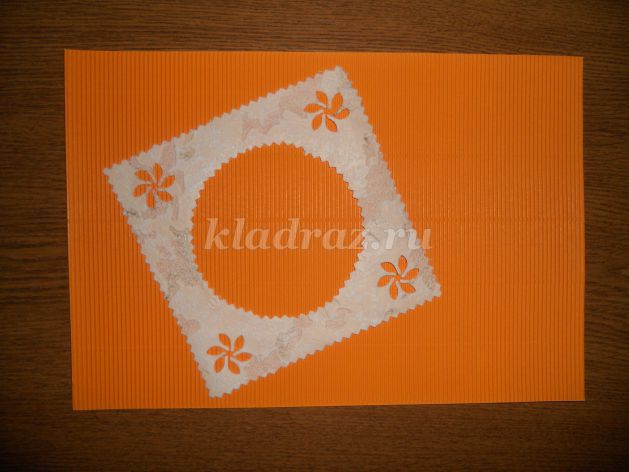
 Basis. To obtain a basis to make a square shaped .
 Cut the square and the inner circle curly scissors.
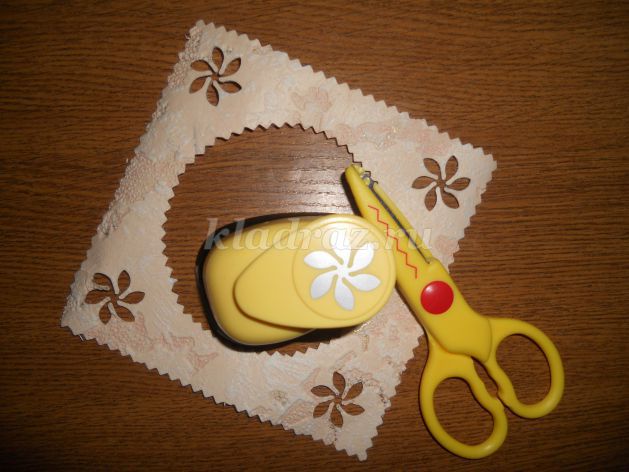 Details cards ready.
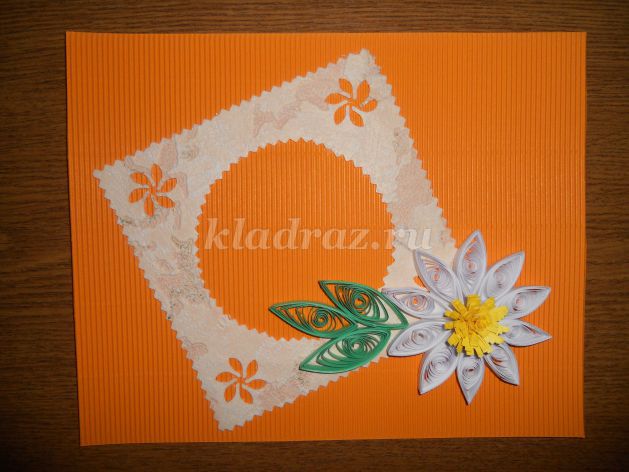
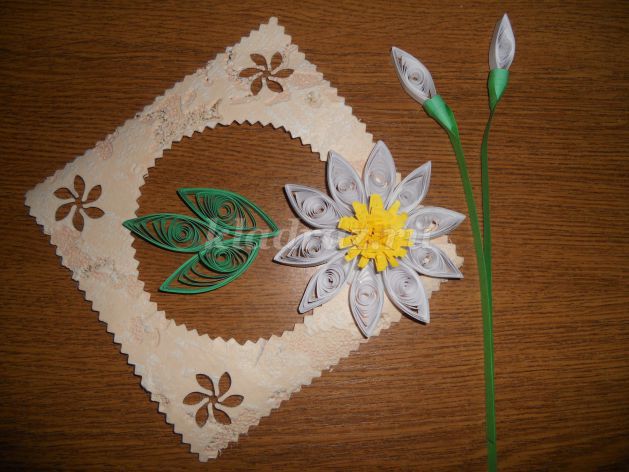 3. Assembly. On the basis of bright stick shaped square.
 Glue the flower and leaf glue “Moment”.
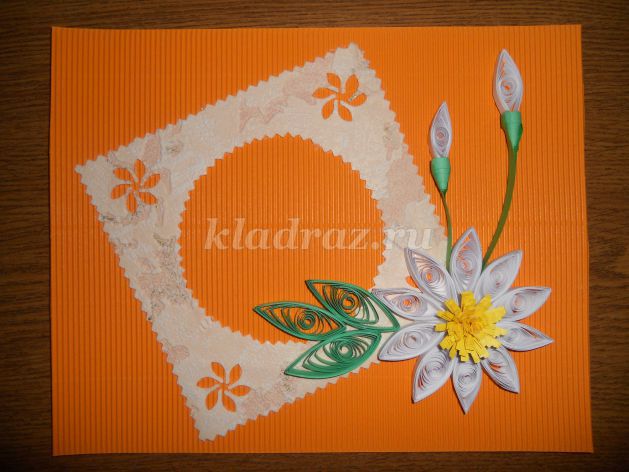
 Glue the flower buds. Card is ready! Well, stylish !!!
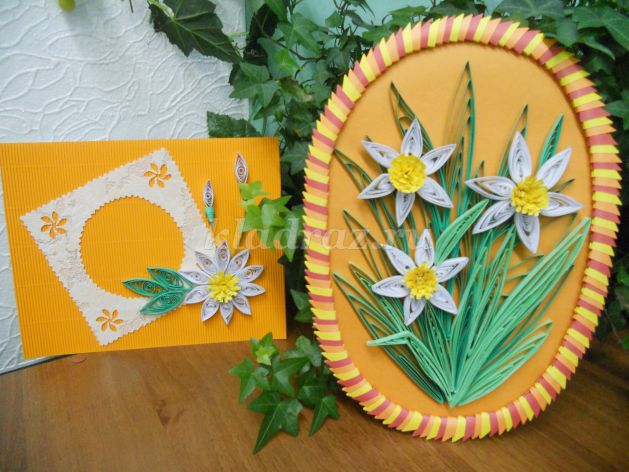
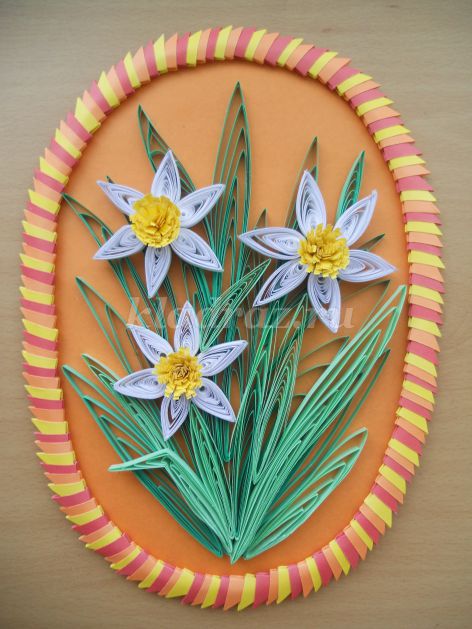
 2. Panel “Daffodils”.
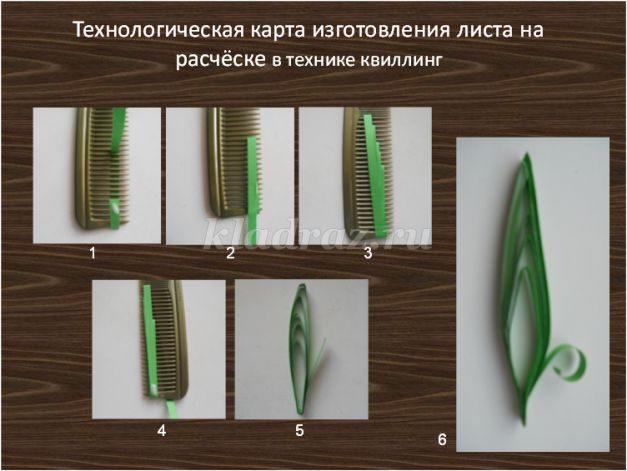 1. combs secure with PVA glue the first round of paper quilling.
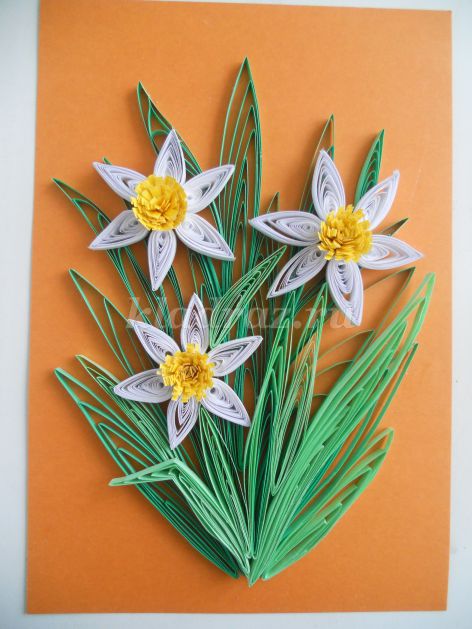
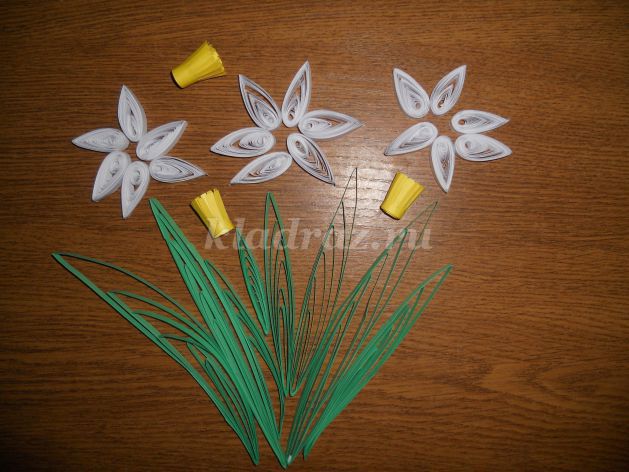 Glue panels on the bright parts based with glue “Moment”.
 For the manufacture of frames required triangular modules in the origami technique.
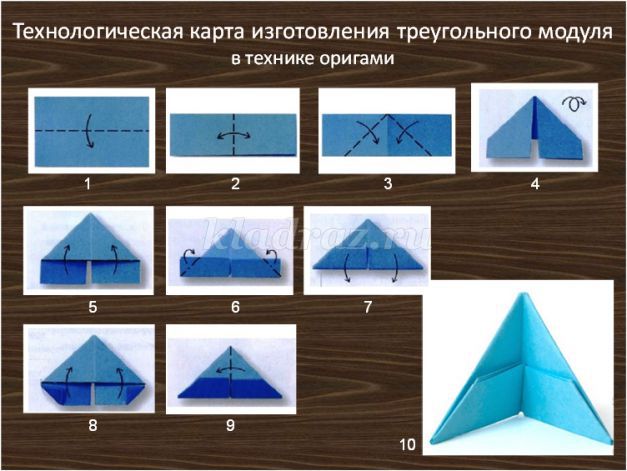 1. Fold the rectangle exactly horizontal.
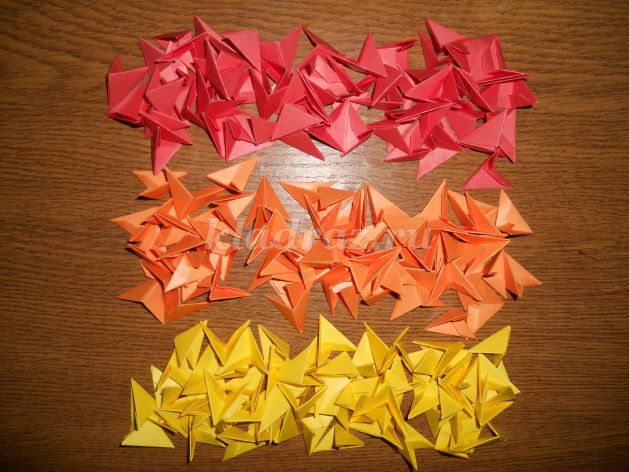 Assemble the modules by inserting into each other, rounding, alternating colors.
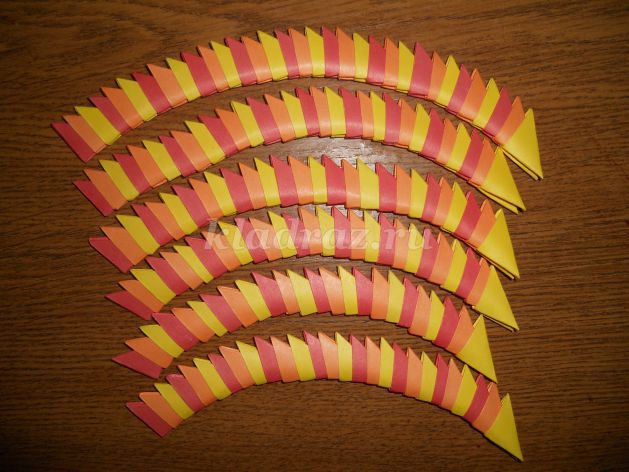 Assemble the frame, glued on panels. Done !!!
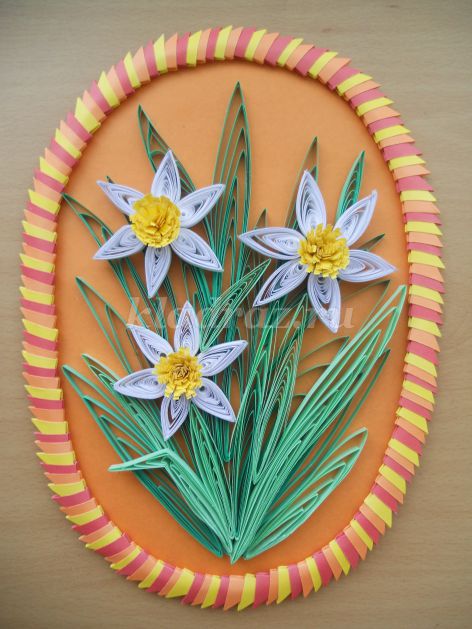 “Daffodils” in the interior.