Posted onMarch 4, 2017May 20, 2018inDIY, Embroidery And Sewing, Patchwork Crafts, Tutorial Homemade small sewing basket
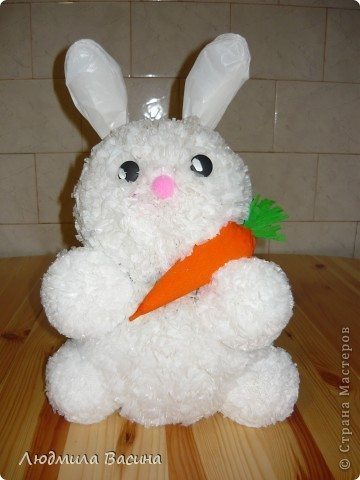
Posted onJanuary 9, 2017inChristmas, Decorations, DIY, Kids Crafts, Step by step, Tutorial DIY Making small bunny