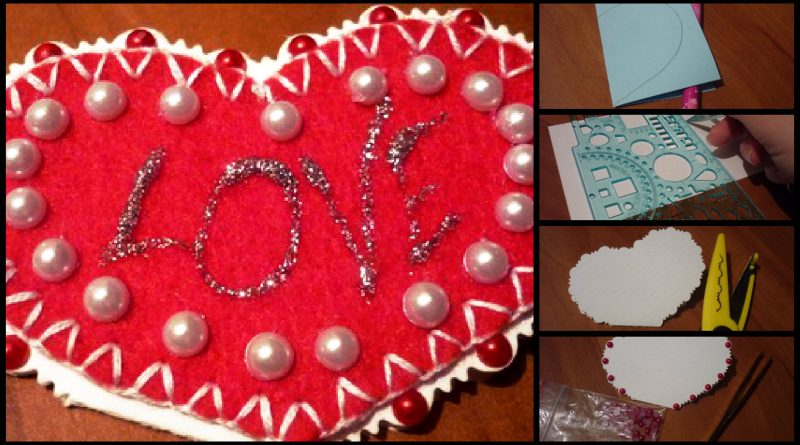
Posted onFebruary 1, 2017February 1, 2017inKids Crafts, Paper Crafts, Step by step, Tutorial, Valentine’s Day Simple and beautiful idea about felt hearts
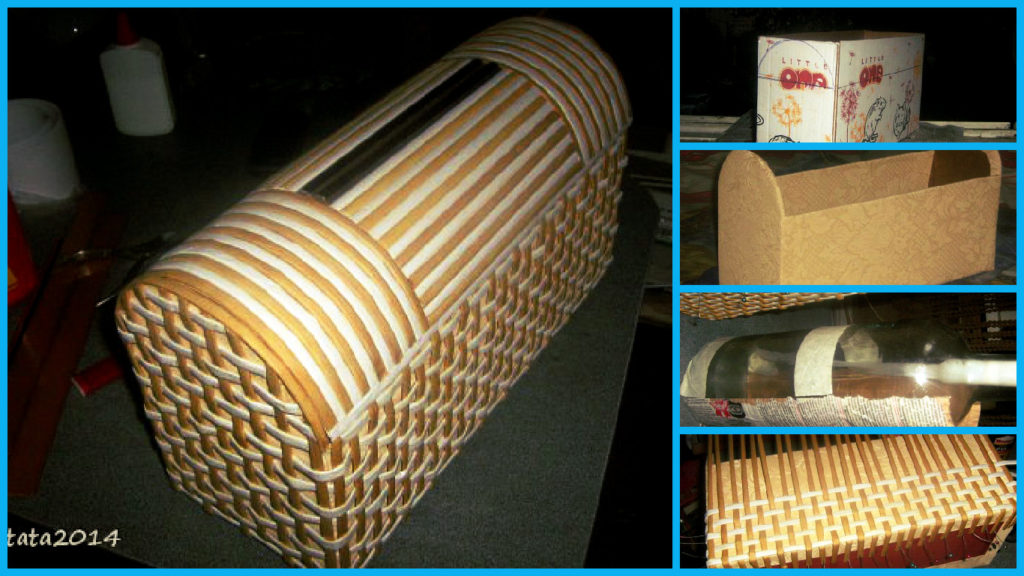
Posted onJanuary 31, 2017inBest out of Waste, DIY, Newspaper Crafts, Step by step, Tutorial Beautiful and simple cardboard chest
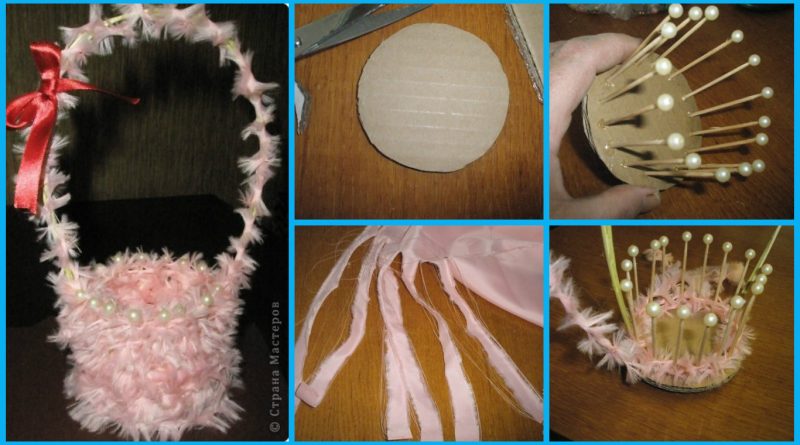
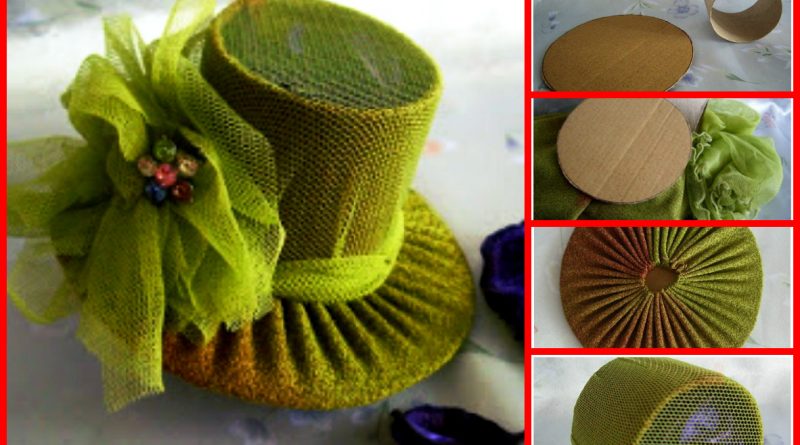
Posted onJanuary 30, 2017inBest out of Waste, DIY, Step by step, Tutorial How to make simple beautiful hat
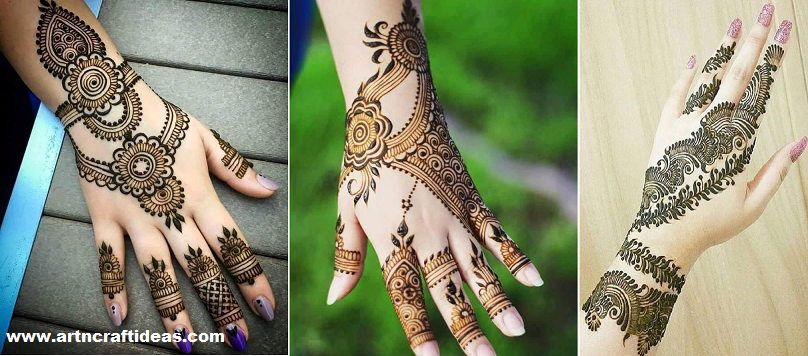
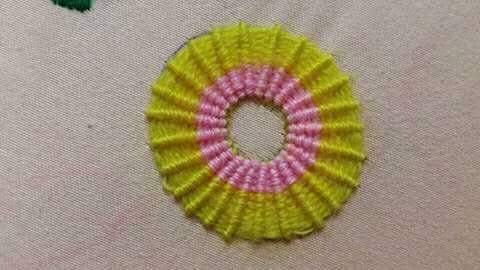
Posted onJanuary 24, 2017inDIY, Embroidery And Sewing, Step by step, Tutorial Simple Embroidery Design Step By Step