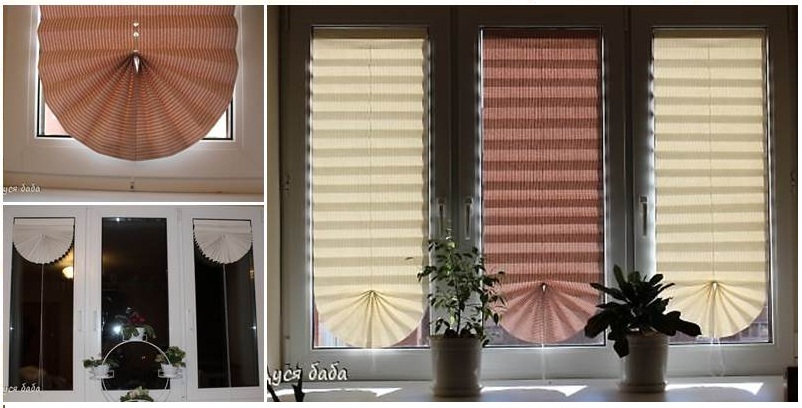
Posted onFebruary 21, 2017inDIY, Home Decor, Paper Crafts, Step by step, Tutorial DIY Pull up Window Shade Made of Paper
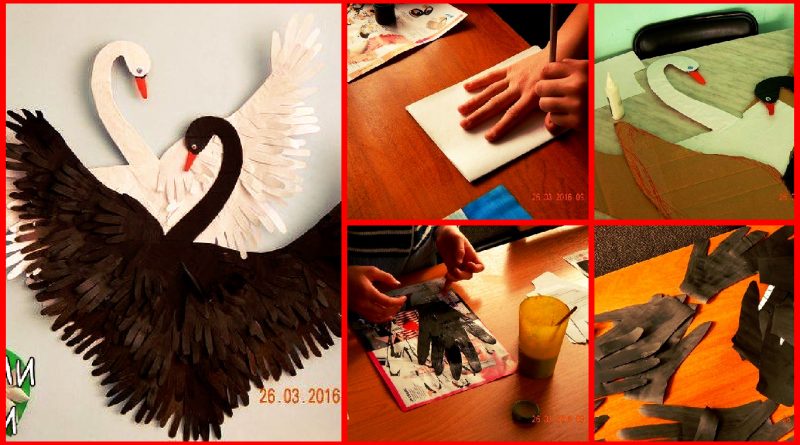
Posted onFebruary 12, 2017inDIY, Kids Crafts, Paper Crafts, Step by step, Tutorial Swans Made of Paper Palms
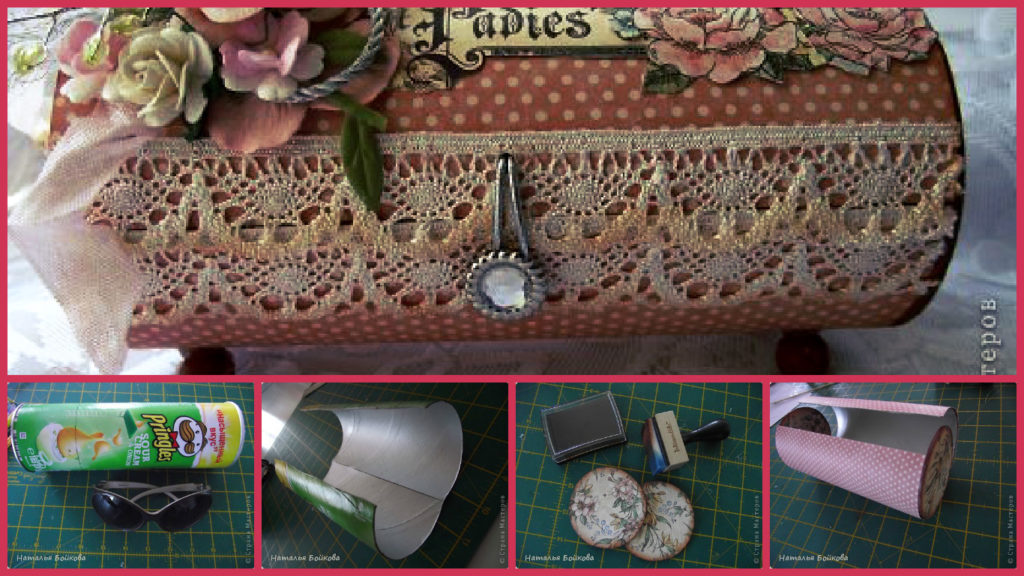
Posted onFebruary 5, 2017inBest out of Waste, DIY, Step by step, Tutorial DIY: Pretty Vintage Box Made With Pringles Can
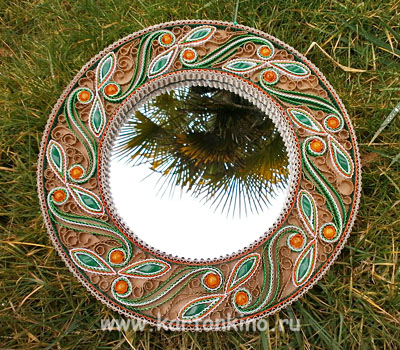
Posted onFebruary 4, 2017inBest out of Waste, DIY, Home Decor, Step by step, Tutorial Round frame mirror made of cardboard
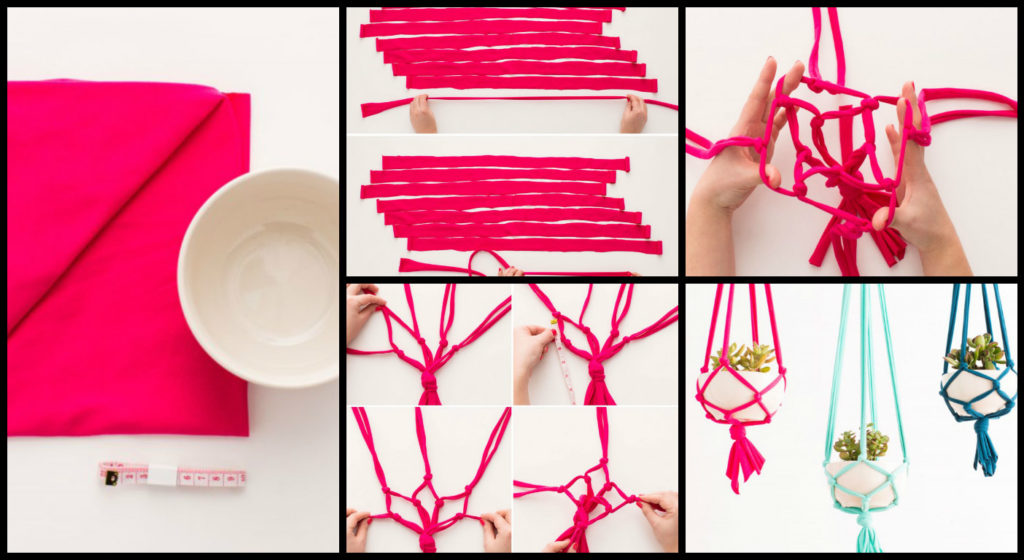
Posted onJanuary 30, 2017inBest out of Waste, DIY, Home Decor, Step by step, Tutorial DIY: Hanging plant pots made from old rags
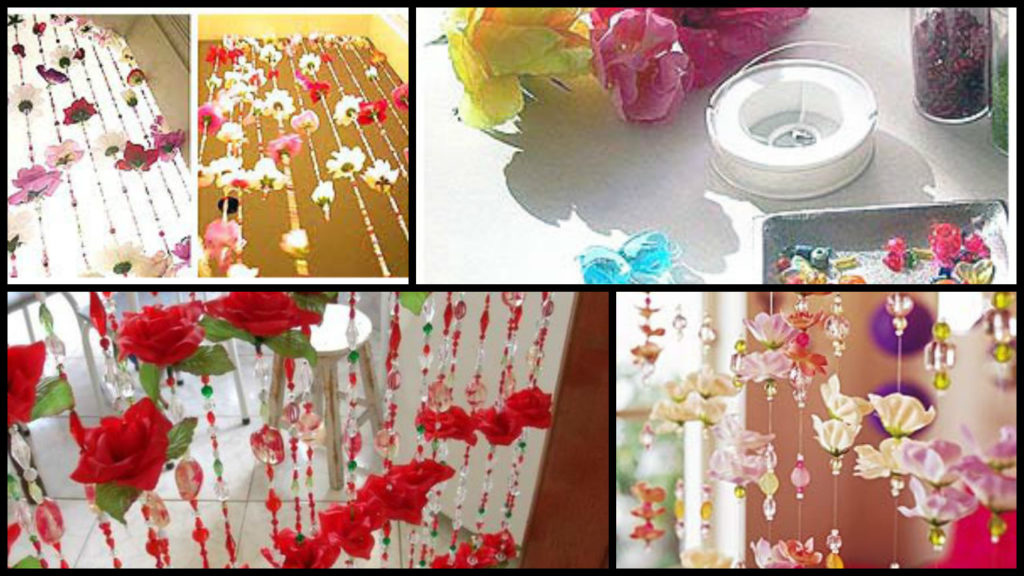
Posted onJanuary 29, 2017inBest out of Waste, DIY, Home Decor, Step by step, Tutorial Beautiful curtains made of beads and artificial flowers
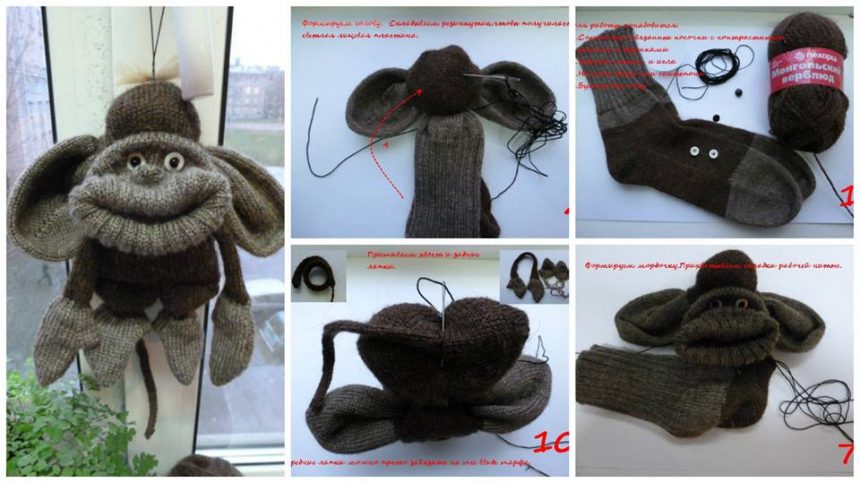
Posted onJanuary 20, 2017inBest out of Waste, Step by step, Tutorial Funny Monkey made from socks and yarn – Step By Step
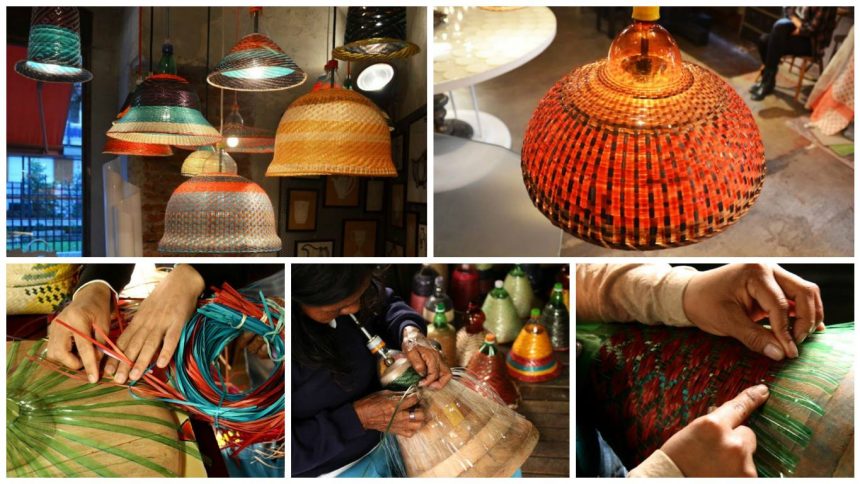
Posted onJanuary 15, 2017inHome Decor, Step by step, Tutorial Beautiful Chandeliers and lampshades made of plastic bottles
Posted onJanuary 9, 2017inDIY, Other, Step by step, Tutorial DIY Miniature casket made of plastic canvas