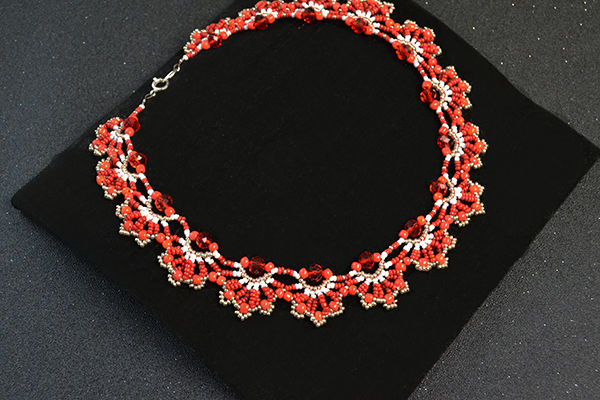
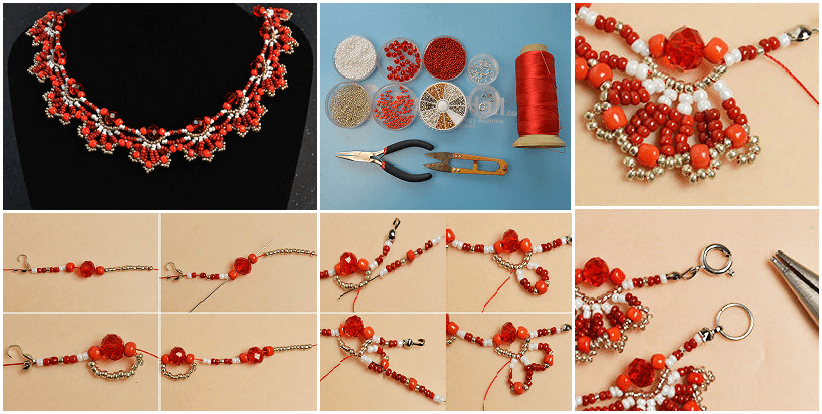
Today’s tutorial will show you how to make a very beautiful seed bead choker necklace, if you are fond of beaded choker necklaces, you shall never miss this one.
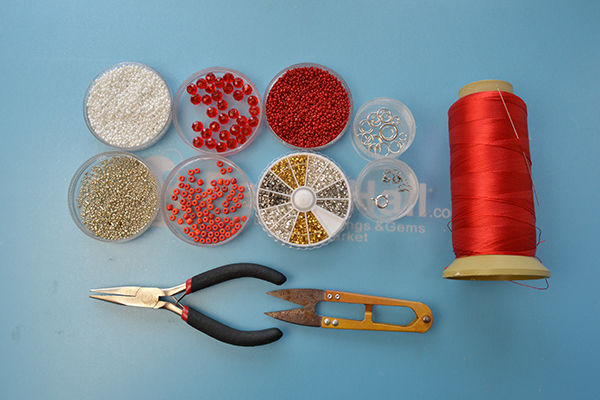
Step 1: Supplies Needed to Make This Beaded Choker Necklace
- 4mm Red Seed Beads
- 2mm Red Seed Beads
- 2mm White Seed Beads
- 2mm Golden Seed Beads
- 8x6mm Faceted Red Glass Beads
- 2mm Silver Crimp Beads
- Silver Bead Tips
- Red Nylon Thread
- Silver jumprings
- Silver Spring Clasp
- Long Nose Pliers
- Scissor
Step 2: Make the Basic Unit of the First Flower Layers
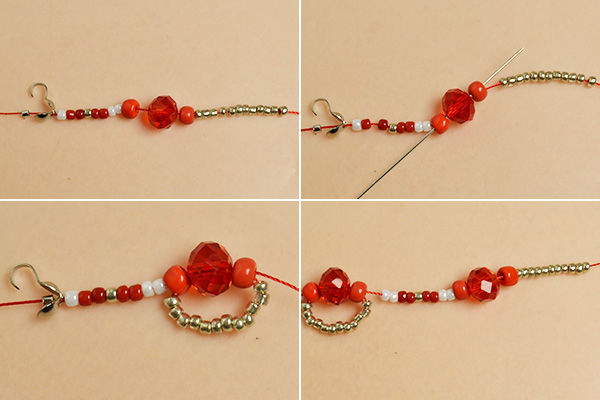
1st, prepare a long piece of red nylon thread, slide a silver crimp bead, a bead tip, a 2mm white seed bead, two 2mm red seed beads, a 2mm golden seed bead, two 2mm red seed beads, two 2mm white seed beads, a 4mm red seed bead, a red glass bead, a 4mm red seed bead, and twelve 2mm golden seed beads onto the thread;
2nd, cross the thread through the 4mm red seed bead, red glass bead, and 4mm red seed bead pattern, just like the following picture shows;
3rd, tighten the thread to finish the first basic flower layer;
4th, keep adding beads in the same way.
Step 3: Finish All the First Flower Layers
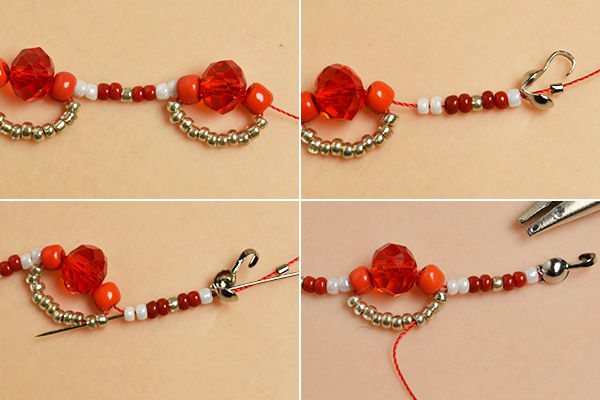
1st, repeat step 1 to finish all 16 flower layers;
2nd, slide two 2mm white seed beads, two 2mm red seed beads, one 2mm golden seed bead, two 2mm red seed beads, one 2mm white seed bead, a sliver bead tip, and a silver crimp bead onto the thread;
3rd, cross the thread back through the previous beads like picture shows.
Step 4: Make the Basic Unit of the Second Flower Layers
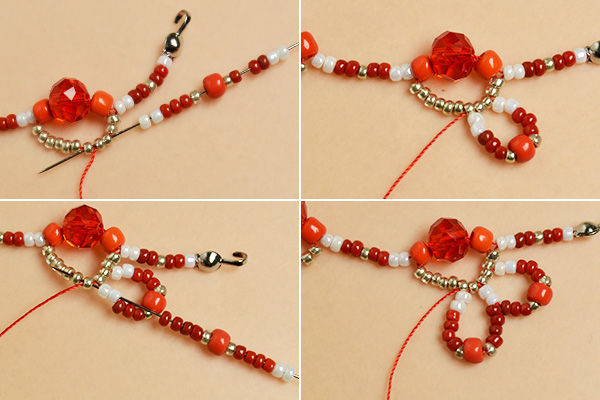
1st, add two 2mm white seed beads, three 2mm red seed beads, one 2mm golden seed bead, one 4mm red seed bead, one 2mm golden seed bead, three 2mm red seed beads, and two 2mm white seed beads onto the thread and cross the thread through the third to fifth golden seed bead of the first flower layer;
2nd, tighten the thread to make a seed bead flower petal;
3rd, add two 2mm white seed beads, three 2mm red seed beads, one 2mm golden seed bead, one 4mm red seed bead, one 2mm golden seed bead, and three 2mm red seed beads onto the thread, and cross the thread through two 2mm white seed beads of the first petal and a 2mm golden seed bead of the first flower layer;
4th, tighten the thread to make the second seed bead petal.
Step 5: Finish the First Pattern of the Second Flower Layers
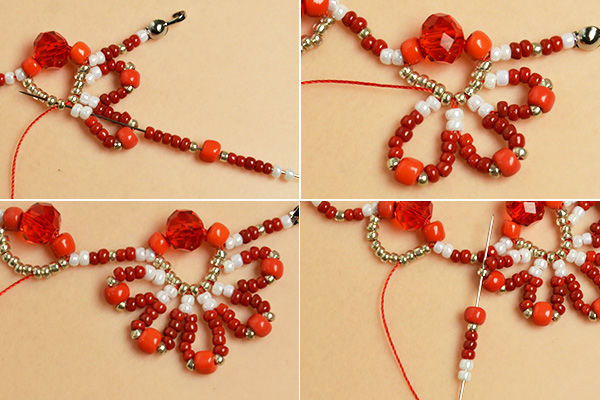
1st, repeat step 3 to finish all the five seed bead flower petals;
2nd, once all five petals are finished, cross the thread back through the nearby seed beads like picture shows;
3rd, add two 2mm white seed beads, three 2mm red seed beads, one 2mm golden seed bead, and a 4mm red seed bead onto the thread, and cross the thread through the golden seed bead on the last petal.
Step 6: Make the Second Pattern of the Second Flower Layers
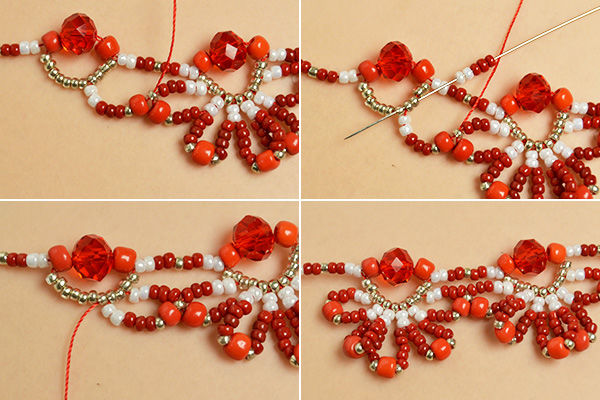
1st, tighten the thread to connect the first and second pattern;
2nd, add three 2mm red seed beads and two 2mm white seed beads onto the thread and cross them to the nearby golden seed beads like picture show;
3rd, tighten the thread to finish the first petal of the second flower;
4th, make the other four petals of the second flower in the same way.
Step 7: Finish All the Petals of the Second Flower Layers
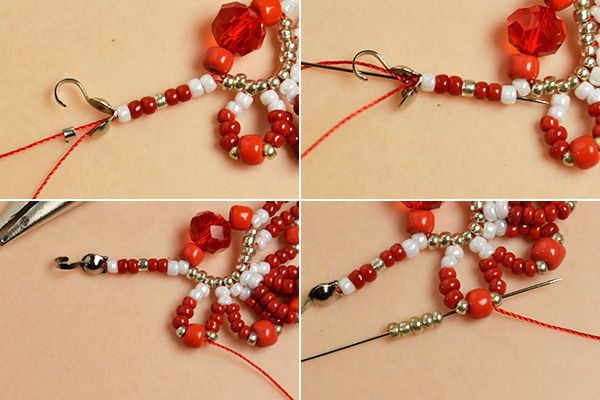
1st, repeat step 3 to step 5 to finish all the second layer of the 16 flower patterns;
2nd, cross the thread back through the last few seed beads like picture show;
3rd, cross the thread through the lass petal like picture shows, and then add five 2mm golden seed beads onto the thread.
Step 8: Make the Basic Unit of the Third Flower Layers
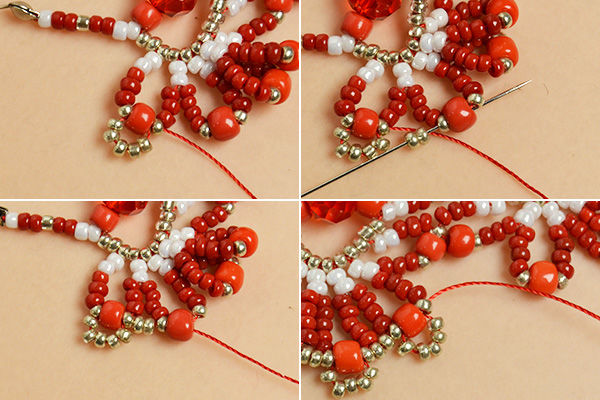
1st, tighten the thread to make a tiny golden seed bead petal;
2nd, add two 2mm golden seed beads to connect the nearby two petals together;
3rd, add five 2mm golden seed beads onto the thread, cross the thread golden seed beads and 4mm red glass bead on the second petal, then tighten the thread to make the second tiny golden seed bead petal.
Step 9: Finish the Third Layer of All the Flower Patterns
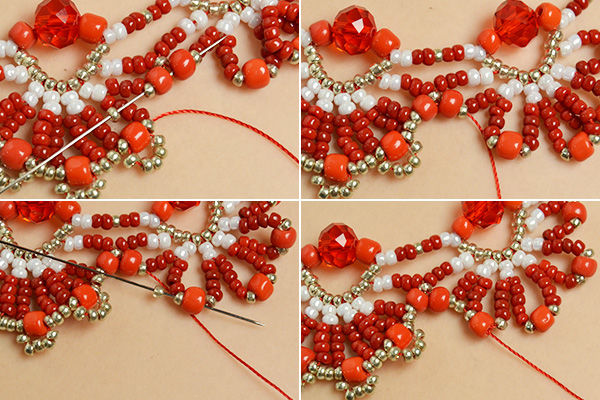
1st, repeat step 7 to finish all the third layer of the first flower pattern;
2nd, cross the thread through the connecting beads to the second flower pattern;
3rd, finish all the third layers of the flower patterns in the same way.
Step 10: Complete the Red Seed Bead Choker Necklace
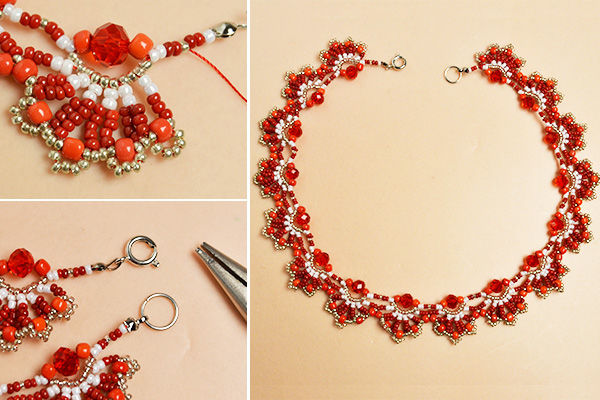
1st, cut off extra thread and close the crimp beads and bead tips;
2nd, add a spring clasp to one bead tip and a jump ring to another bead tip.
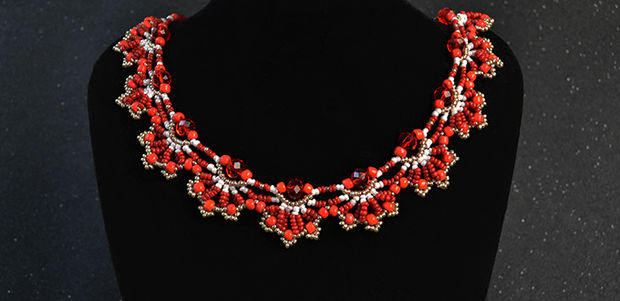
Step 11: Here Is the Finished Seed Bead Choker Necklace
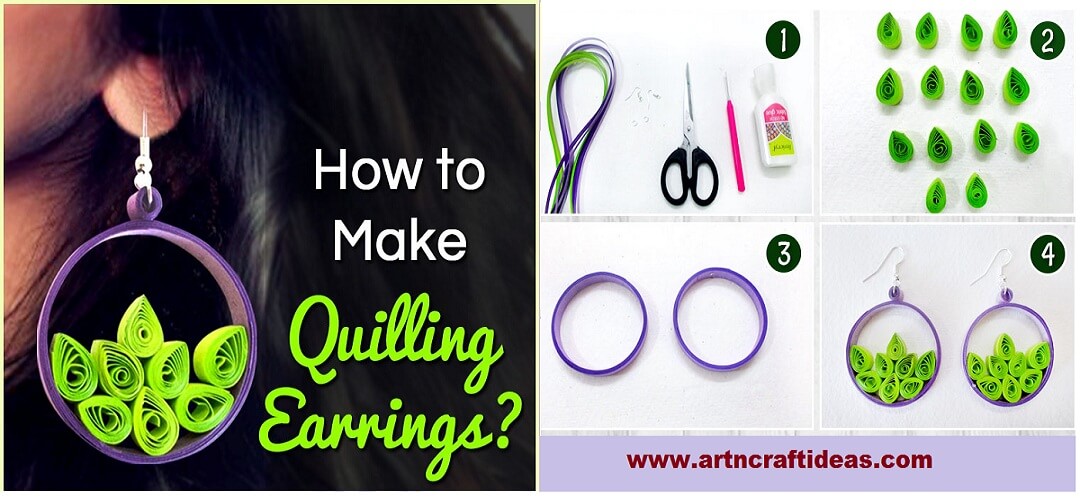
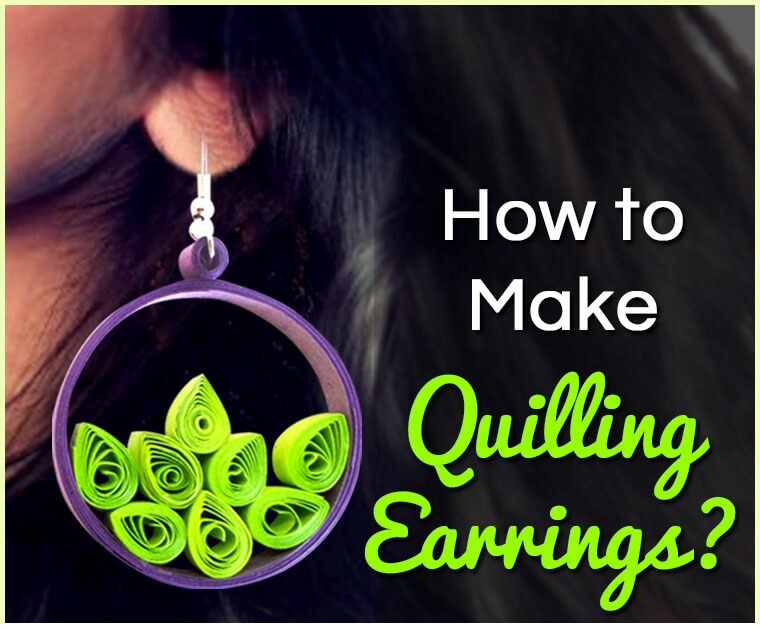
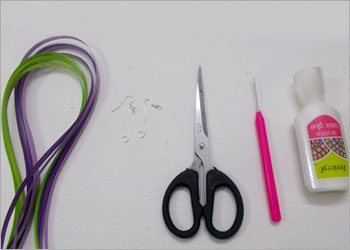
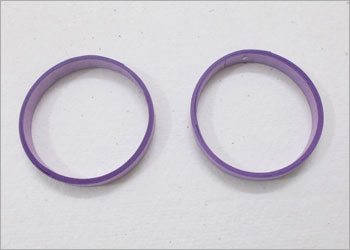
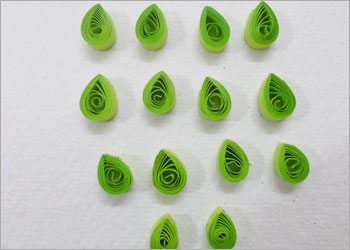
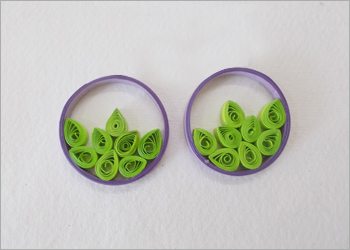
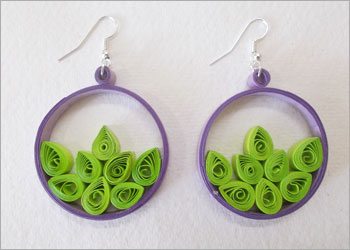
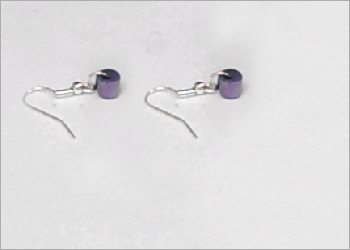 Step 11: Pass an earring hook in it. Similarly, make another earring and complete the pair.












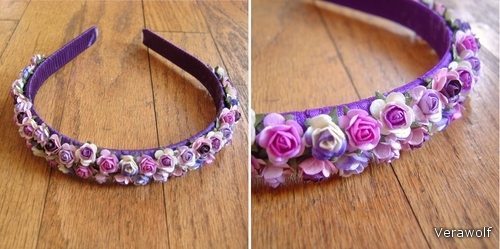
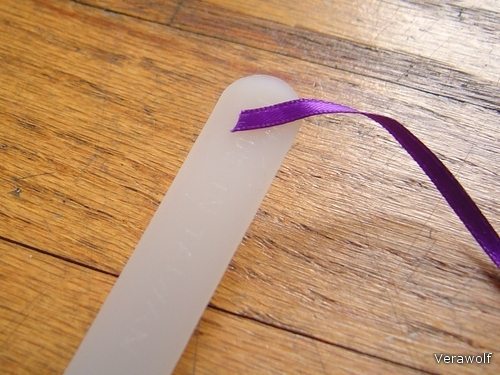
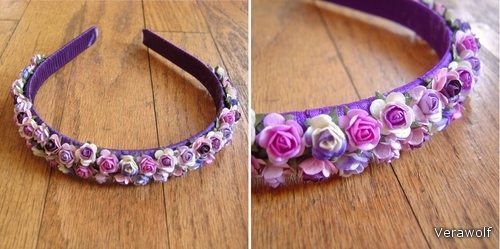
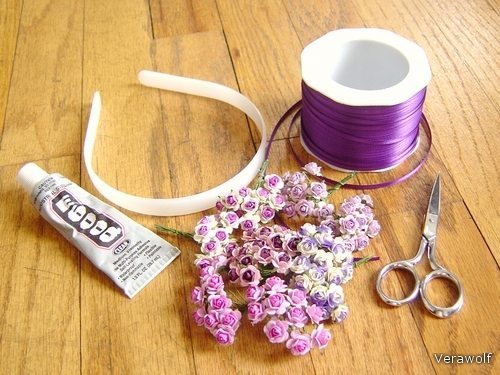 Glue the ribbon end on the back of the headband, let it set up for at least 15 minutes. You want it to be in a position to start wrapping around the headband as close to the end as possible. If you’re using a single sided satin ribbon be sure the pretty side is out.
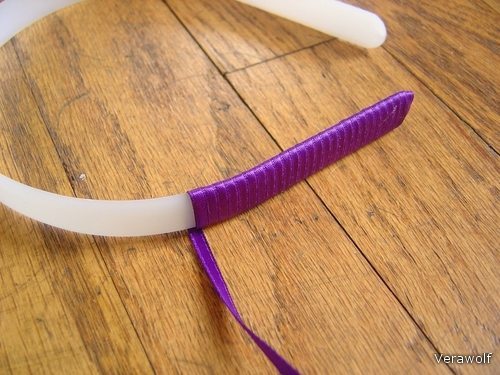
 Start wrapping the ribbon around the headband, overlapping it slightly and gluing it on the back of the headband, until the point you’ve decided to start your flowers. Again give this some time to set up. Make sure that every wrap of ribbon is glued in place. You may be experiencing some web-like glue stands, try to minimize them as much as possible and you can clean off whatever is left when you finish the headband.
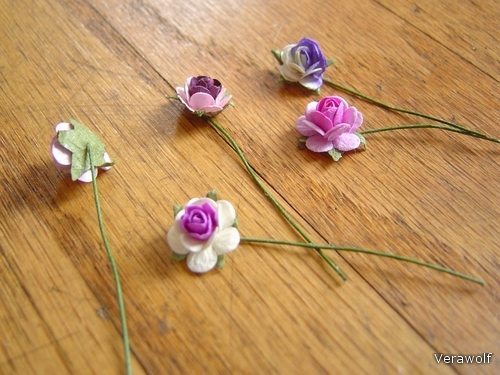
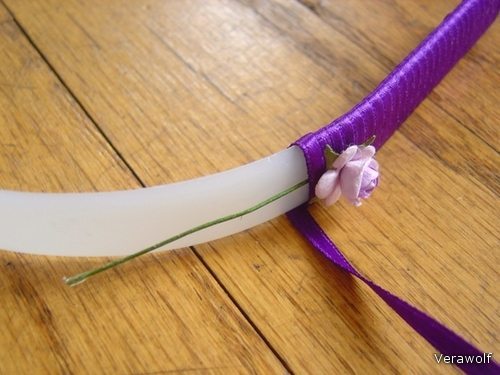
 Prepare your flowers by bending the wire at a 90 degree angle to the front of the flower. This is so that the flower will face up when the stem is tucked under ribbon.
 Place a flower on top of the ribbon that’s already wrapped with the stem on the unwrapped part of the headband. You can use a bit of glue to hold it if you need to. Wrap the ribbon around the stem, and glue it on the back. If you’re using 1/16” ribbon you’ll need to wrap it one or two more times, if you’re using 1/8” ribbon you probably won’t. Add another flower, wrap again. You might need a flower for every wrap, or more flowers/wraps depending on the materials you are working with and how densely packed you want the flowers to be. Continue placing flowers and wrapping until you get to the point at the other end of the headband where you want the flowers to end.
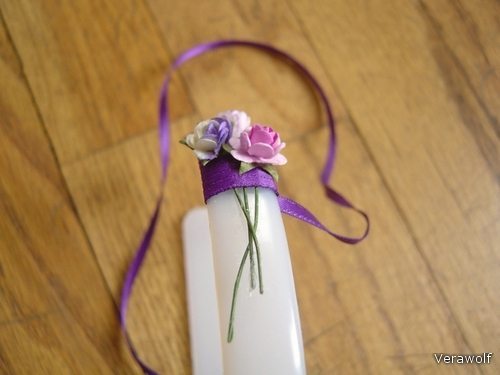 Wrap the ribbon the rest of the way, continuing to glue it in place on the back of the headband, until you get to the end. Cut the ribbon and firmly glue the end of the ribbon on the back of the headband.
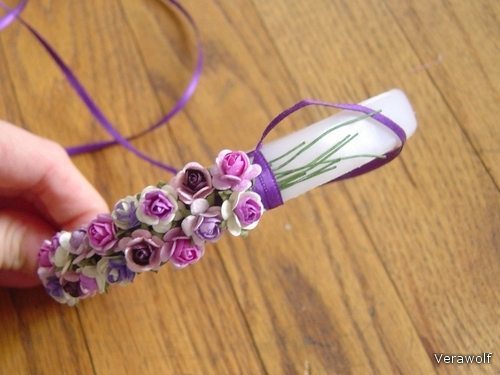
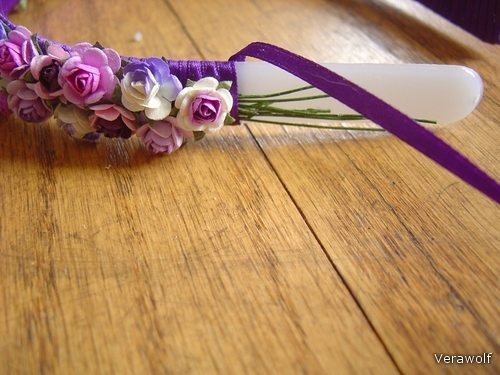 Allow to dry for at least 24 hours before wearing. E6000 glues ribbon to plastic, it will do an even better job of gluing things to your hair.


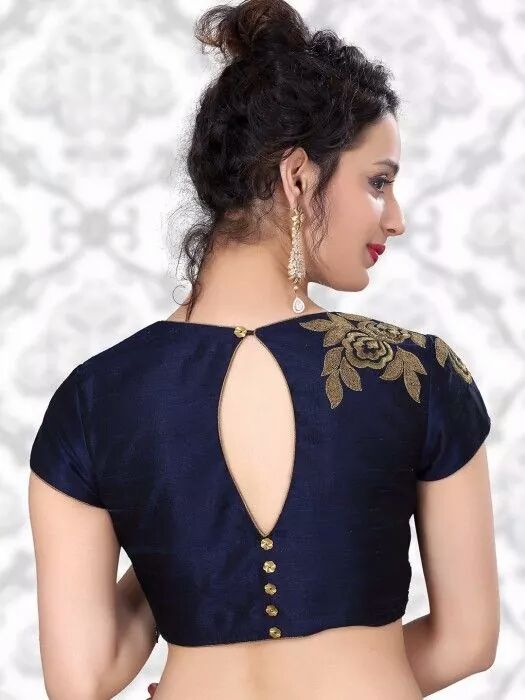
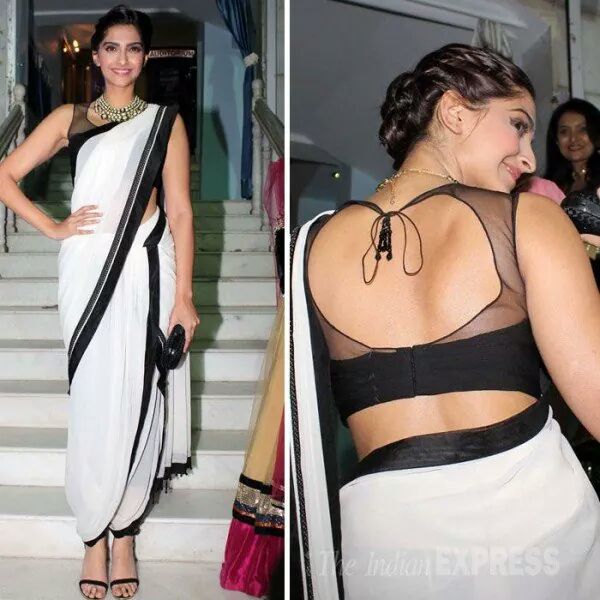



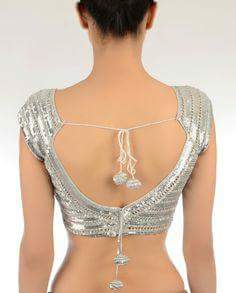
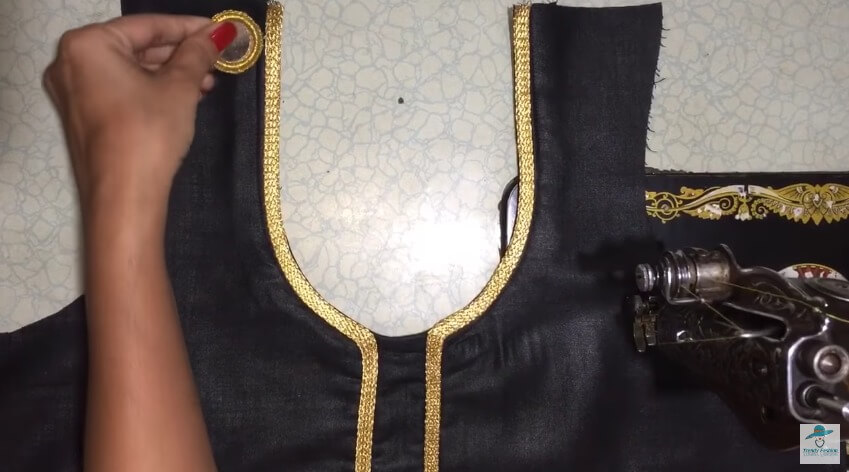
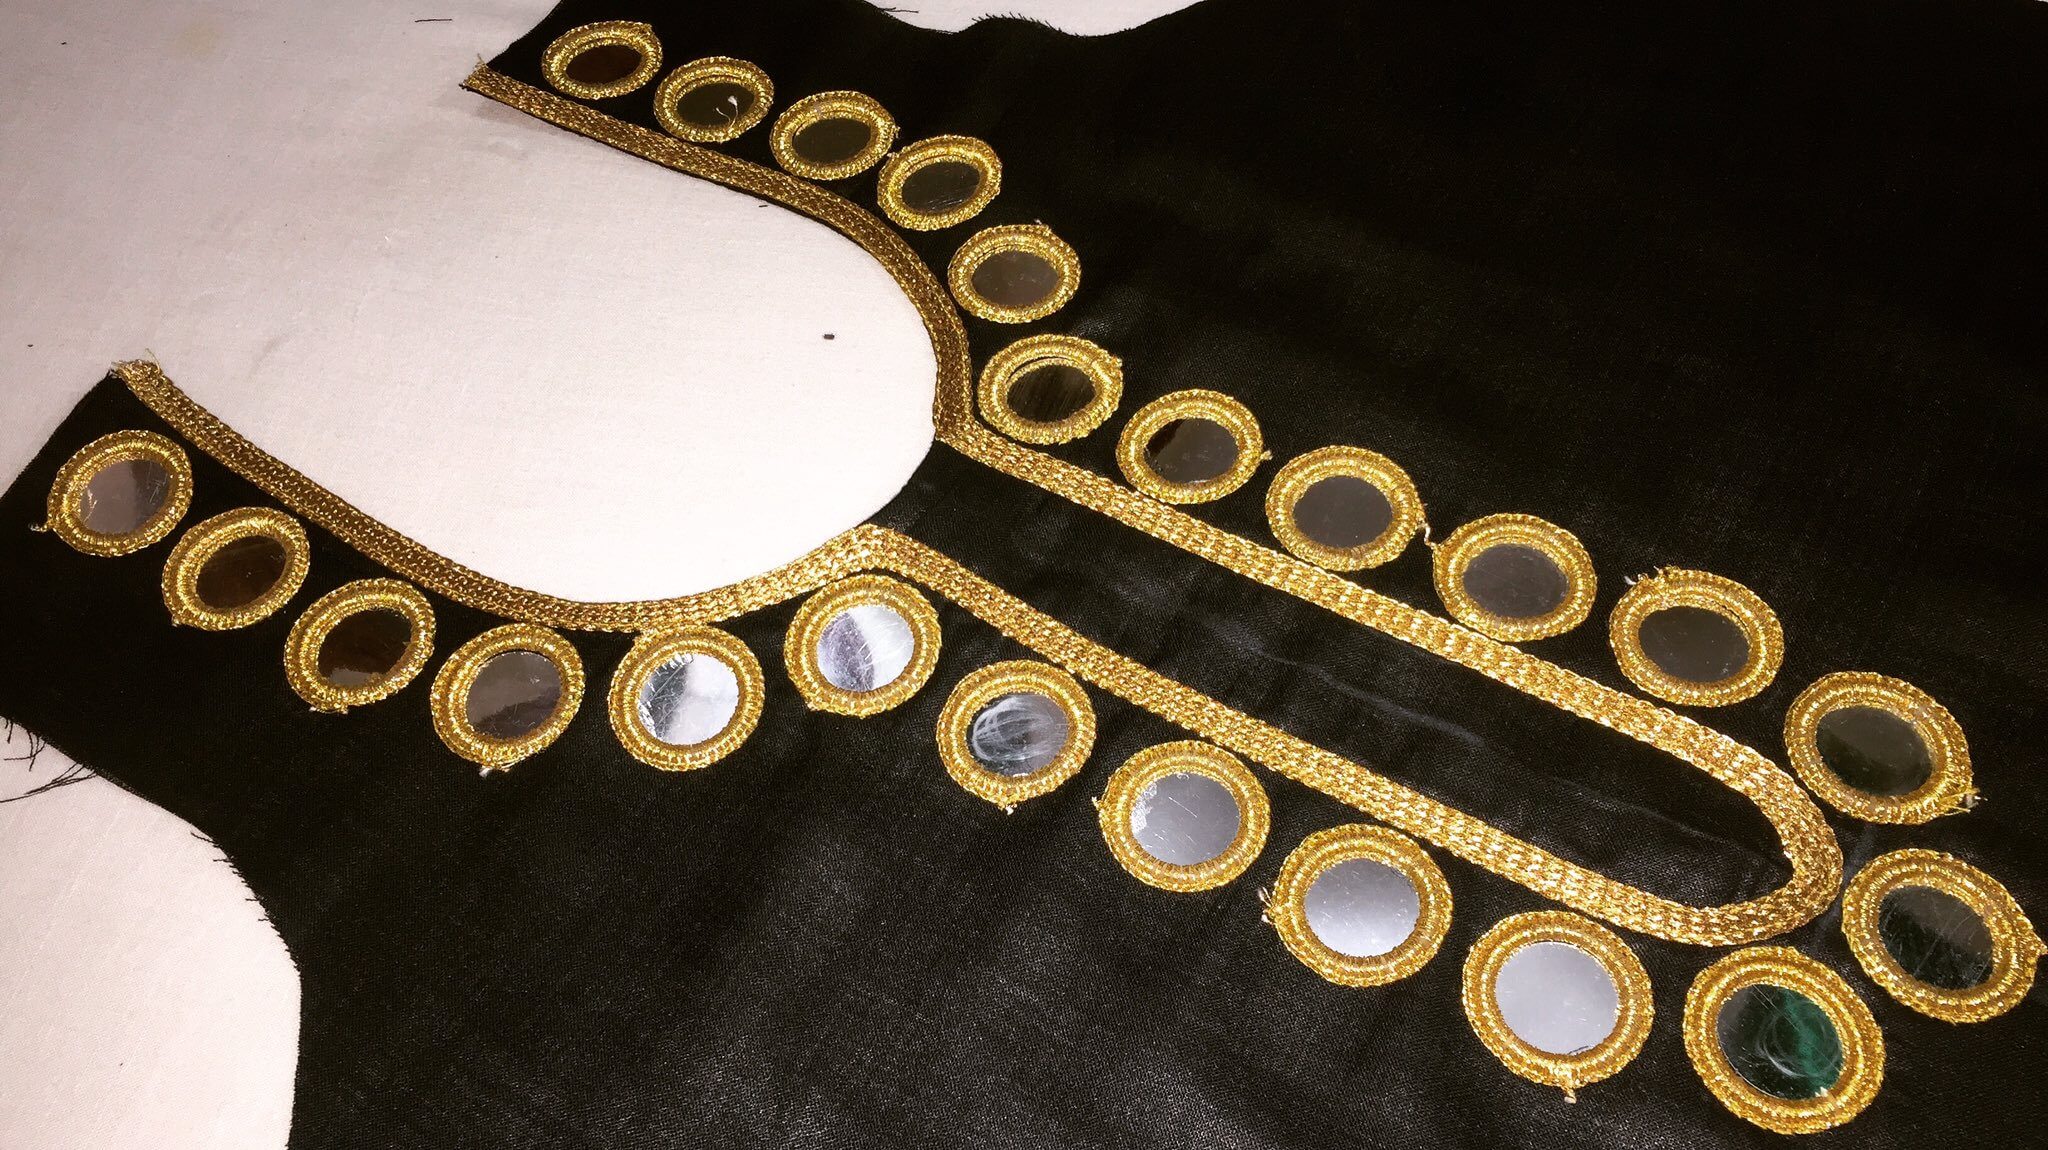
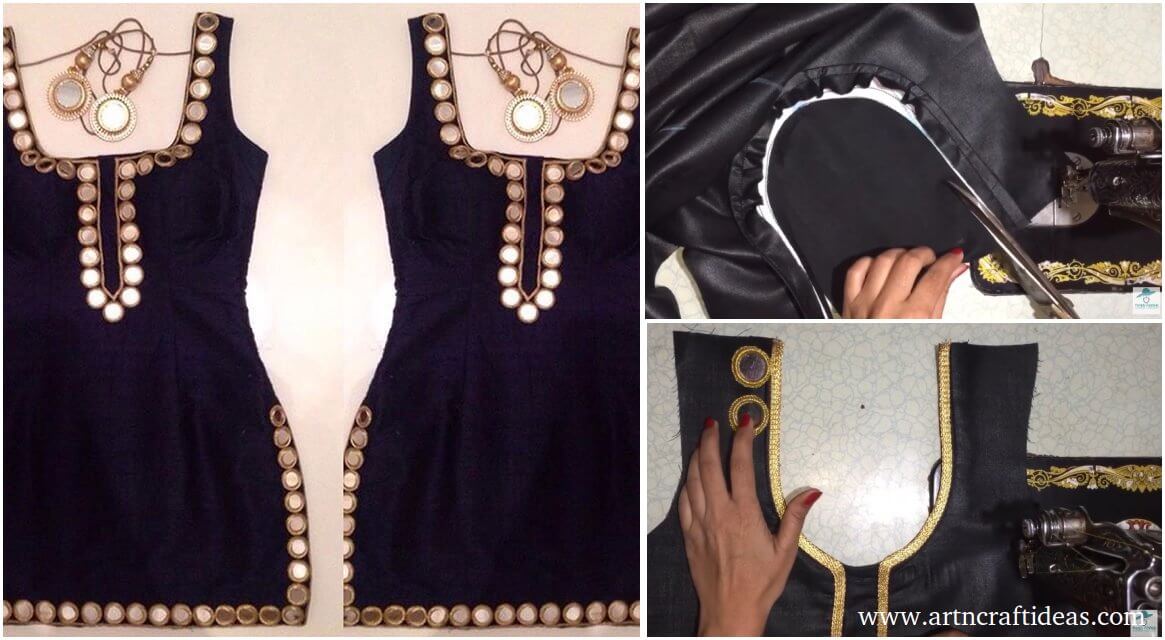
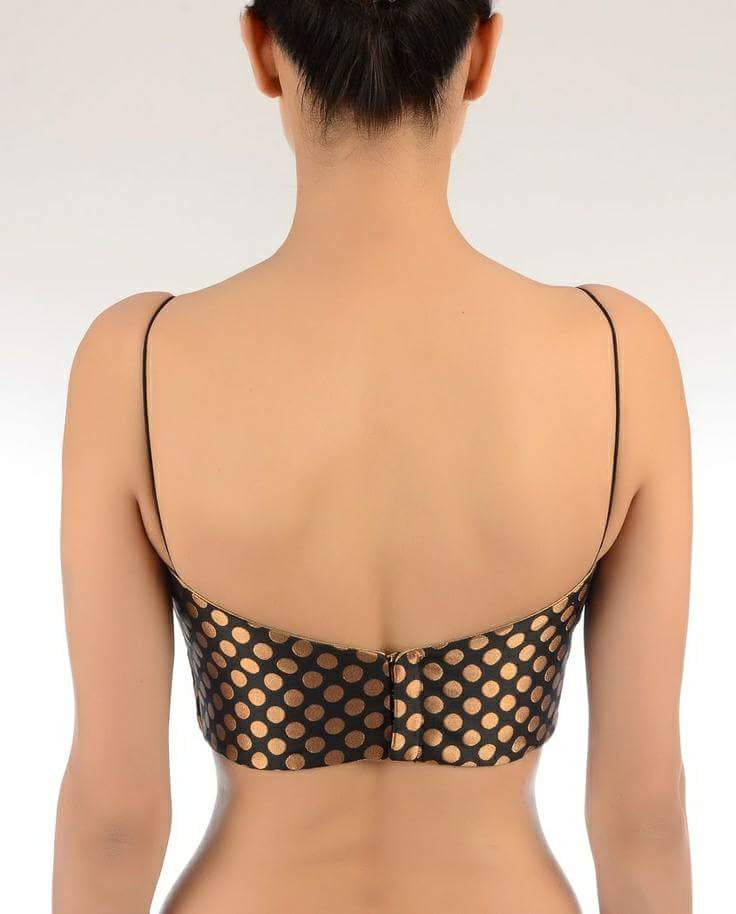 If you pay close attention, the round neck looks like the pot neck style. This blouse back neck design is perfectly suitable for silk saris and for lehengas.

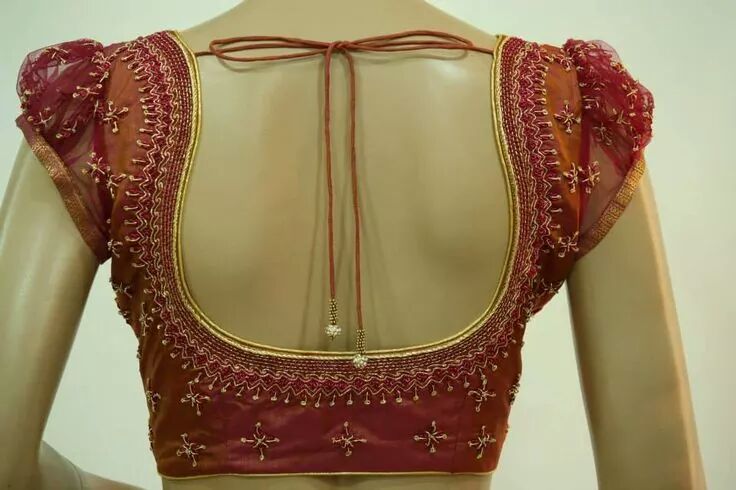
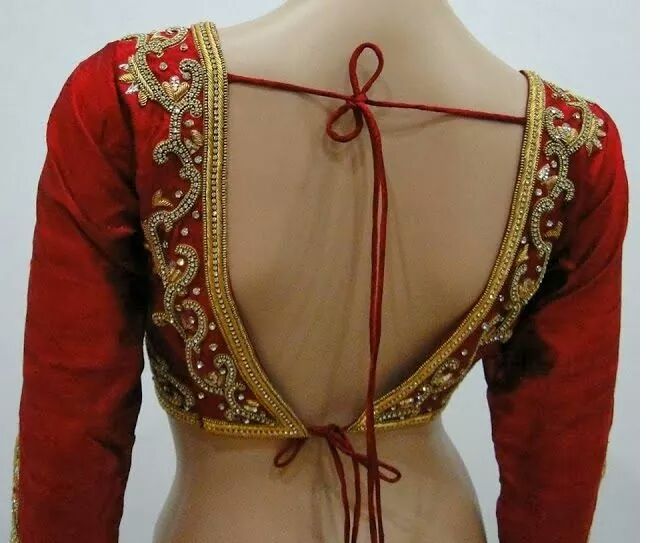



 The V back neck design for blouses gives you ample room to flaunt the lovely back. Add some tassels or an elegant border to make it even prettier.