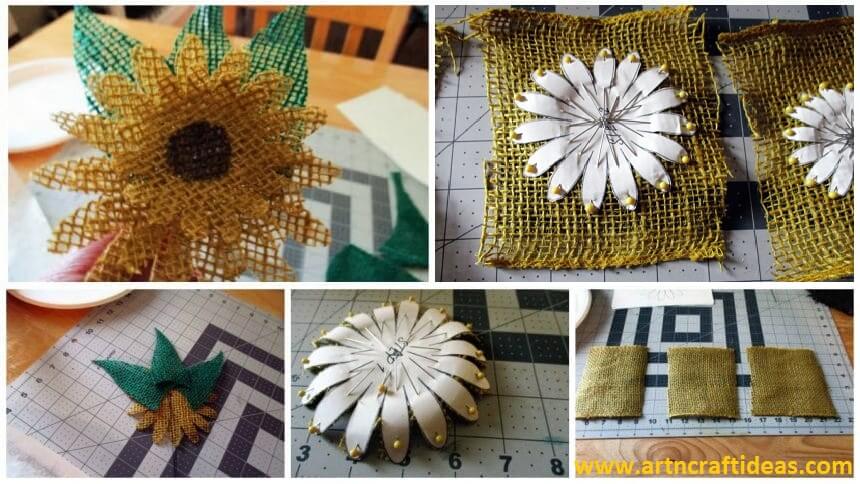
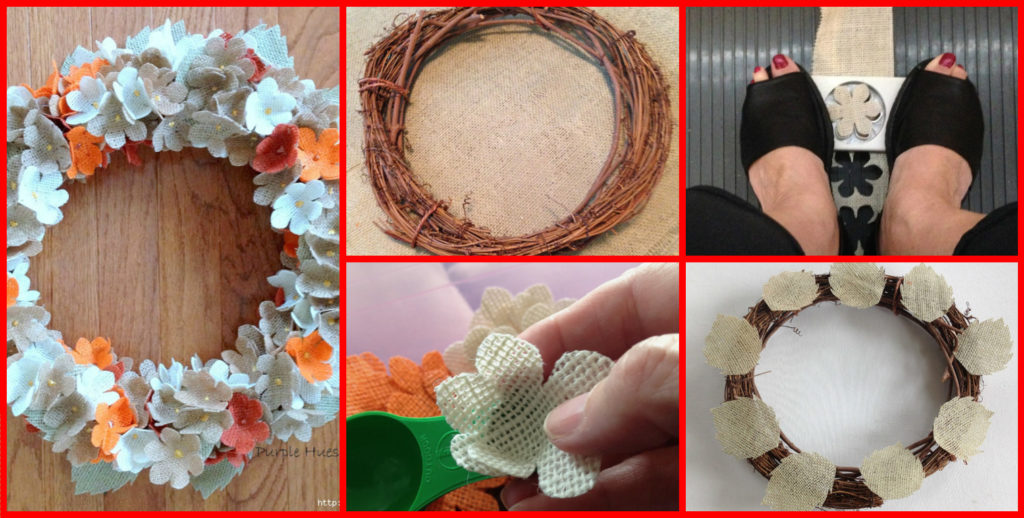
Posted onFebruary 4, 2017inChristmas, DIY, Easter, Home Decor, Step by step, Tutorial, Valentine’s Day Hydrangea Wreath with Burlap
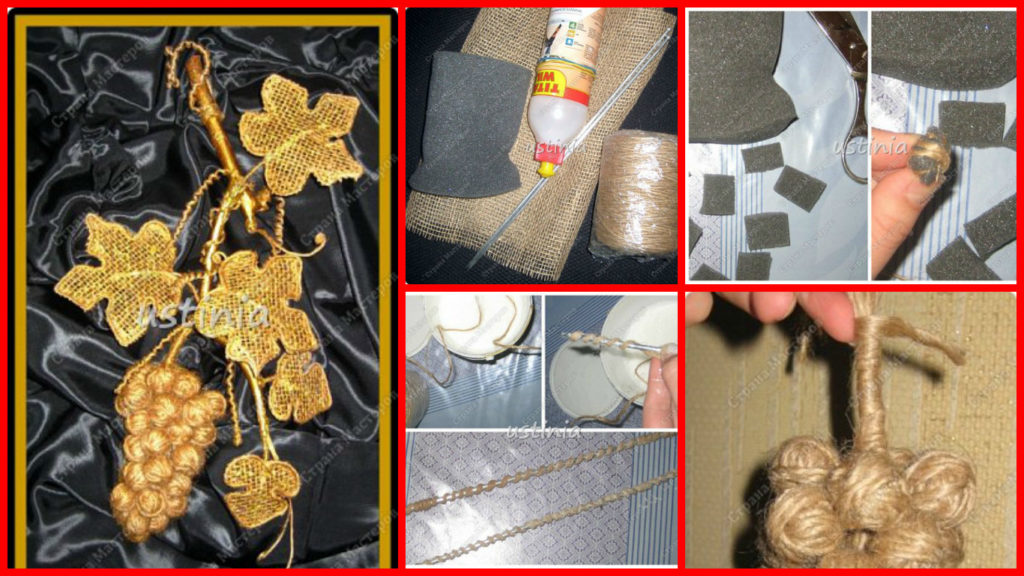
Posted onJanuary 29, 2017inDIY, Home Decor, Step by step, Tutorial How to make golden grapes of jute and burlap