Posted onOctober 17, 2017inRangoli, Tutorial, Video Colourful and Innovative Diwali Special Rangoli Design Step By Step
Posted onJuly 11, 2017inEmbroidery And Sewing, Tutorial, Video Mirror work embroidery designs for blouse and kurtis
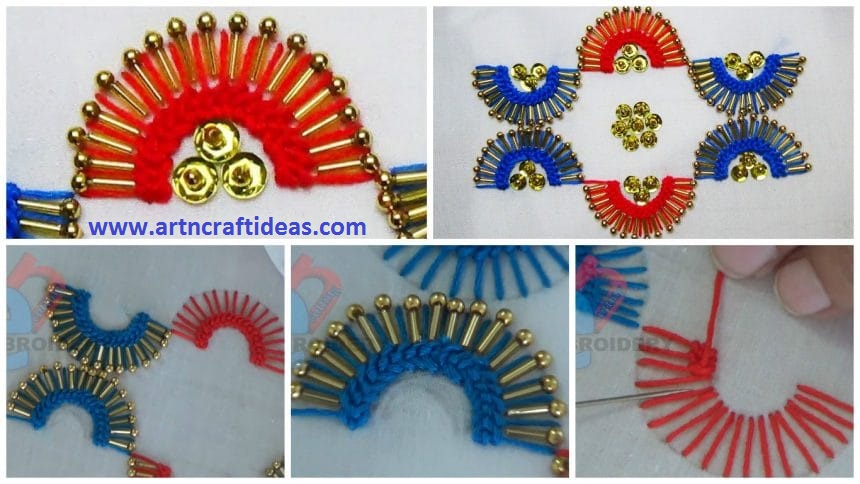
Posted onJuly 11, 2017inEmbroidery And Sewing, Tutorial, Video Hand Embroidery: Raised Chain Stitch (Bead Embroidery)
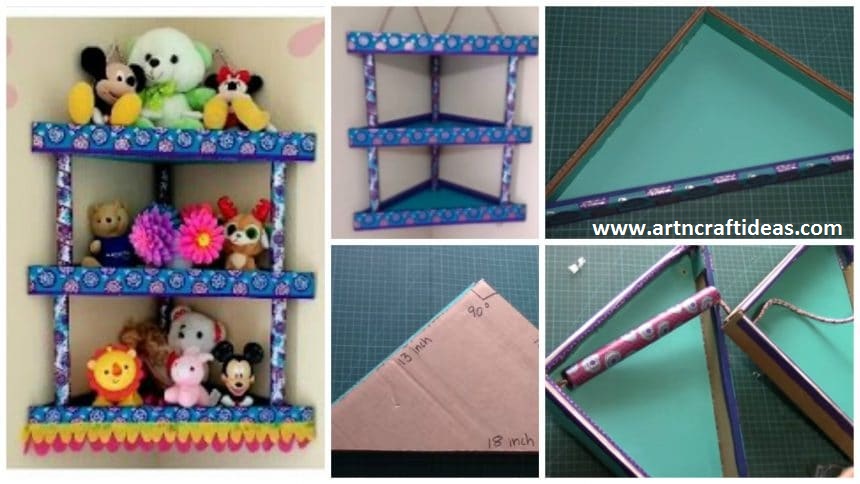
Posted onJuly 9, 2017inBest out of Waste, Cardboard Crafts, Craft, DIY, Home Decor, Tutorial, Video How to Make Cardboard Corner Shelf / Rack
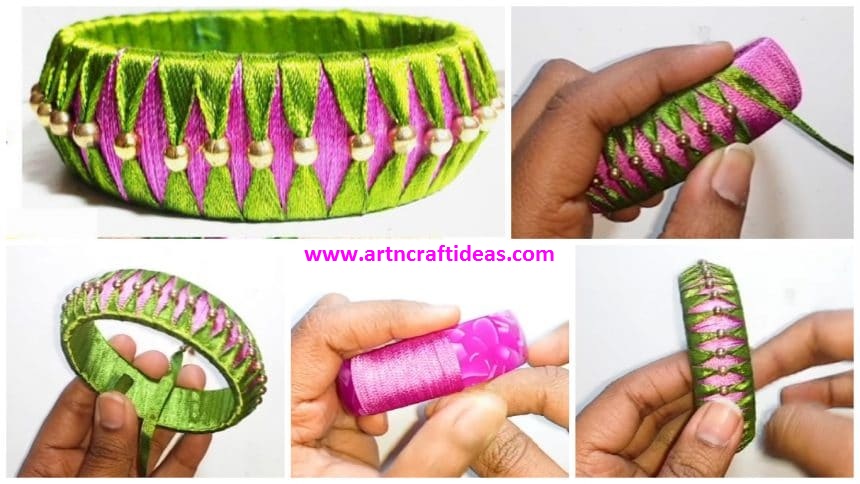
Posted onJuly 9, 2017inCraft, DIY, Jewellery, Tutorial, Video How to Make Silk Thread Ribbon Bangle at Home
Posted onJuly 9, 2017inClothing, Embroidery And Sewing, Tutorial, Video One Side Patterns and Button New Kurta Neck Design
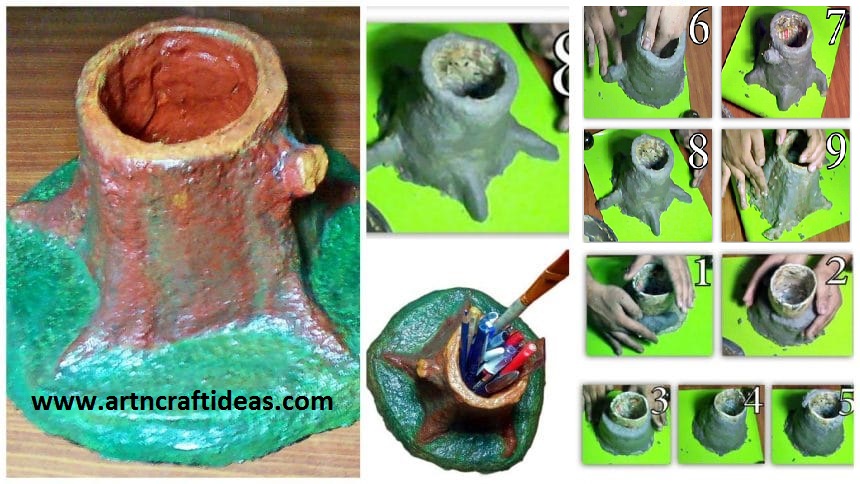
Posted onJuly 8, 2017July 8, 2017inBest out of Waste, Craft, Newspaper Crafts, Tutorial, Video DIY: Handmade Paper Mache Pencil Holder
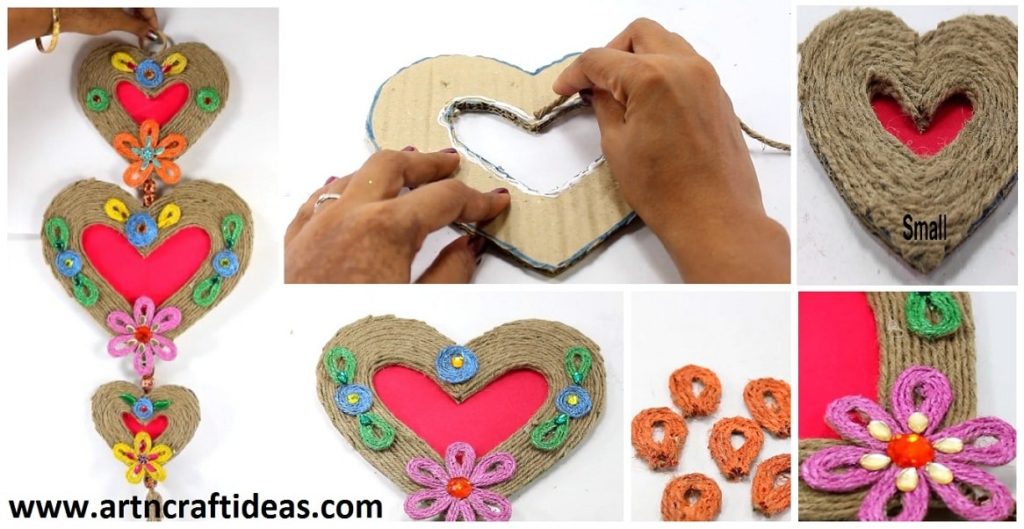
Posted onJuly 5, 2017inBest out of Waste, Cardboard Crafts, Tutorial, Video How to Make Wall Hanging from Jute
Posted onJuly 5, 2017inFashion, Nail Art, Tutorial, Video DIY Shattered Glass Nail Art – Step by step Tutorial