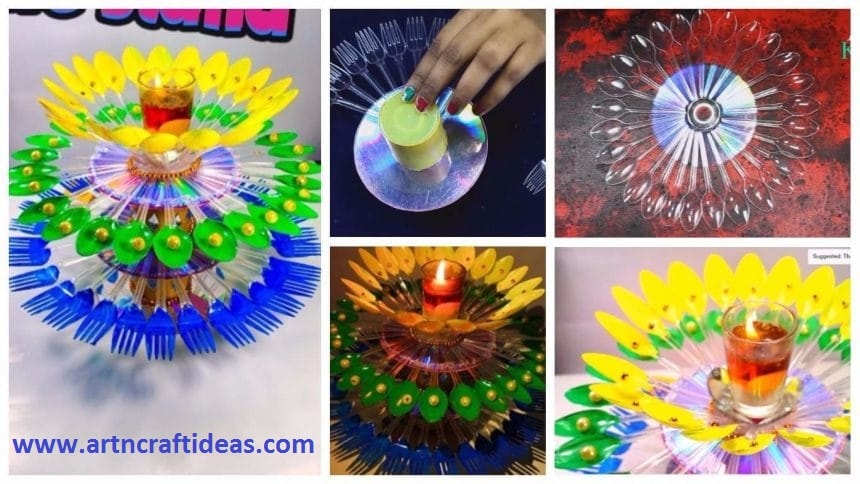
Posted onJuly 6, 2017July 6, 2017inBest out of Waste, Christmas, Craft, Diwali, DIY, Home Decor, Tutorial How to Decorate Candle Holder/Stand from Plastic Spoons
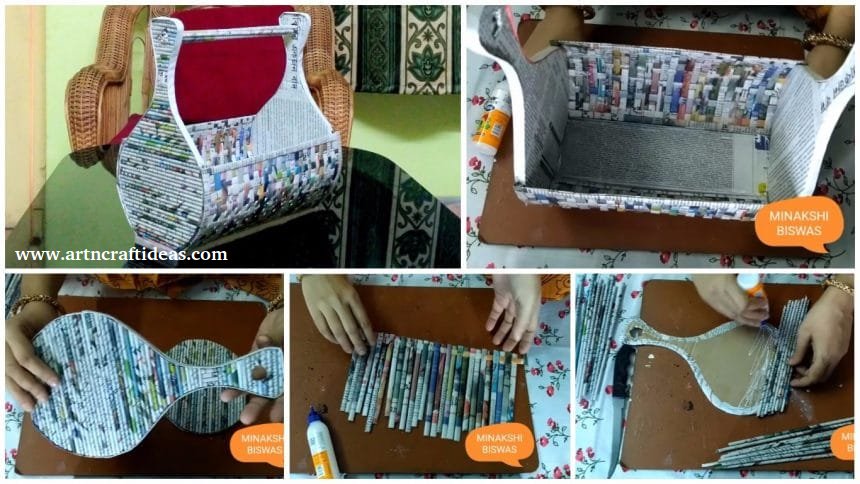
Posted onJuly 6, 2017inBest out of Waste, Newspaper Crafts, Tutorial How to make a newspaper rack / holder – Step by step tutorial
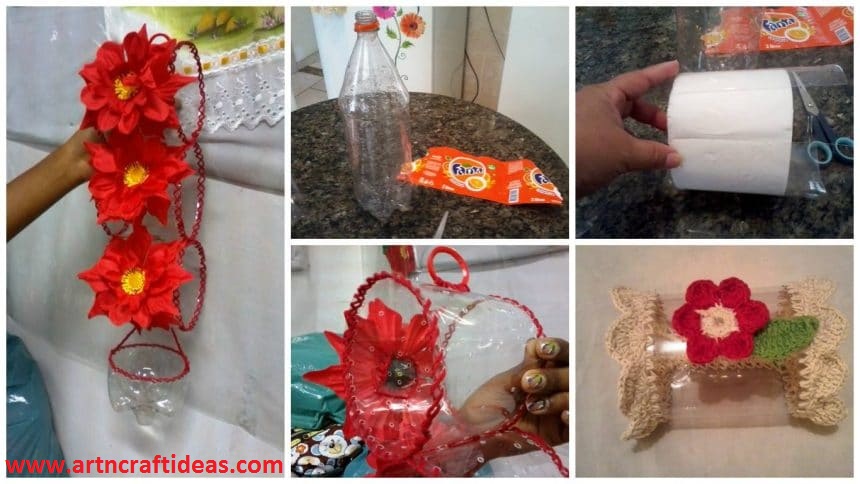
Posted onJuly 5, 2017inBest out of Waste, Craft, DIY, Tutorial How to Make Toilet Paper Roll Holder from Plastic Bottle
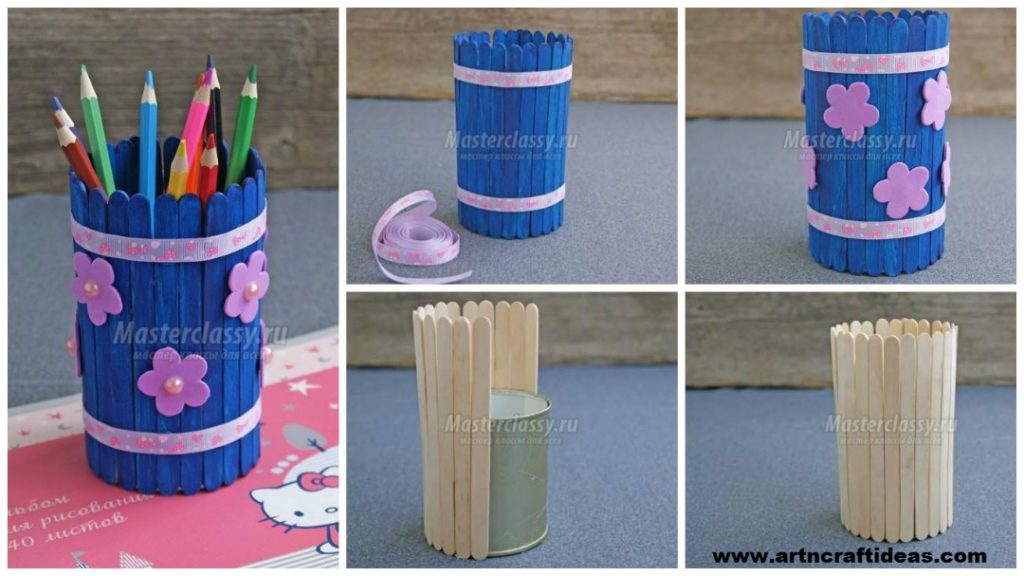
Posted onJune 9, 2017inBest out of Waste, Craft, Tutorial How to Make a Pencil Holder with Popsicle Sticks
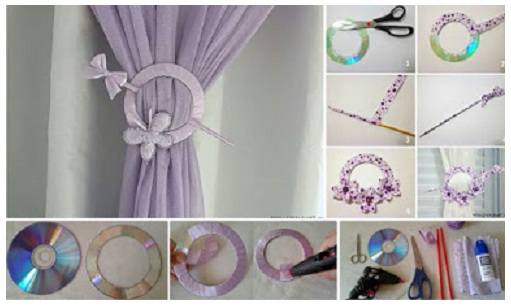
Posted onMarch 12, 2017inBest out of Waste, Home Decor, Tutorial How to make curtains holder of old CD
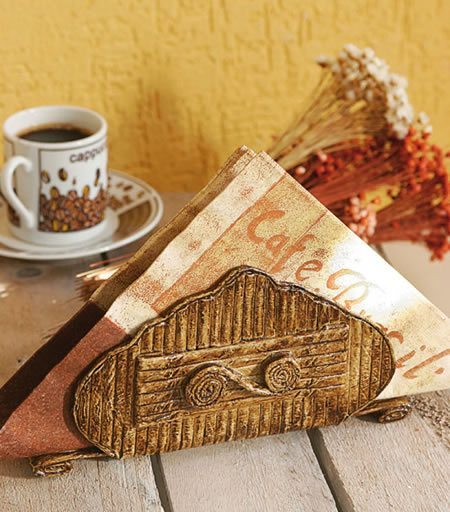
Posted onFebruary 21, 2017inBest out of Waste, DIY, Newspaper Crafts, Step by step, Tutorial Newspaper Napkin Holder Step By step