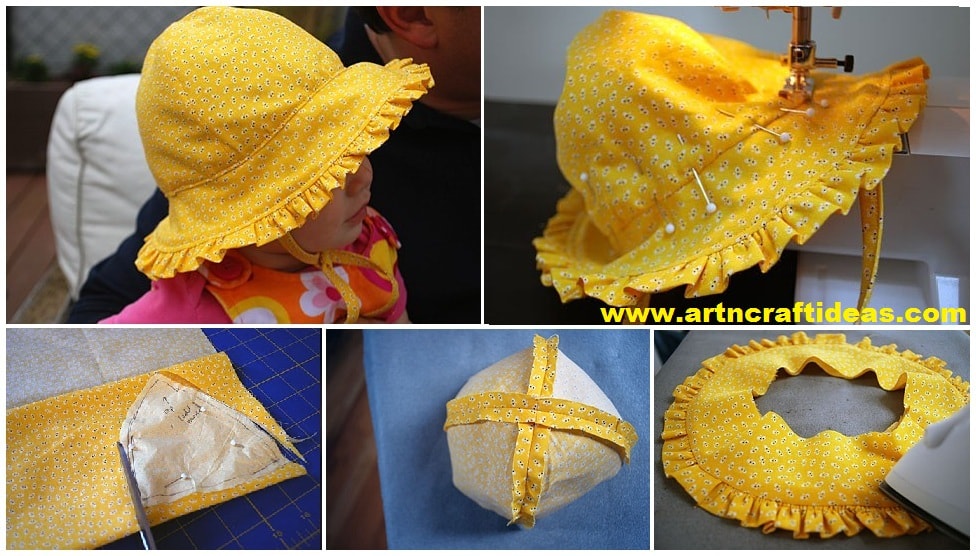
Posted onJuly 1, 2017inEmbroidery And Sewing, Kids Corner, Patchwork Crafts, Tutorial How to Make Baby sunhat pattern with ruffles and ties
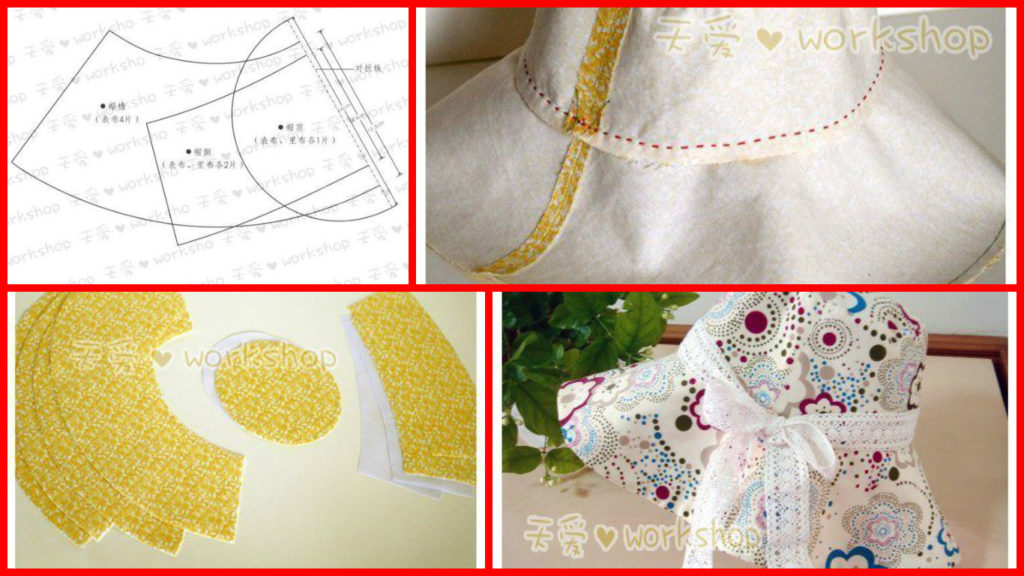
Posted onJune 29, 2017inEmbroidery And Sewing, Patchwork Crafts, Tutorial How to sew a beach bag and sun hat for girls
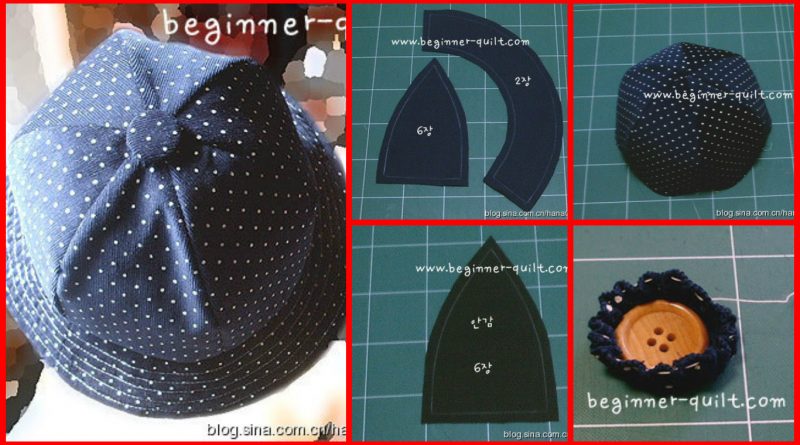
Posted onFebruary 10, 2017inDIY, Embroidery And Sewing, Step by step, Tutorial Sew A Summer Hat for Children
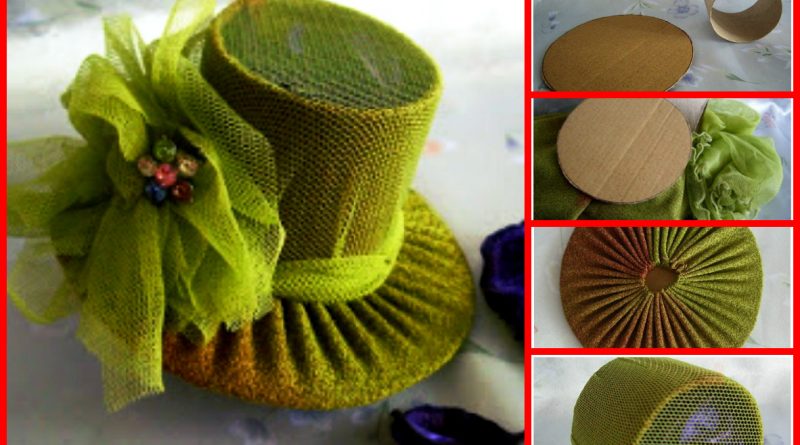
Posted onJanuary 30, 2017inBest out of Waste, DIY, Step by step, Tutorial How to make simple beautiful hat