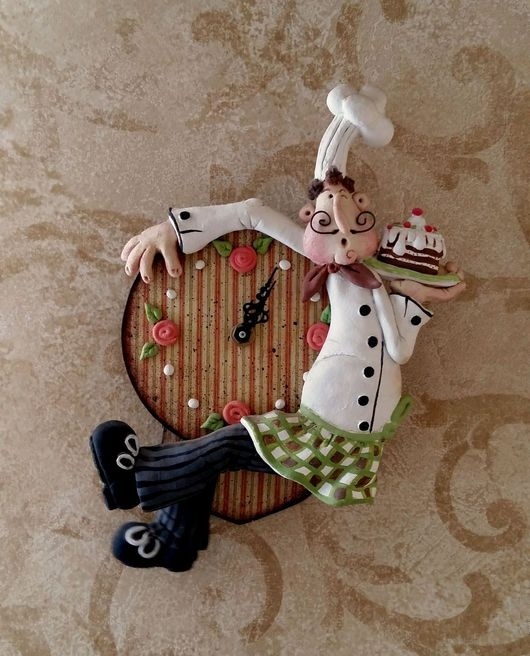
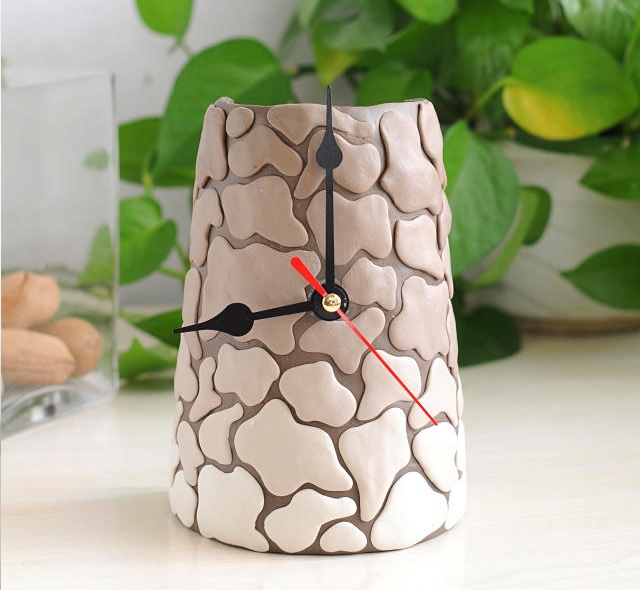
Posted onFebruary 18, 2017February 19, 2017inDIY, Step by step, Tutorial How to make soft pot clock ornaments
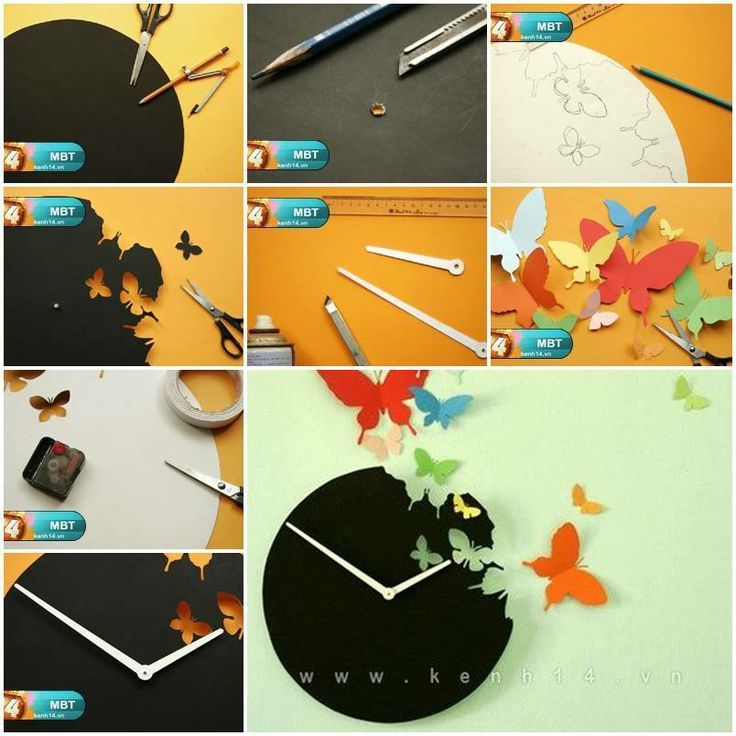
Posted onFebruary 15, 2017inBest out of Waste, DIY, Home Decor, Step by step, Tutorial DIY: Handmade Wall Clock
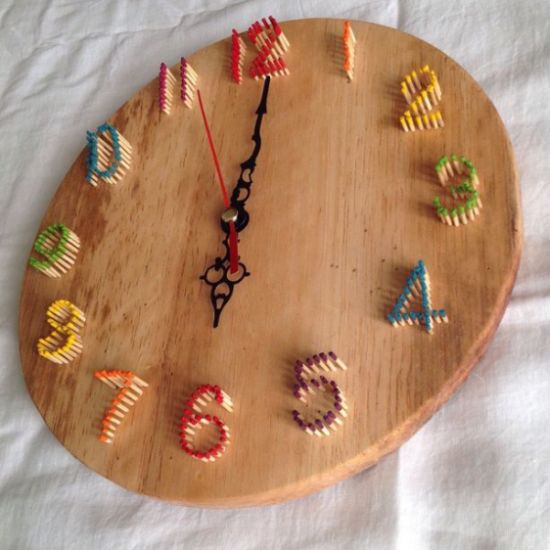
Posted onJanuary 11, 2017January 11, 2017inDIY, Home Decor, Step by step, Tutorial DIY Coffee bean clock