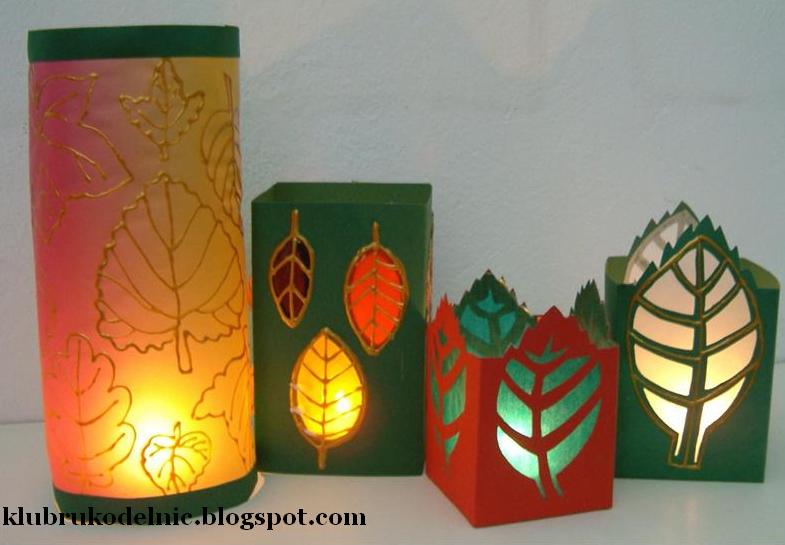
Posted onMarch 4, 2017inBest out of Waste, DIY, Home Decor, Tutorial DIY: Lanterns with autumn leaves create
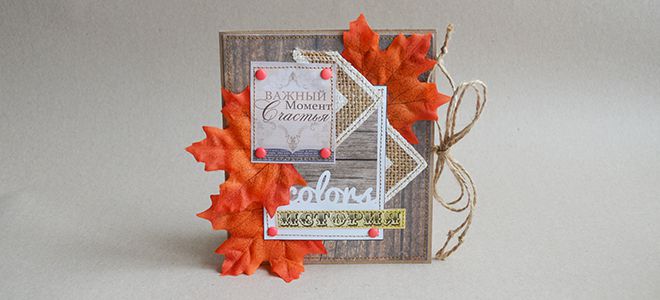
Posted onFebruary 21, 2017inCardboard Crafts, DIY, Step by step, Tutorial Autumn scrapbooking-postcard