Posted onJune 18, 2017inRangoli, Tutorial, Video Easy and beautiful rangoli with the border of multicoloured roses
Posted onMay 17, 2017May 17, 2017inHome Decor, Kids Corner, Tutorial Love birds – Acrylics Painting on Canvas
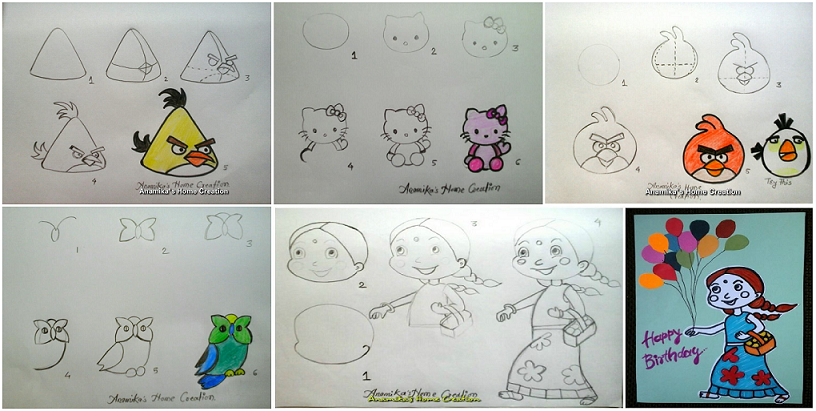
Posted onMay 17, 2017May 17, 2017inFeatured, Kids Corner, Step by step How to draw cartoon characters step by step
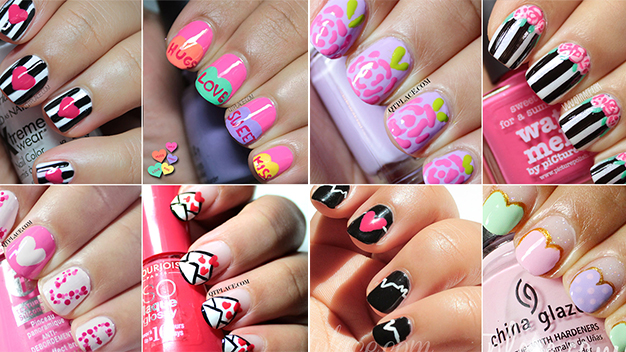
Posted onFebruary 13, 2017February 13, 2017inNail Art, Valentine’s Day Valentine’s Day Nail Art Designs Ideas
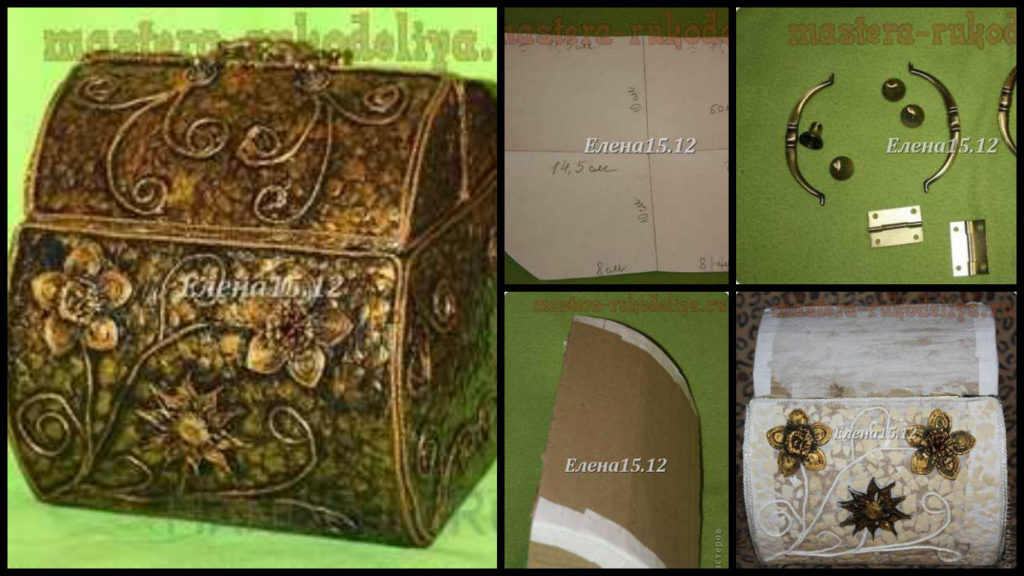
Posted onFebruary 5, 2017February 6, 2017inBest out of Waste, DIY, Step by step, Tutorial DIY: Decorative art Paper-art: Sac
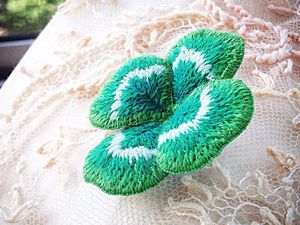
Posted onFebruary 4, 2017inEmbroidery And Sewing, Step by step, Tutorial We make a brooch, “Clover for good luck” in the art stumpwork
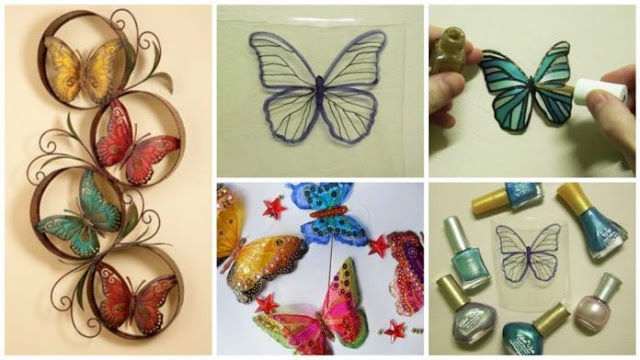
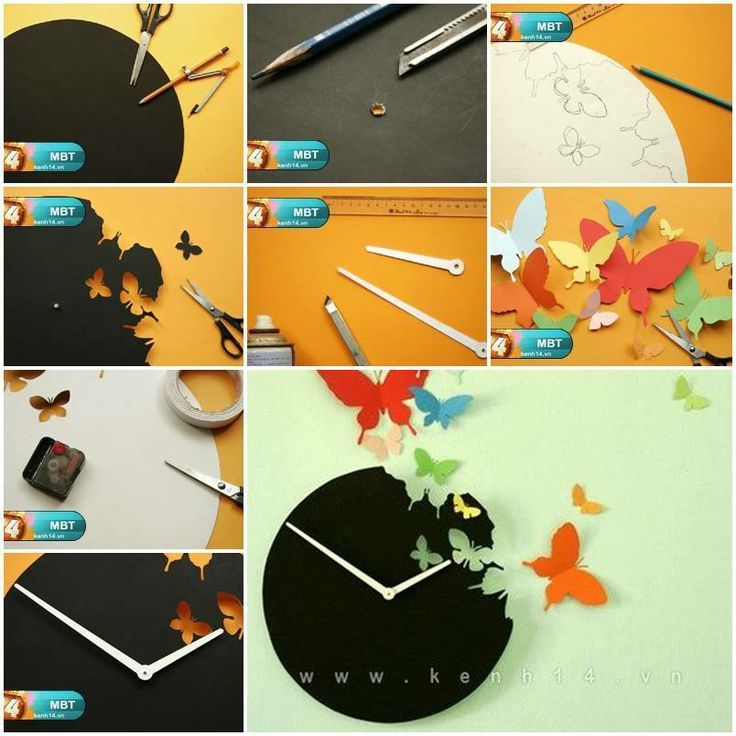
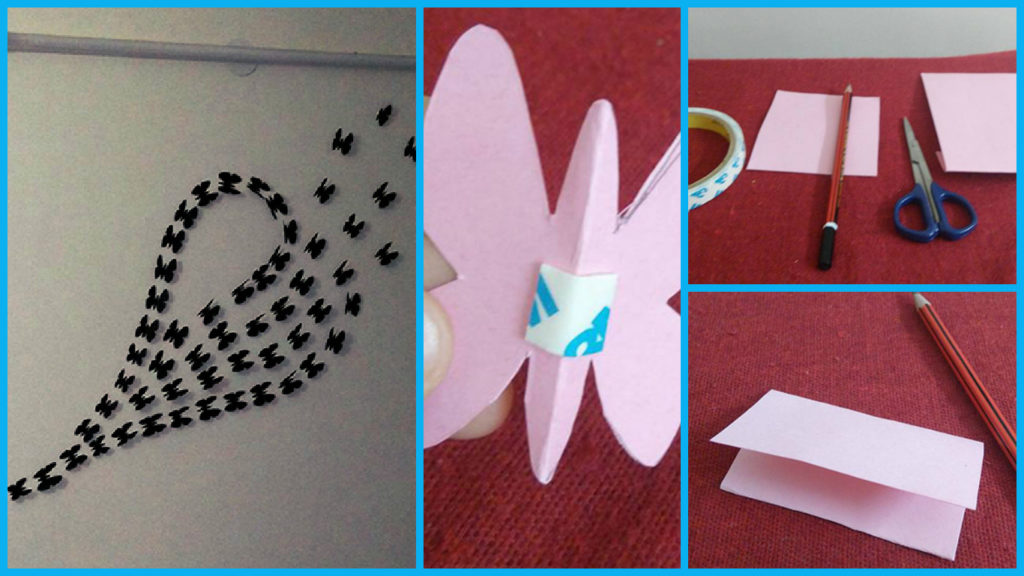
Posted onJanuary 31, 2017inBest out of Waste, DIY, Paper Crafts, Step by step, Tutorial Beautiful butterfly wall art