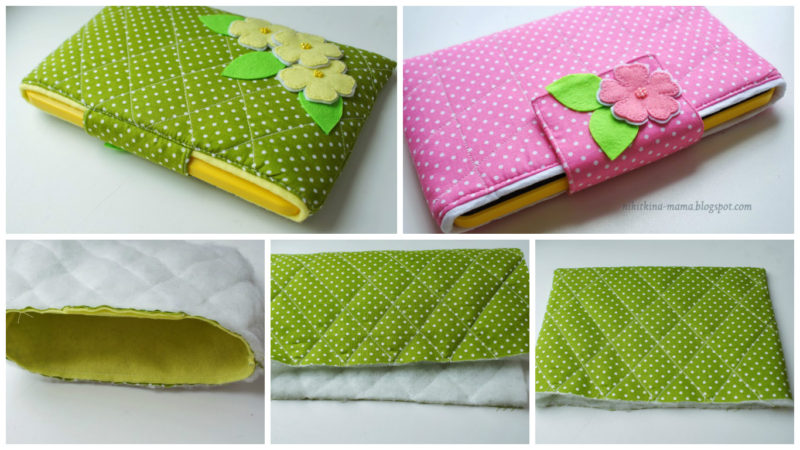
Posted onMarch 4, 2017inEmbroidery And Sewing, Patchwork Crafts, Tutorial DIY: Beautiful Mobile Cover
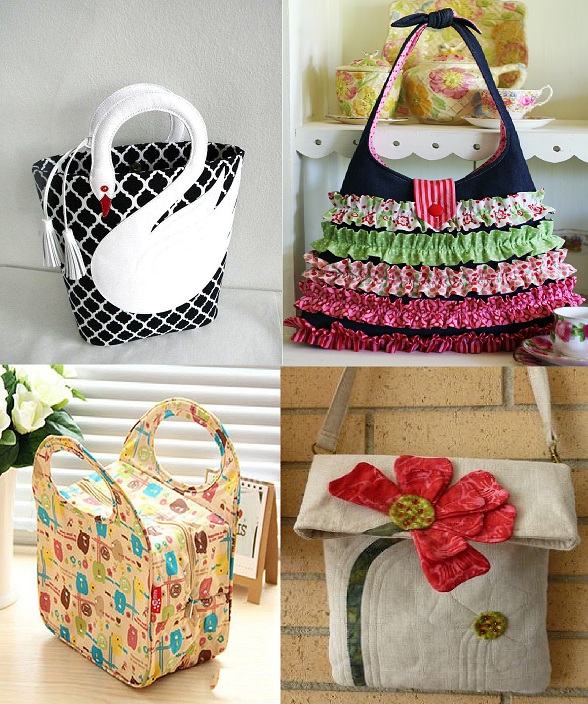
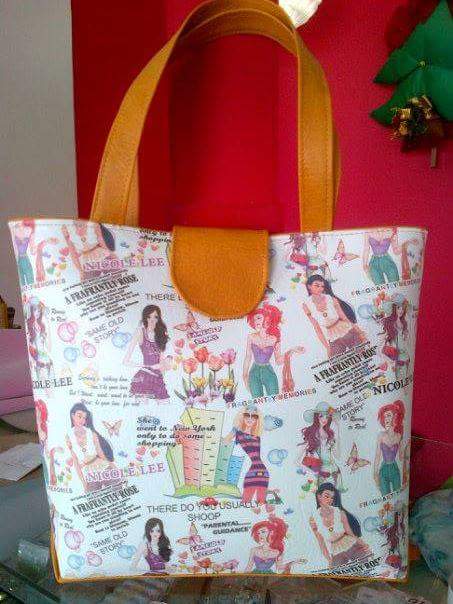
Posted onMarch 4, 2017November 19, 2022inEmbroidery And Sewing, Ideas, Patchwork Crafts Handmade cloth bag patterns
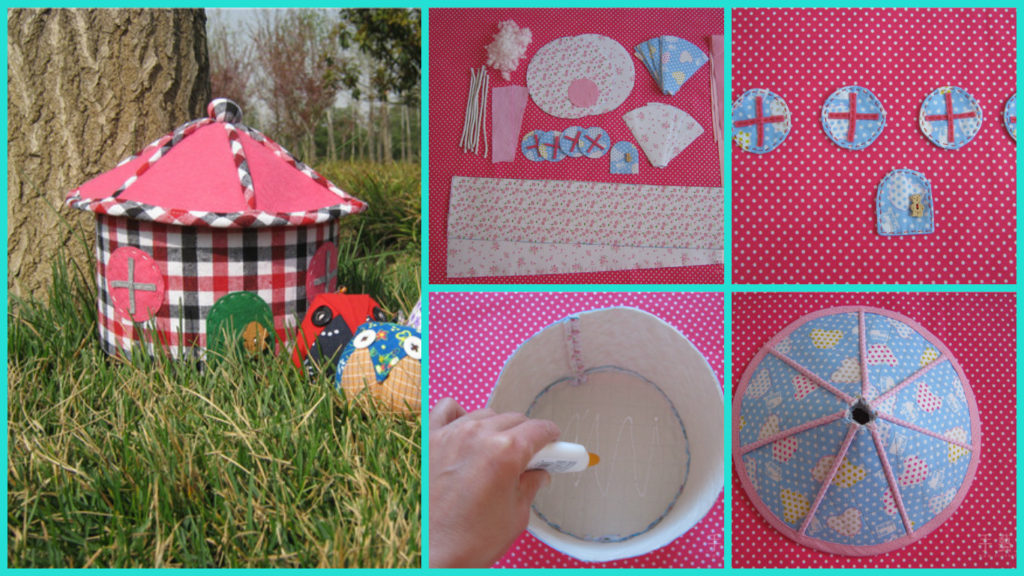
Posted onMarch 4, 2017May 20, 2018inDIY, Embroidery And Sewing, Patchwork Crafts, Tutorial Homemade small sewing basket
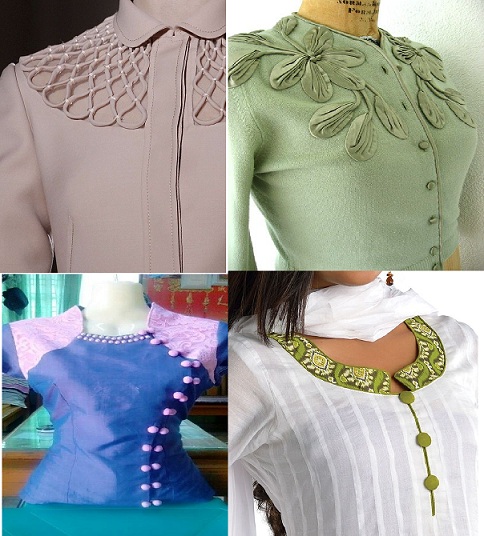
Posted onFebruary 22, 2017February 23, 2017inClothing, Ideas, Patchwork Crafts Different Types Of Kurta Neck Designs
Posted onJanuary 25, 2017inPatchwork Crafts, Step by step, Tutorial How to Make Kids Backpack Step by Step
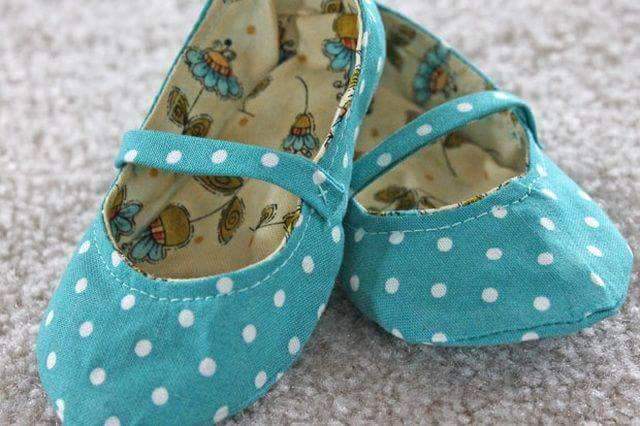
Posted onJanuary 25, 2017January 25, 2017inPatchwork Crafts, Step by step, Tutorial DIY: Handmade Fabric Baby Shoes
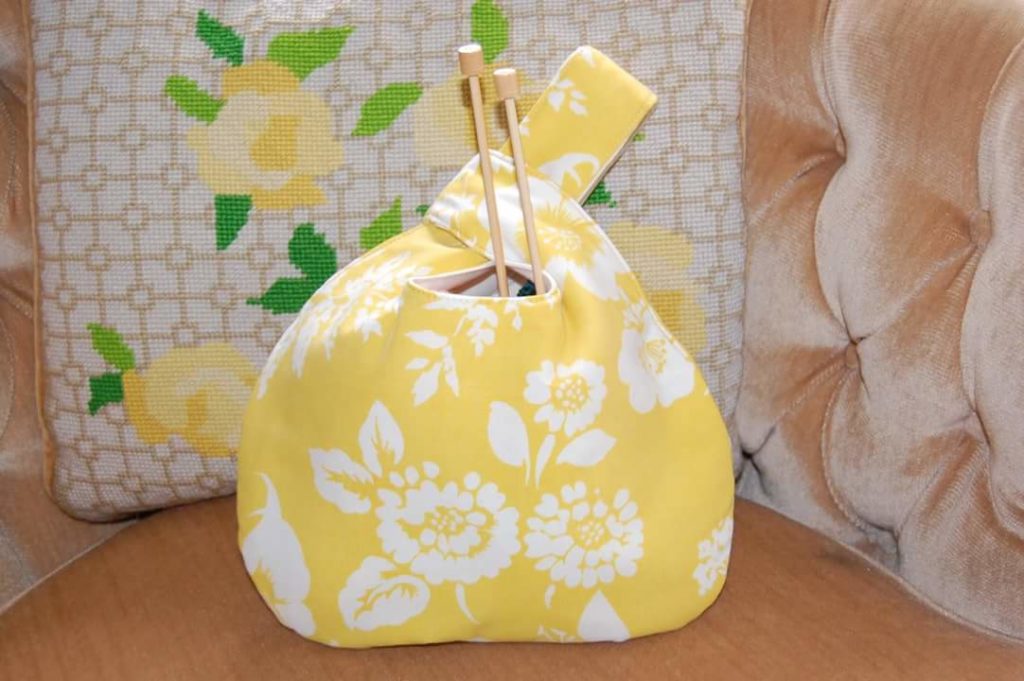
Posted onJanuary 24, 2017inPatchwork Crafts, Step by step, Tutorial Create a fabric knitting bag with tutorial