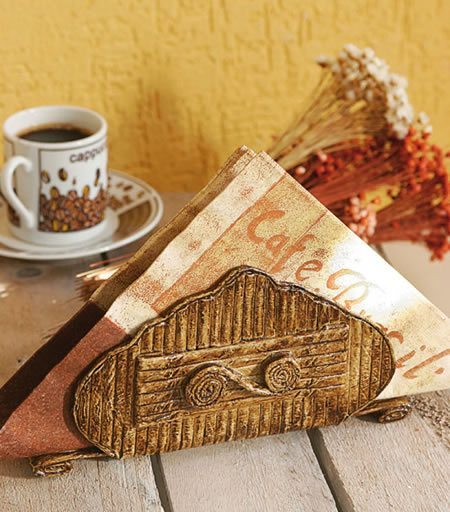
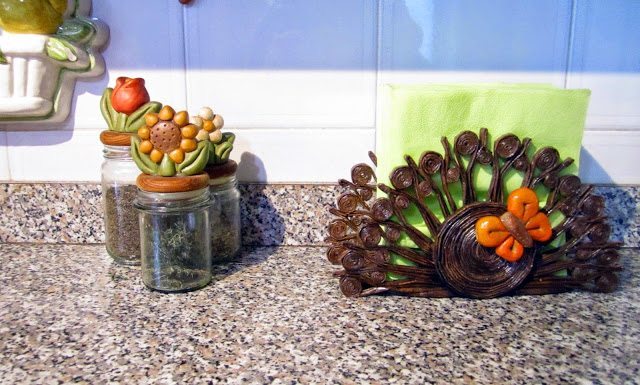
Posted onFebruary 21, 2017inBest out of Waste, DIY, Newspaper Crafts, Step by step, Tutorial Newspaper Napkin Holder Step By step
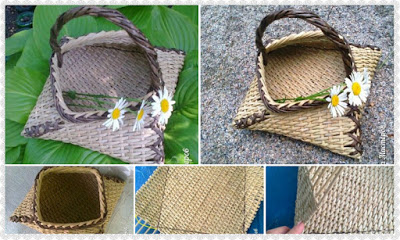
Posted onFebruary 16, 2017inBest out of Waste, DIY, Newspaper Crafts, Step by step, Tutorial DIY: Weaving Newspapers Basket
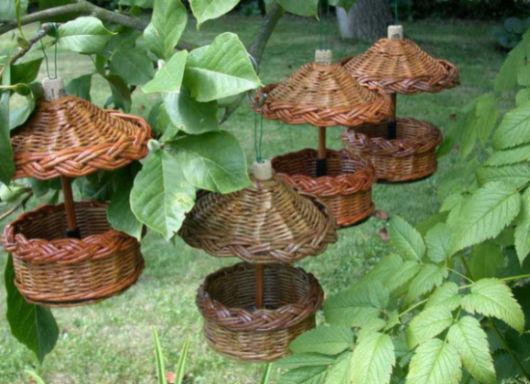
Posted onFebruary 16, 2017inBest out of Waste, DIY, Newspaper Crafts, Step by step, Tutorial How to Make Bird Feeder with a Newspaper
Posted onFebruary 15, 2017February 15, 2017inBest out of Waste, DIY, Home Decor, Newspaper Crafts, Step by step, Tutorial How to make newspaper roses frame
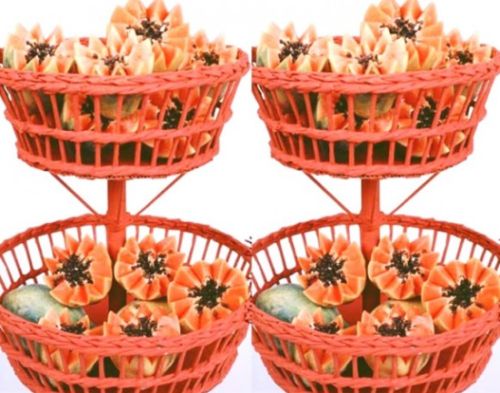
Posted onFebruary 15, 2017inBest out of Waste, DIY, Newspaper Crafts, Step by step, Tutorial How to make newspaper fruit basket
Posted onFebruary 11, 2017inBest out of Waste, Featured, Newspaper Crafts, Tutorial DIY: How to make Napkin holders from recycled Newspaper
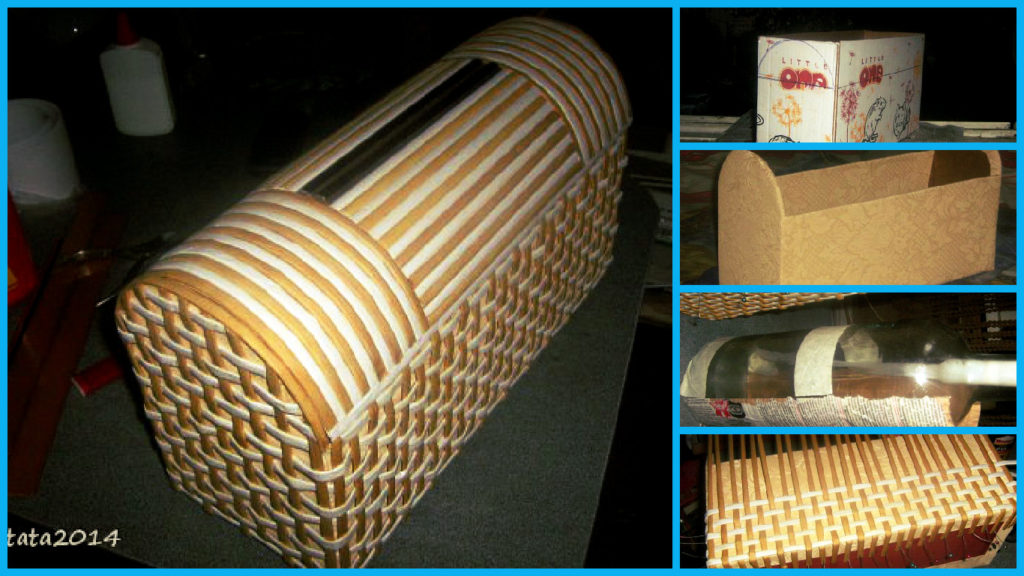
Posted onJanuary 31, 2017inBest out of Waste, DIY, Newspaper Crafts, Step by step, Tutorial Beautiful and simple cardboard chest
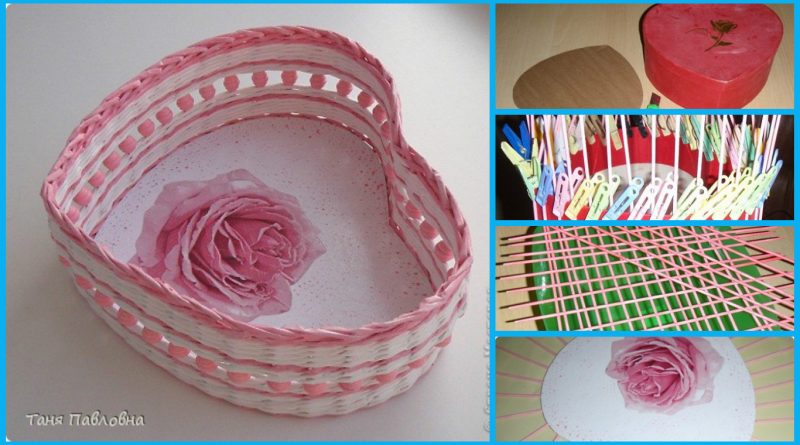
Posted onJanuary 31, 2017inBest out of Waste, DIY, Newspaper Crafts, Step by step, Tutorial How to make casket in a heart shape
Posted onJanuary 28, 2017inBest out of Waste, DIY, Home Decor, Newspaper Crafts, Step by step, Tutorial How to make bicycle planters
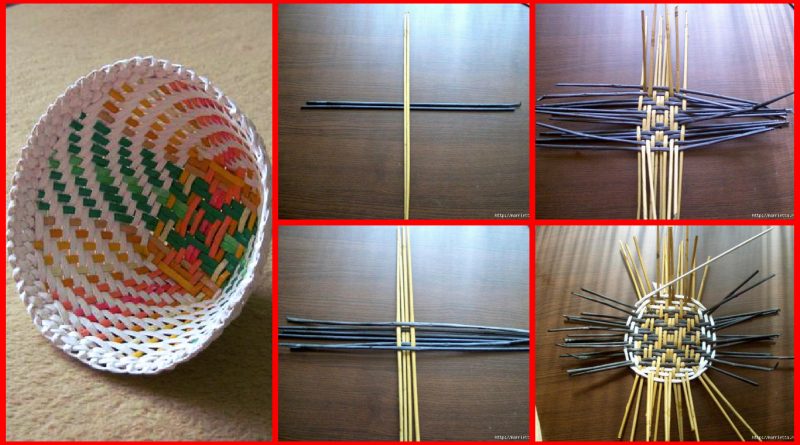
Posted onJanuary 27, 2017inBest out of Waste, Newspaper Crafts, Step by step, Tutorial How To Make Weaving Newspaper Colorful Platter