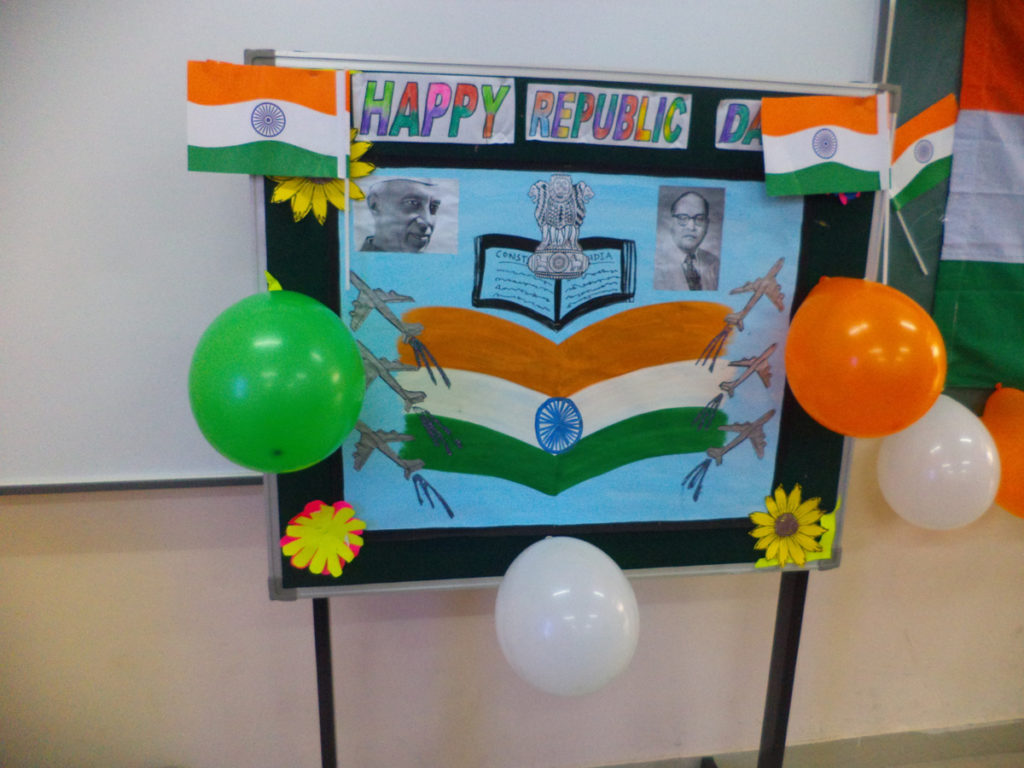
Posted onJanuary 24, 2017inKids Crafts, Republic Day 40+ Republic Day Art and Crafts for kids to make
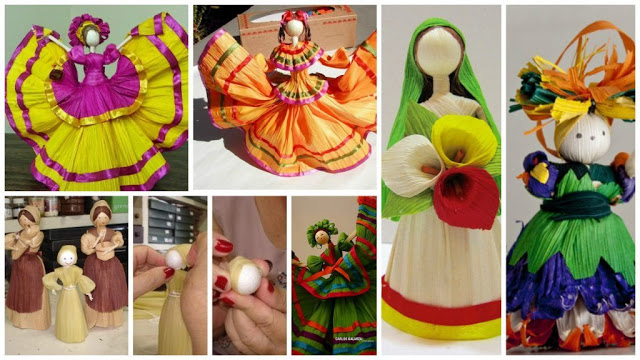
Posted onJanuary 16, 2017inBest out of Waste, Decorations, DIY, Kids Corner, Tutorial How to make doll of boiled corn leaves
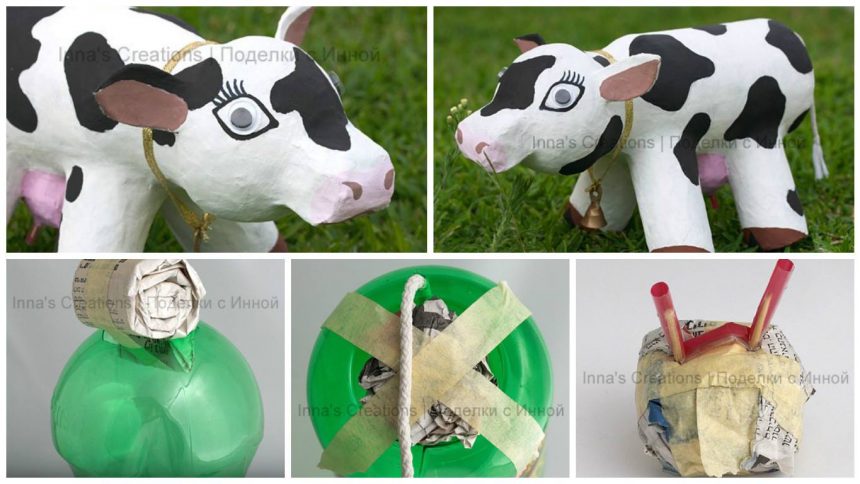
Posted onJanuary 16, 2017inKids Crafts, Newspaper Crafts, Step by step, Tutorial Make a papier-mache cow using an empty water bottle and toilet paper rolls – Step By Step
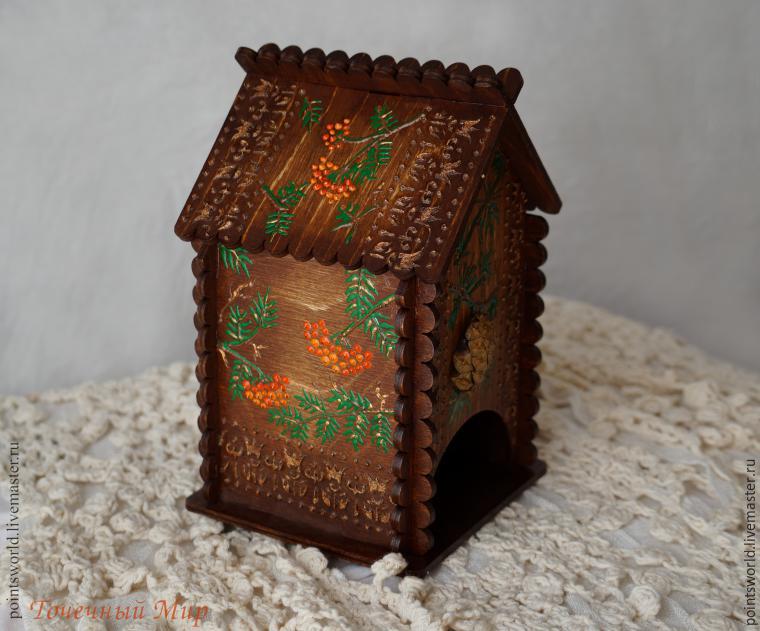
Posted onJanuary 11, 2017inDecorations, DIY, Other, Step by step, Tutorial How to make beautiful tea house
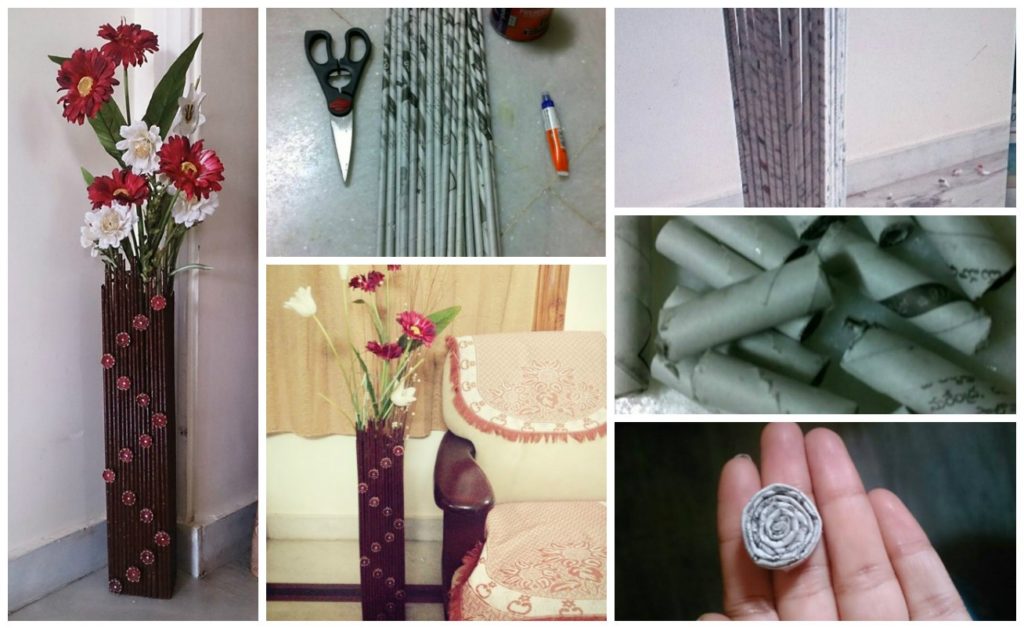
Posted onJanuary 11, 2017inBest out of Waste, DIY, Newspaper Crafts, Step by step, Tutorial DIY make newspaper vase