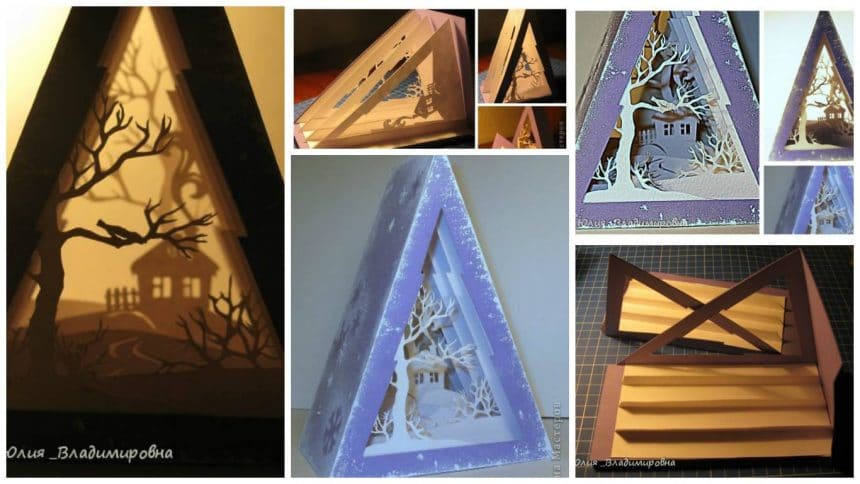
I hope that, in spite of a few non-standard shape, our tunnel take root in their family)) Honestly, it was conceived as one of the demonstration models for the lesson … In the process of work, I crept into the idea that it can be used as a toy on Christmas tree school.


Required Material:
- paper pastel A4 format (2 sheets);
- watercolor paper A4 (3 sheets);
- pencil;
- metal ruler;
- knife breadboard (I prefer to cut their paper only);
- glue…

Dimensions pastel paper does not allow me to make a full scan of the sides of the tunnel … so … so … Drawing In the tunnel height of 16cm, width 15cm and 8cm glubina-

Like most of you, I spend soft easy on the fold lines with a knife … a bit … avoid creases when folded ….

Do … accordion intervals .s 19 (mm) x 10 (mm) x 10 (mm), -20 (mm) x 10 (mm) – 10 (mm), -20 (mm) x 10 (mm) x 10 (mm) -19 (mm) height … accordion must be less than (at least 8 mm) the height of the tunnel … a little again passers-by with a knife. There, where the diagram solid lines- the front side and the back where shtrihovye-.
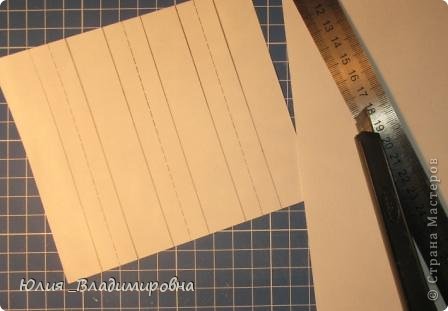
Folding and gluing an accordion.

Now insert a few … they are drawn spontaneously
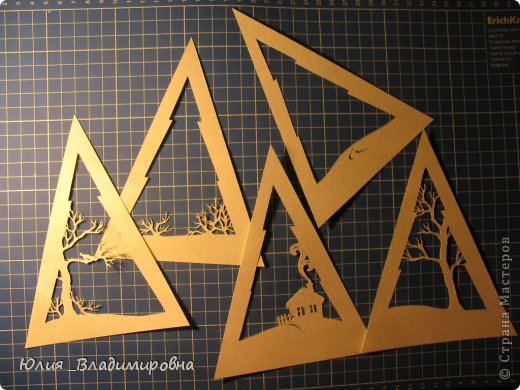
Getting to the assembly)) Glue the sides of the accordion.
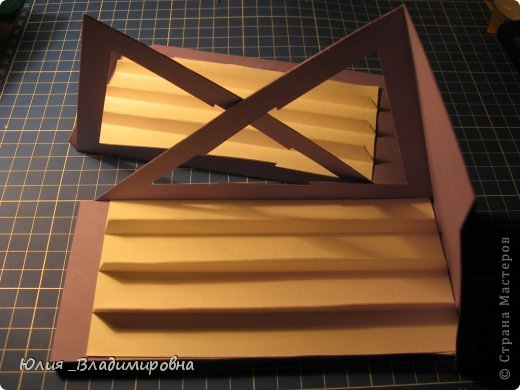
To glue edges accordion inserts, in accordance with the planned composition.
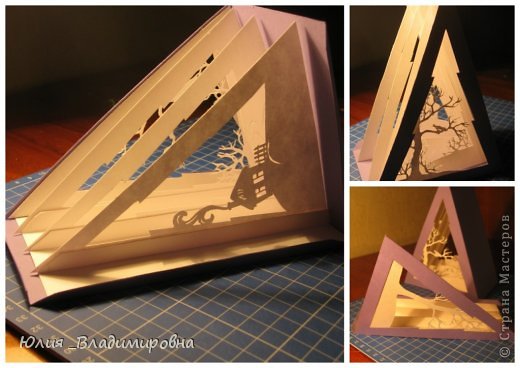
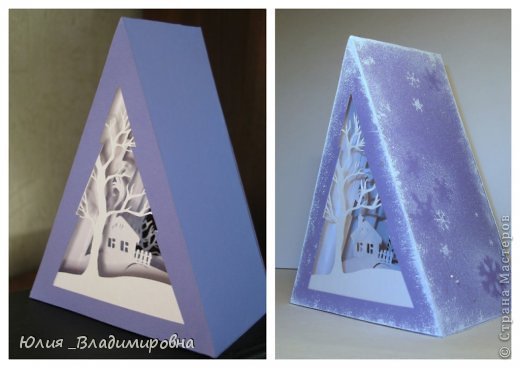
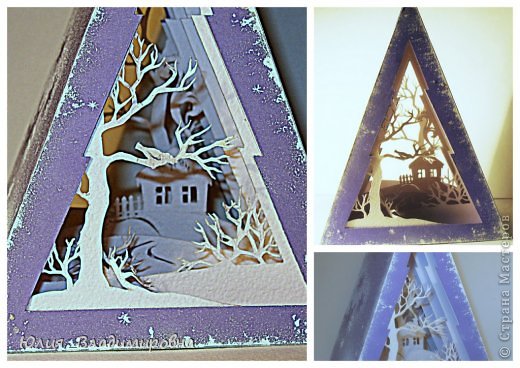
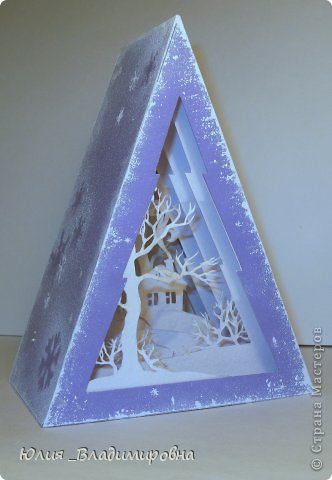
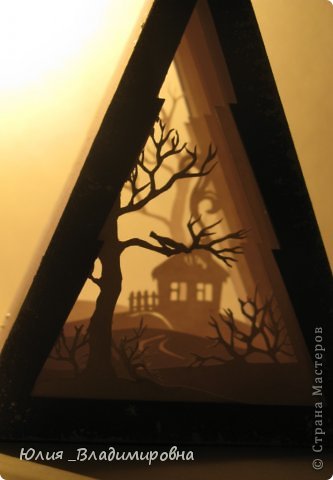
Hope you like this herringbone tunnel.
Image Source: pinterest.com
We would love to hear your thoughts in the comment section below. And be sure to like us Facebook for more ideas!
Thank you for visiting our website. Keep Creating with Art & Craft!
