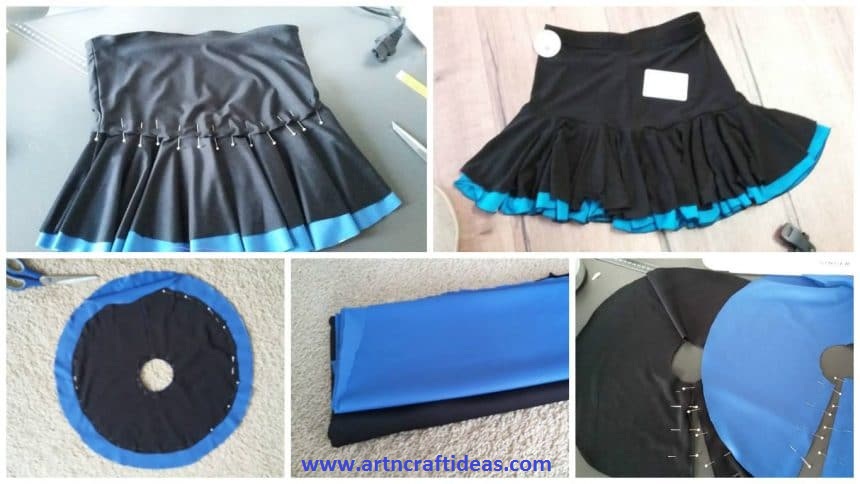
Posted onJuly 8, 2017inClothing, Embroidery And Sewing, Tutorial How to Sew Two-layer Latin Dance Skirt
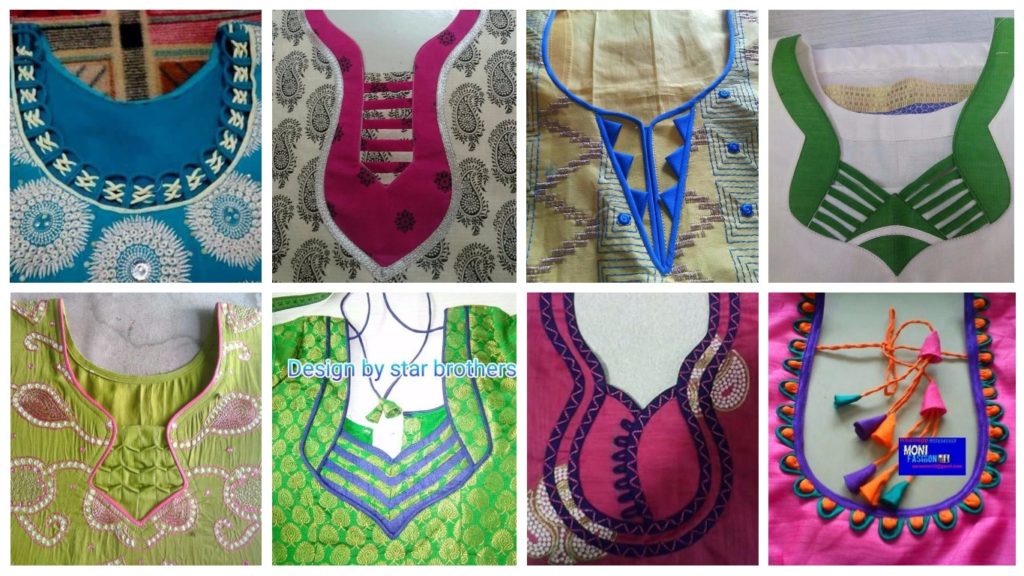
Posted onJuly 7, 2017inClothing, Embroidery And Sewing, Fashion, Ideas Different Types of Neck Patterns to Try in your Kurtis
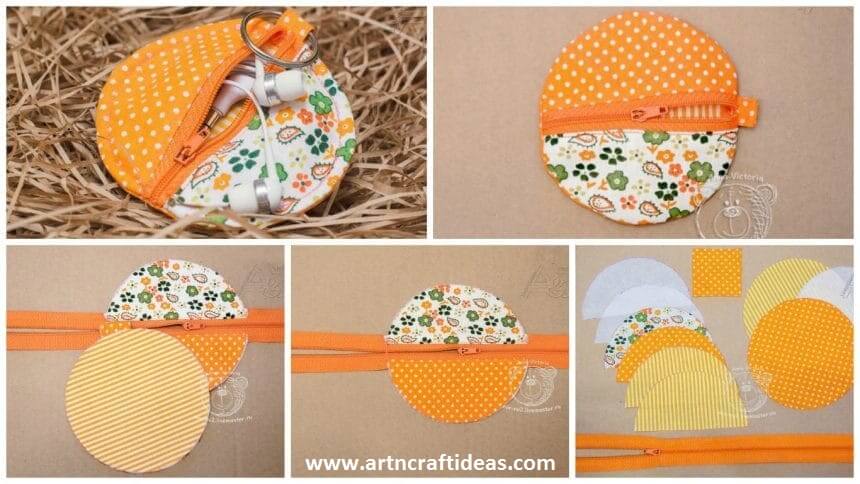
Posted onJuly 6, 2017inDIY, Embroidery And Sewing, Tutorial How to sew case for the headphone and different things
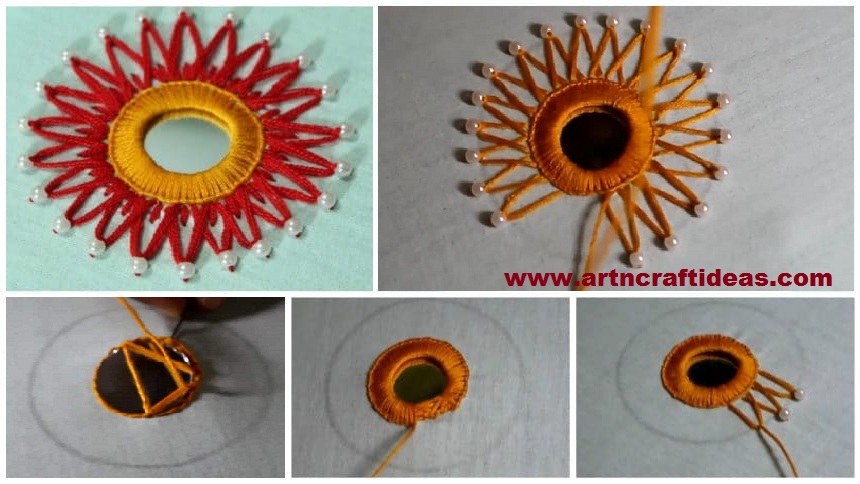
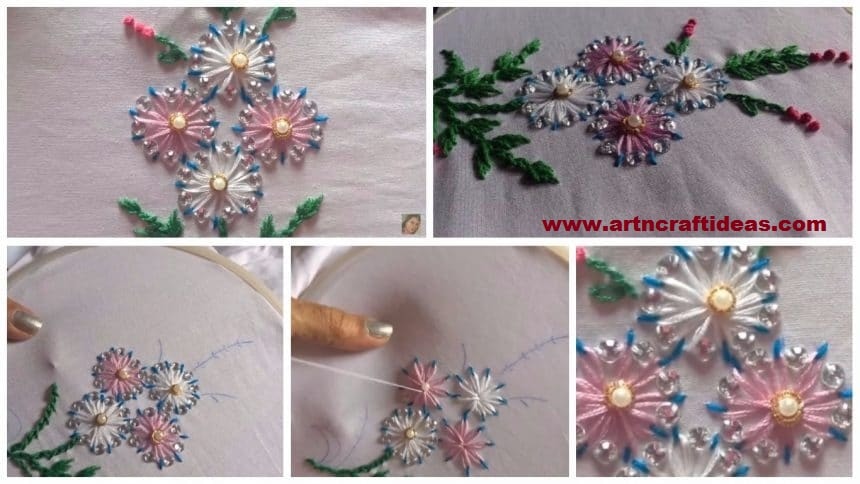
Posted onJuly 2, 2017inEmbroidery And Sewing, Tutorial, Video How to do hand embroidery mirror work design
Posted onJuly 2, 2017inEmbroidery And Sewing, Tutorial, Video Basic Hand Embroidery Stitches Tutorial
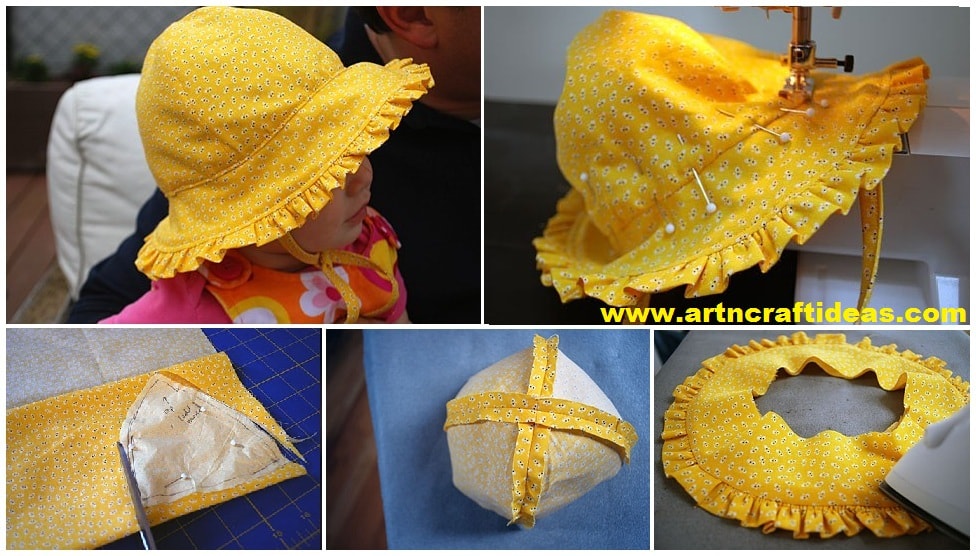
Posted onJuly 1, 2017inEmbroidery And Sewing, Kids Corner, Patchwork Crafts, Tutorial How to Make Baby sunhat pattern with ruffles and ties
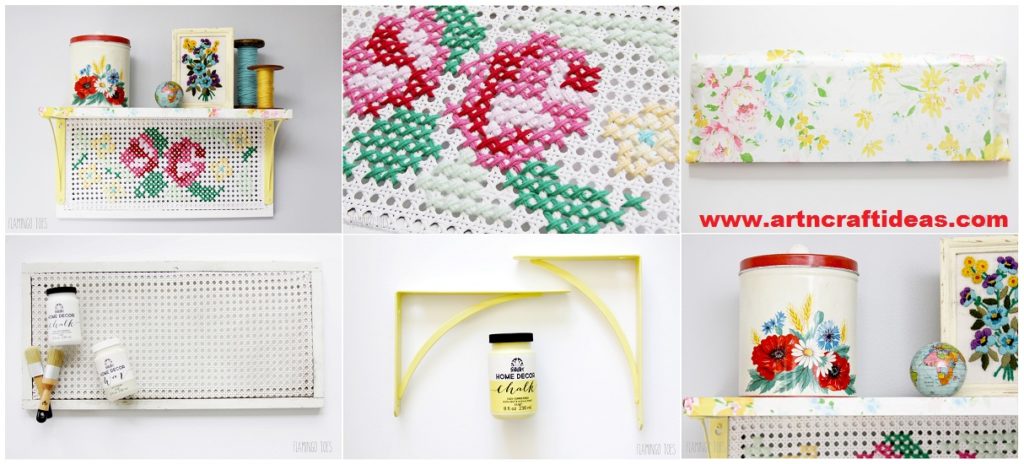
Posted onJuly 1, 2017inDIY, Embroidery And Sewing, Home Decor, Tutorial DIY Vintage Style Cross Stitch Shelf
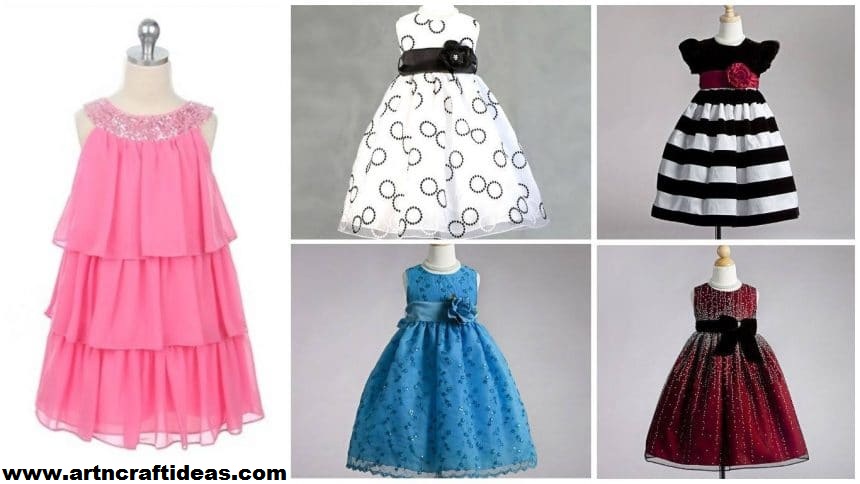
Posted onJune 29, 2017inClothing, Embroidery And Sewing, Kids Corner 25 Different types of frock designs for kids
Posted onJune 29, 2017inEmbroidery And Sewing, Patchwork Crafts, Tutorial How to sew a beach bag and sun hat for girls
Posted onJune 20, 2017November 19, 2022inClothing, Embroidery And Sewing, Patchwork Crafts, Tutorial, Video How to Sew a Designer Strip Sleeves