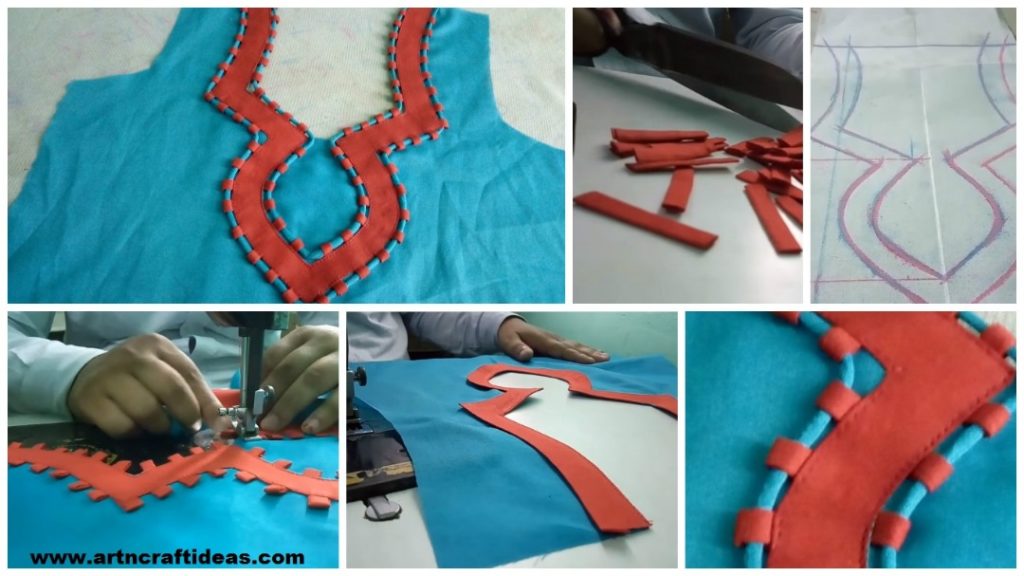
Posted onJune 20, 2017November 19, 2022inClothing, Embroidery And Sewing, Patchwork Crafts, Tutorial, Video How to Sew a Designer Strip Sleeves
Posted onJune 9, 2017inClothing, Embroidery And Sewing, Tutorial, Video How to sew a Jacket style pattern kurti
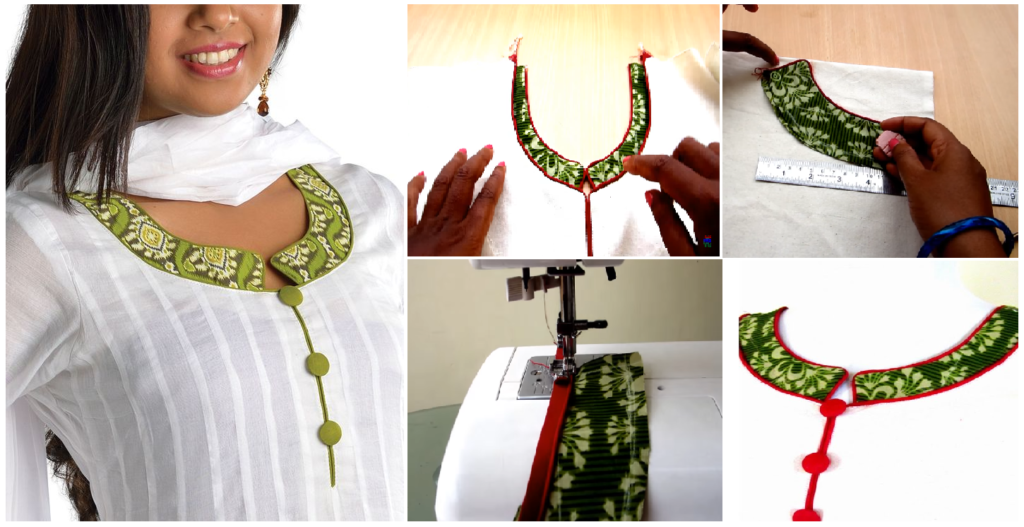
Posted onJune 9, 2017inClothing, Embroidery And Sewing, Patchwork Crafts, Tutorial How to sew piping neck design
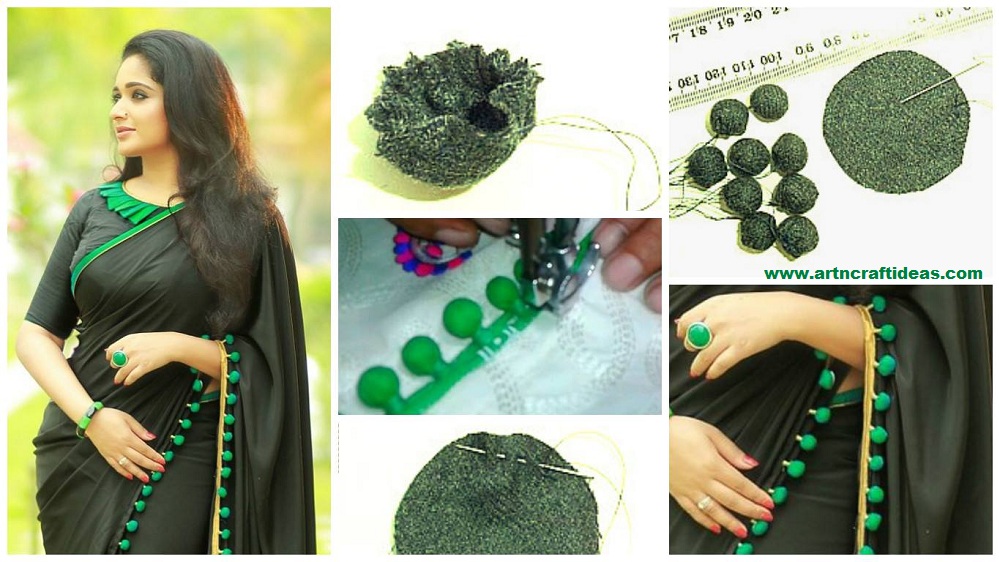
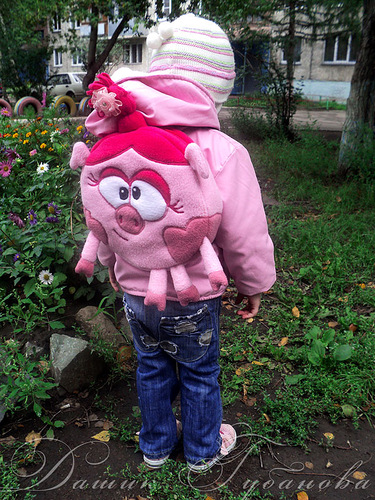
Posted onJune 2, 2017inClothing, Embroidery And Sewing, Tutorial How to decorate saree from fabric pompom
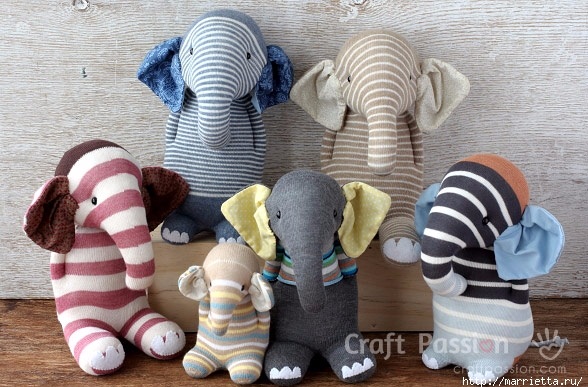
Posted onMarch 23, 2017March 23, 2017inBest out of Waste, Embroidery And Sewing, Tutorial How to make sock elephant
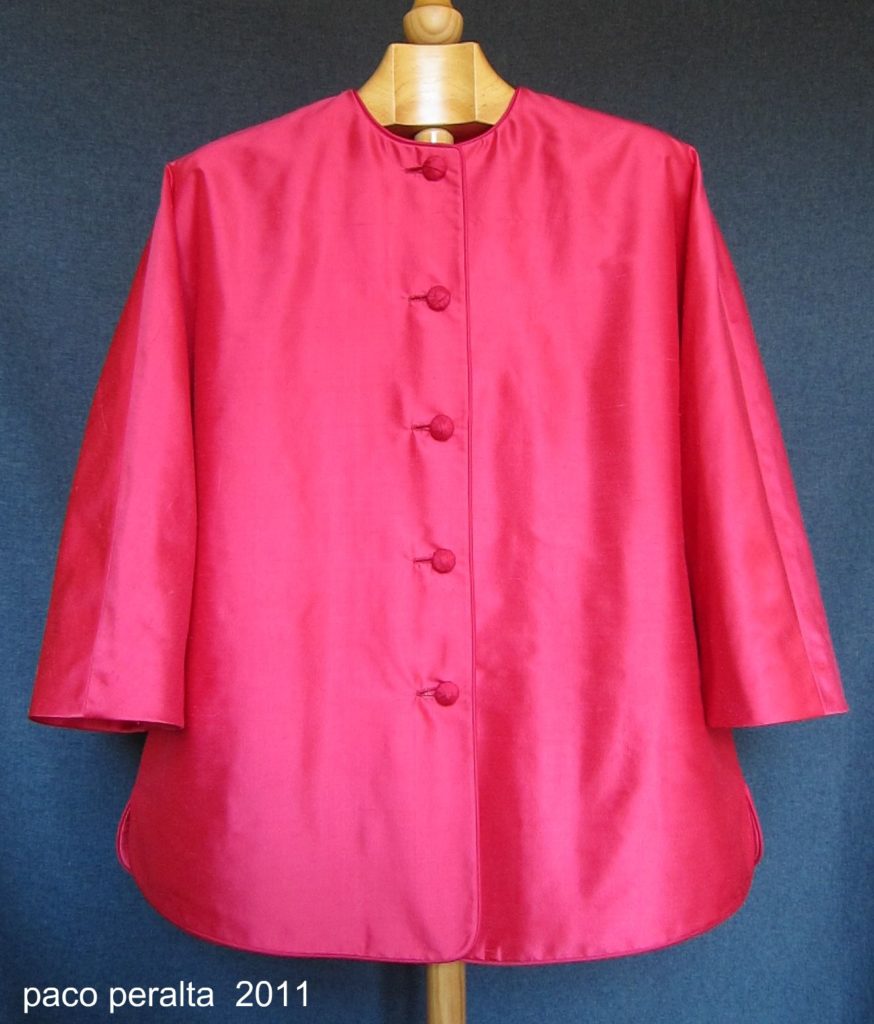
Posted onMarch 22, 2017November 19, 2022inEmbroidery And Sewing, Tutorial Sew Chinese-Style Jacket Button Ideas
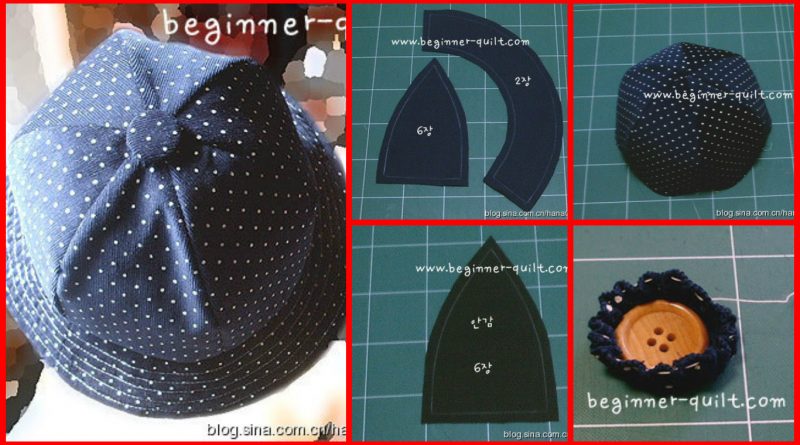
Posted onFebruary 10, 2017inDIY, Embroidery And Sewing, Step by step, Tutorial Sew A Summer Hat for Children