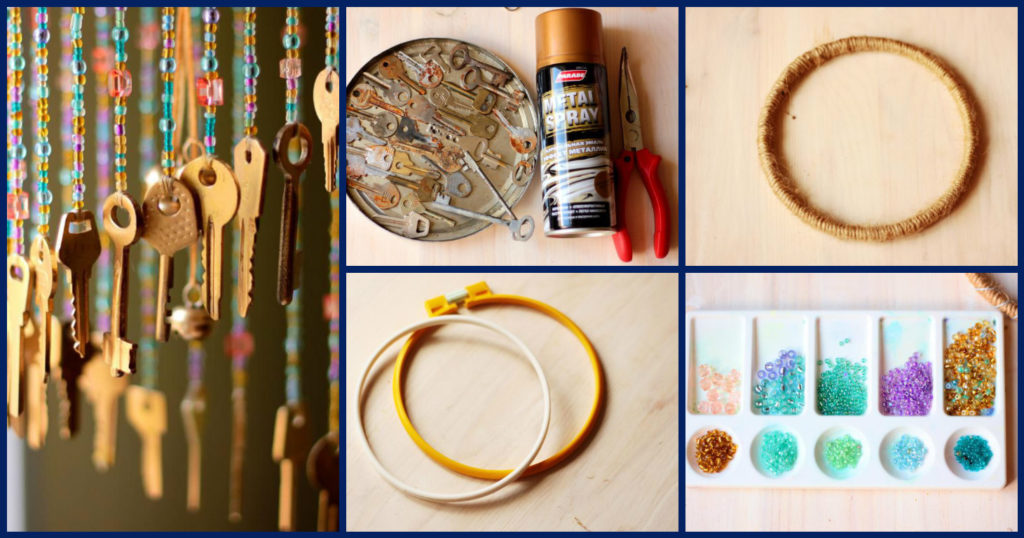
Posted onFebruary 10, 2017inBest out of Waste, DIY, Home Decor, Step by step, Tutorial Wind Chime Using Old Keys
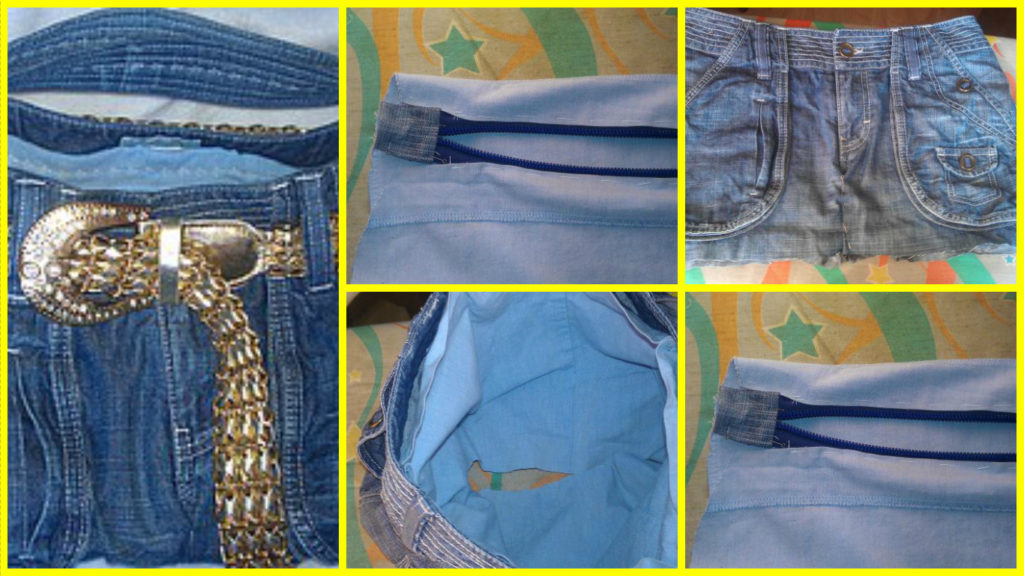
Posted onFebruary 5, 2017inBest out of Waste, Clothing, DIY, Step by step, Tutorial How to make fashionable bag from old jeans
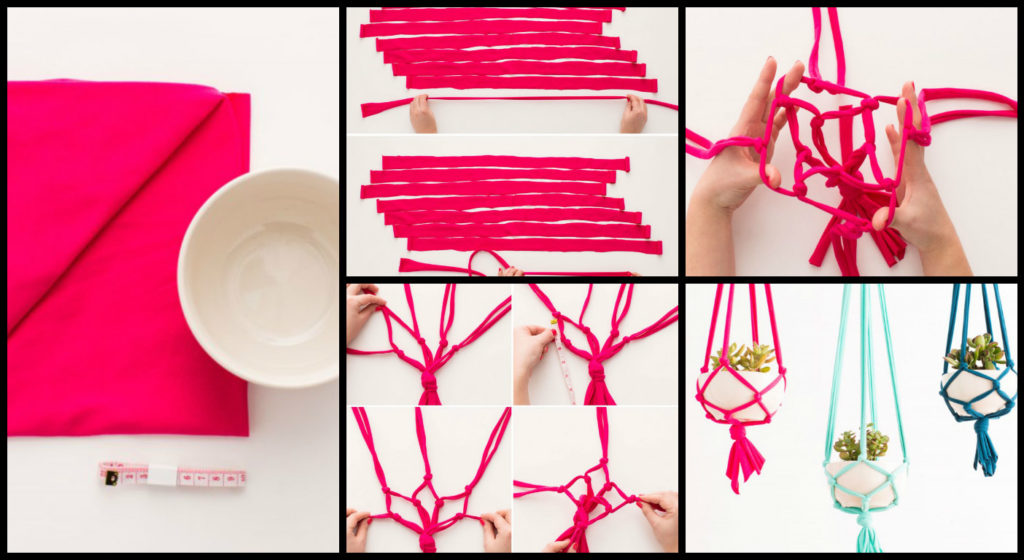
Posted onJanuary 30, 2017inBest out of Waste, DIY, Home Decor, Step by step, Tutorial DIY: Hanging plant pots made from old rags