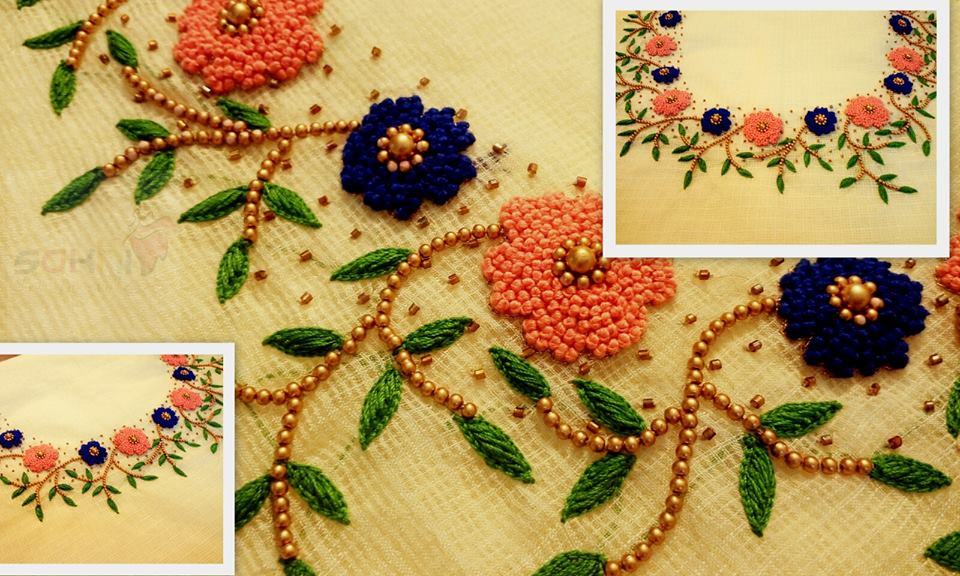
Posted onMarch 12, 2017March 12, 2017inEmbroidery And Sewing, Featured, Tutorial How to stitch ‘French Knots Stitch’
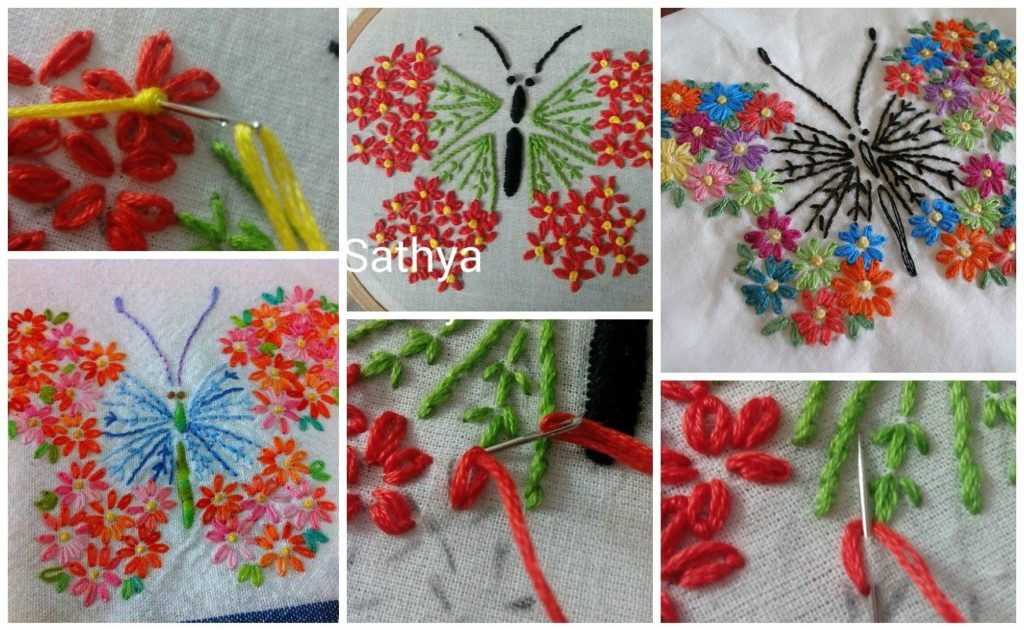
Posted onJanuary 22, 2017inEmbroidery And Sewing, Step by step, Tutorial Beautiful Butterfly from satin stitch