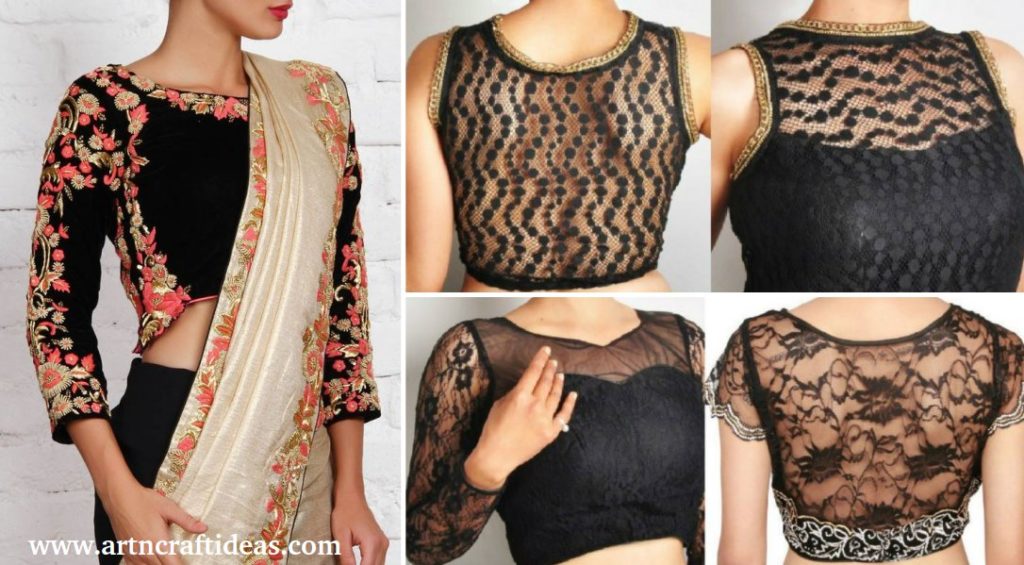
Posted onJuly 5, 2017July 4, 2017inClothing, Fashion, Ideas Designer Boat Neck Blouse Designs for sarees
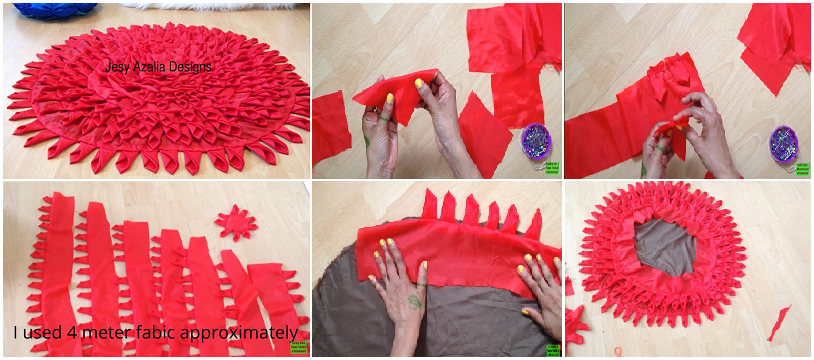
Posted onMay 18, 2017inBest out of Waste, Embroidery And Sewing, Tutorial, Video DIY Floor mat using old cloth
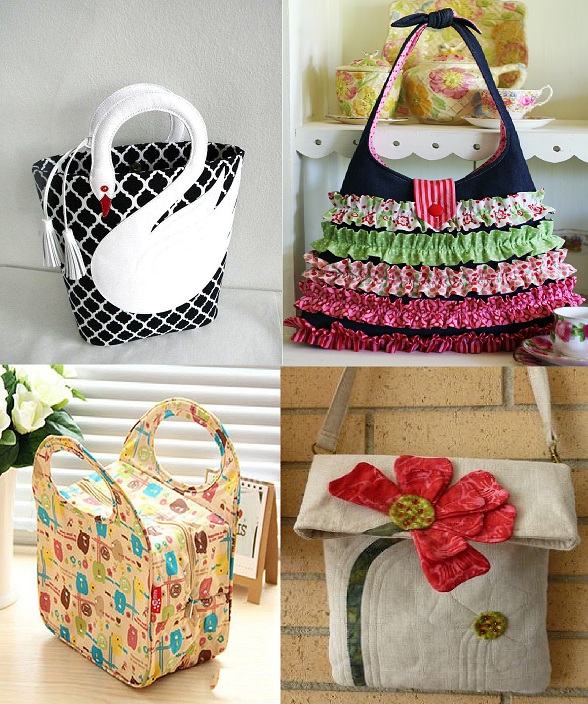
Posted onMarch 4, 2017November 19, 2022inEmbroidery And Sewing, Ideas, Patchwork Crafts Handmade cloth bag patterns