How to sew case for the headphone and different things

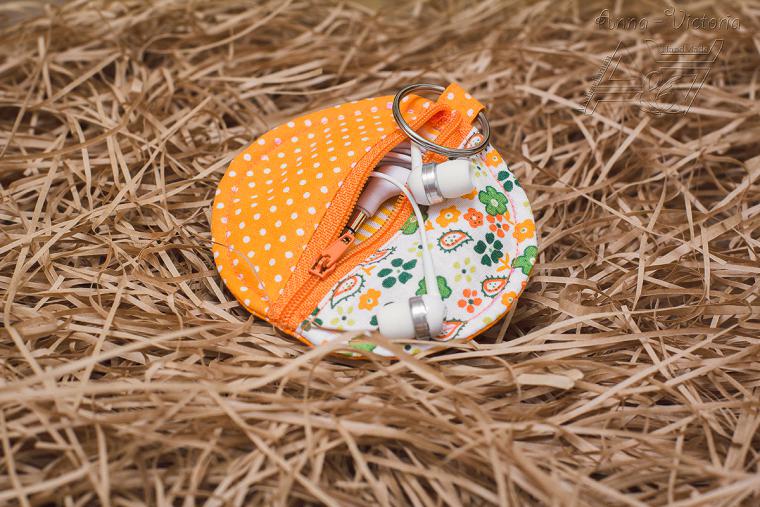
cover manufacturer for headphones will not require you a lot.
Time and skills, and make it can be made of fabric remnants, surely you have different scraps, which can be put to use. And our detailed master class will help you with this.
This cover can also be used for storage of flash player or a miniature, here it is already possible to show your imagination. Cheholchik can be used as a pendant, it was convenient to use it, and he was always there.
Let’s get started …
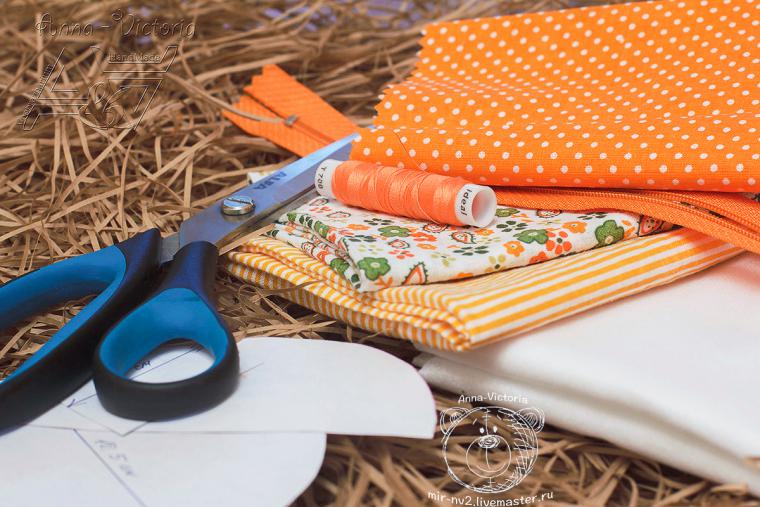
Required Material:

lightning;
main fabric;
Lining cloth;
Nonwoven for sealing or batting;
pattern, scissors, thread and a good mood.
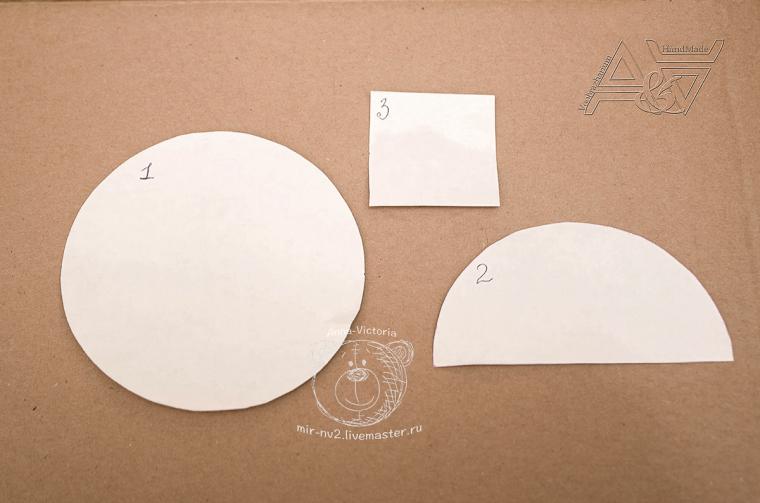
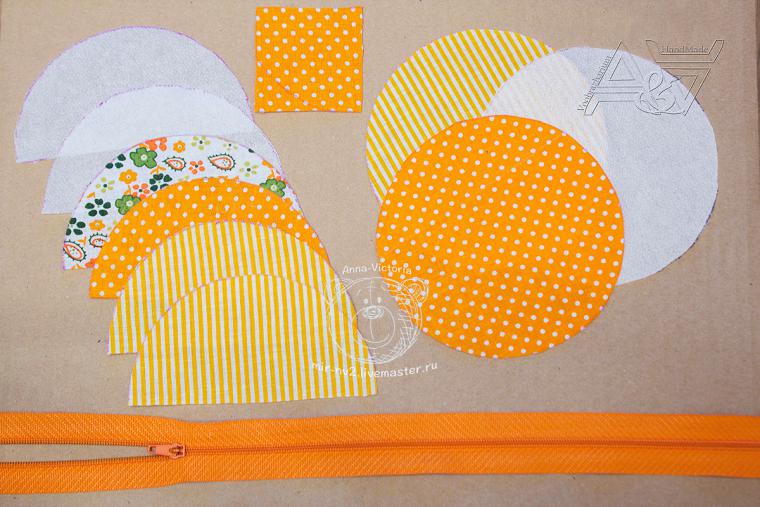
From the base fabric (in this case, and colored dots) cut parts 1 – piece 1, 2 – 2 pcs., 3 -. 1 pc. (Pictured Circuits numbered).
Lining (in our case striped) and nonwoven 1 -1 units 2 – 2 pieces.
Swing 1 about 9-11 cm 3 -. 4-5 cm Details are given with allowances. The size of parts may be changed depending on the purpose for which will be hereinafter used.
As a result, we have obtained a number of parts:
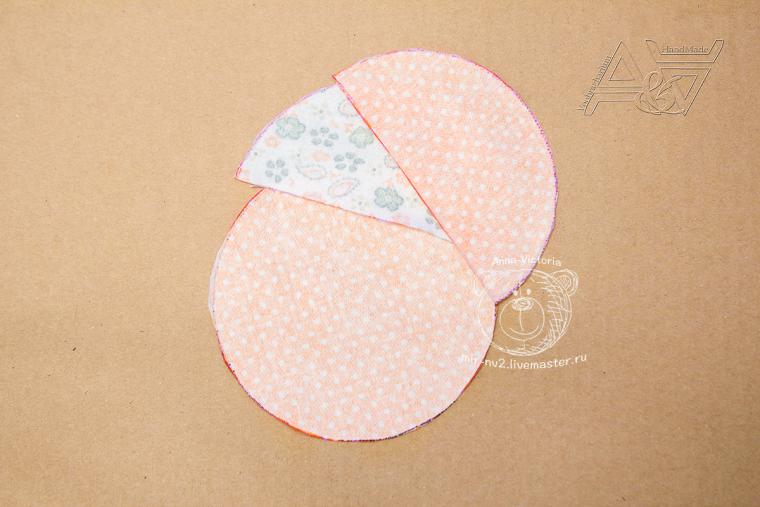
Sleek interlining to the three parts of the base fabric:
Take a semicircle lining fabric face up and put on his zipper, so that the upper edge coincided:
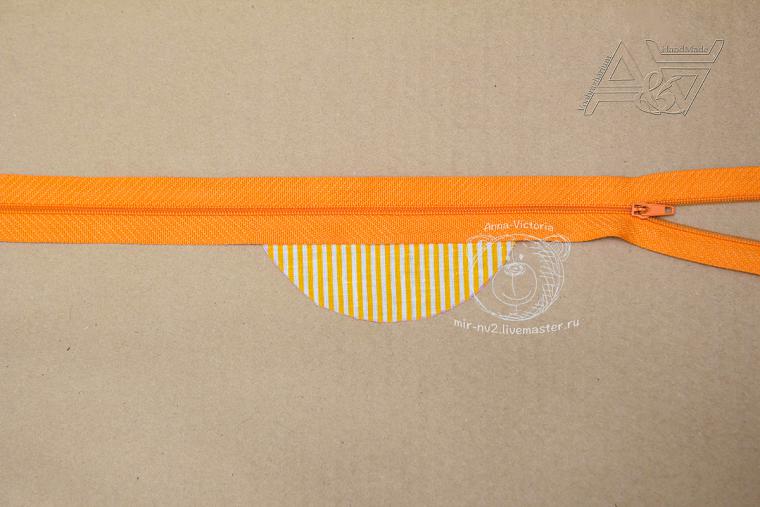
Set top semicircle of the base fabric (also raze edges)
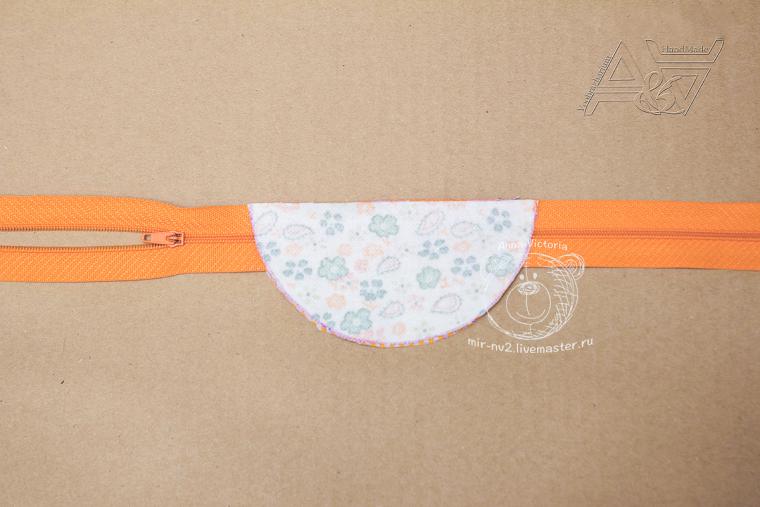
Now the “structure” should flash, departing from lightning about 5 mm (for convenience staple items or stoned)
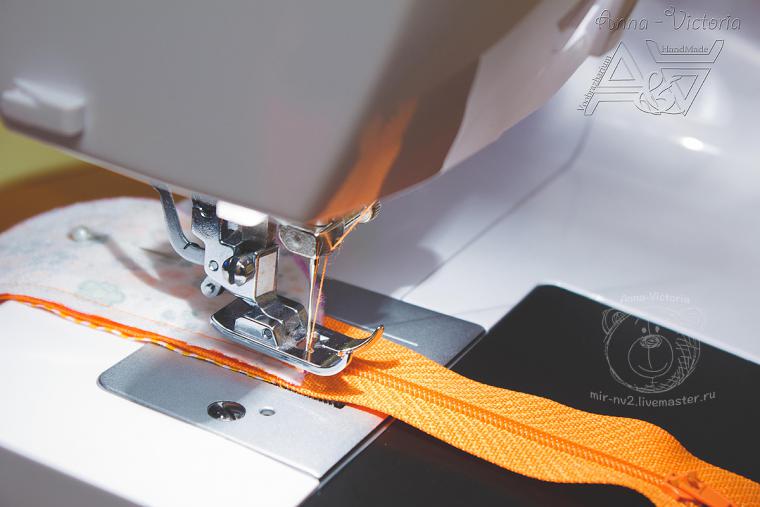
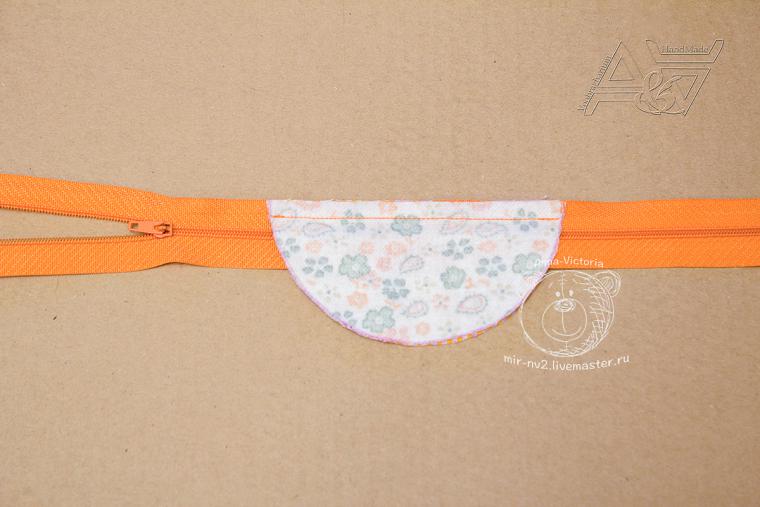
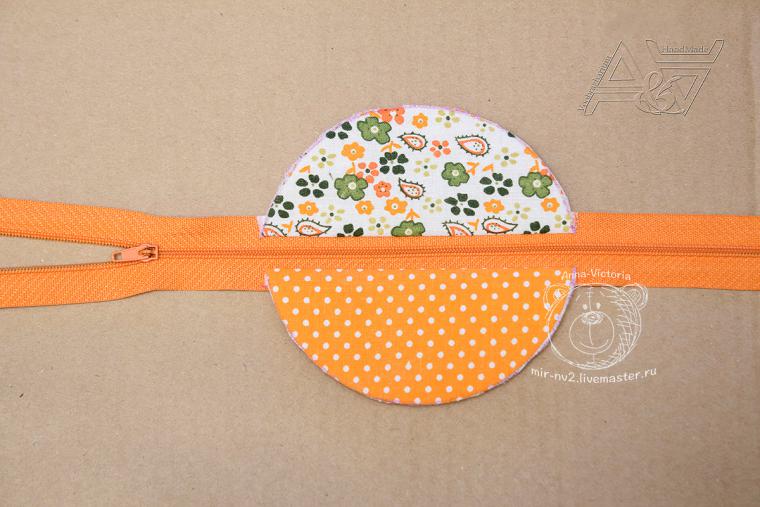
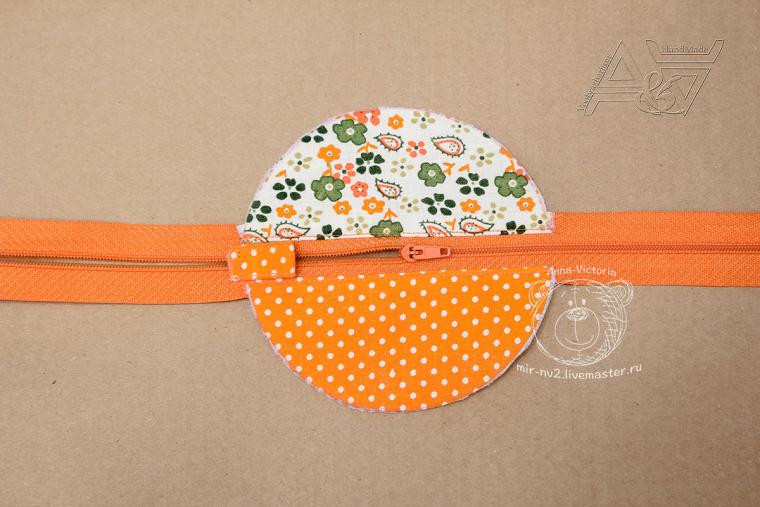
So we turned one-half of the top of the cover. Similar actions are performed in the second half. Here’s what you should have:
The right side of the box:
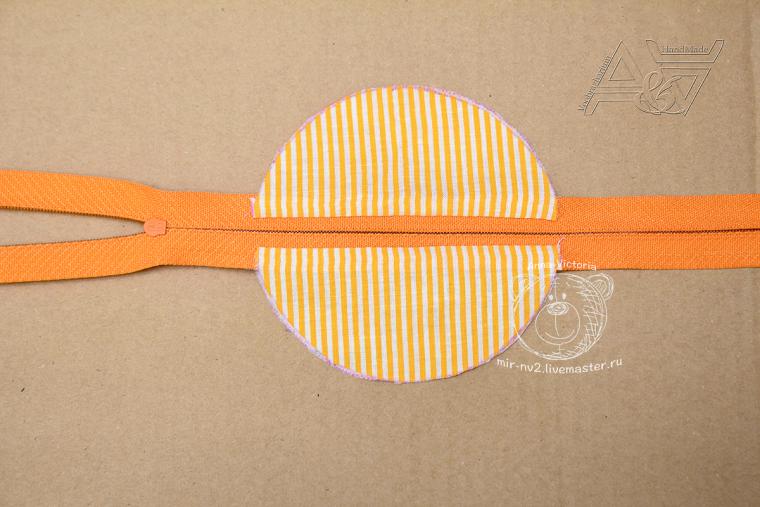
Wrong side of the box:
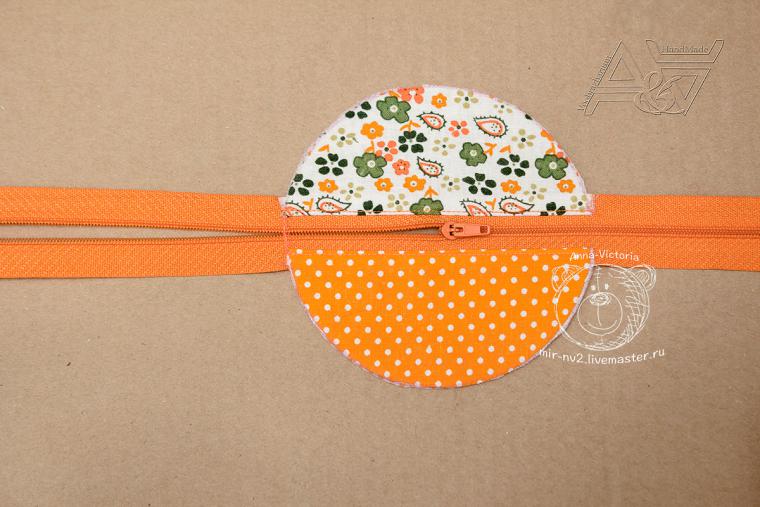
Take preform face up and sew the two sides of the zipper, departing from it 2-3mm. Unzip to the middle and hand stitched back and forth for fixing:
We make a loop at the edge of the lightning. Take part 3, fold the edges to the center and then in half:
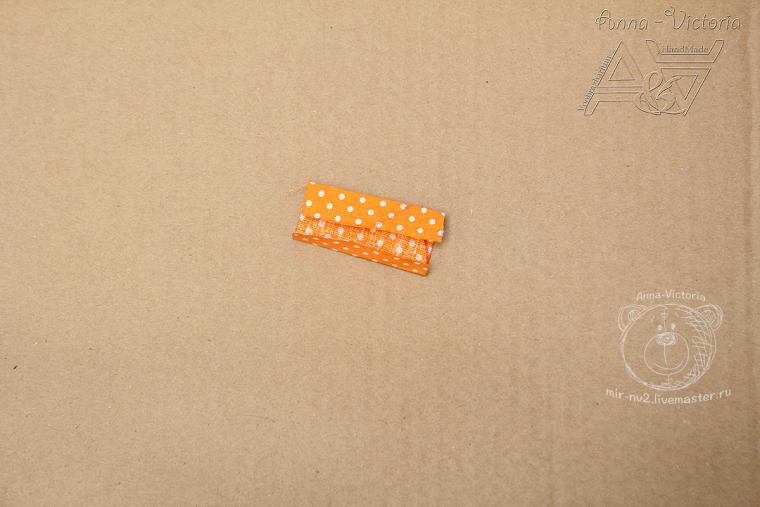
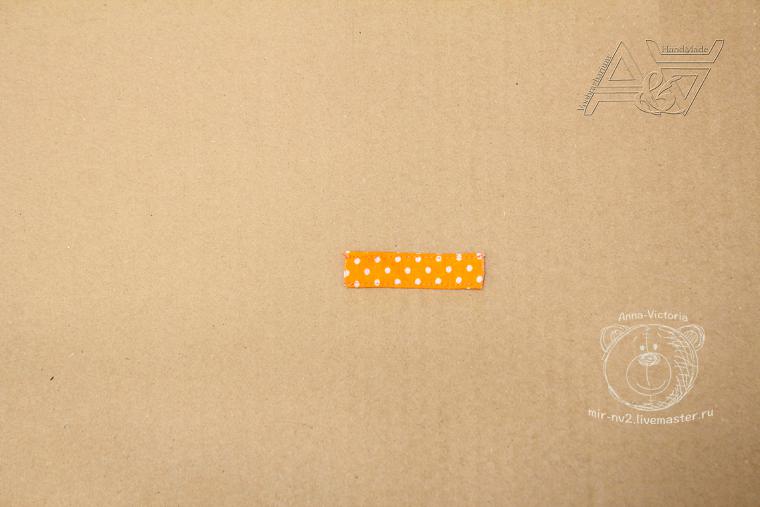
Sew part of the long edge on both sides, stepping back 2-3mm.
Next, bend your future loop in half and sew to the place where previously secured the zipper:
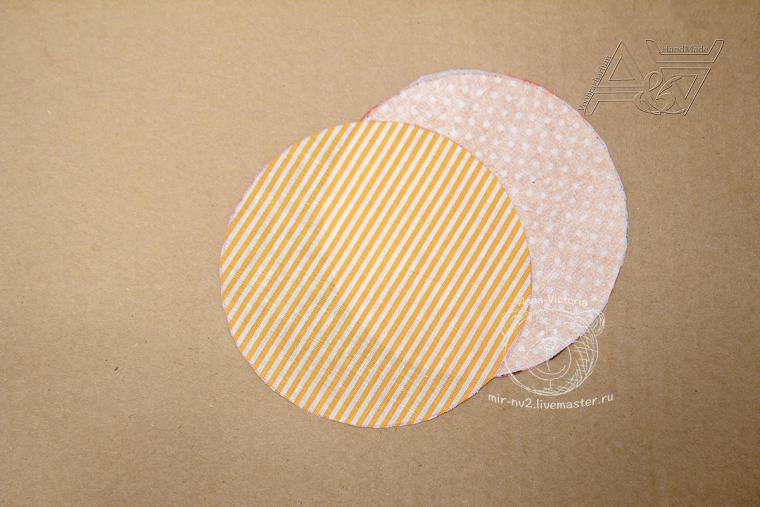
Take parts cut for the back side (of the base fabric (dots) and the lining (striped)). Circle, a cut out of the fabric put face down on top of the face we put a circle of lining fabric:
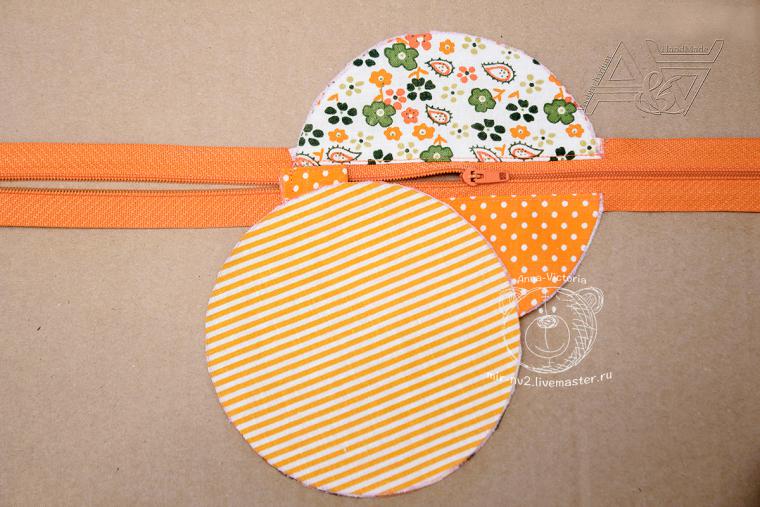
Now all this will place on the front part of the cover (lightning necessarily rastegnut until mid) and stitch around the circle, stepping back 5 mm from the edge:
Carefully cut off the tails of unnecessary padlock and trim allowance circle (leaving about 2-3 mm)
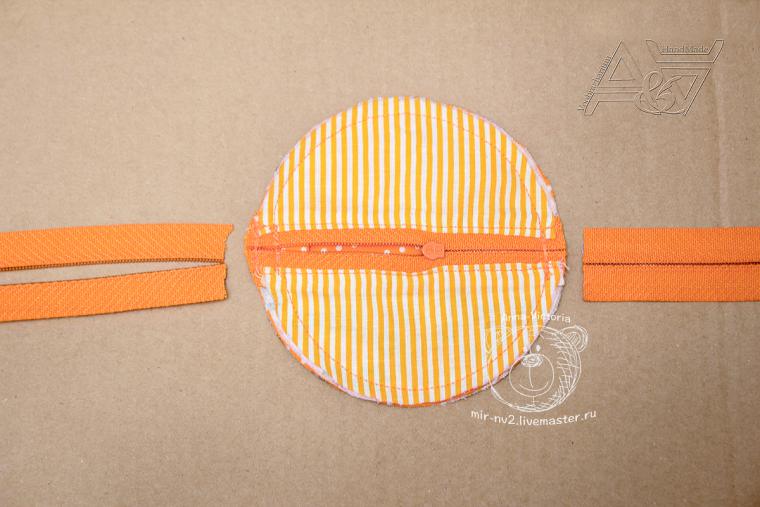
It turns out, stitch along the edge of a round cover, retreating 4-5 mm.
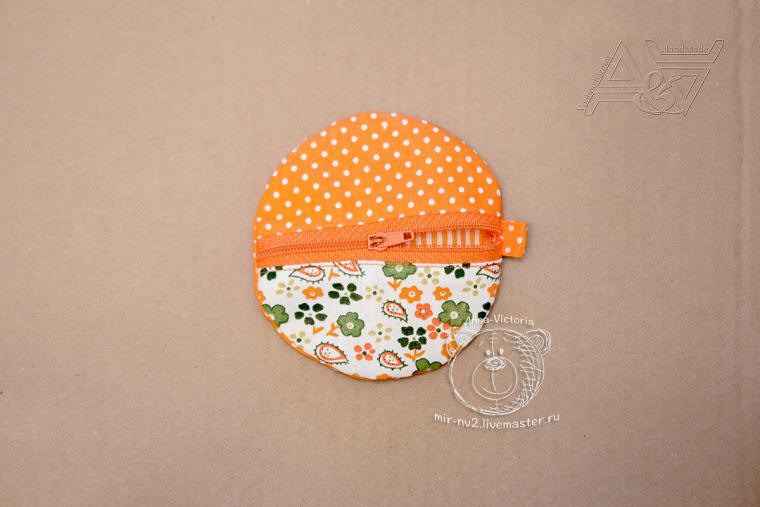
To our was always with us, we attach to the eyelet in the ring!
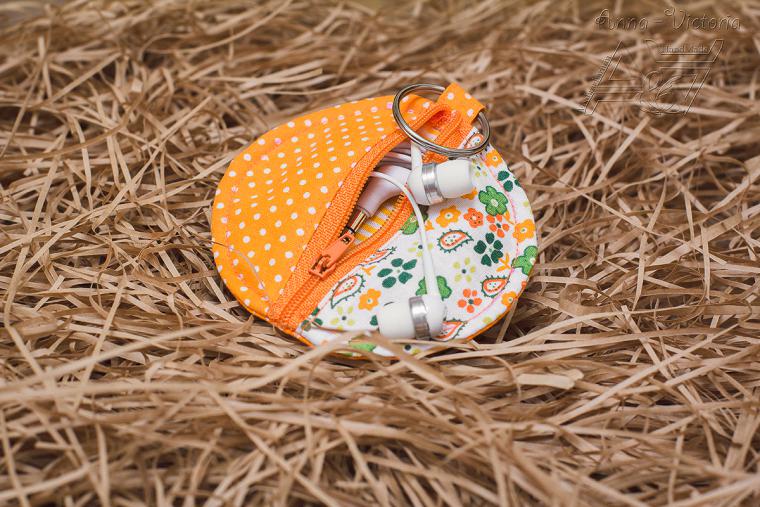
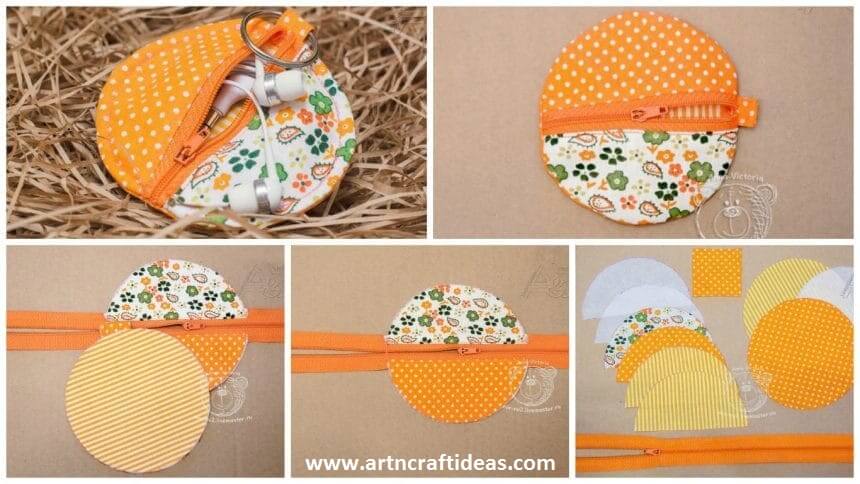
courtesy: livemaster

How to make case book tablet

There is a new age technology. Almost every day, they invented and produced in the world, new models of smartphones, phones, tablets. All these things are in demand, and in many cases, necessary for a modern inhabitant metropolis.

Everyone who has bought himself a brand new model of the long-awaited phone or tablet, tries to keep her safe and sound.

In order not to break and once again not to claw their equipment in stores acquired special accessories in the form of protective films, trinkets rubs, covers. Many of these things are not quite expensive, and some you can do, and the price a brand new handbag.

But there is always a great low-budget way out – it’s accessories made with his own hands, that is hand-made.

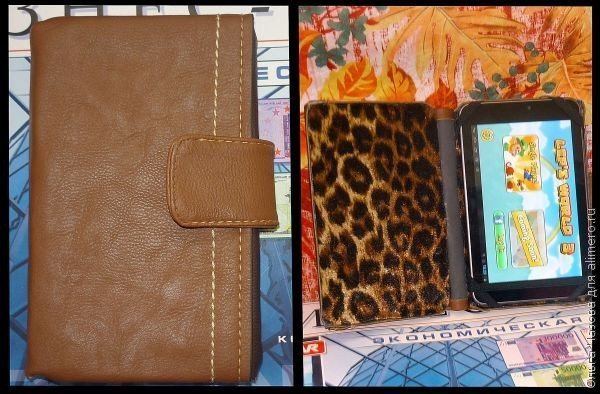
In this article I will discuss how their own from old bags, cardboard and a couple of patches make a real case for the tablet form of the book.

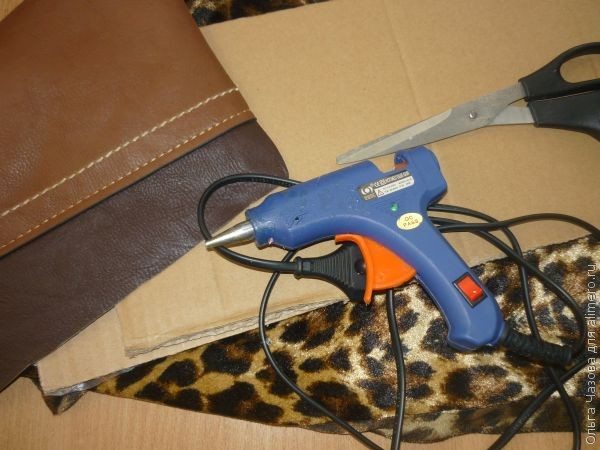
You need to cover:
– Cardboard
– Scissors
– artificial or natural leather (I got the best of the old bags)
– cloth Lining (better to take a non-slip, and a thick cloth in my velor)
– glue “Moment”
– super glue
– glue term-gun
– laundry gum , black
– Velcro

This book cover for the tablet I took just half an hour. Cover needed urgently. And I’m not to waste money, I decided to do it herself.

I was useless bag that I carried by only a month, and then she broke the lock. Throw felt sorry, and I just put it to the best of times, that is, until, when I reach the hands to fix this unfortunate clasp. But the hand did not reach the whole winter, and gathering dust bag and hung on a hanger.

I never thought that once dare to reshape it and make a case for the tablet. But thinking what to do for the cover of the book-cover, I immediately remembered that same purse.

Then I died, if suitable for the size of the side of the bag. Everything was in order, so I cut it from the appropriate box. Then found a couple of patches for padding. I took glue Melt, eraser, scissors and cardboard.

Immediately I say about cardboard. Cardboard is better to take a tight, not brittle and not fat. Unfortunately, my board was quite thick, so the case has turned out not quite thin.

Another point. If you have a thin plastic, you can use it. I think it will be even better, because it does not soak in water and cover can be washed.

Well, like a prologue finished, now I will tell you how to do this cheholchik.

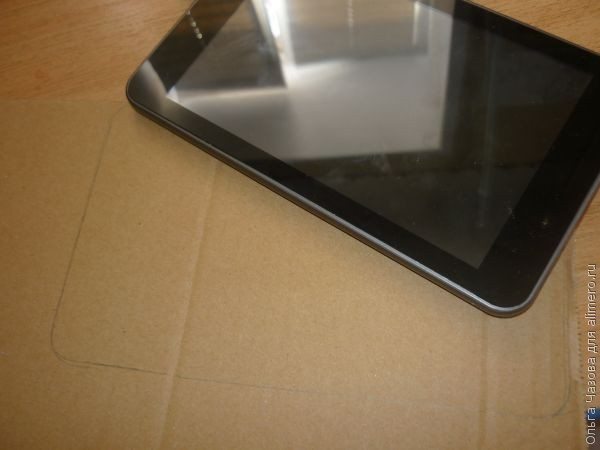
At first I looked around the plate with a pencil on cardboard.

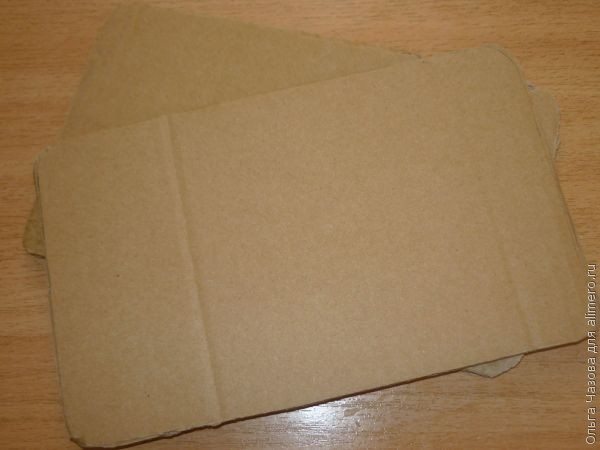
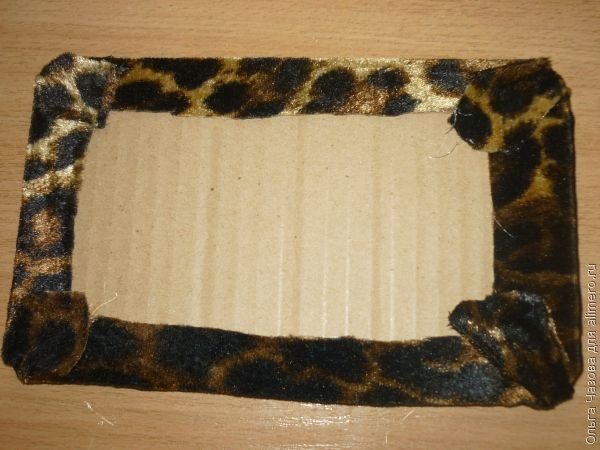
I cut out of cardboard two equal parts.

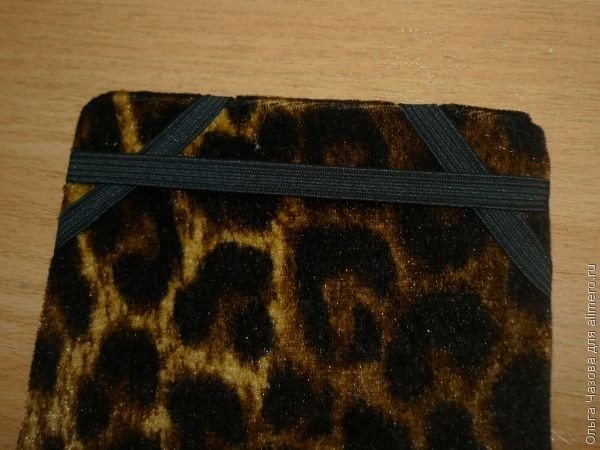
Then she took a linen gum black and made from it the holders on the corners of the cardboard backing.

Then she took a linen gum black and made from it the holders on the corners of the cardboard backing.

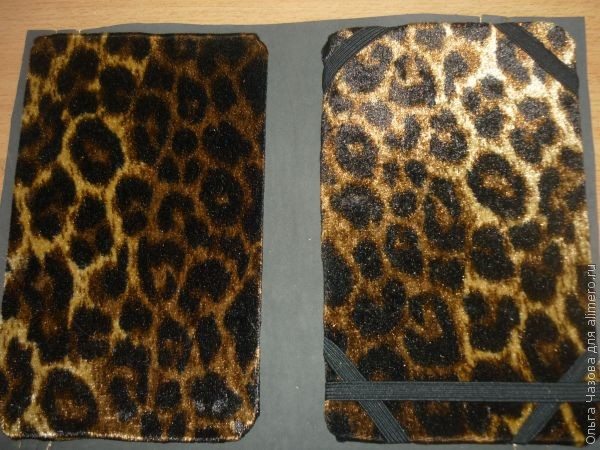
Glue the two pads to the piece of artificial skin, cut from an old bag, stepping between them a distance equal to the thickness of the tablet.

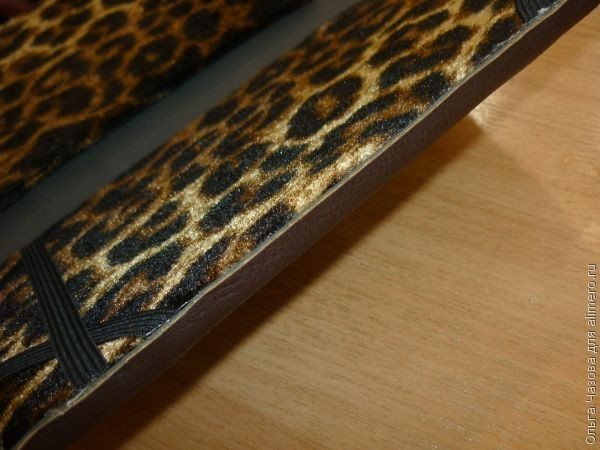
After that, cover cropped to the desired size, and by bending the corners and put them on the glue.

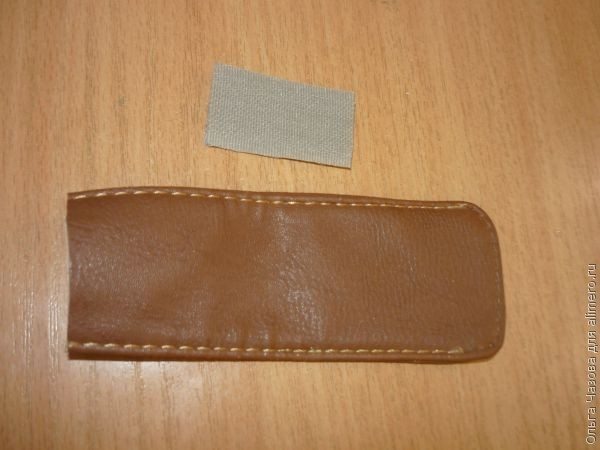
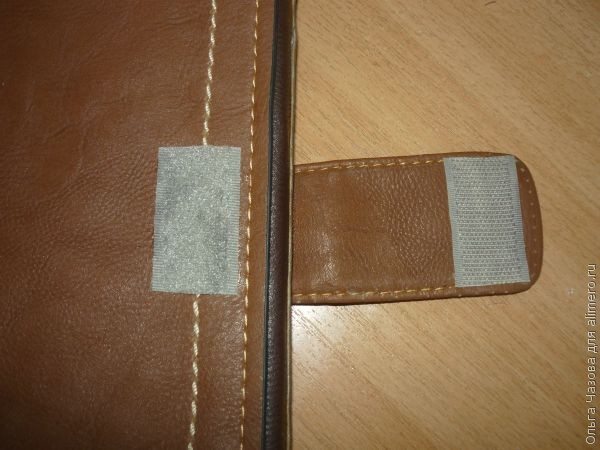
From the mounting of the handle fastener made by gluing on the edge of the Velcro, and set him on a super-adhesive back strap.

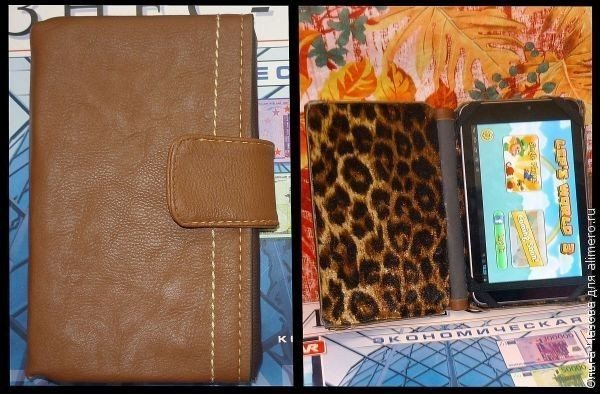
That’s all – ready for a tablet cover! Source