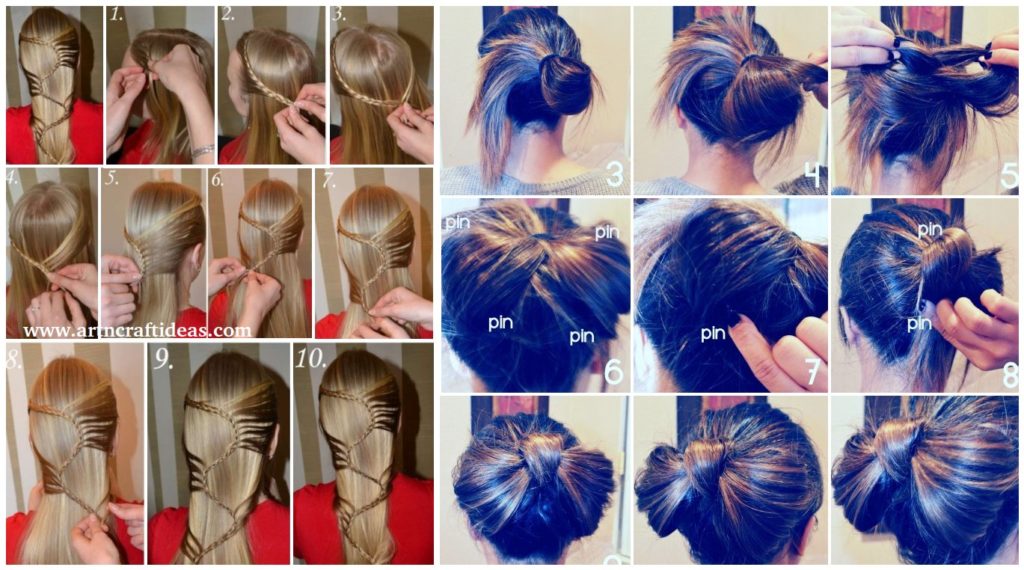
Posted onJuly 4, 2017inFashion, Hairstyle, Step by step Latest Long Hair step by step hairstyles for Girls
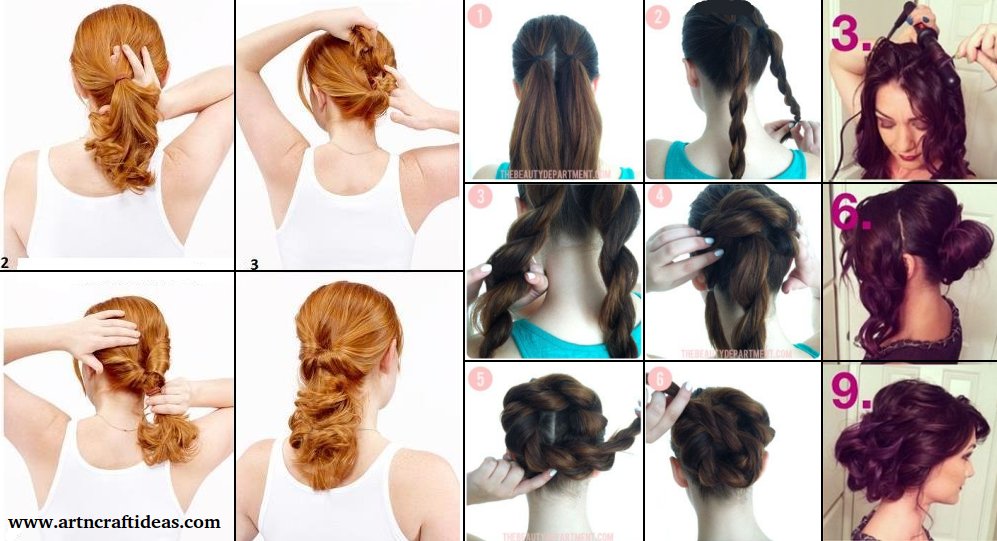
Posted onJuly 1, 2017July 1, 2017inHairstyle, Ideas, Step by step 20+ Step by Step Hairstyles for Long Hair
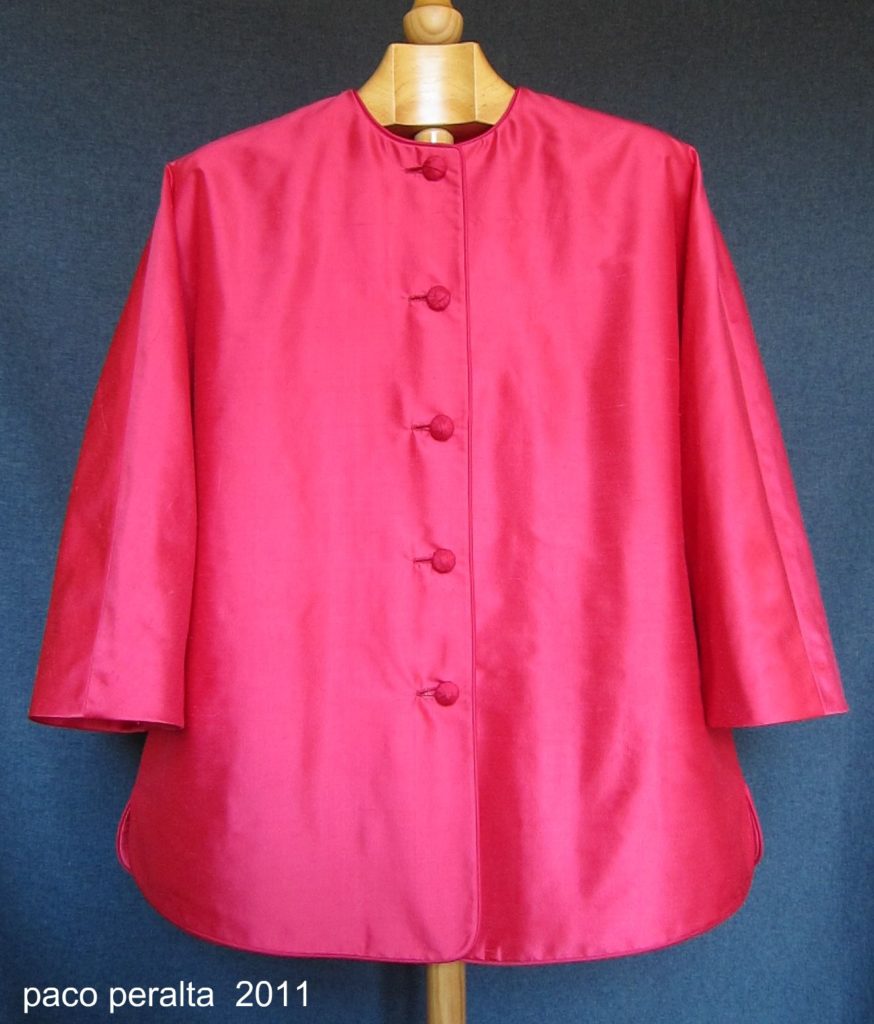
Posted onMarch 22, 2017November 19, 2022inEmbroidery And Sewing, Tutorial Sew Chinese-Style Jacket Button Ideas
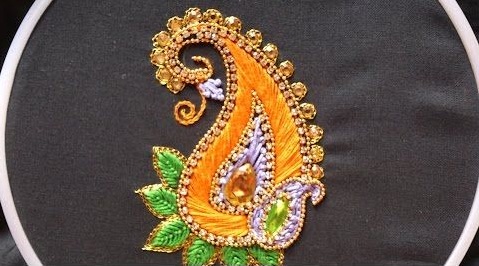
Posted onFebruary 19, 2017inEmbroidery And Sewing, Step by step, Tutorial Aari Style Hand Embroidery Designs
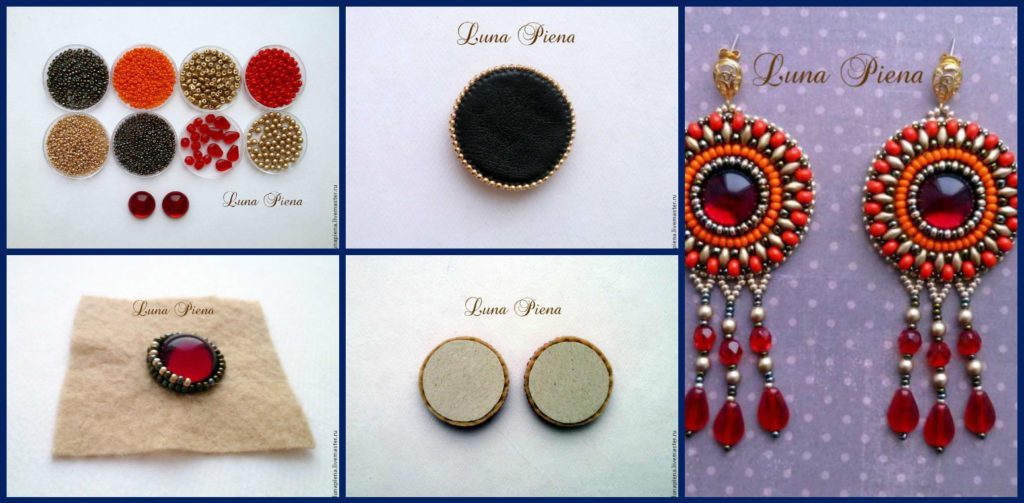
Posted onJanuary 28, 2017inDIY, Fashion, Jewellery, Step by step, Tutorial How to create earrings in oriental style