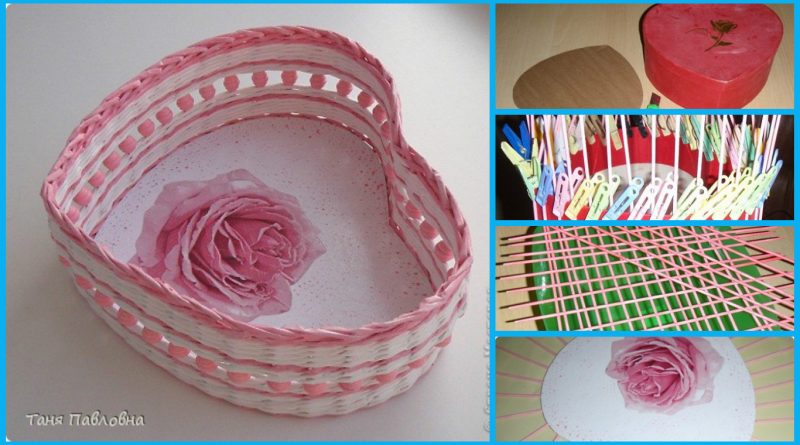
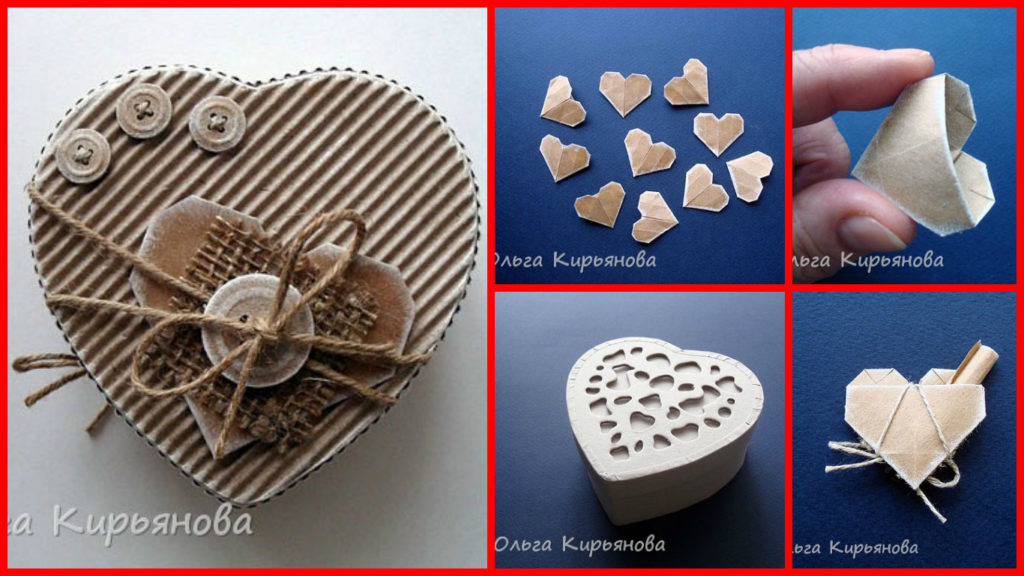
Posted onJanuary 31, 2017inBest out of Waste, DIY, Newspaper Crafts, Step by step, Tutorial How to make casket in a heart shape
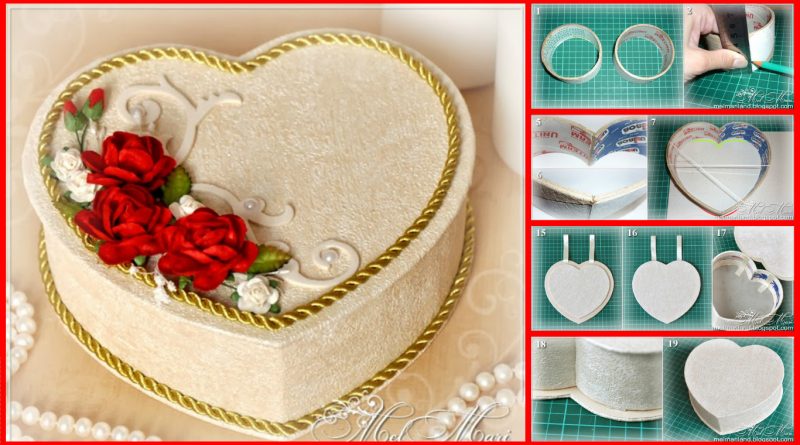
Posted onJanuary 26, 2017inBest out of Waste, Step by step, Tutorial Jewelry Box in Heart shape (Reels of Adhesive Tape)