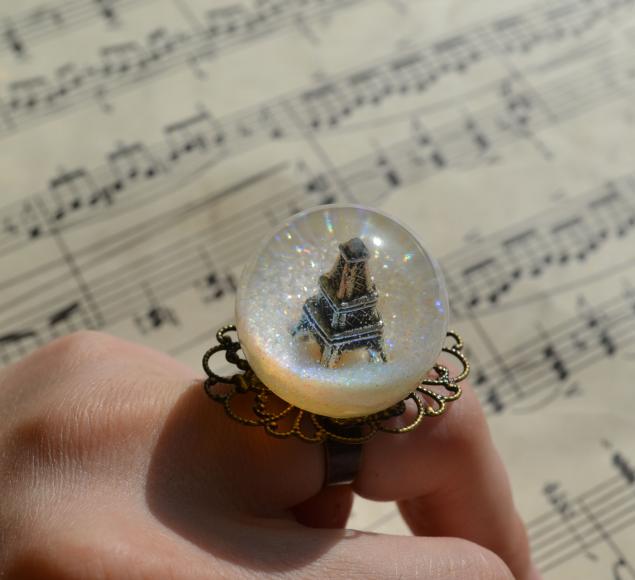
If you’re searching for a simple, cheap but pretty and colorful jewel, you’ re in the right place. This could be nice for you or as a gift, for a friend.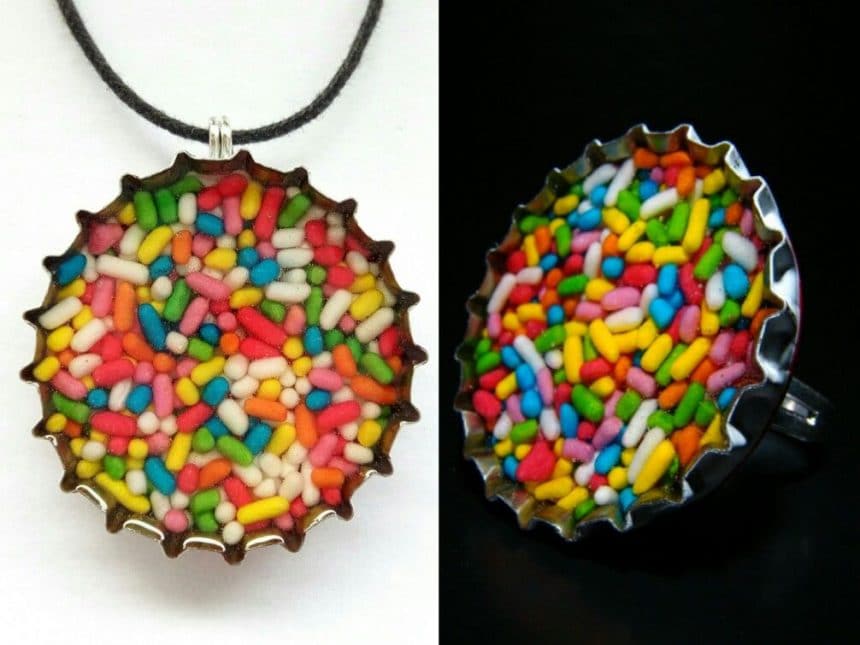 Step 1: Ring’s Tools & Supplies
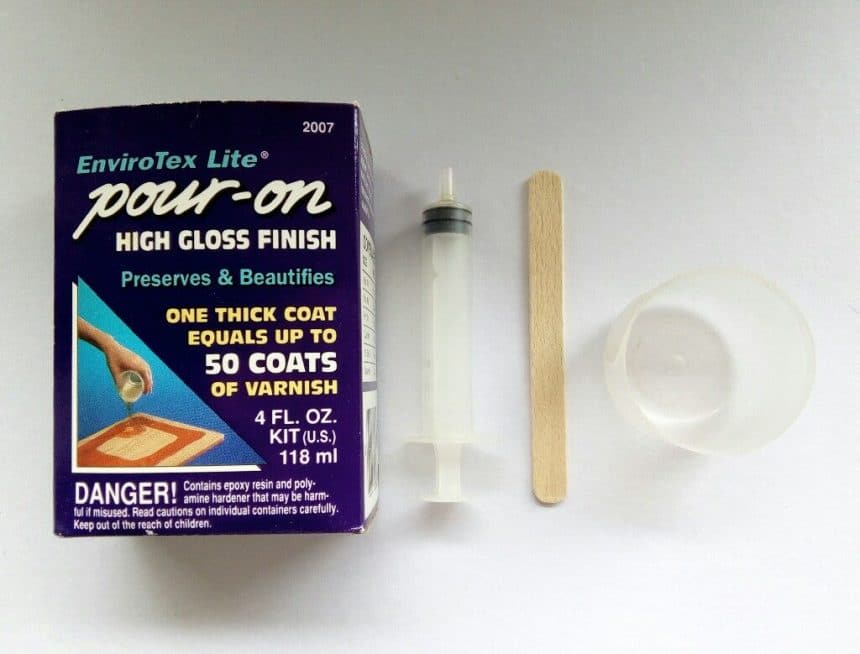
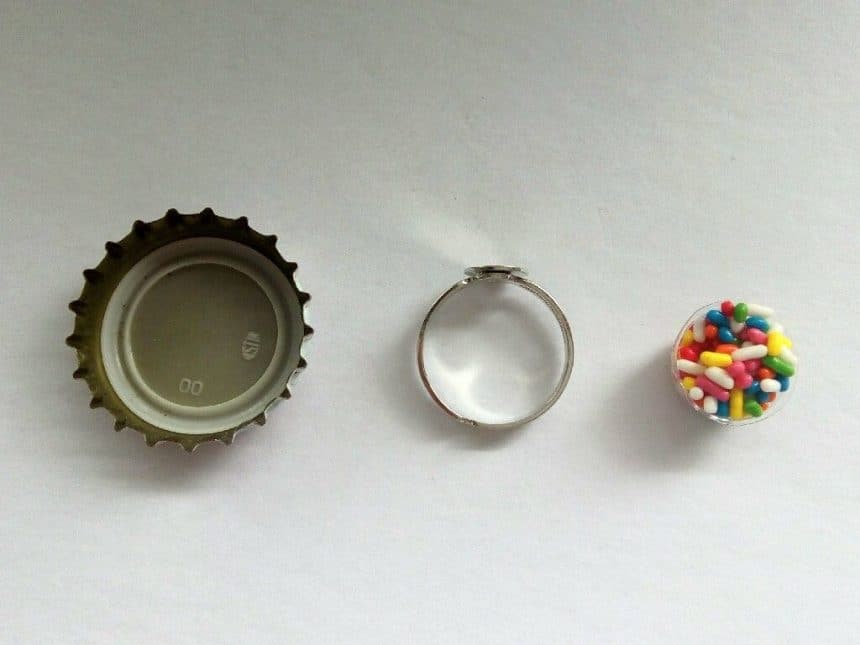 Required Material:
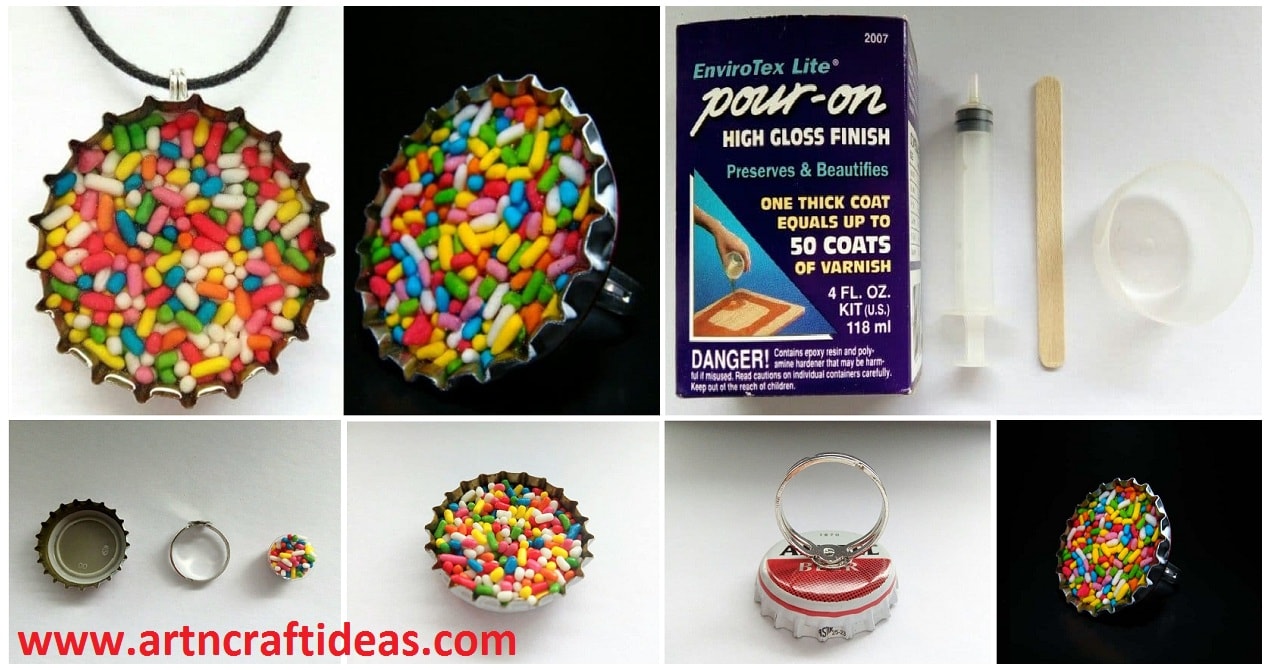
- Syringe
- Mixing bowl
- Stir stick
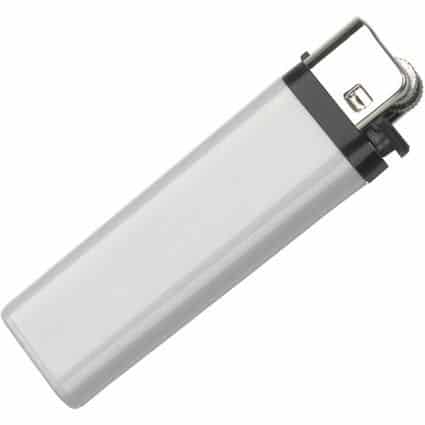
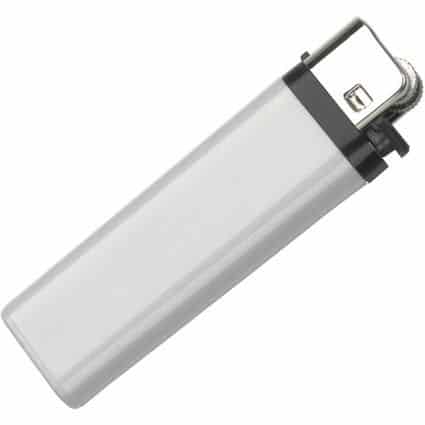
- Lighter
- Beer cap
- Sprinkles
- Resin
- Ring
 Step 2: Ring
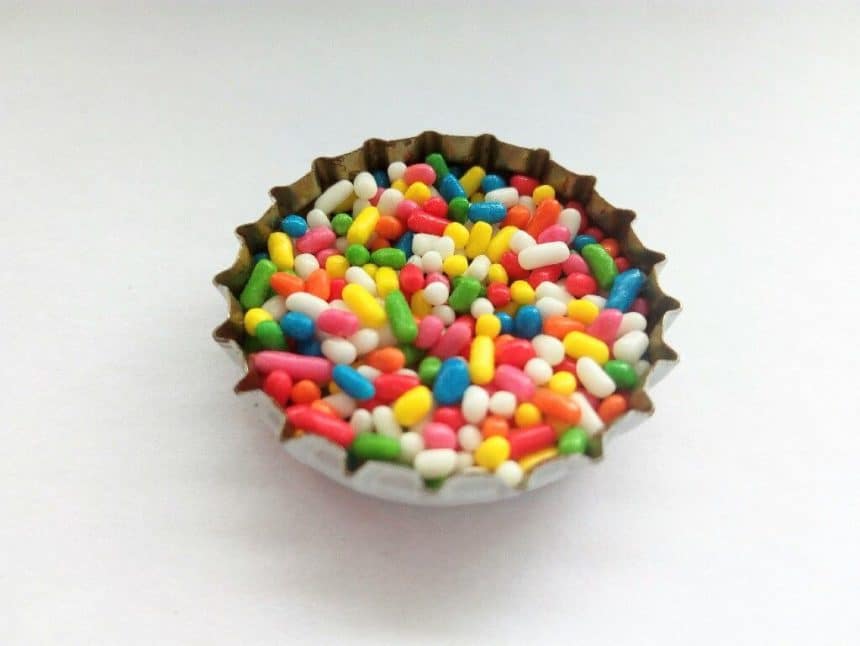
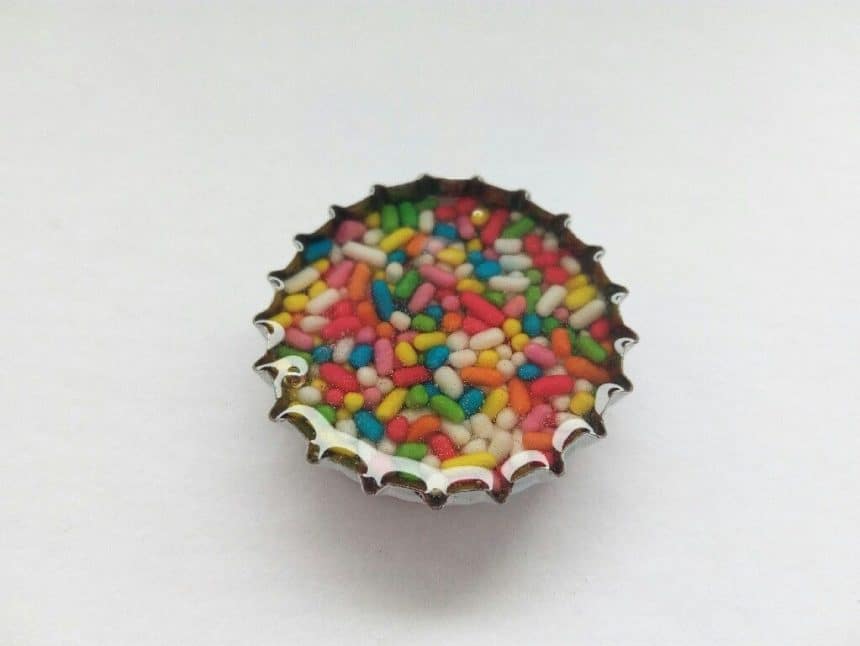
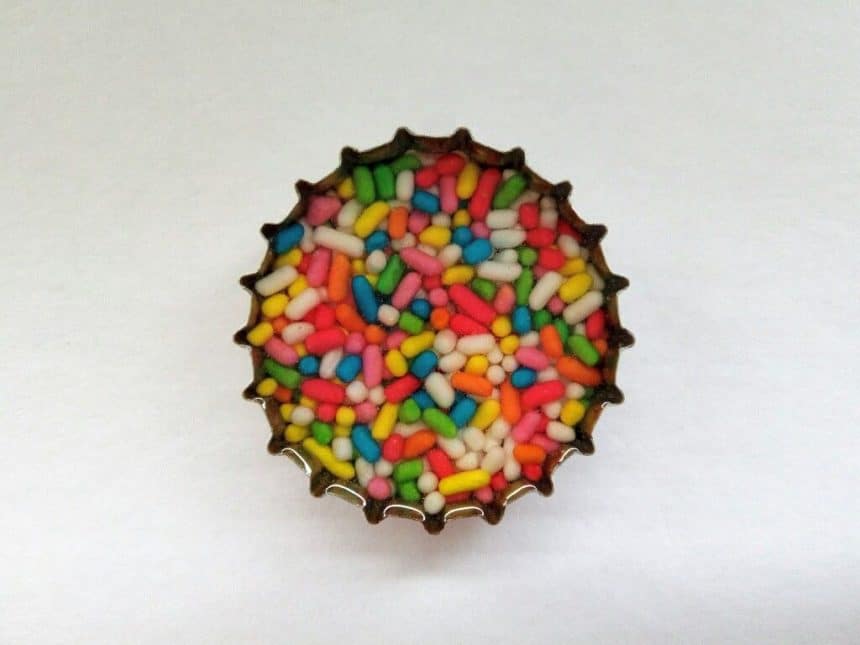
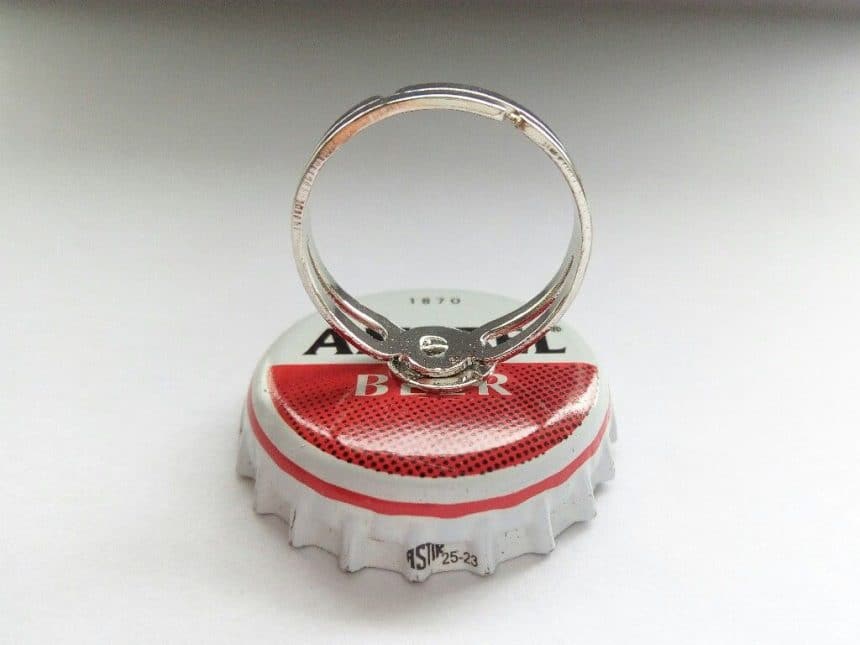
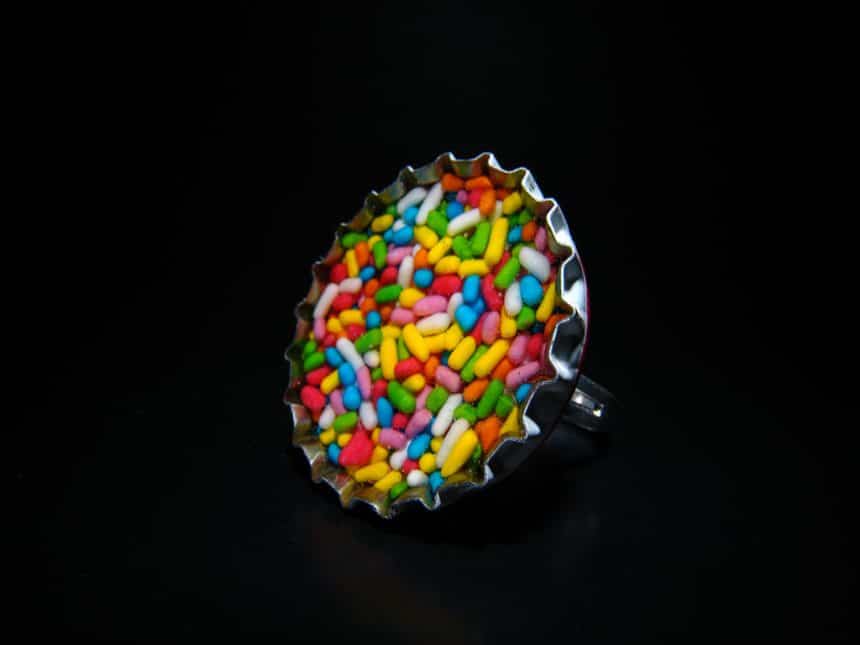
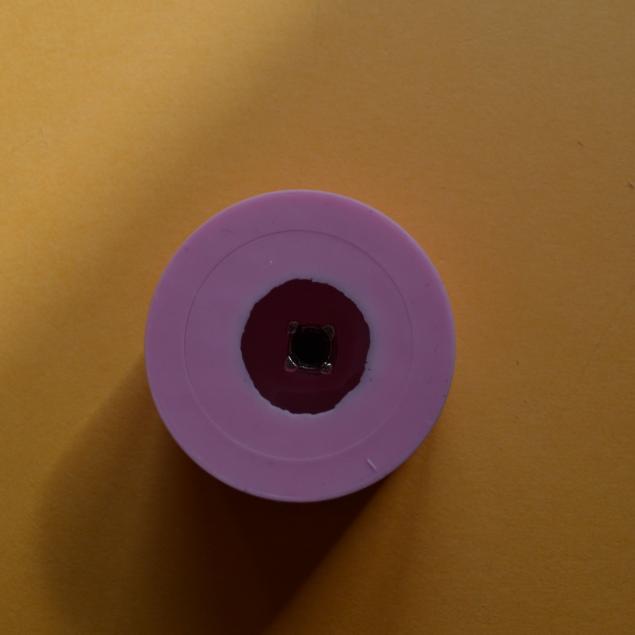
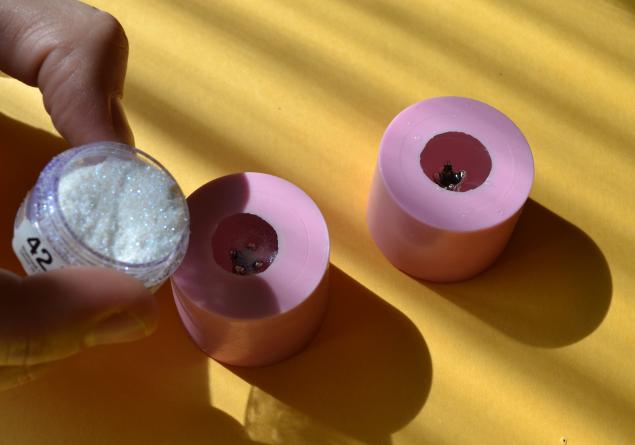
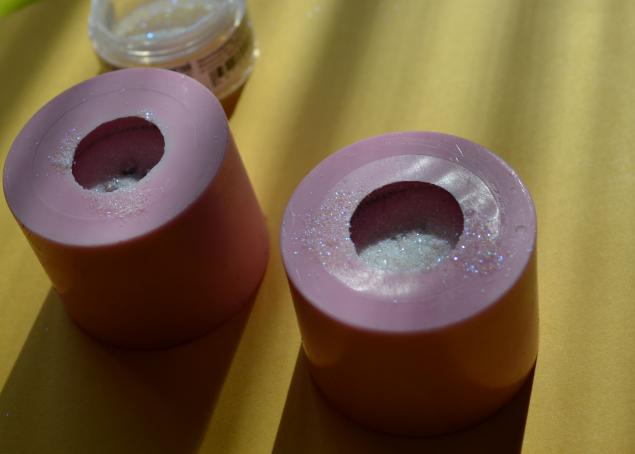
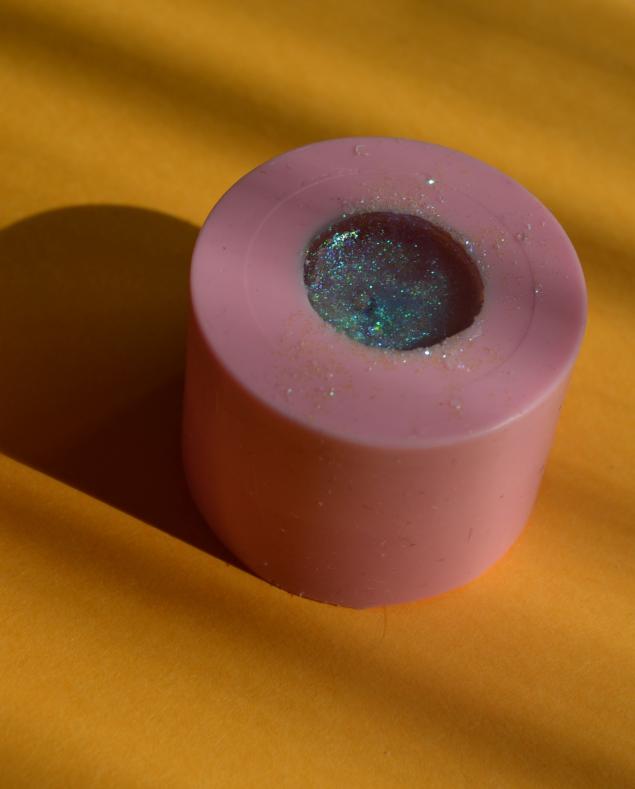
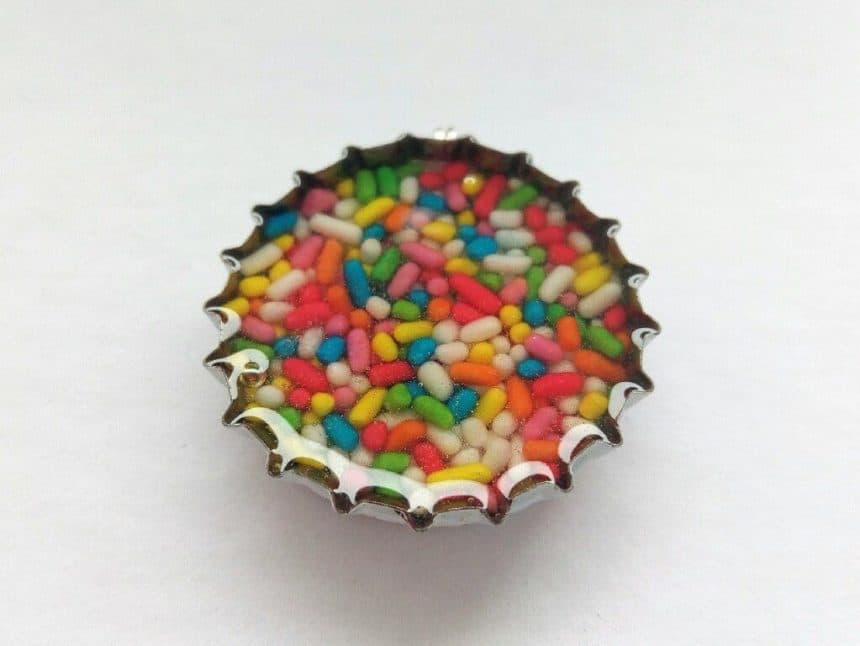
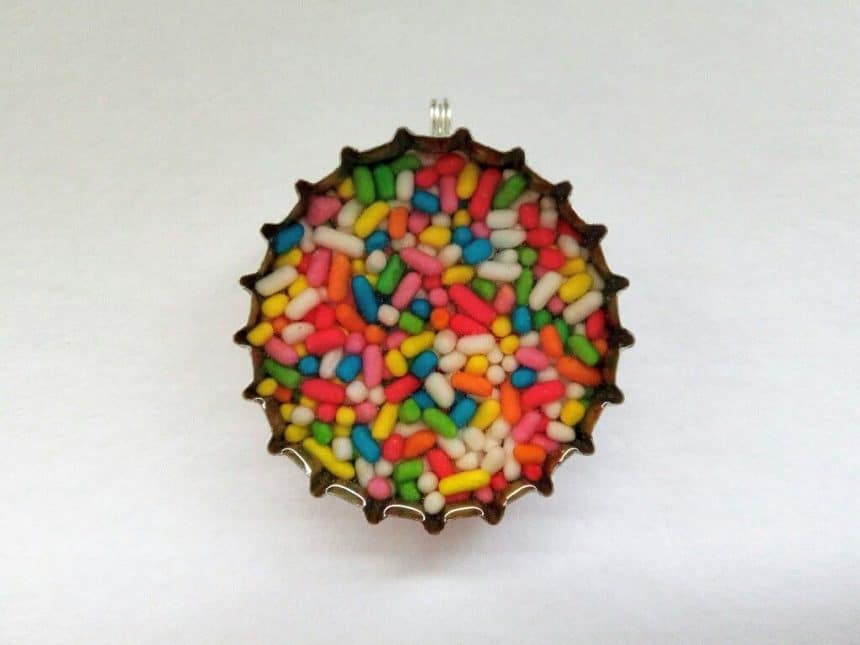
- Pour the sprinkles in the bottle cap and arrange them as you like.
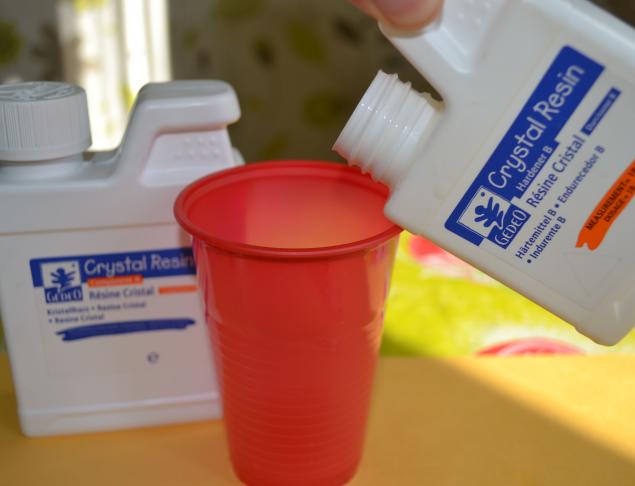
- With the syringe, drain equal amounts from the two parts of the resin and pour them in the small mixing bowl.
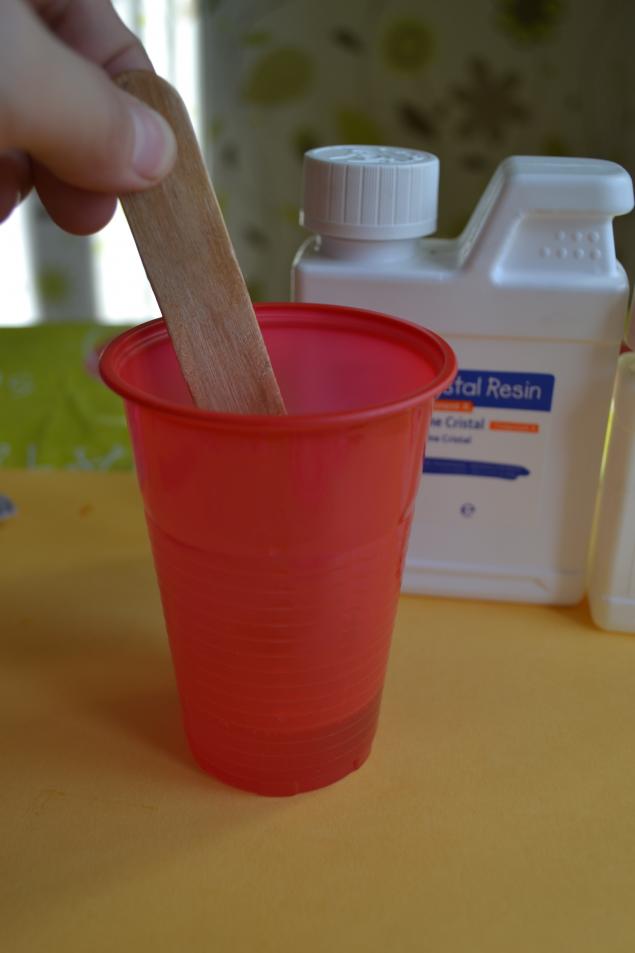
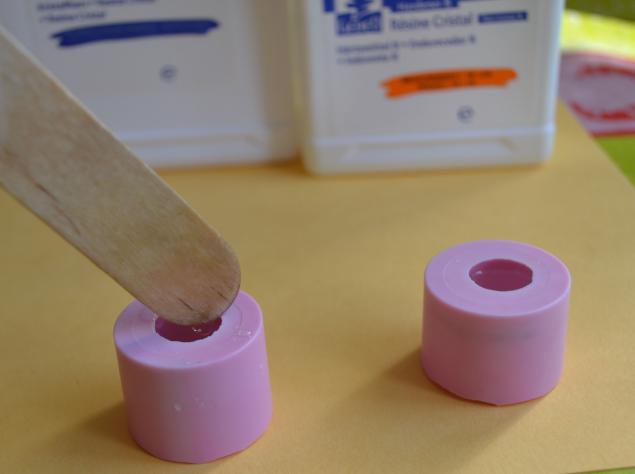
- Stir the two parts with a wooden stir stick until you have a homogeneous mixture. Don’t worry about the bubbles, we’ll blow the most of them.
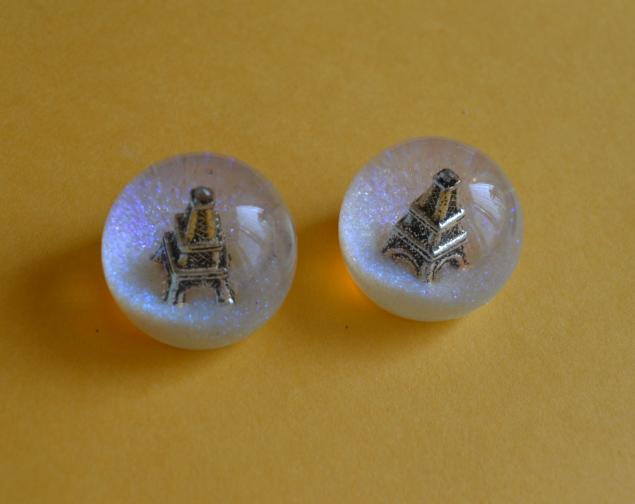
- With the syringe drain the mixture and pour it on the sprinkles and be careful to spread it on the inner edges of the bottle cap.
- Let the bubbles emerge on the surface and blow them with the flame of a lighter. Be careful not to burn the resin.
- Let the resin dry at least overnight on a flat, horizontal surface. To protect your project from dust, you can cover it with a bowl for some hours and then uncover it.
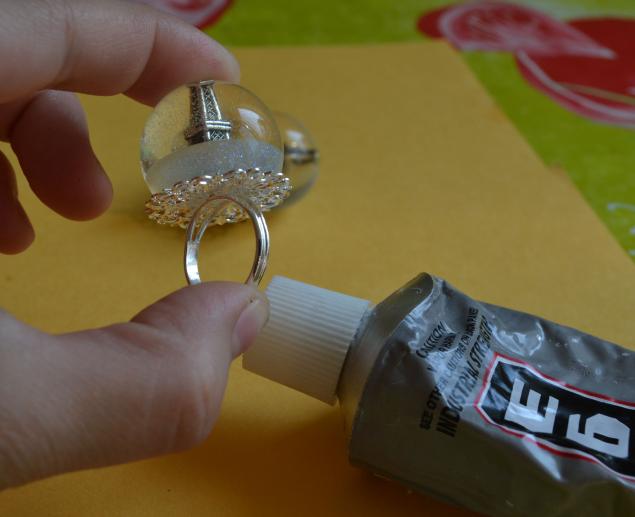
- When your project dried completely, glue the ring on the other side of the bottle cap using a strong glue or (as I like to do) use the same resin you used to cover the sprinkles.
Step 3: Pendant’s Tools & Supplies
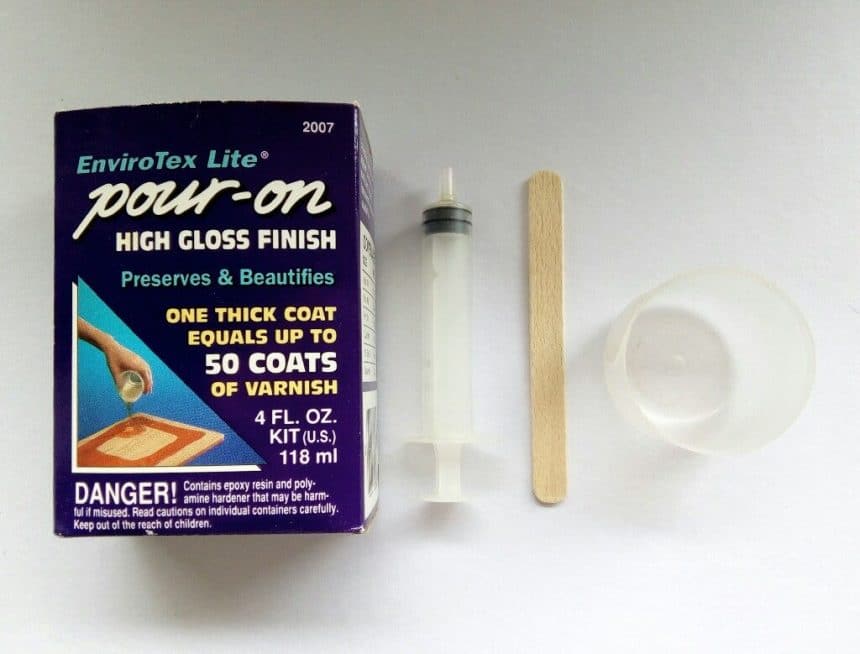
Required Material:
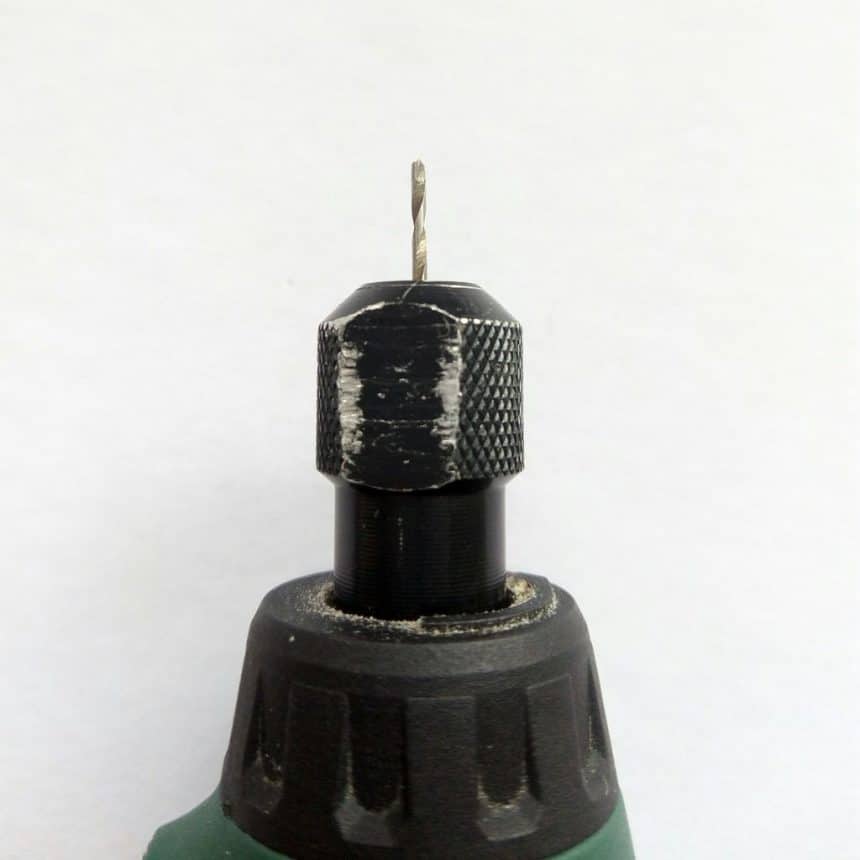
- Rotary tool
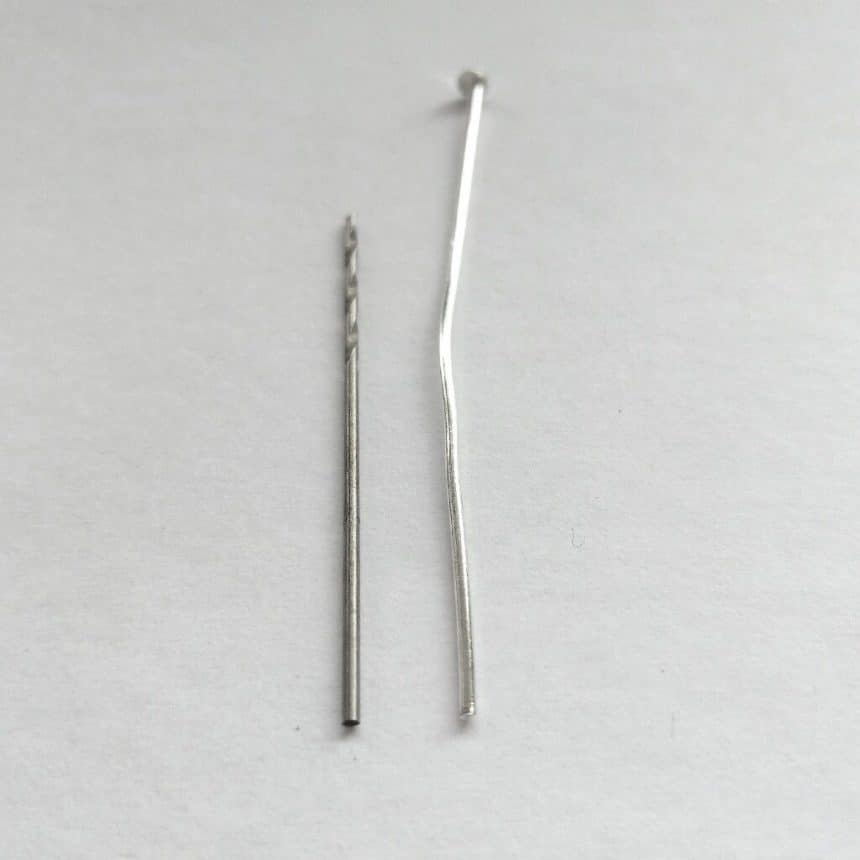
- Drill bit
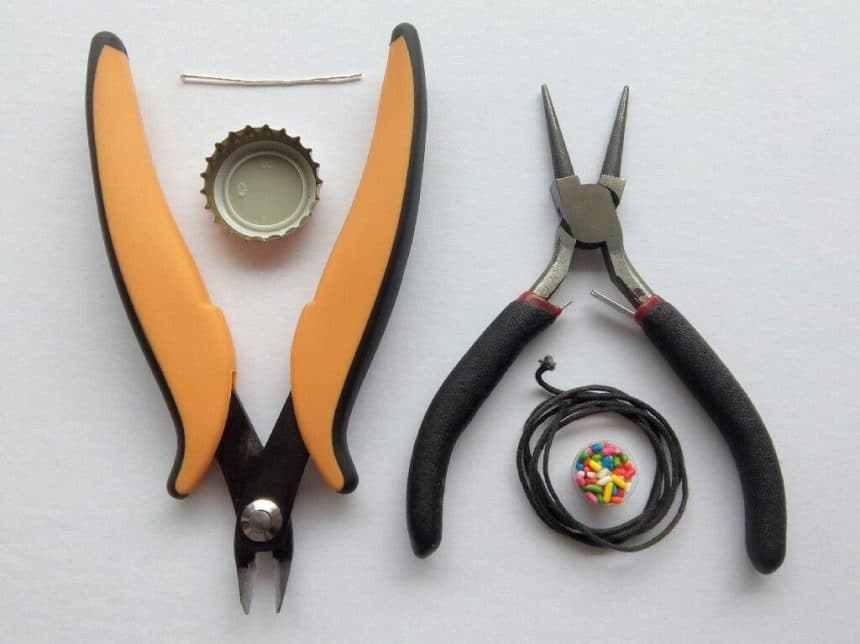
- Cutting plier
- Round needle nose plier
- Mixing bowl
- Syringe (without needle)
- Wooden stir stick
- Lighter
- Beer cap
- Sprinkles
- Resin
- Jewelry Wire
- Necklace cord
Step 4: Pendant
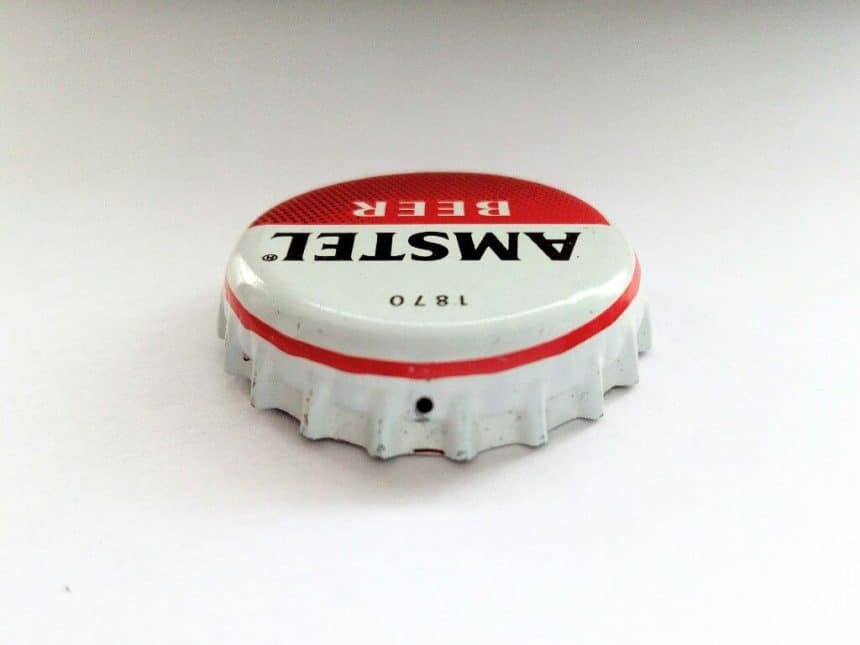
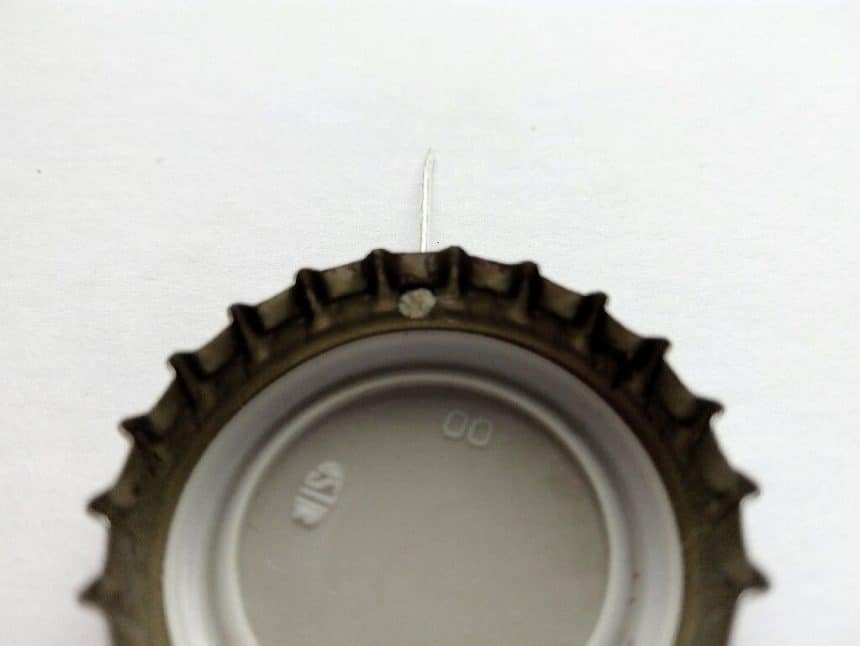
- Choose a beer cap. I chose mine by its colour. I think that bright colours fit better in this project. You can choose your cap by your favourite beer or logo too.
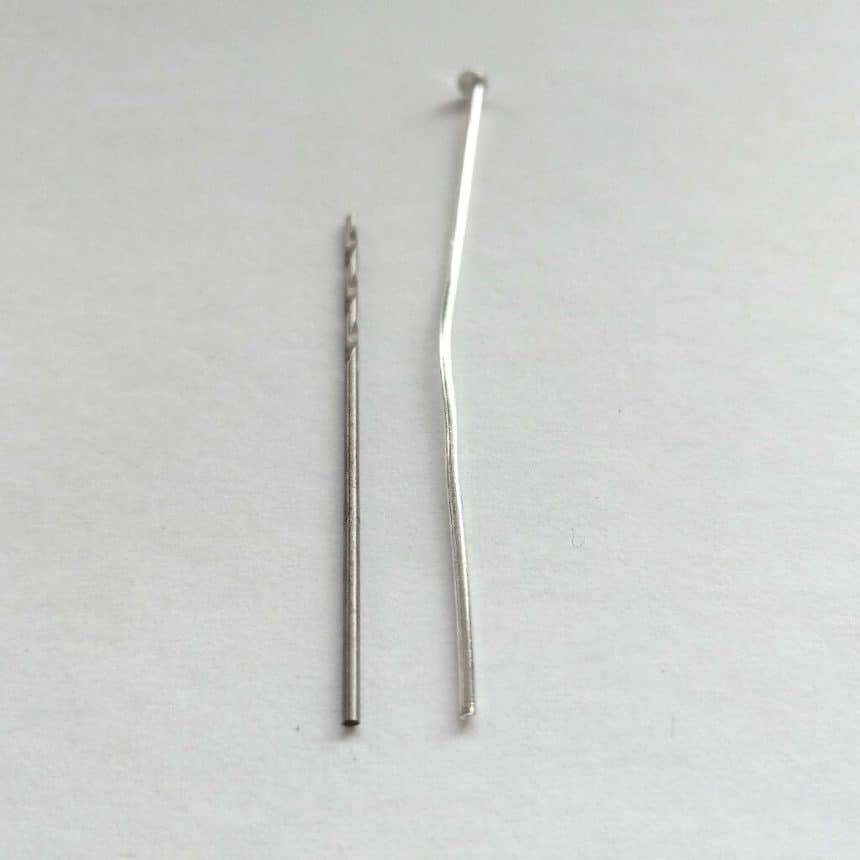
- Find a drill bit with the same size as the jewelry wire and drill a hole on the beer cap.
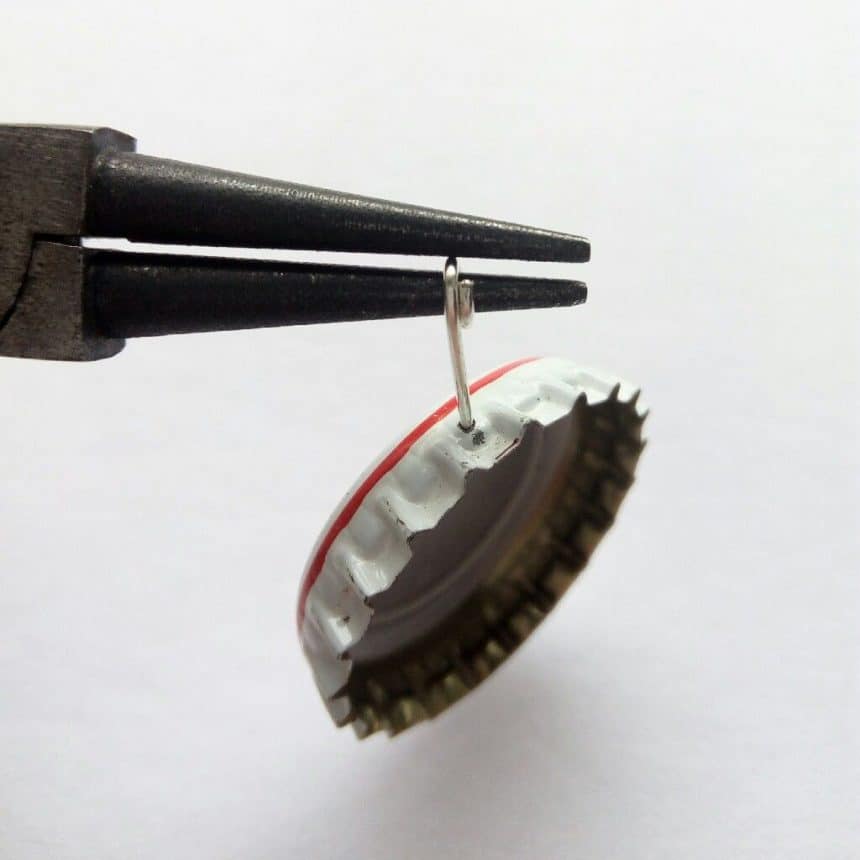
- Cut the wire, bend it at one end to remain on the beer cap (mine has a nail head, so I didn’t have to do this) and pass it through the hole.
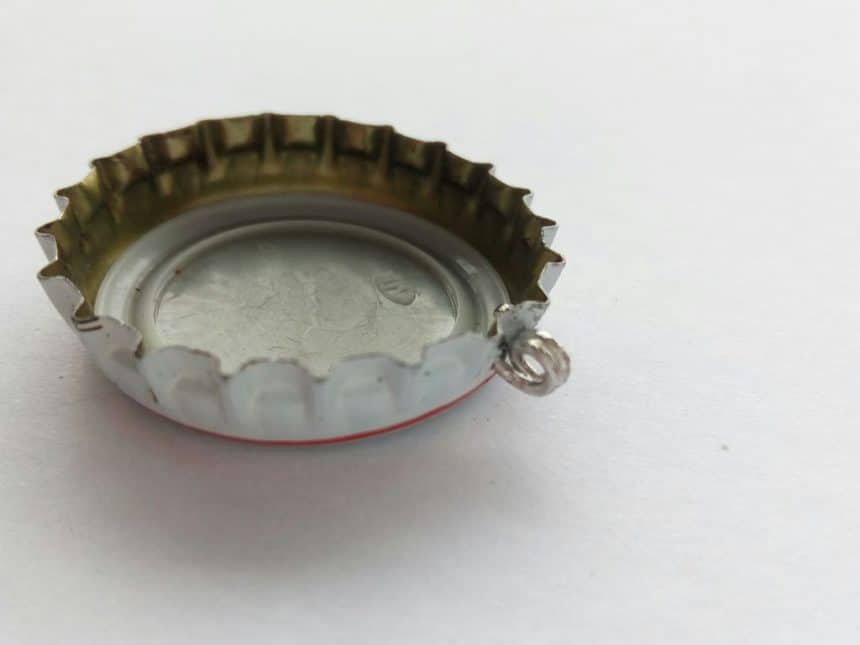
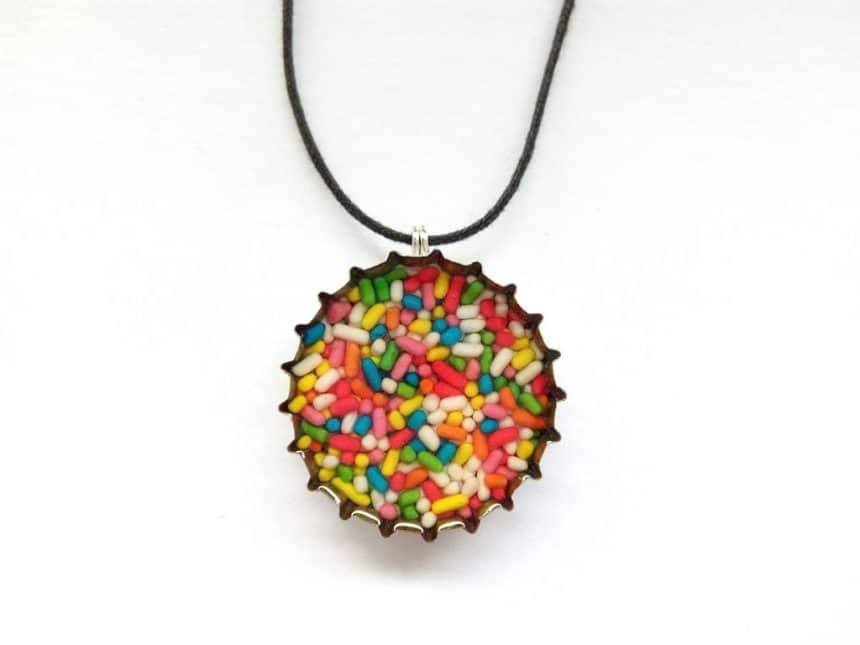
- With the round needle nose plier bend the other end of the wire to form a loop.
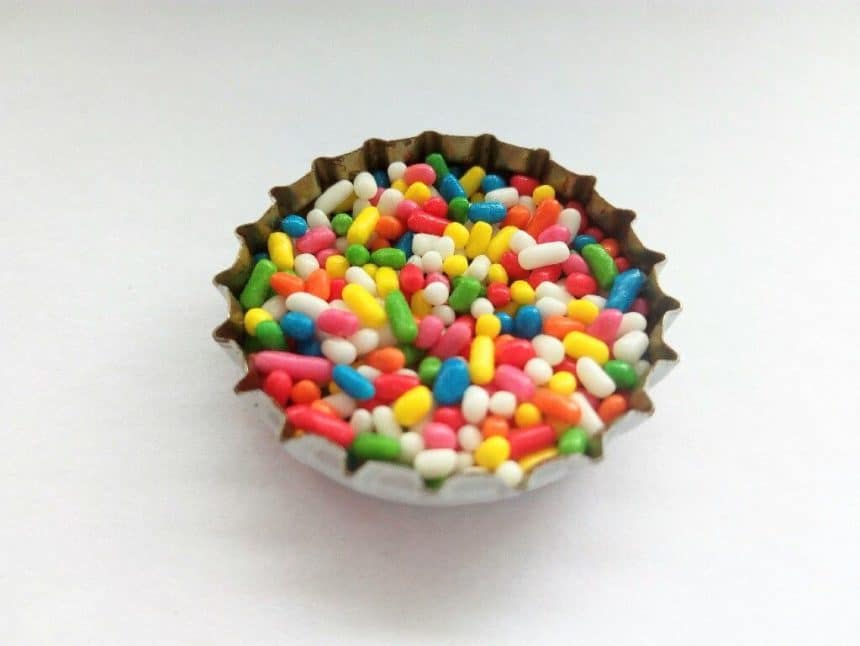
- Pour the sprinkles on the cap and rearrange the pieces as you like.
- With the syringe drain the mixture and pour it on the sprinkles and be careful to spread it on the inner edges of the bottle cap.
- Let the bubbles emerge on the surface and blow them with the flame of a lighter. Be careful not to burn the resin.
- Let the resin dry at least overnight on a flat, horizontal surface. To protect your project from dust, you can cover it with a bowl for some hours and then uncover it.
- Pass the necklace cord through the loop and you are ready to wear it!
courtesy: Suki_ete
