Posted onJuly 11, 2017inEmbroidery And Sewing, Tutorial, Video Mirror work embroidery designs for blouse and kurtis
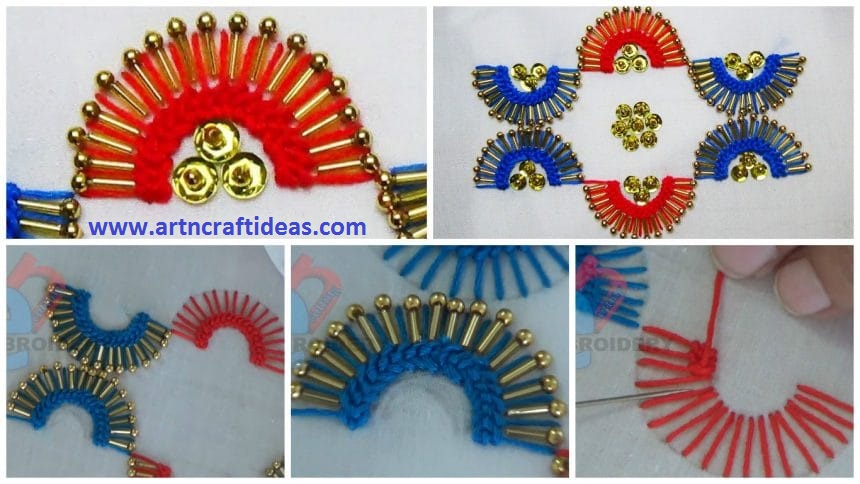
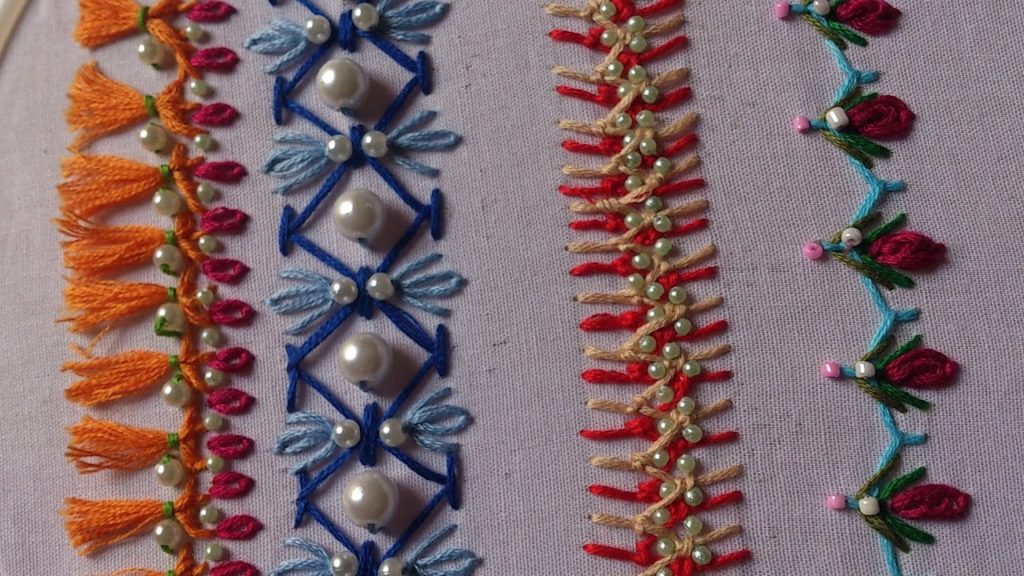
Posted onJuly 11, 2017inEmbroidery And Sewing, Tutorial, Video Hand Embroidery: Raised Chain Stitch (Bead Embroidery)
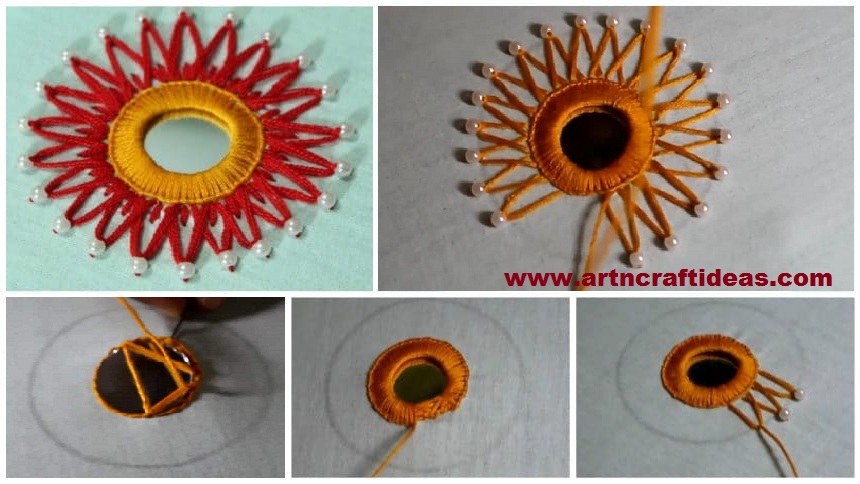
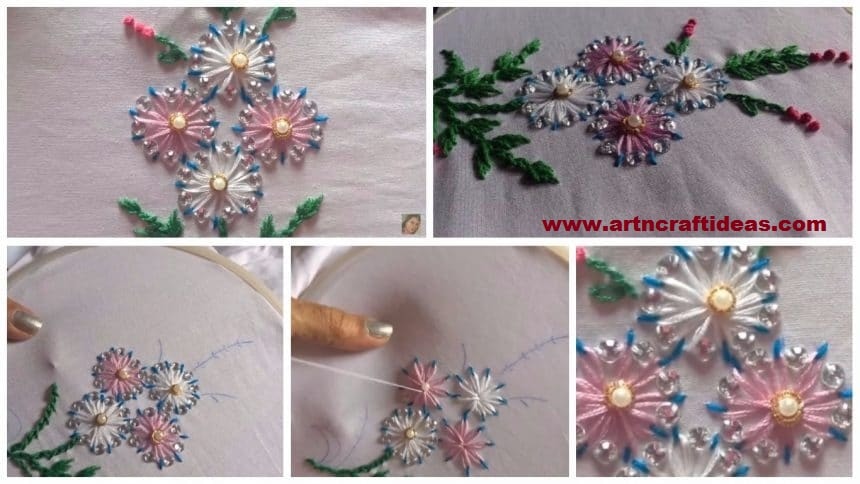
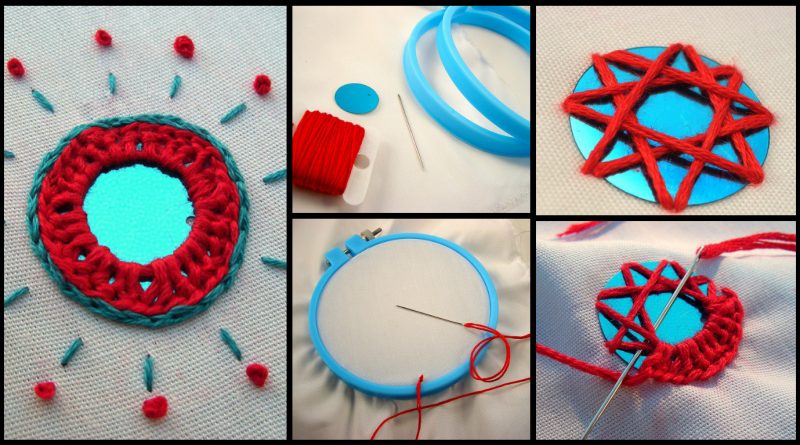
Posted onJuly 2, 2017inEmbroidery And Sewing, Tutorial, Video How to do hand embroidery mirror work design
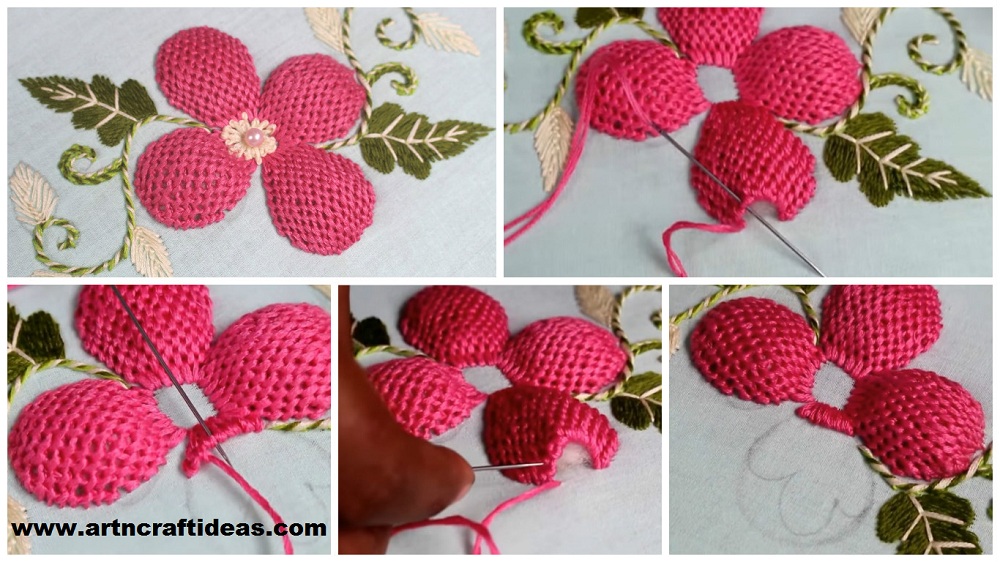
Posted onJuly 2, 2017inEmbroidery And Sewing, Tutorial, Video Basic Hand Embroidery Stitches Tutorial
Posted onJune 2, 2017inEmbroidery And Sewing, Tutorial, Video Pump Lace Stitch Flower Embroidery Designs
Posted onApril 1, 2017inEmbroidery And Sewing, Tutorial, Video Hand embroidery stitches tutorial for beginners
Posted onFebruary 1, 2017inDIY, Embroidery And Sewing, Step by step, Tutorial DIY: Hand embroidery mirror work designs