Paper of your choice and with the color or with the stamp also of your preference;
Common white glue, double-sided adhesive tape or stick glue, depending on your preference for glue to work with paper;
Pencil;
Ruler;
Common scissors.
Tips for Making Origami Roses
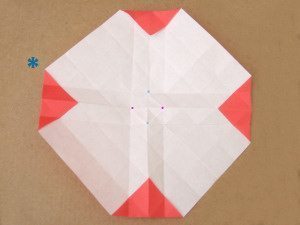
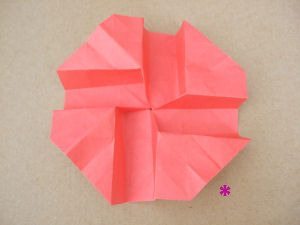
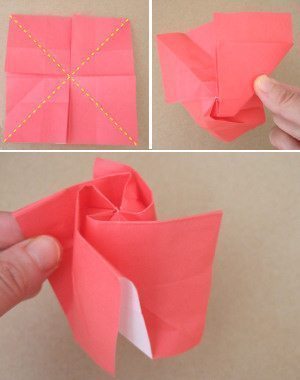
Start by separating all the materials you will use in learning how to make origami roses step by step . Cut a square on the chosen paper, with the square with the size you want and fold it several times, creating smaller squares across the square. Fold the ends of the square inwards and mark the center pieces.
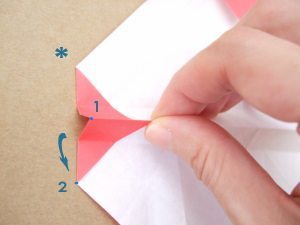
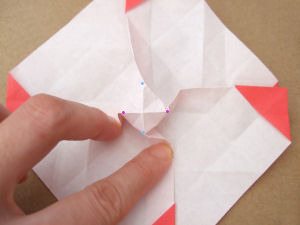
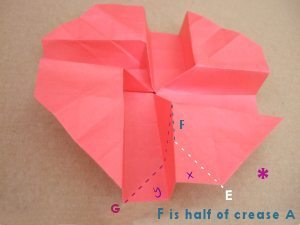
Fold the corner inside. Win the song. Do the same with the other songs. Raise the center of the part. Also link the center. Part behind the piece. In one corner, take the center and some side folds.
Put the media in.
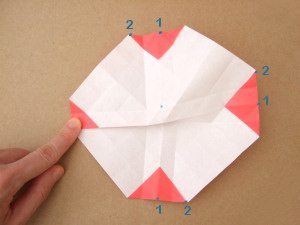
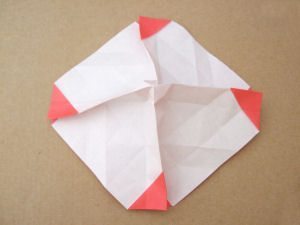
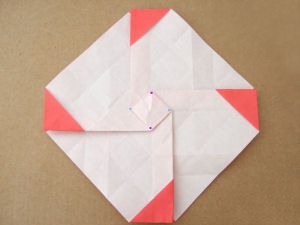
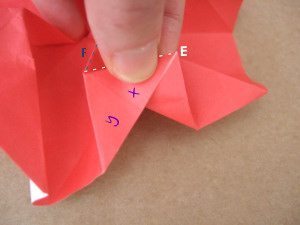
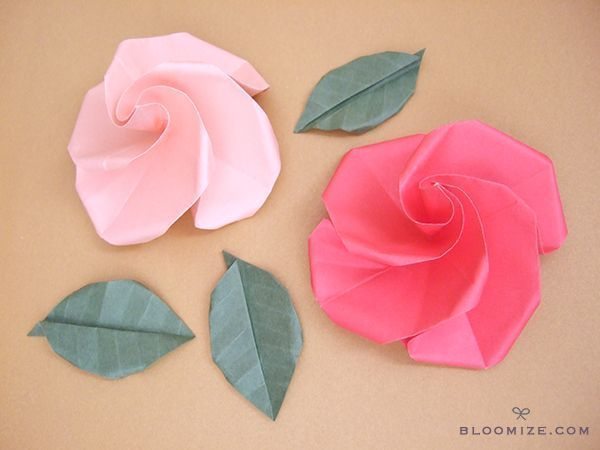
Raise the other part. Do the same with all the songs. Take the recessed part of one of the corners. Fold this part. Tape the bent part. Do the same with all the corners and “twist” the piece. Your rose is created. The leaves for your roses can have the template you want and you can glue the leaves at the base of your roses with the aid of ordinary white glue, double-sided tape or stick glue, depending on your preference for glue to work With paper. To make the button, fold another square of paper, but with smaller size, wring the sides, raise the center and twist.(Photo: bloomize.com)