How to create a cascading bouquet of artificial flowers
artncraft
cascading bouquet flowers 1
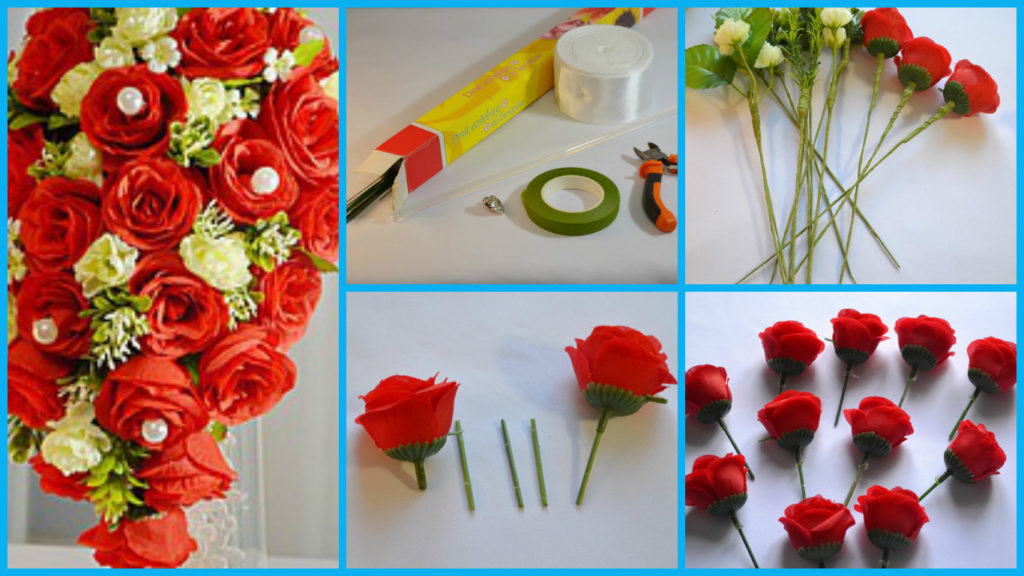
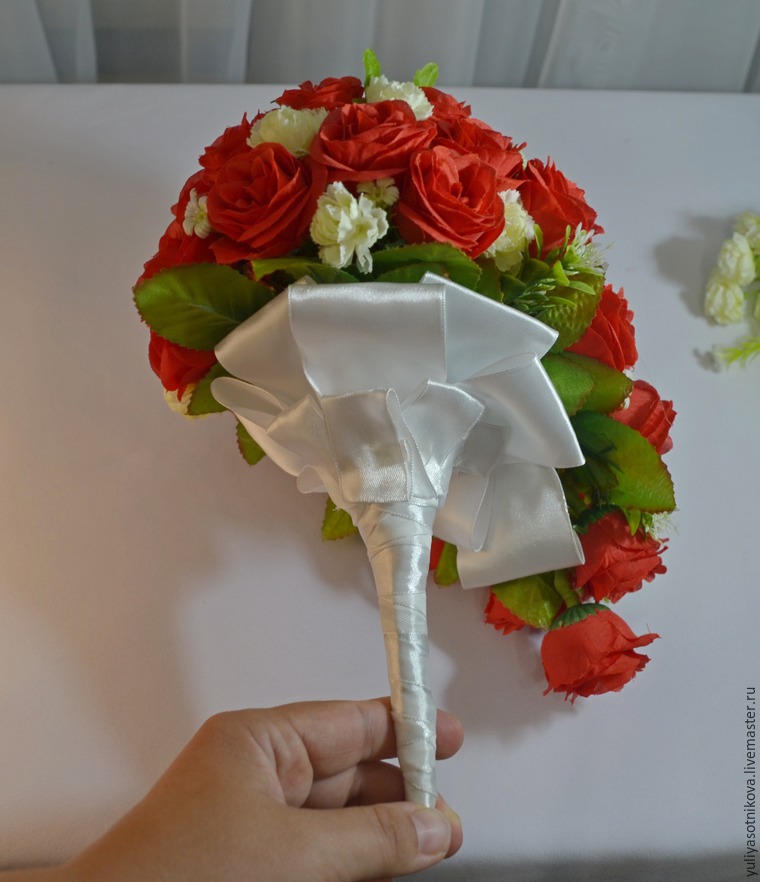
This small master class, I decided to show you how to make a cascading bouquet, understudy in taping technique. I do not know, does anyone still doubles so this technique and I like the fact that it allows you to create absolutely any bouquet shape, whether ordinary hemisphere or “waterfall” to the floor.
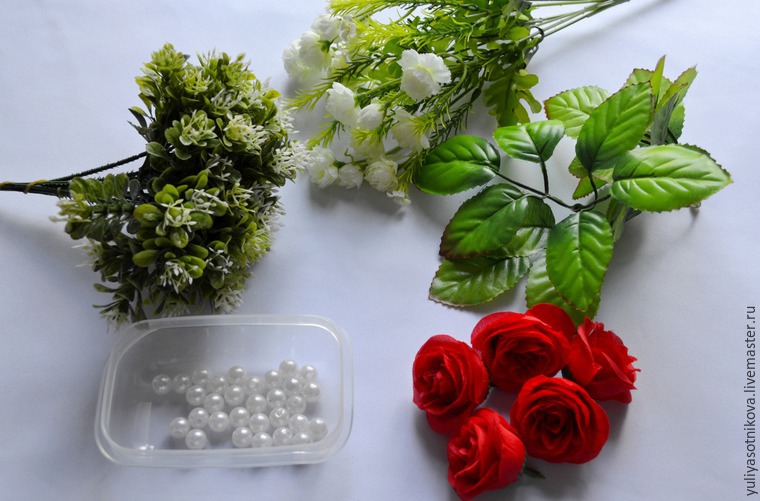
Necessary materials:
– small head rose (on the job took them 40 pieces)
– Rose leaves 10 pieces
– a pair of white carnation bushes
– a few sprigs of greens with tiny leaves
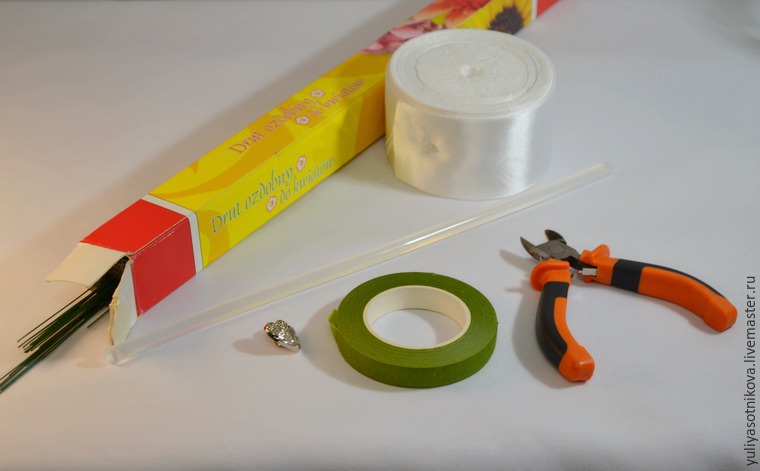
– Floral wire is 0.7 mm thick
– Teip tape
– Hot air and hot melt adhesive
– Scissors
– Wire cutters
– Satin tape 4 cm wide and 2.5 cm (2 m)
– Lace 50 cm
– Beads (15 pieces)
– Decorative buttons
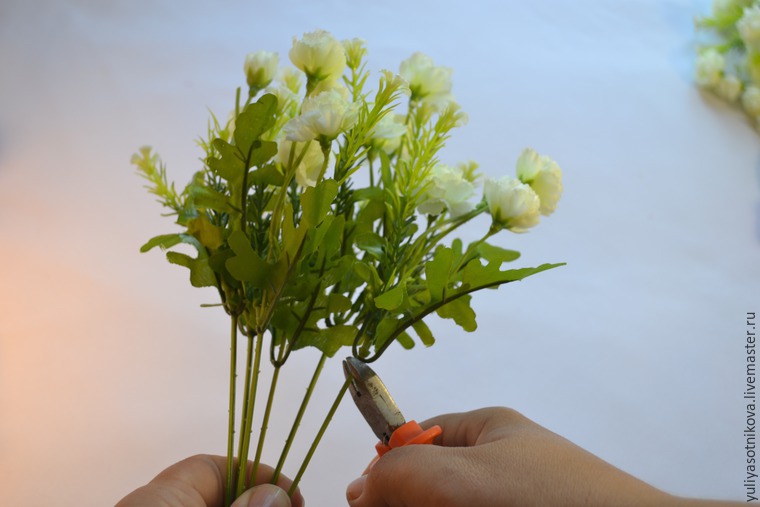
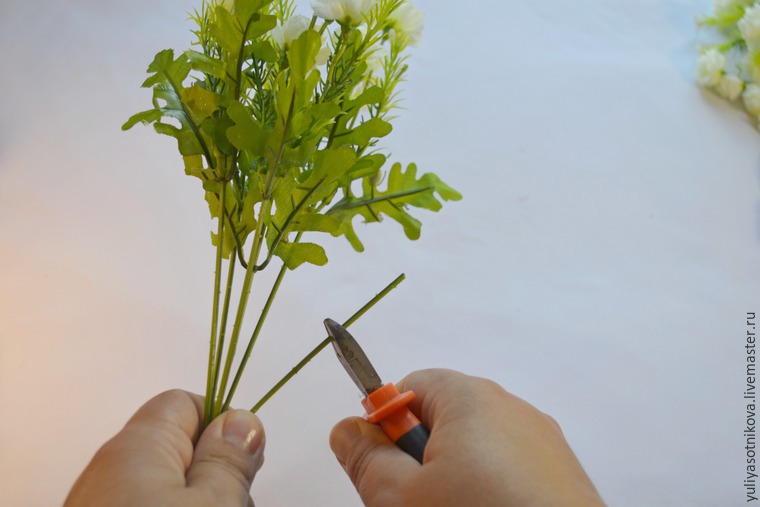
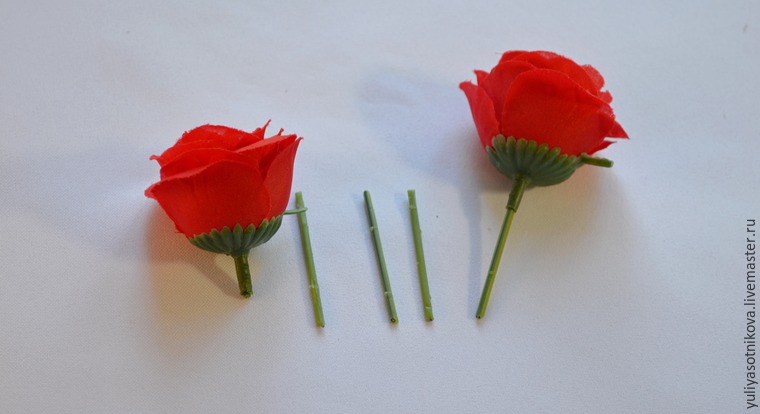
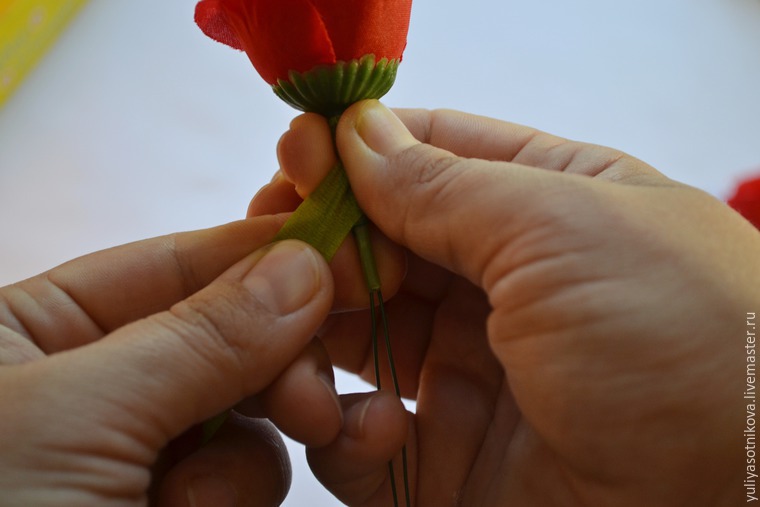
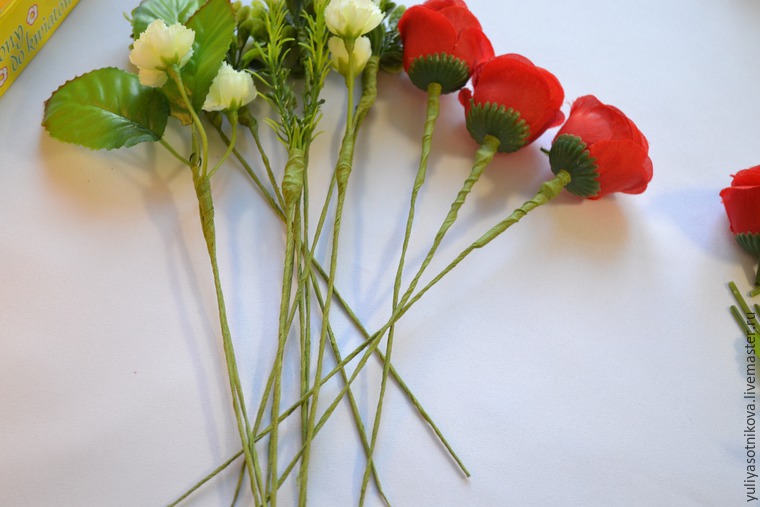
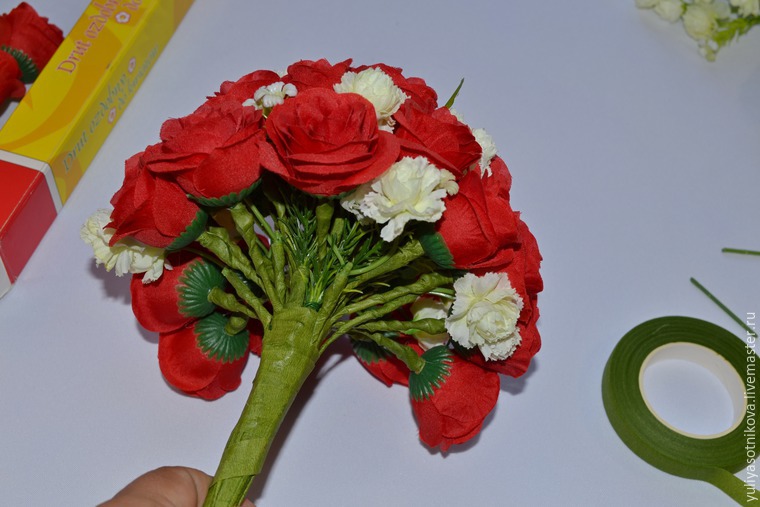
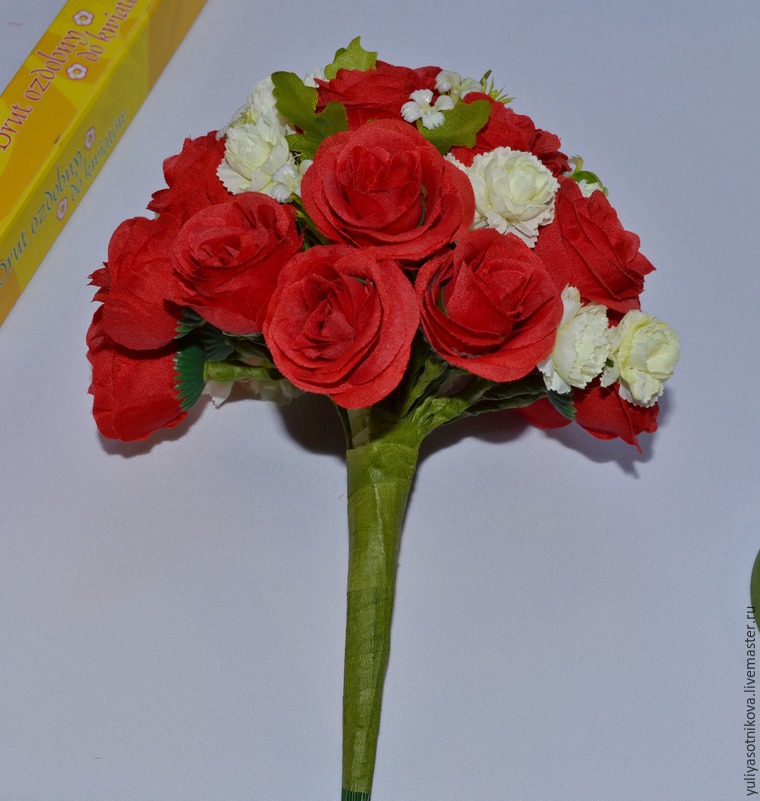
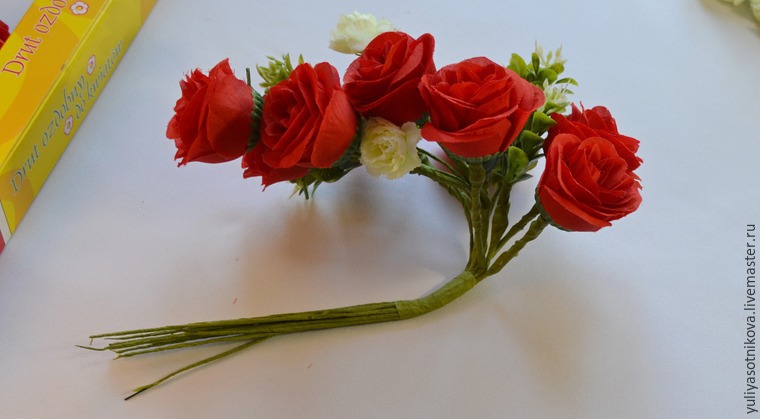
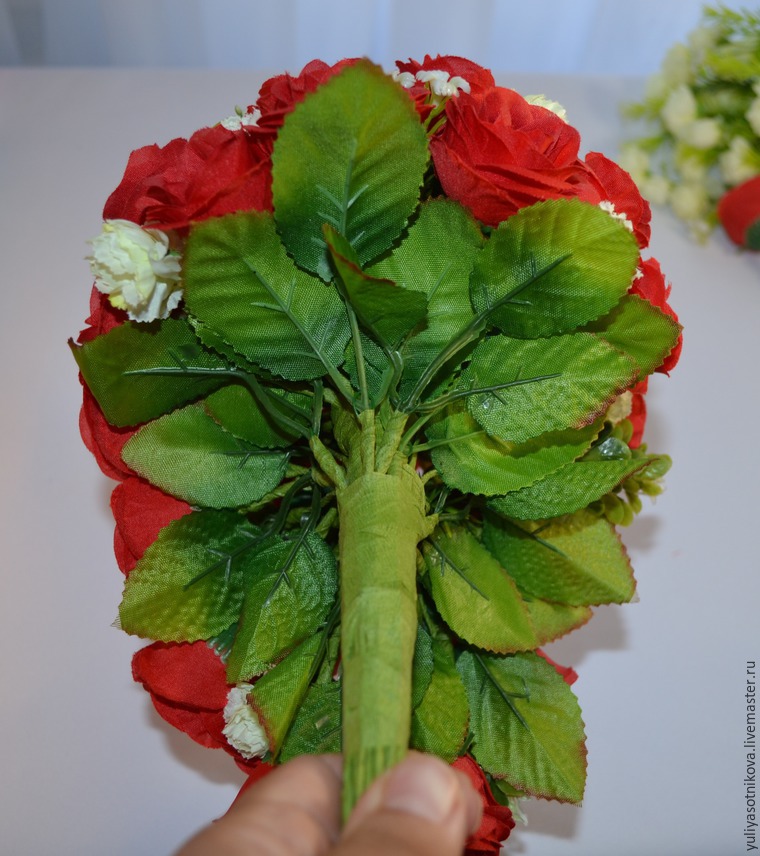
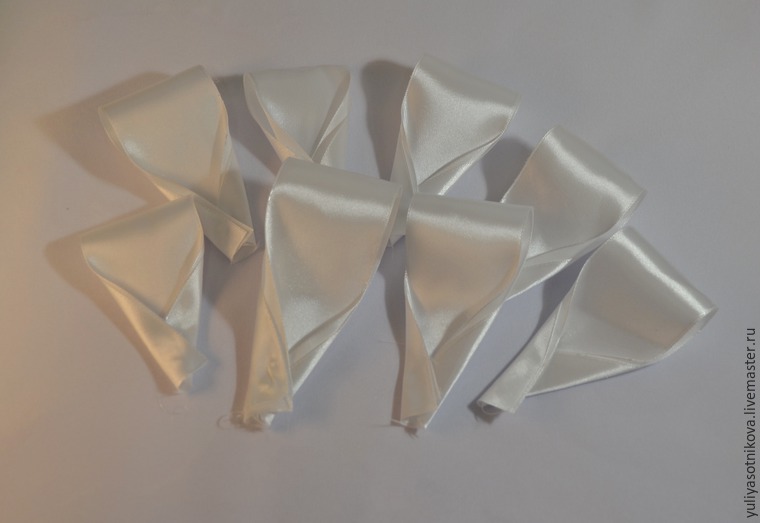
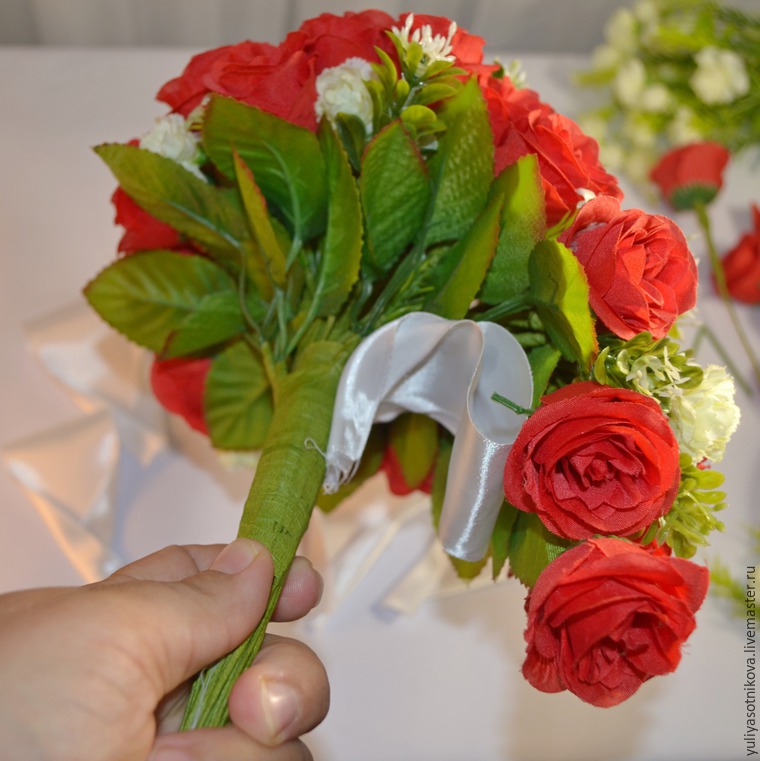
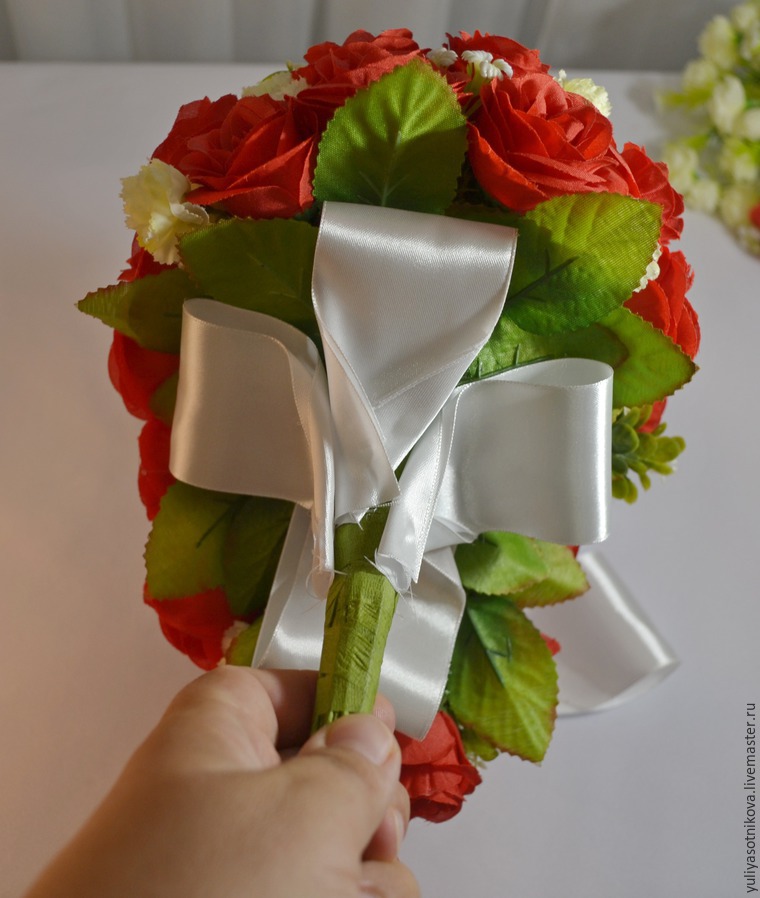
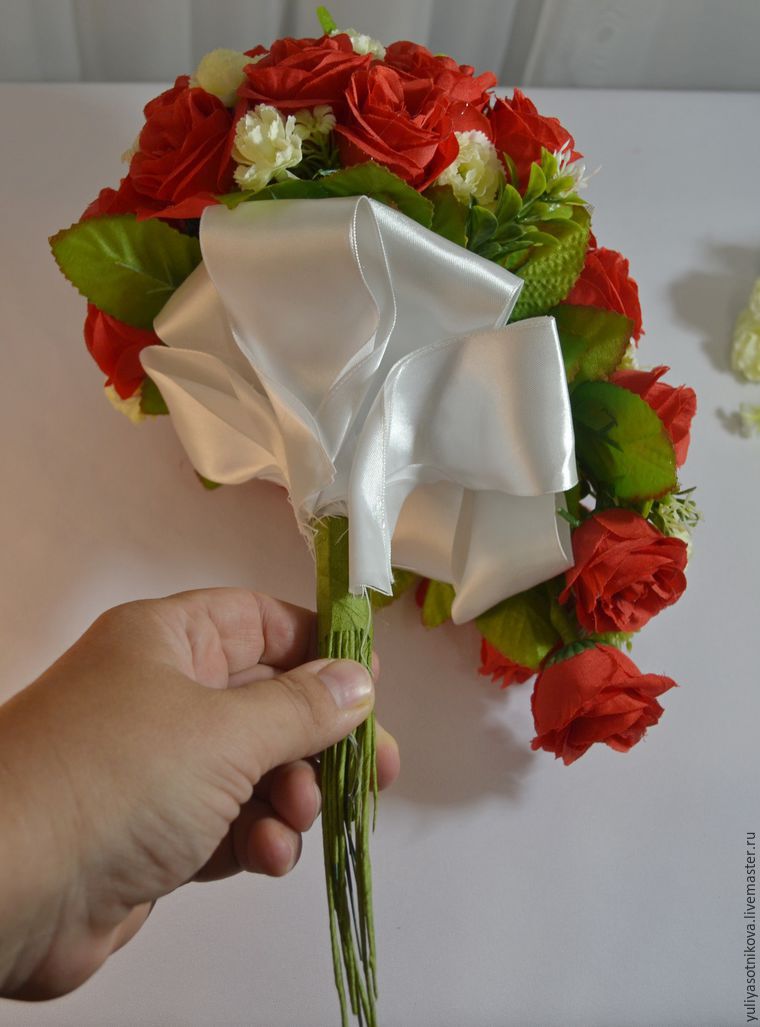
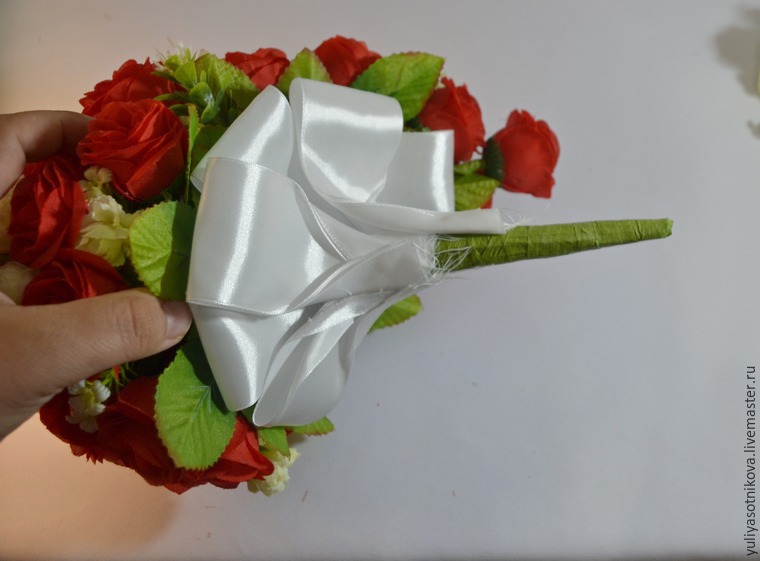
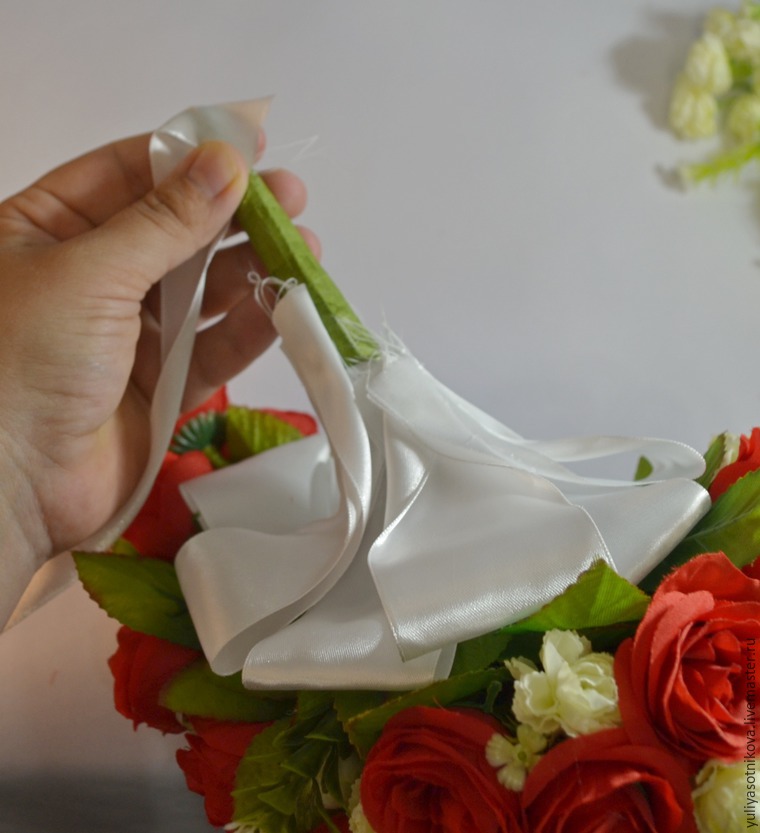
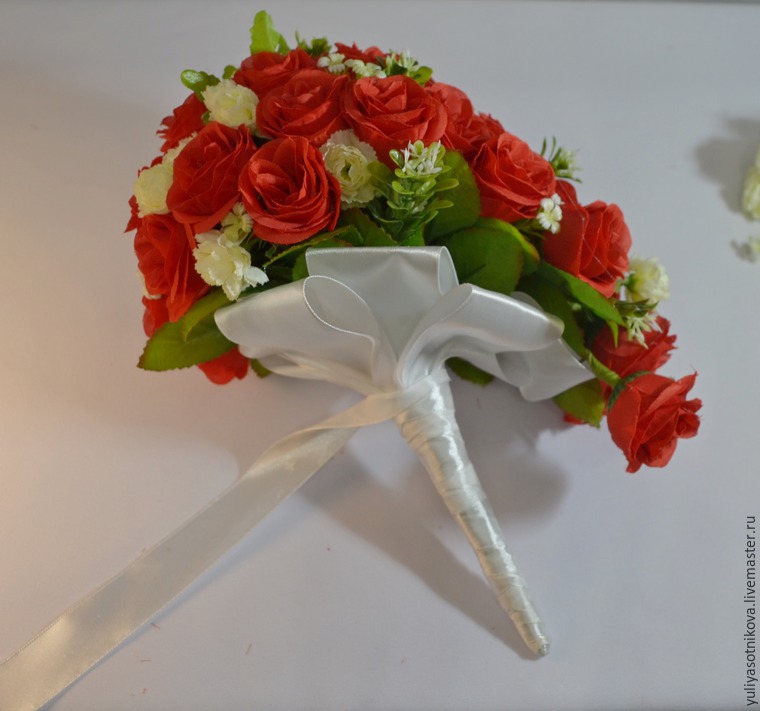
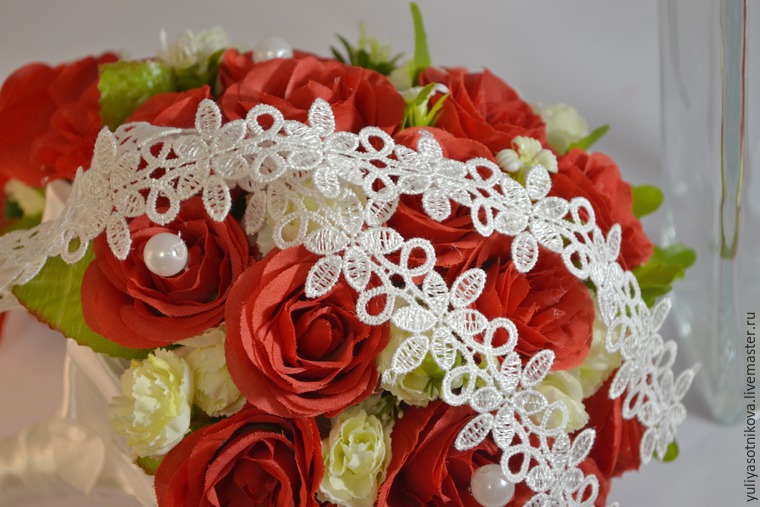
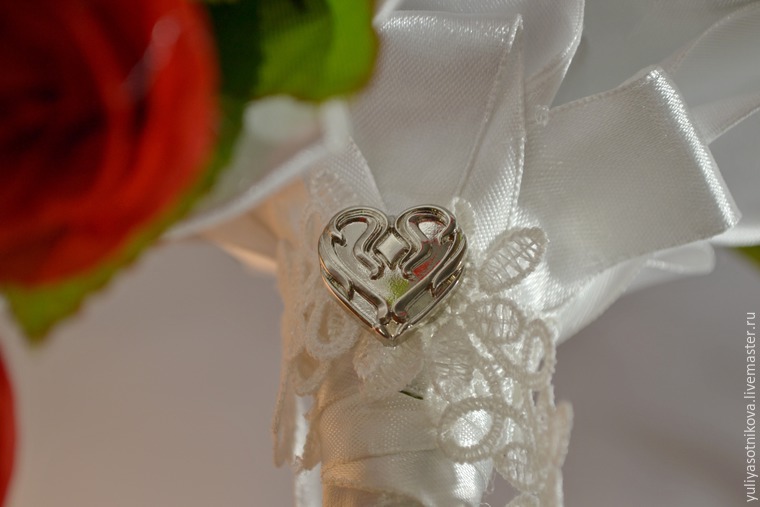
Getting Started. Cropped bushes with branches carnation so that we stayed on them “legs”. In order to collect a bouquet of roses in the head, you must first create them stems. Here we need the one wire that was left of carnations.
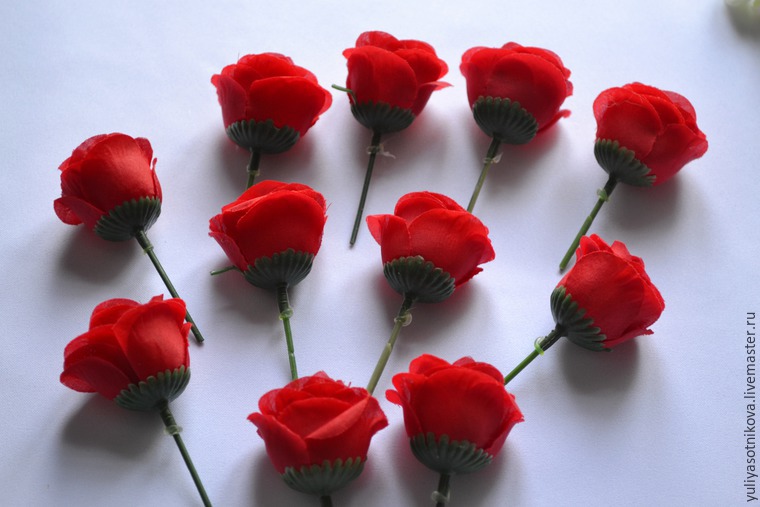
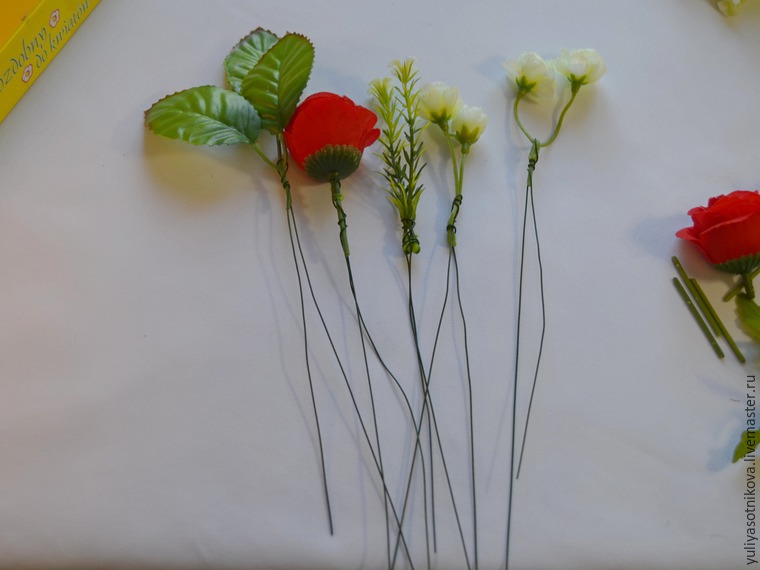
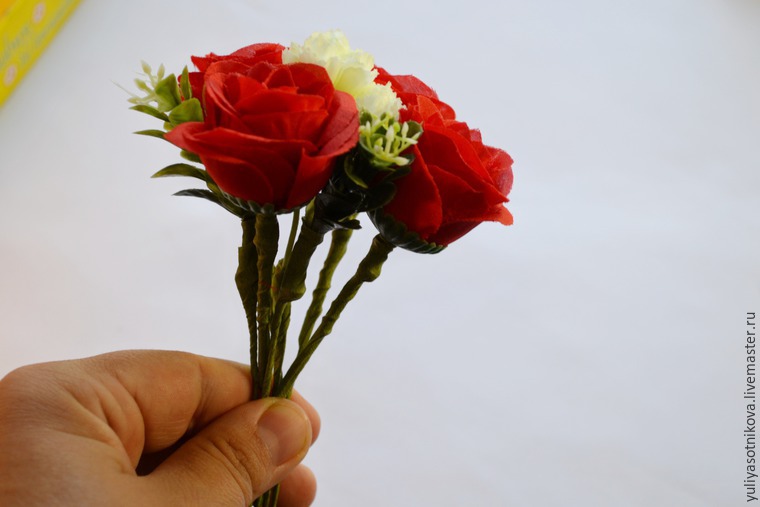
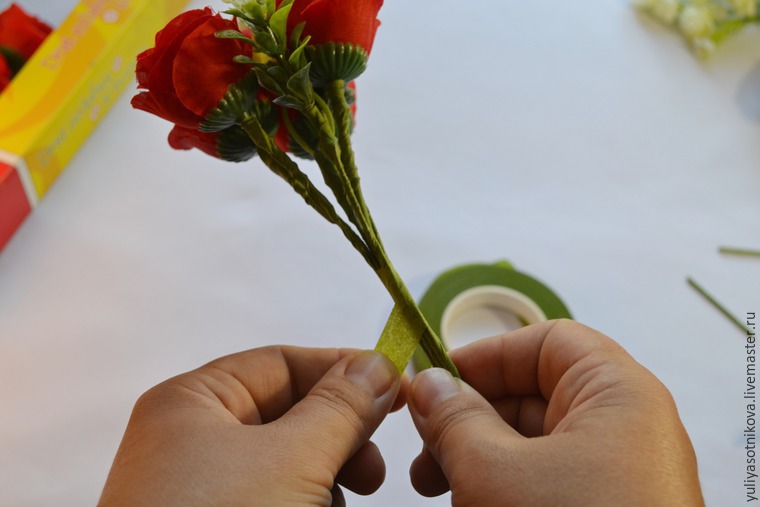
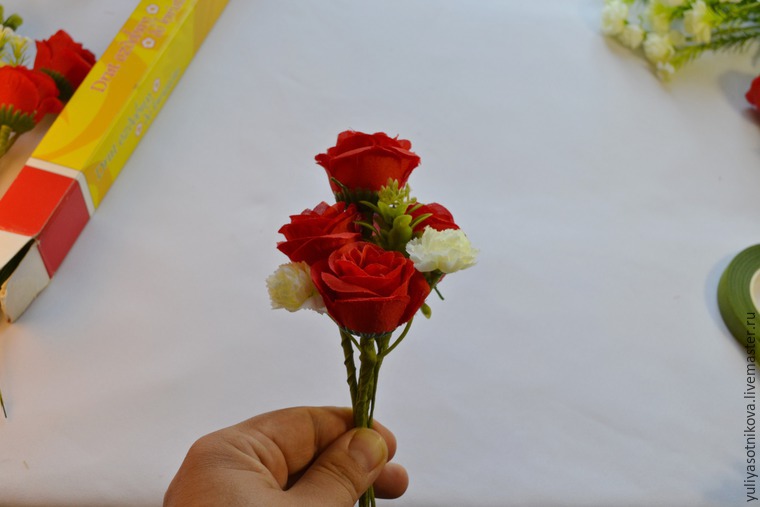
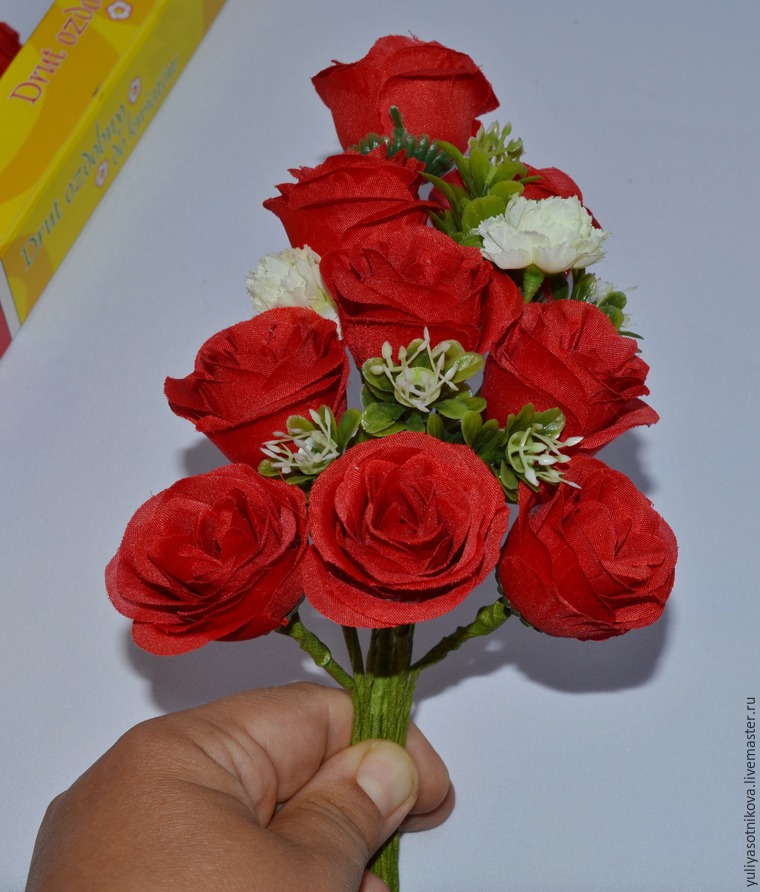
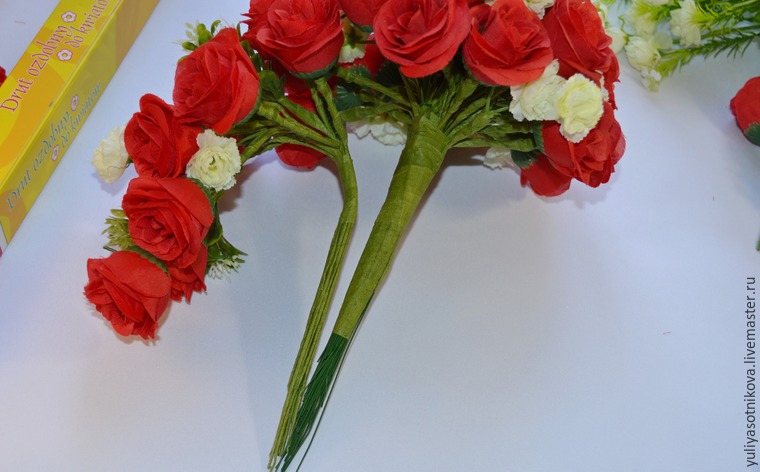
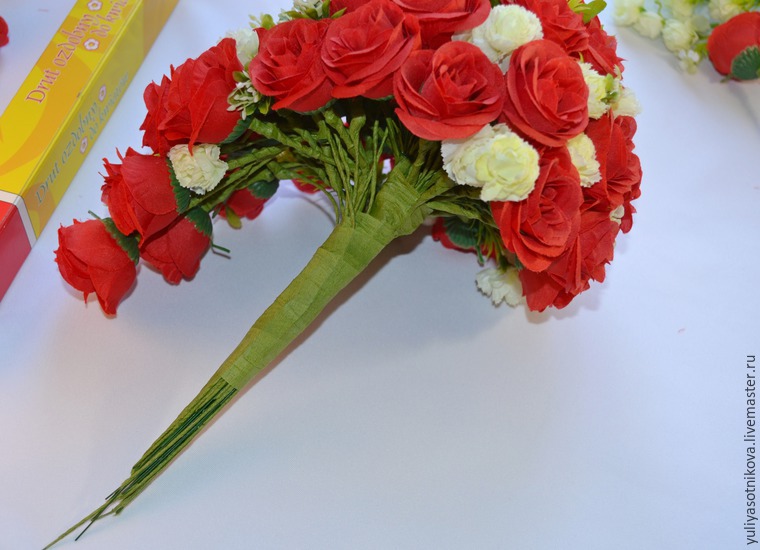
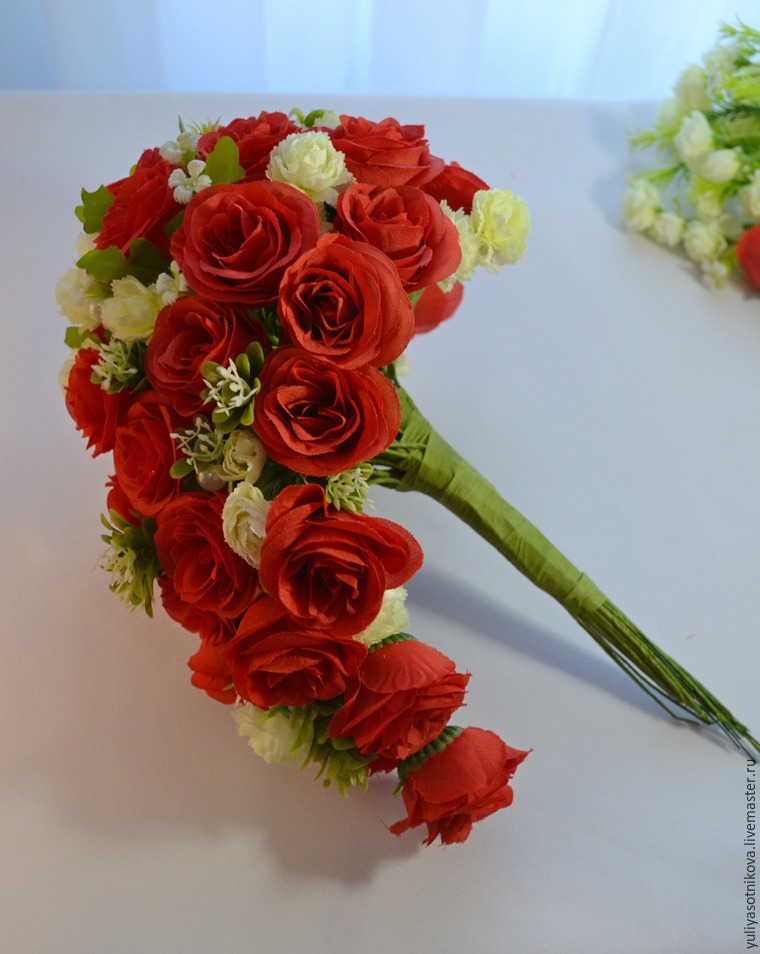
Cut it into pieces, centimetre 4-5. Such pieces will need as much as the heads of roses we’ll use. Next, we need to put on the head of the wire segments roses. To do this, we are on the tip of the wire we put a drop of glue and put on our roses. It looks as follows: We continue to form stems. Take the wire and florist primate it to our legs so that the ends of the wires were down, prolonging the existing legs. In the same way we do with the rest of the flowers and greenery. Now we need to wire propitiate. To do this, take the tape and from top to bottom, a little stretching her tight and carefully amalgamate she ends our wire. That’s legs and ready. At first glance, someone who has not worked in the technique of taping, the process may seem long, but when “the hand is already packed,” it is done quickly. Now you are ready to assemble. Take one at the flower and begin to put them together to form a “cap” of the bouquet. It is better to do so: lay down a few stalks, tap-recorded tape. Then added another and again recorded. So we continue to put a flower in the flower, alternating red and white and adding a small green, trying to give the bouquet shape of a hemisphere. Here it was possible to stay and start to decorate the handle of the bouquet, but as he we should be cascaded, we will form a part of its drop down. To do this, take in hand a rose, then, below (below the height of the head), are putting two other roses. Below them three pieces. In between, do not forget to insert a carnation and greens. And since several rows depending on how long we want to make the cascade. In form it resembles a Christmas tree. Next, you need to connect the top and bottom of the bouquet. To do this, we bending the lower part and are putting it to the top so that together they constituted a single unit. We fix tap-tape. Now start to decorate the stem of the bouquet. First, on the edges of the leaves of roses surrounded by cushioning the foot and again fix tap-tape. Satin ribbon width 4 cm cut into 8 pieces of 10-12 cm. Each leg folded in half are bent, as shown in the photo and fix with glue. These blanks around the perimeter of foot paste bouquet. Determine how long we want to leave the leg and cut the excess stems clippers. Again, fix their tap-tape. Then decorate the leg across the length of the ribbon width of 2.5 cm. In the centre of some of the glue in beads roses. On foot, the top we tie or glue lace ribbon and decorate with decorative buttons.Well that’s all, our bouquet is ready! If my master class you like, or you find it for yourself something useful, please click ‘like’, because he is involved in the competition.