


Beautiful roses can be made from the watercolor paper . The color scheme can be very different, and the use of such flowers in the decoration.
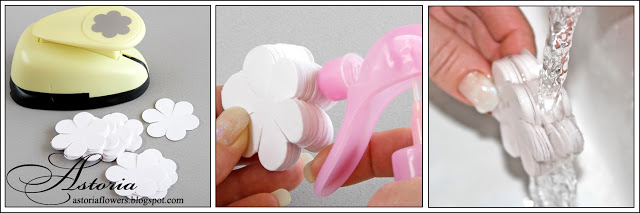
These flowers I do of Korean paper, but in the master classes of special use drawing paper, so that you quickly determine the paper.

Prepare a lot of parts, score the petals fold stack. Take a spray bottle and spray water between the layers. Knead the stack of paper, like a slice of dough for dumplings. Periodically check the middle, it is necessary that the paper is soaked in water.
Or the second option – fast. Place a stack of paper under running water, dip a layer. Remove from the water. Use your fingers to distribute water, soak again until the paper gets wet completely. The second option I like the most 🙂
Not very pressing with a wet paper proceed to the next step.

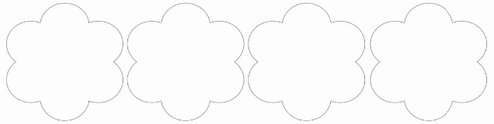
PS: Who has difficulties with the purchase of a composter 5cm, use the template.
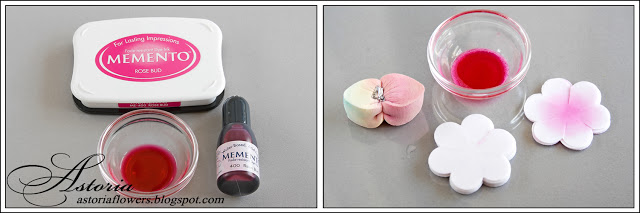

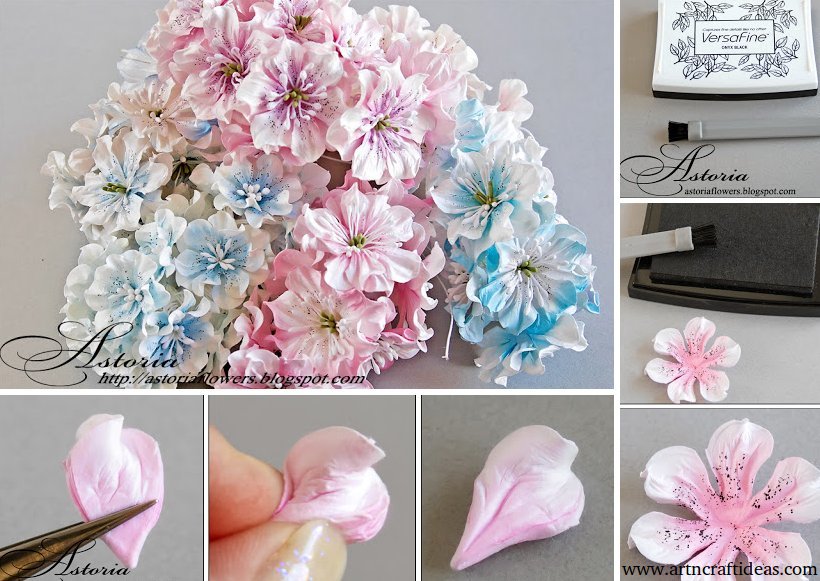
Sponzhem (I cosmetic) promakivat movements (such as “Peck, Peck”), color seredinku upper layer stack, set aside, and then the next layer. Thus, gradually shifting into the second half stack of color. Do not be afraid of the excess water and flimsy parts.

Take the second half of the unpainted parts and barely touching the edge dip into the paint.
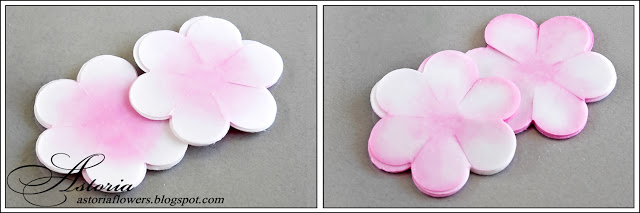
Painted stack parts mash fingers, evenly distributing the paint. Check the middle, if the paint is distributed poorly, squirts water spray between the layers.
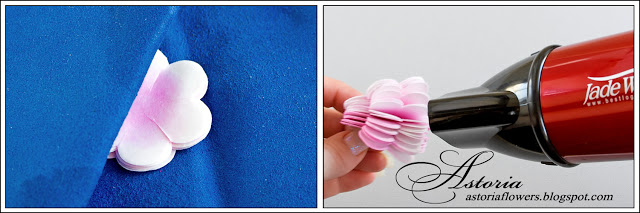
Zakonchiv staining, good water press fabric.
Clutching a stack to one side, dry the hair dryer parts on all sides until almost dry. Do not use a hair dryer to embosinga.
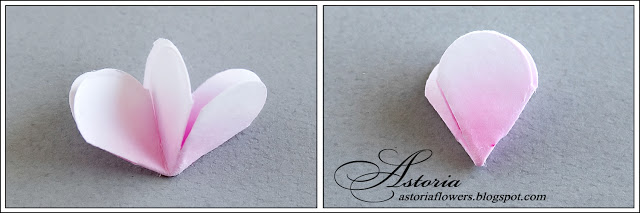

Detail fold. Collecting accordion, make folds.
Hold fingers detail about the middle, hold the edge of the tweezers. Gently rotate only the tweezers until the paper does not slip out of it. If the paper is torn, the more dry the parts hairdryer. Conversely, if the fold is not laid soft – moisten.
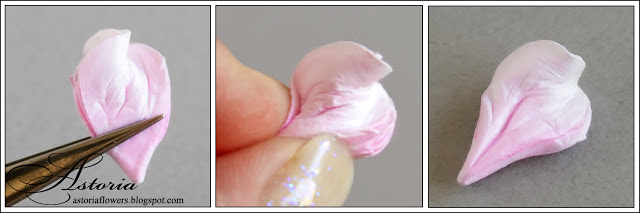
Adjust the folds, holding fingers area.
Gently flatten the piece and leave to dry.
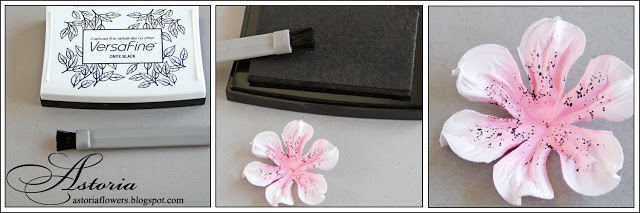
When the first deferred parts dried up. can be specks.
Take the ink pad black. Better ink resistant to water. Brush with a short stiff bristles (I from the vacuum cleaner to clean the filter can be pulled out of the tuft brushes).
Vertically holding the brush, make a point movement specks.
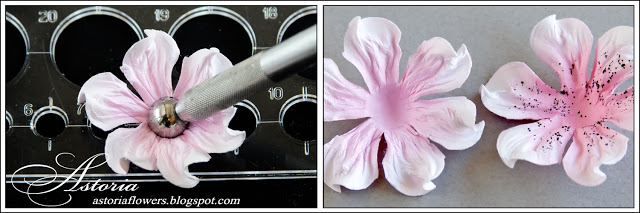
While the details have not yet dried completely, use the line with circles and tools, make an indentation in the center, dropping petals on the line.
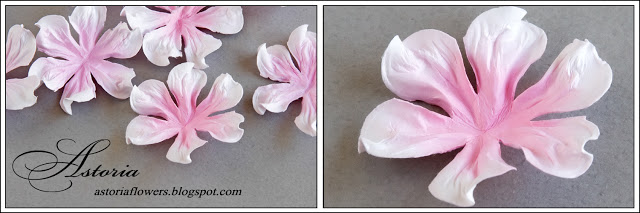
Leave the parts to dry completely.
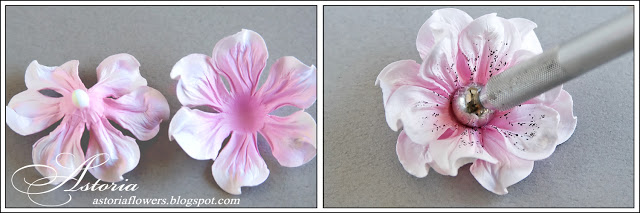
Glue the parts, pressing tool in the center.
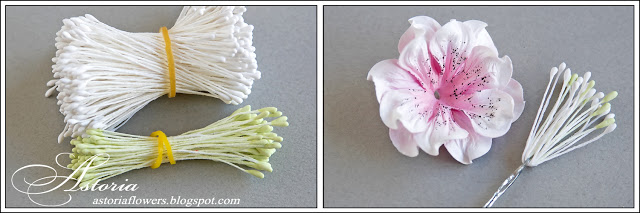
Make a hole awl. Fold the stamens in half, using a wire.
Drag the stamen to the middle of using the line with the hole, so as not to deform the flower. Apply the adhesive so that then cut the excess, stamens are not dropped. Lower stamens to the desired length by gluing them to flower.
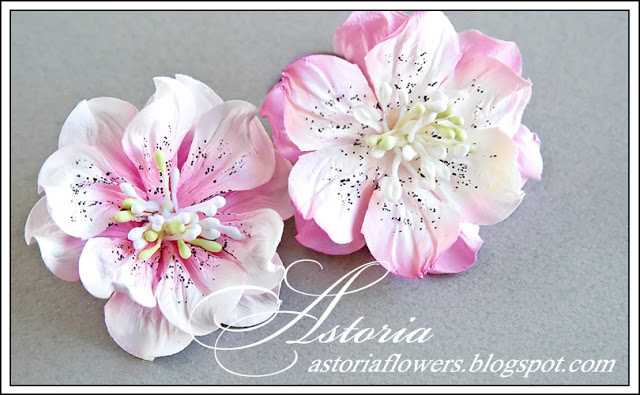

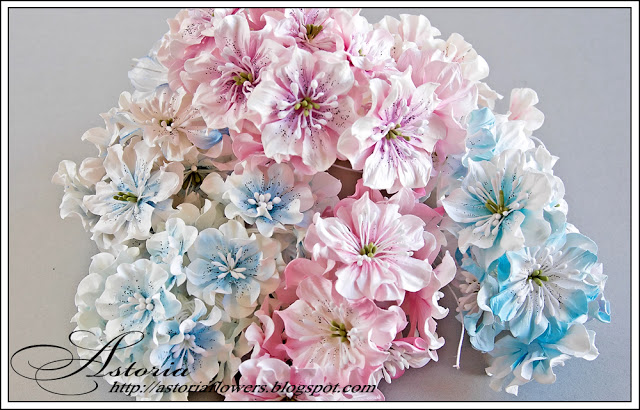
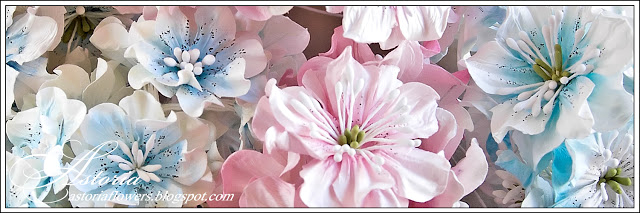
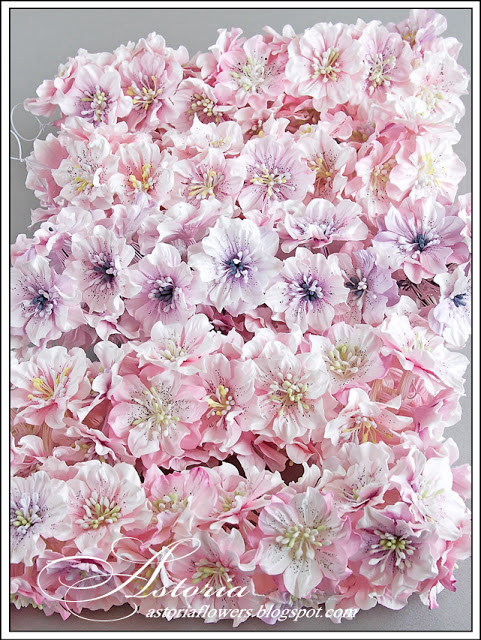
That this result was stained in the center and on the edges. The options really are so many and each flower is unique. Do a lot at once, in stages, it is very convenient and much less time than if you make one flower. The process is very exciting and challenging, boring only stamens inserted.While I was preparing for the master class, so I absorbed that made a huge bunch of flowers for 3 days – 236 pcs. Enough for a year or two 🙂
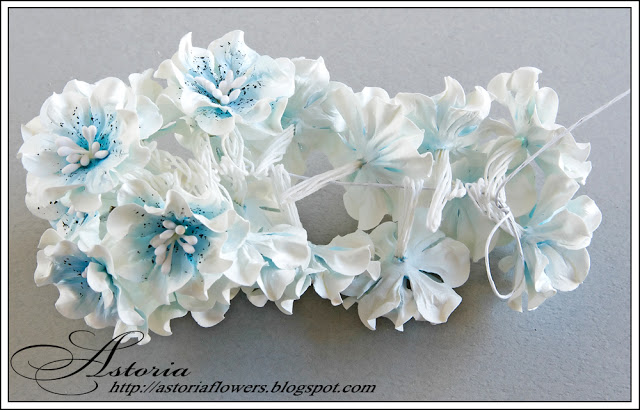
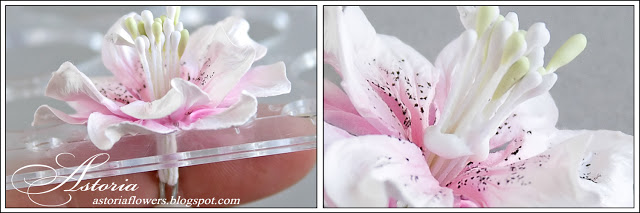
Keep flowers convenient threading a wire through the eyelets of the stamens. For works by suitable simply cut off.

Hope you like this tutorial.