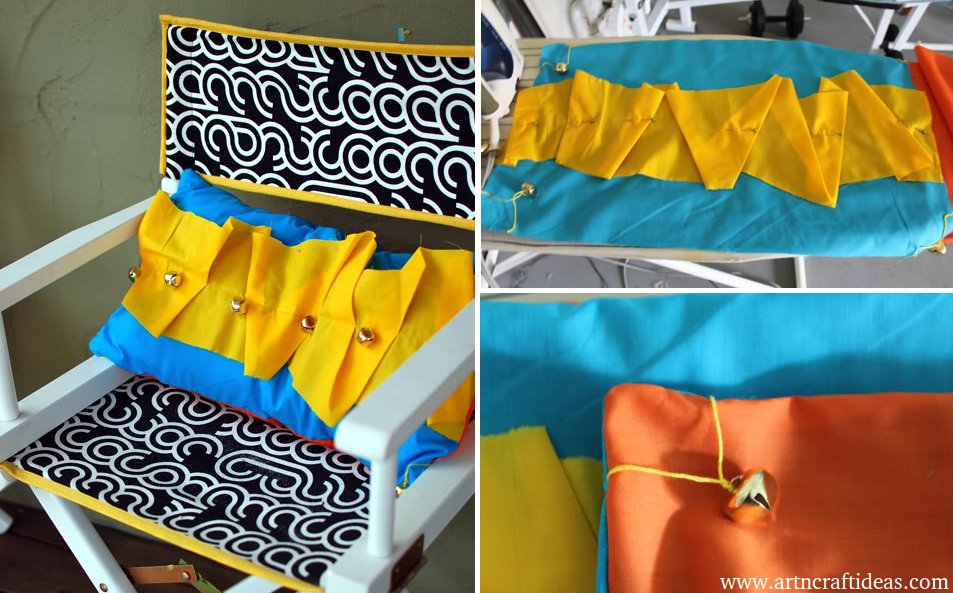
DIY Jingle Pillow Tutorial: Here’s another pillow from Scarlet’s Indian Elephant Party. The colors are a bit much attractive. I guess it wouldn’t be so comfortable to snuggle up to a pillow with metal bells on it, but it looks cute and that’s what really matters. Or you could replace the bells with buttons or ribbon flowers!
Get the full Jingle Pillow DIY after the jump…
DIY Jingle Pillow
1. Wash, iron and cut your fabric. You’ll need one piece the size of your pillow plus 1/2″ for the front. For the back you’ll need two pieces the same length by half the width of your pillow plus 2.5″. Then you’ll need one long strip of any fabric in any width and length for your ruffle, and some jingle bells or buttons or what not. My pillow is 12″ X 21″ so I cut a pieces 12.5″X21.5″ for the front and two pieces 12″X13″ for the back.
2. Fold one short edge of each back piece in 1/4″ and iron, then another 1/4″ and iron, and sew in place. On the side that will show, fold it in another 1/4″ and iron but don’t sew, so later on you won’t have a seam line showing on your pillow:
3. Take your long strip of fabric and fold it randomly across the front and pin in place. Ignore the bells on the corner, I did it in the wrong order:
Sew the ruffle in place with one long line of stitches. Then using embroidery thread hand sew your jingle bells or buttons to the front of the pillow:
There you go:
4. Now lay your pillow front right side up, your pillow back piece that will not be showing right side down, then the pillow back piece the will show right side down on top of that, making sure the outside edges of the front and back line up. Pin in place:
Sew all the way around and finish the edges by serging, sewing with an overlock or zig zag stitch or just trimming with pinking shears:
5. Turn your pillow right side out and using your embroidery thread and hand sewing needle, sew some dangly jingle bells to the corners:
Stuff with pillow form, you’re done!
Add to growing pile of bright pillows:
Hope you like this tutorial.
Source: prettyprudent
