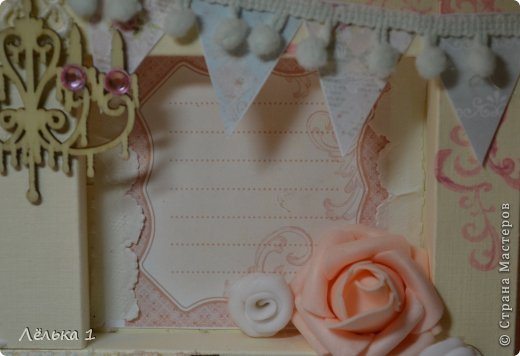
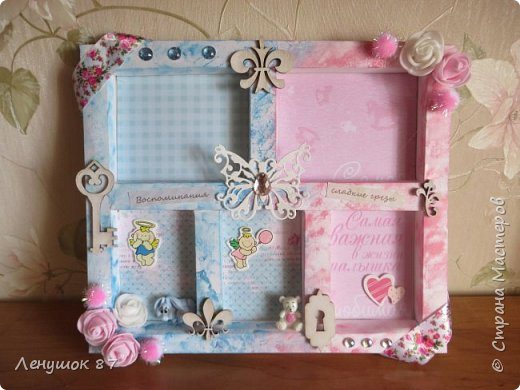
Today we want to show you photo frame, it’s for my little daughter !!! The process of creating a framework, I photographed, of course it is far from the present tutorial, but this is my first experience please do not judge strictly. It may be useful for beginners, my mini tutorial before buying ready boksiki can work out here on this, without any extra costs. Look what happened.

In this Frame, you can insert a photo or to make an inscription, the white roses of plastics, peach rose.
There angelok, brads with the name “Rose” heart “made with love”.
After design that you shows above, Now time to making.
Required Material:
1. Pastel paper (or watercolor, or skrapbumaga) and a beer carton size 20×20
2. Line
3. Pencil
4. Cutter
5. Scissors
6. Tool for creasing (itself still use a pen that does not write))
I sliced 7 strips of different lengths of paper for pastels, but the same width.
3 pieces of medium size length 16 cm width 7 cm (1h1,5h2h1,5h1).
Measure out and cut, then the width of each band beat (1h1,5h2h1,5h1) = 7 cm, then according to our size.
this small wall 7 cm x 7 cm, performed the same as the middle strips.
But two large, there are a few others, the width and 7 cm, only the length of 24 cm.
Here I have highlighted in pencil, then you need to cut the dotted lines indicate the slot to make. On a large wall (of 2 pieces) size 24 cm, top and bottom postpone 0, 5h1, 5h20h1, 5h0, 5
That happened to us when we probigovali long strips and cut along the lines of the previous photo.
Fold along the grooves.
coat with glue to one side, pressed against the inner walls.
So what should we succeed.
In order not to disperse the wall, then I strengthened mounting tape.
Then take a beer in my 20×20 cardboard pasted over his paper for pastels, as well as walls. We put the walls to the base and if you are satisfied, then all sticking. Here frame and ready !!! And then let the flight of your imagination and decorate to your liking.
