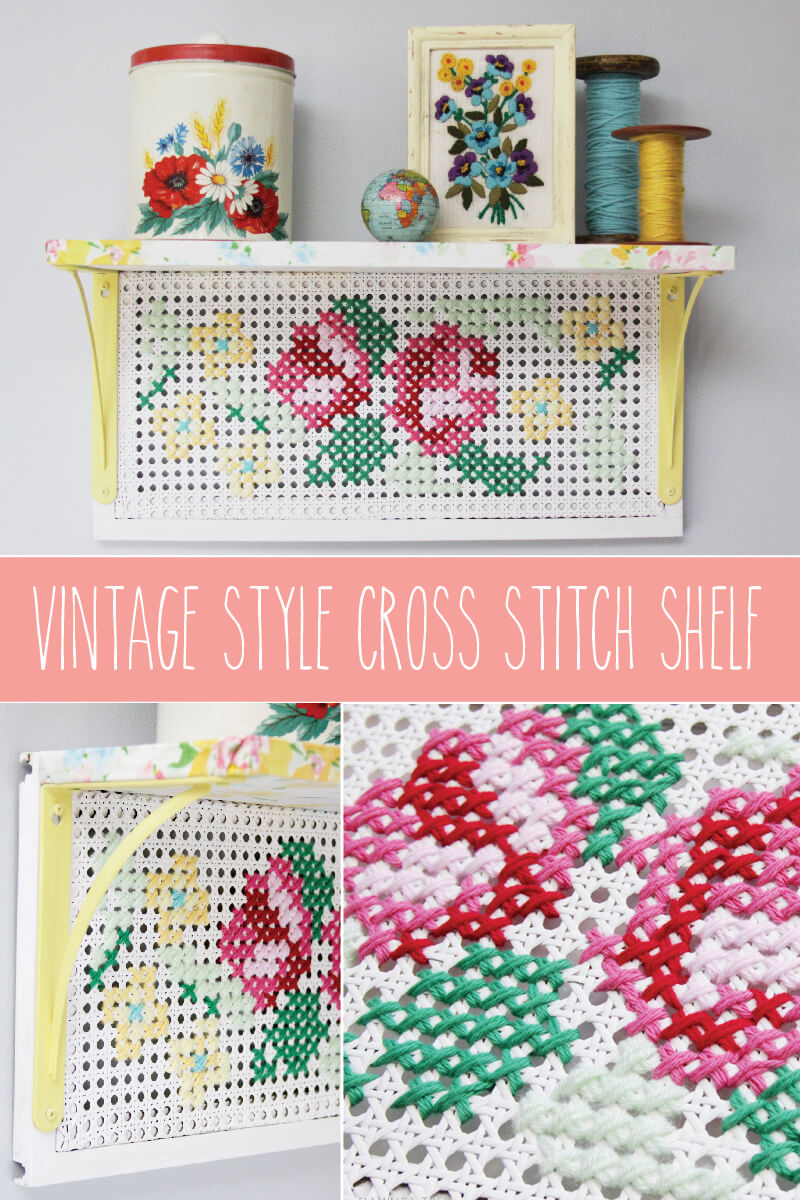
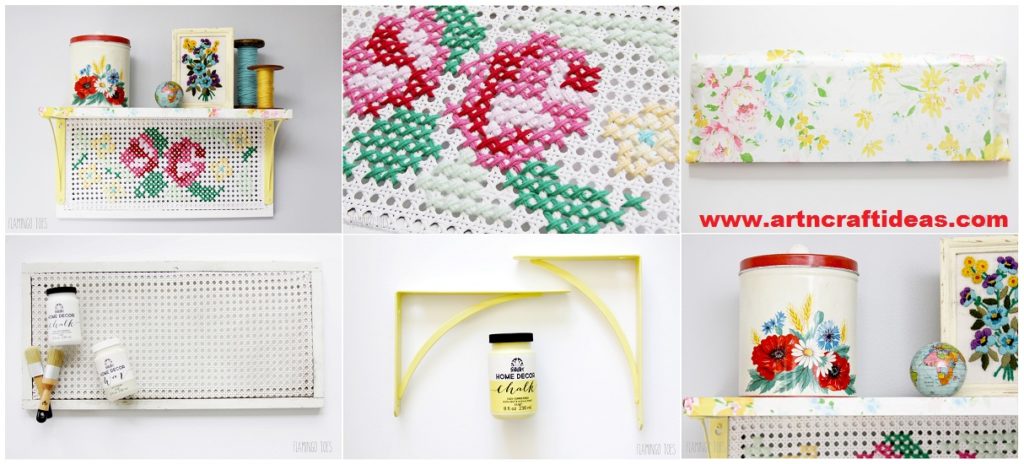
Here’s how to make this vintage cross stitch shelf! (I know you might not find a shutter like this, but you can use these steps to create something similar with other vintage finds!)
Now it was time to start stitching! I have a free cross stitch pattern for you here – you can use it on something similar or even on a regular cross stitch project.
I used two strands of yarn on each stitch, since the cane was so big one strand of yarn didn’t fill the space enough. Cross stitch just as you would on fabric, but try to keep your yarn on the back from showing through the cane.
So fun right?
Onto the top shelf! To cover the shelf I cut a section from one of my favorite vintage sheet patterns. I cut it so that it would overlap on the back and sides just a bit. To cover the shelf, apply a layer of Mod Podge on the top portion of the shelf and lay the fabric in place. Smooth it down so there are no wrinkles.
Repeat for the front edge and bottom of the sheet, once the top is dry. Trim the back edge so that the fabric will overlap on the back side, without wrapping around to the bottom or top. Mod Podge the back edge down as well.
For the sides, I trimmed the fabric so the bottom didn’t cover the whole short side and mod podged it down. Then for the top and sides, I folded them envelope style and wrapped them around to the bottom. I trimmed the fabric so the edge would be covered by the bracket. That way everything looks nice and tidy and you don’t have any raw edges showing.
Once everything was dry it was time for assembly!
I placed the shelf on the shutter and marked the bracket holes with a pencil. For the underside of the shelf, I trimmed off the fabric in a circle around the mark with an Exacto knife and removed the fabric so it wouldn’t get all twisted up with the drill. I screwed the bracket in place and covered the screws with Summer Porch paint to make it all blend together.
