


This is a simple skirt, which can be made with low to intermediate sewing skills. Total costs: about 15 euros.
I apologize in advance for the poor quality of most of my pictures. My camera had a lot of difficulty with photographing black fabric.


Of course, first, you need to make your pattern. Thankfully, this is super easy. You can use the figure as a guide. So here’s how to make the pattern.
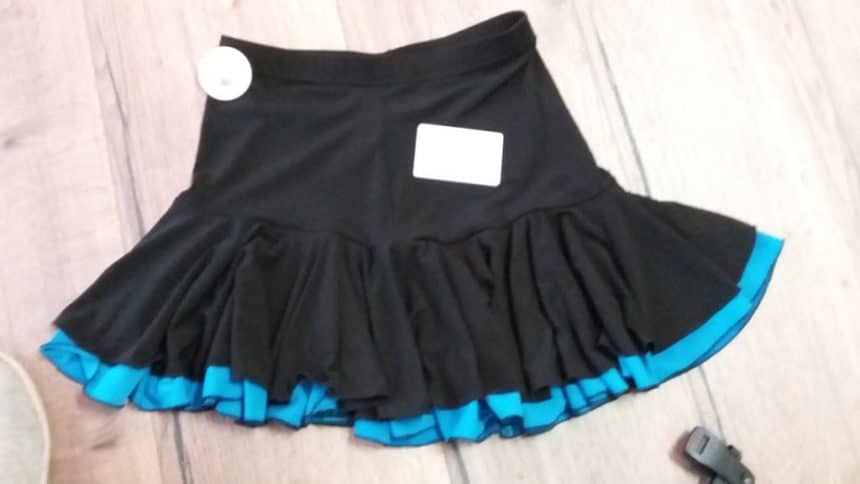
First, you need the hip measurement of the person you’re making the skirt for. My friend is very small and has a hip measurement of 84 cm. Since the skirt is made of lycra which is very stretchy, the actual skirt needs to be smaller. I estimated that a skirt circumference of 70 cm would be OK. I will call this 70 cm the hip measurement from now on. You also need to decide on a total length. Following the example of the skirt in my photo, I chose a total length of about 40 cm. Note that this pattern does not include seam allowances.
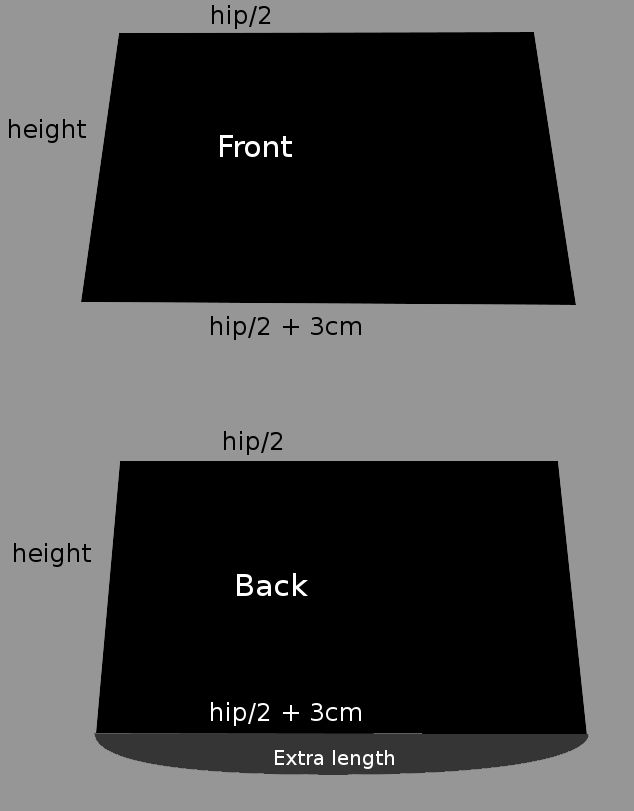
The skirt consists of two parts. Two trapezoids at the top, which I will call the base, and a wide, hanging part, which is made from four circles, which I will call the frill.
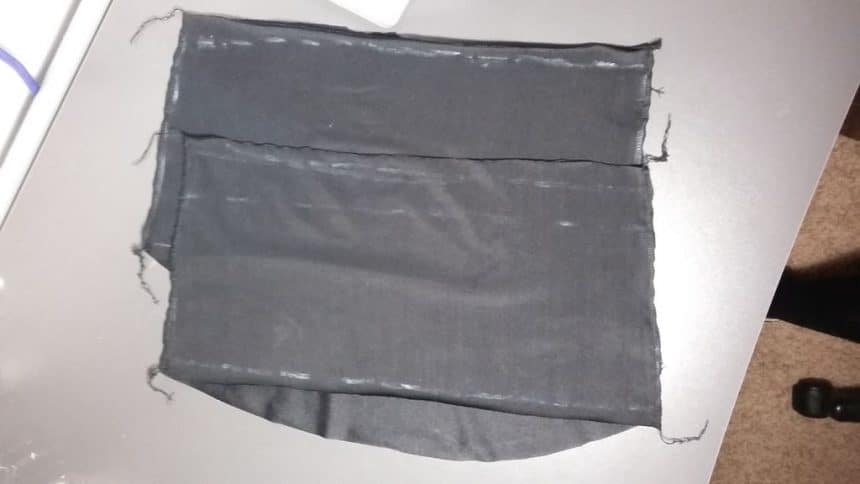
The base consists of two trapezoids, where the back part has a bit of extra fabric at the bottom. This is in place to make sure that the bum of the dancer stays hidden while dancing. The top width of the pieces is hip/2 ( =35 cm), and the height is the total length/2 ( =20 cm). The extra length is about 5 cm, depending on the bum of the wearer. The bottom of the trapezoids is a bit (about 3 cm for each panel) wider than the top edge. This will stop the skirt from riding up.
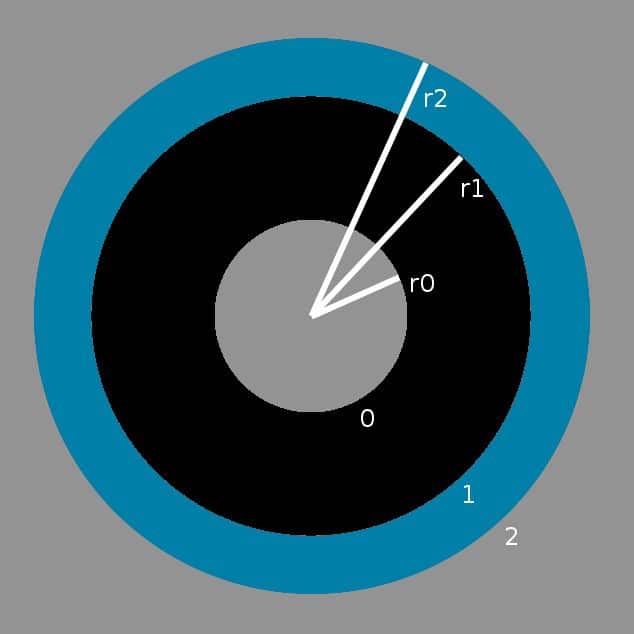
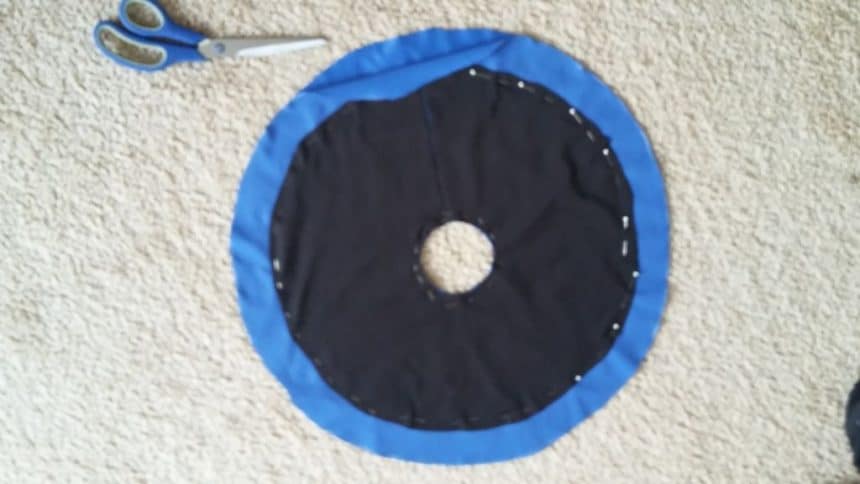
The frill is made out of four circles, with a circle cut out of the center, as shown in the figure. The black circles need to be a bit smaller than the blue ones, but they must have the same inner radius since the inner edge will connect to the base. The inner circumference of each circle (c0) must be 1/2 of the hip measurement. This means that the inner radius (r0) must be r0 = c0/(4π) = c0/12.6. So for me, r0 = 5.6 cm. The radius of the blue fabric needs to be 20 cm longer, so r2 = 25.6 cm. The black fabric must be 3 cm shorter, so r1 = 22.6 cm.
Step 2: The Fabric
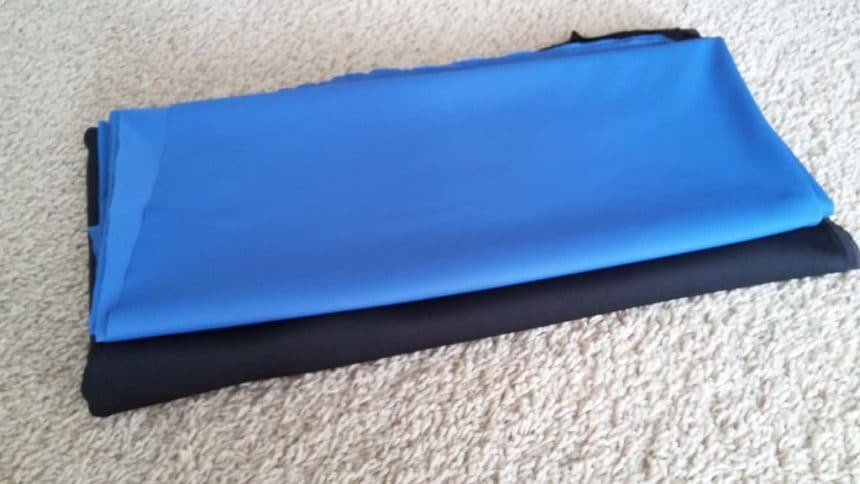
It is easiest to draw a rough sketch to get an idea of how much fabric you will need. Key point: do not confuse radii and diameters! If you make a skirt with the same sizes as me, then you should have plenty if you get 60 cm of blue (at 140 cm Wide) and 1 m of black. I got 1 m of both.
I got a light quality lycra. Try to get the blackest black you can, and a color that really pops for the lower layer. Bright green, red, or even a glittering fabric would be really cool. It’s an accent, make it stand out!
There is a lot of lycra available online, but in the end, I got it at my local fabric market. I prefer to see and feel my fabric, so there are no surprises in the thickness, color, and quality.
Step 3: Drawing
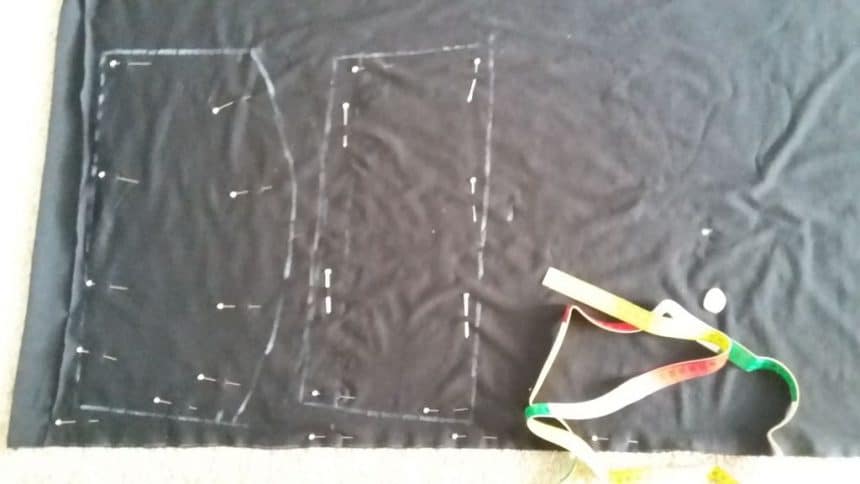


You will need a piece of dressmaker’s chalk, a cup of water, and a lot of pins and patience. Lycra is slippery, which makes is tricky to work with. If you dip the edge of the chalk in water before drawing a line, it will release a lot more chalk, making the drawing easier.
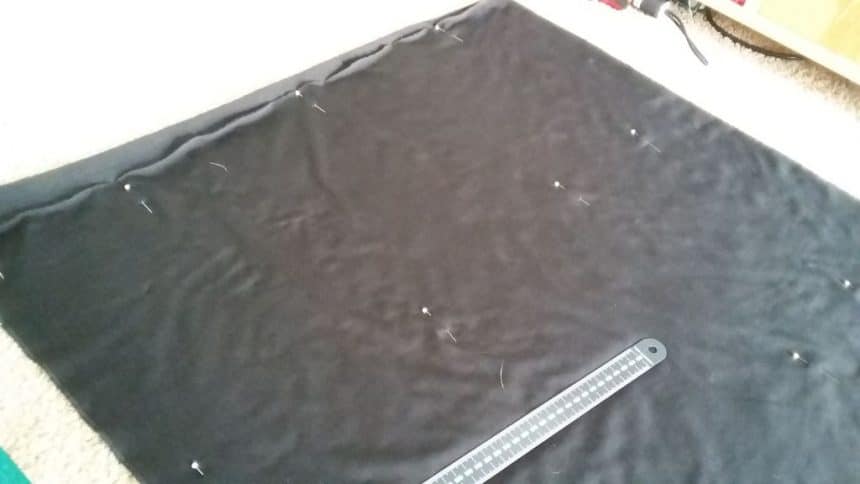
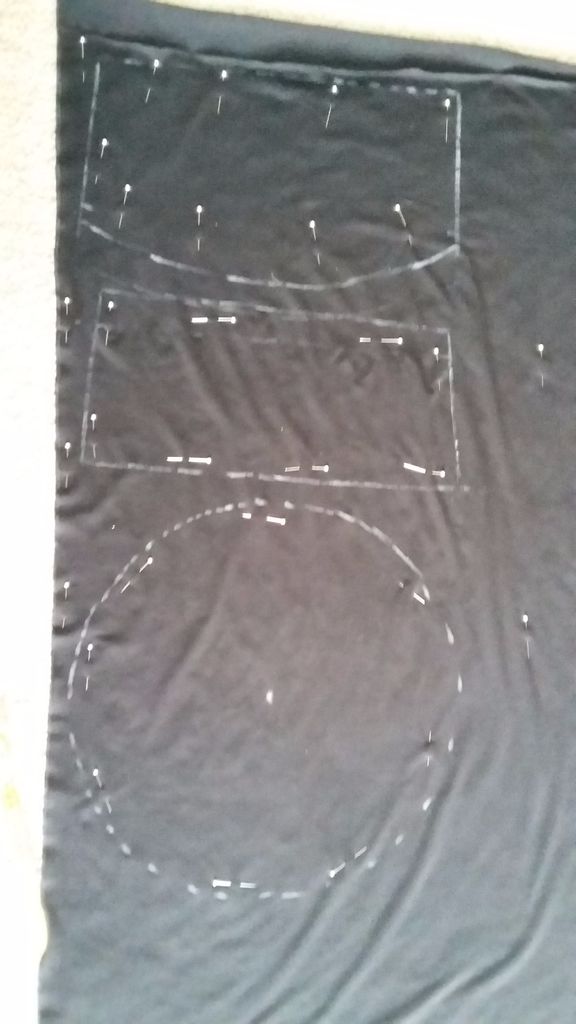
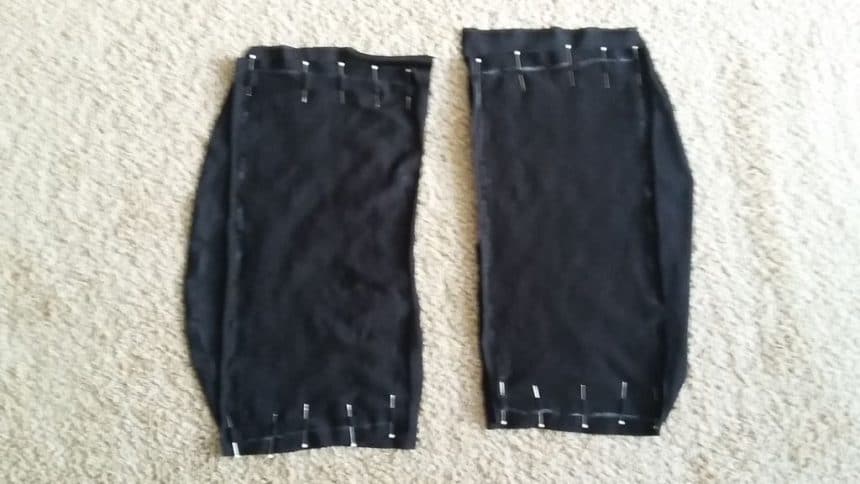
My lycra is reasonably thin because I wanted the frill to be light. Due to this, I decided to make my base out of two layers. So draw both pieces of the base twice, or once on folded fabric. If you work on folded fabric, you need to pin the two layers together, as shown in the picture.
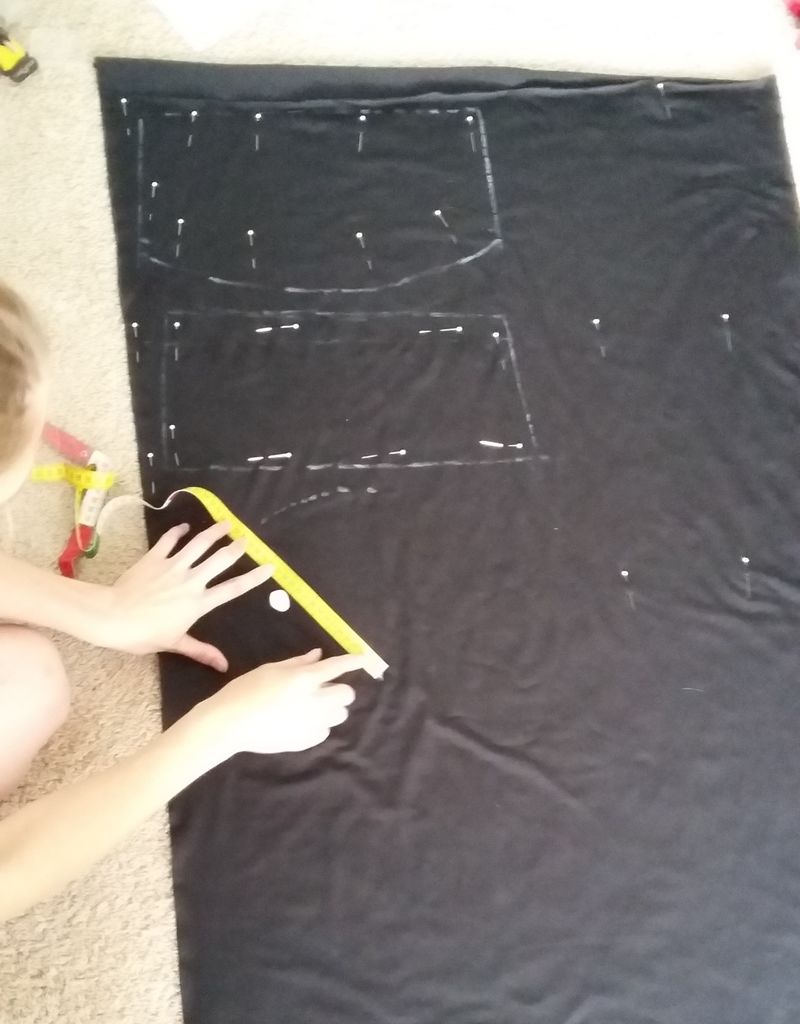
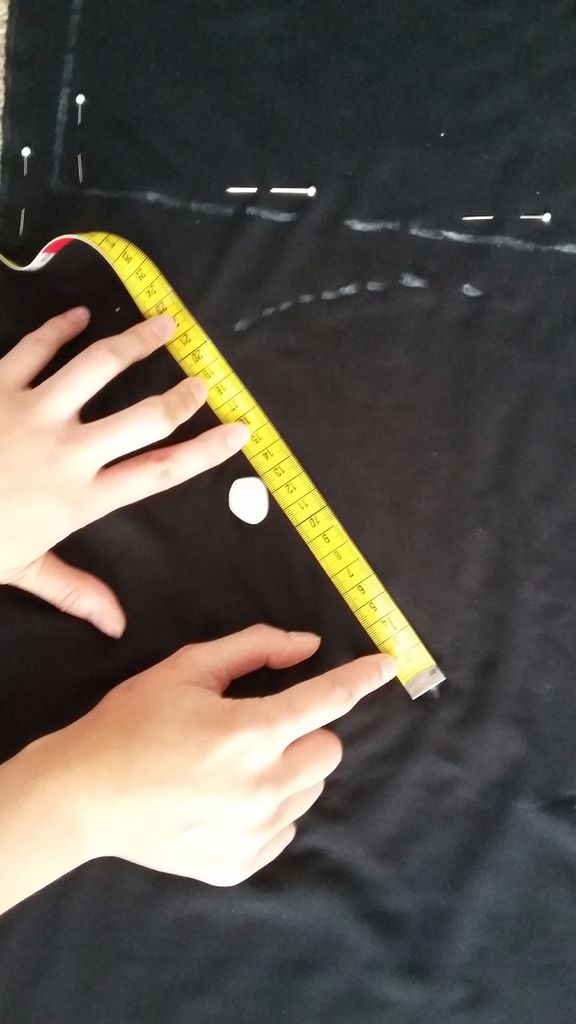
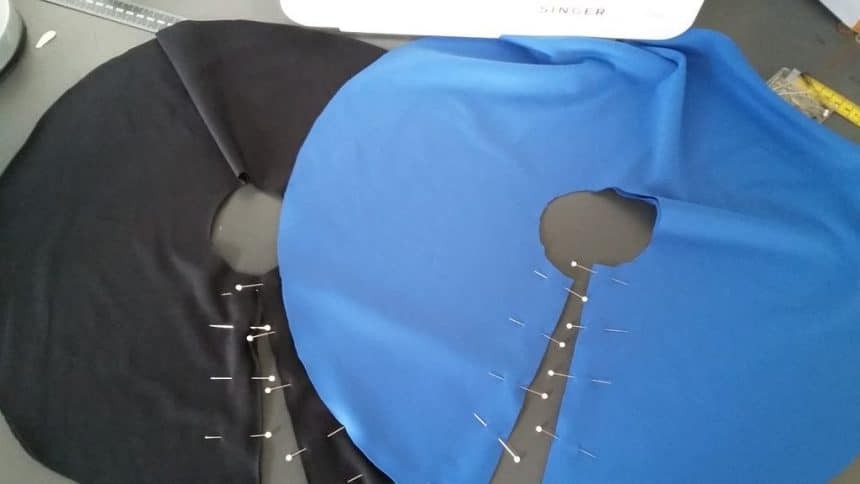
You will also need two circles of each color, with the right radio (black smaller than blue). I did this by drawing a dot at the place where I wanted my circle, and moving my tape-measure around that dot to draw a circle, as shown in the figure. Also, draw the inner circle with radius r0.
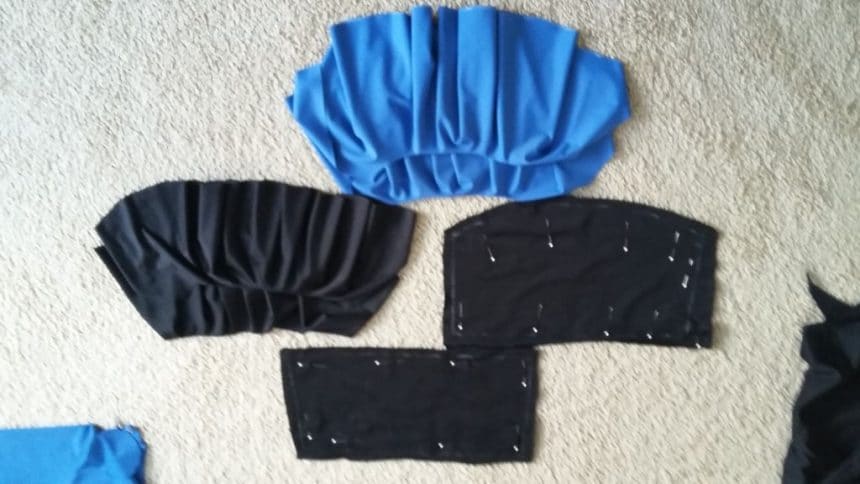
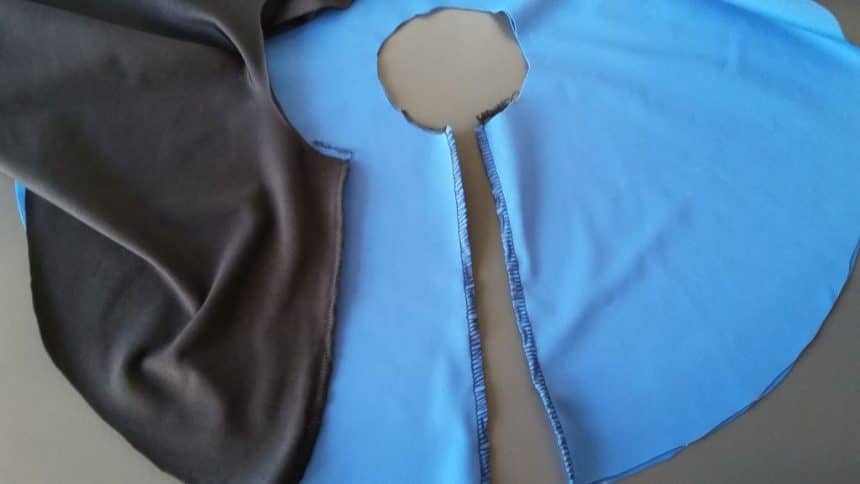
Cut all the pieces (2x front panel, 2x back panel, 2 black circles, and 2 blue circles). Leave a 1 cm seam allowance around the base. Do not leave seam allowance around the inner edge of the circles, or the circumference will be too small. Instead, leave a small allowance around the outer edge. Lycra will not fray, so you will not need to hem the outer edge frill. Cut a straight line from the outer edge of the circles to the center. The figure shows the pieces you now have.
Step 4: Making the Base and the Frill
Sew the front pieces of the base to the back pieces, good sides together. I used an overlock machine with the most stretchy stitch. If you are using a regular sewing machine, make sure you are using a stretch needle and a stretch stitch. Sew the pieces together.
Now turn one of the two bases right side out, and put it inside the other one, so all the good sides are touching. Sew around the top edge to close it off, and turn the good sides outward. Now only the lowest edge of the base is bare, and the edges of the top and sides are neatly tucked away.
For the frill: Put the good sides of both colors together and sew the cut edge as shown. Lay them on top of each other, with both bad sides facing down (good side to bad side). Pin them securely together.
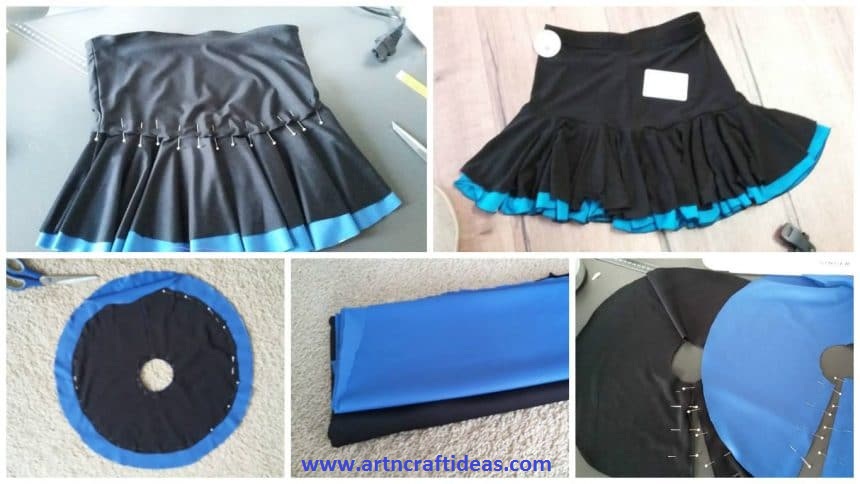
Step 5: Putting It Together
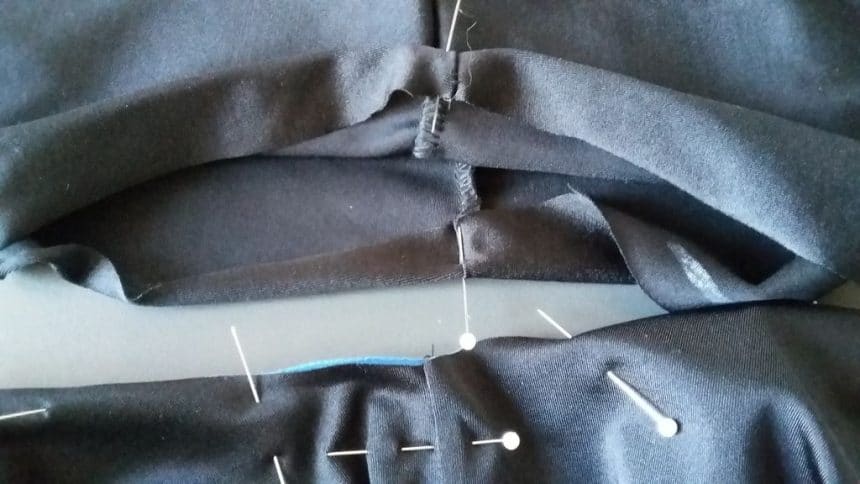
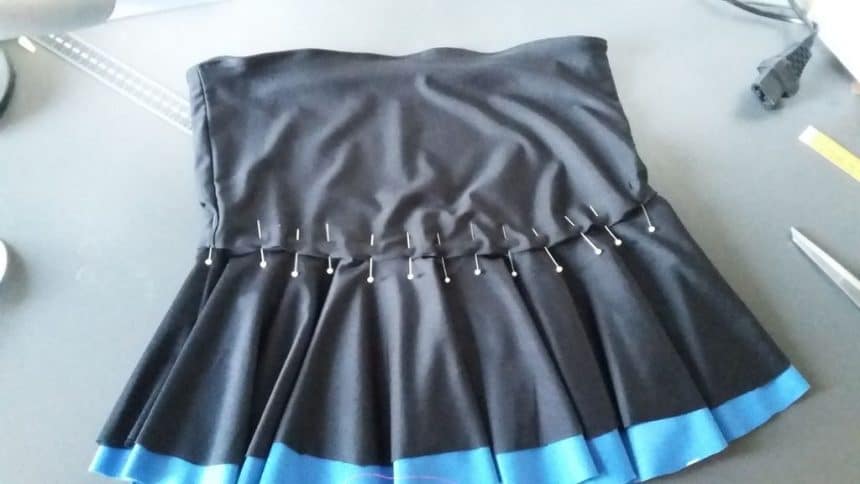
Now comes a lot of pinning. Fold the two layers of the base inward, and lay the top edge (or inner edge) between them, as shown in the closeup. Do not be stingy with pins, this will help a lot. With rough stitches, hand bastes it all together. Like I said, lycra is slippery, and this is a place where the stability of the basting will be a big help.
Using a regular sewing machine and a stretchy stitch, sew they base and the grill together.
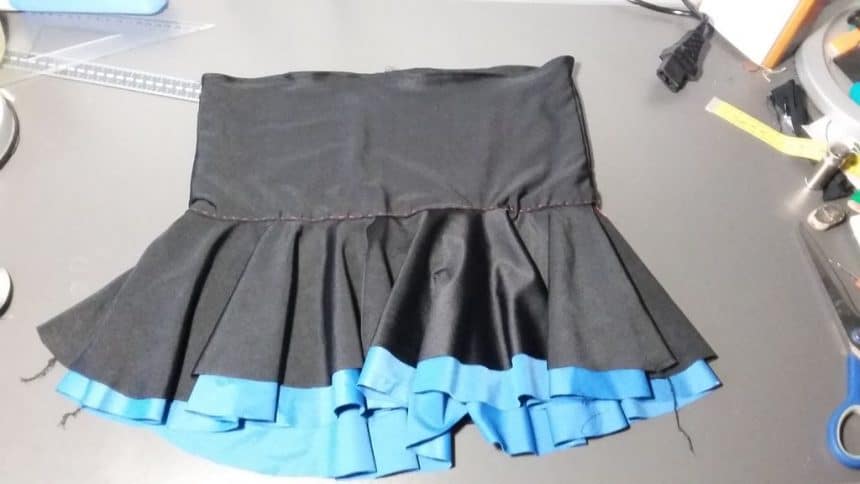
And that’s it! You’re done. You made yourself a beautiful skirt.
Step 6: Look at Her Shine!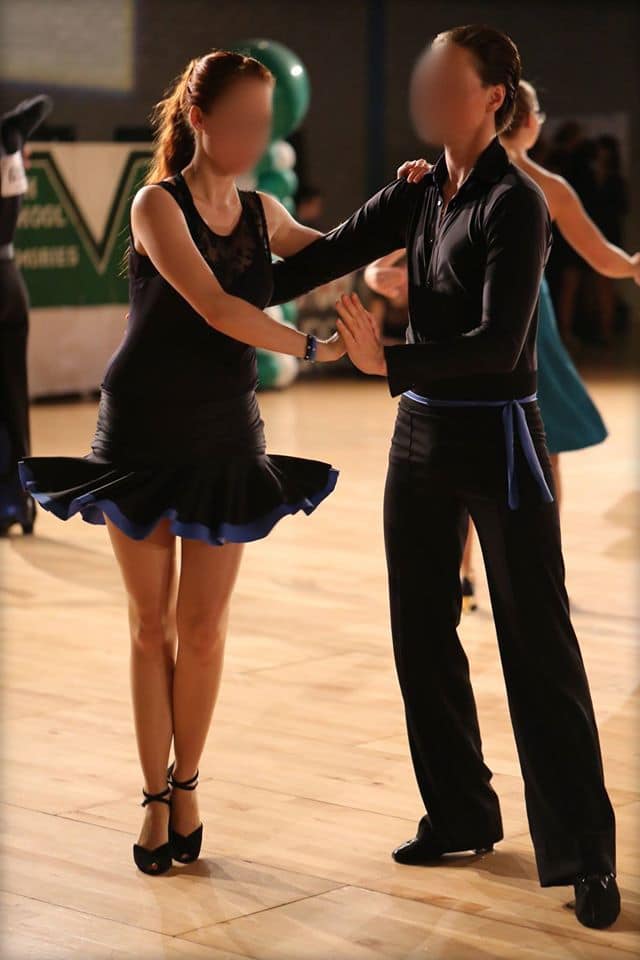

I’m happy with the result, and my friend is even happier. She’s a wonderful dancer, and the skirt enhances it. Her dancing partner modeled an accent for his own outfit from the scrap of blue that was left over.
Thanks!
courtesy: Frivolica