


Recently, to warm the winter window, and thought of her most favorite Christmas decorations, and most importantly easy as one-two-three.
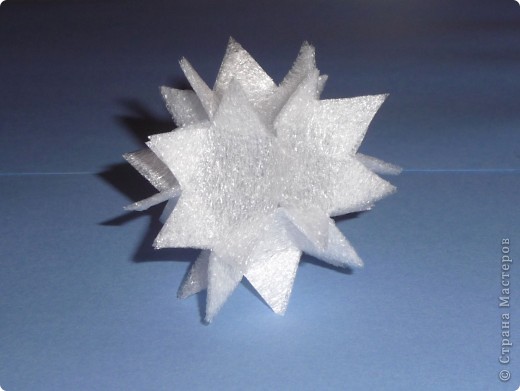

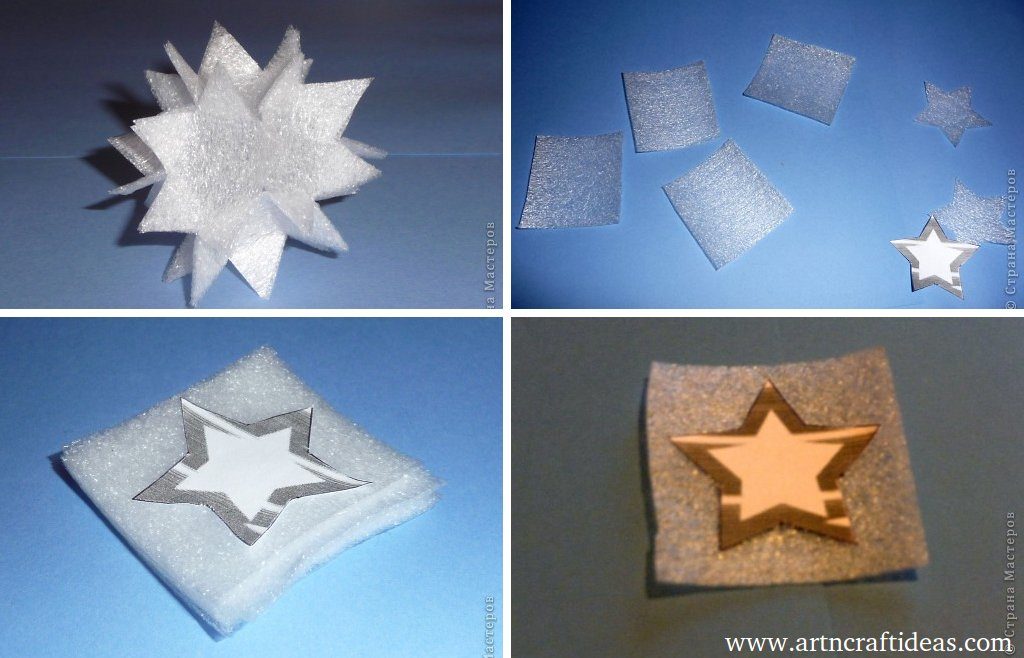
These are the snowballs (or snowflakes) are obtained from the most ordinary household material.


Template for cutting out stars.
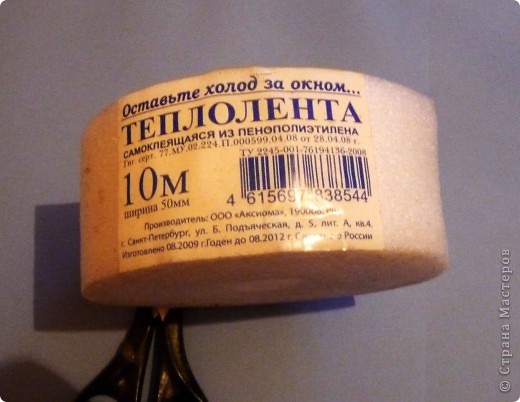

All we will need to operate – a pair of scissors and insulation for windows, which is a thin porous tape with an adhesive layer on one side (width 50 mm, thickness somewhere 1-2 mm). 10 m from the long piece of turns 12-15 snowflakes, if you are using a template full width of the tape (star inscribed in a circle of 50 mm).
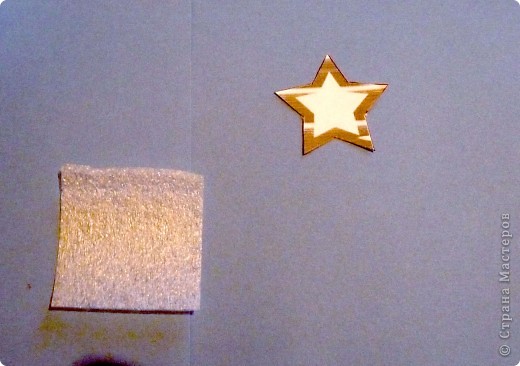

Print out or draw a five-pointed star pattern and cut, it will help us to do all 12 elements of the same.
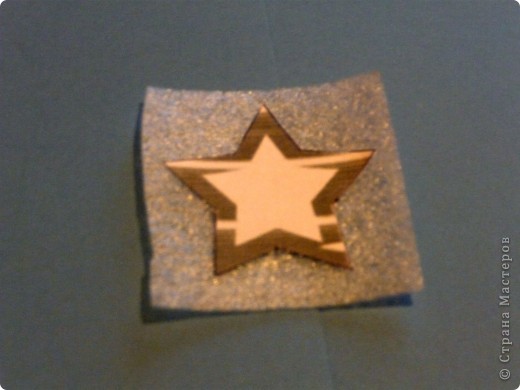

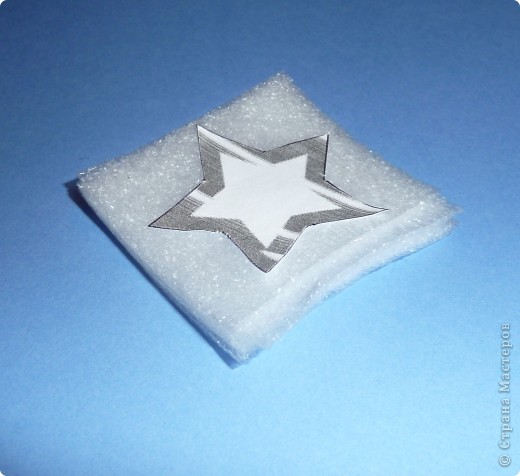
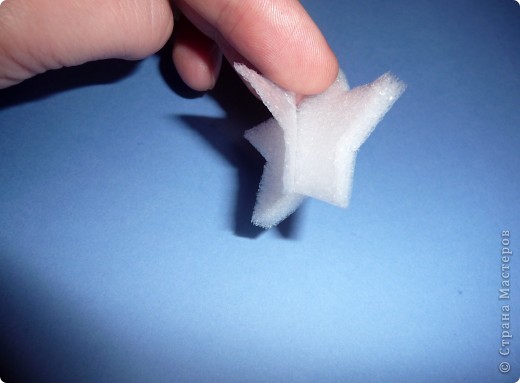
Cut off from the square piece of insulation and adhesive side lightly presses the paper sprocket pattern. Now it is very convenient to cut the desired workpiece (the most common scissors).
Like this. Blank, we need 12 pieces to one snowflake.
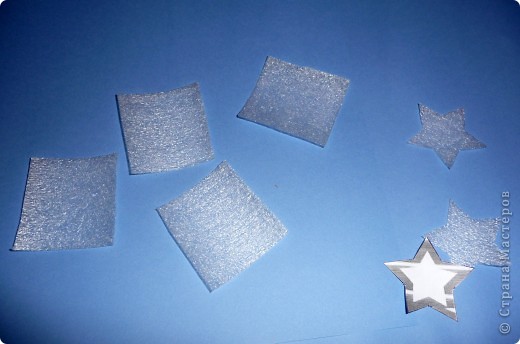

To speed up the work I have to cut multiple pieces. To do this, cut into several small squares (4-6, if more it will turn out not accurately).

And glue them to the pile. Adhesive layer to normal the next square and not very strong, and then to paste them back will be difficult. On the sticky side of the last square again glue pattern and cut.

The template I use all the time is the same, if not press down strongly it is easily detached.

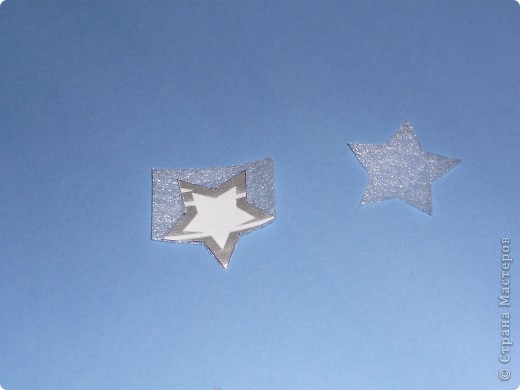
Gently layers separated from each other and immediately obtain 6 parts.
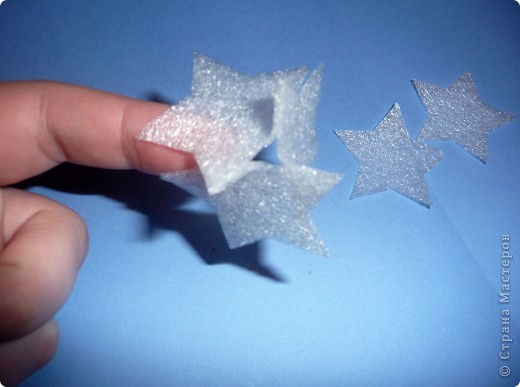

Putting it as if it were Kusudama of 12 pentahedral element (1 + 5 + 5 + 1 ). Putting rays sticky side to each other. Nothing extra is not necessary, held for bonding so well.
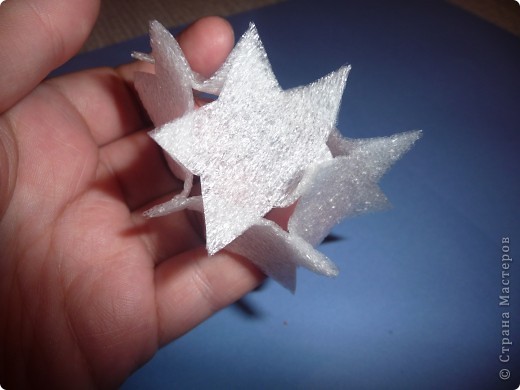
It is difficult to show the assembly steps in the photos, but something like that.
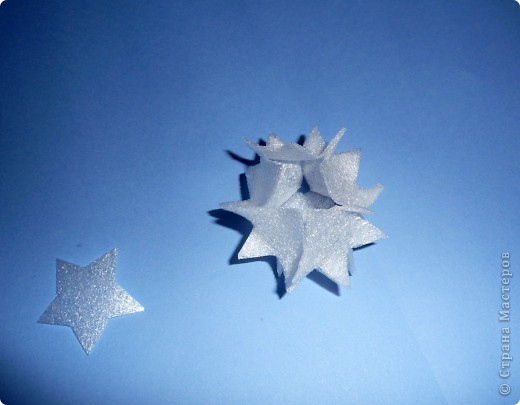

There is almost all done, it is necessary to attach the last star.

The sticky side of the tape is inside all as a result of the build, so much you can not squeeze, and then slipnetsya.
I’m usually one ray is suspended on a thread and paste the tape to the ceiling, they are very light and well kept there.
Done very quickly, in the evening you can collect 10-12 pieces.
Hope you like these environmental day craft ideas & tutorials.
Which one you like most?We would love to hear your thoughts in the comment section below. And be sure to like us Facebook for more ideas!
Thank you for visiting our website. Keep Creating with Art & Craft!