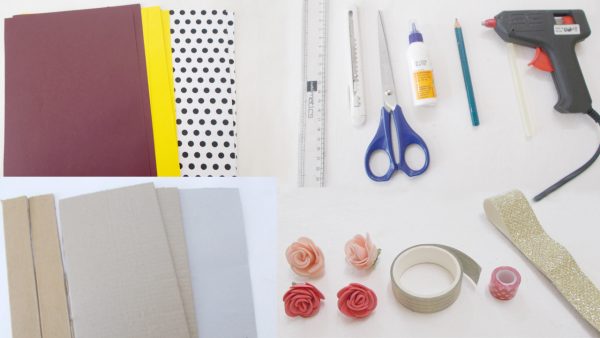
To make this craft you will need:
- Piece of cardboard
- Pencil
- Ruler
- Common scissors
- Hot glue pistol
- Common white glue or stick glue, depending on your preference for glue to work with paper
- Structured papers of your choice and with the colors or prints also of your preference
- Colored, stamped or metallized adhesive tapes, according to your preference
- Common ribbons, jute ribbon, sianinhas, trimmings, rustic yarn, sequins, lace spikes, entremeios, and the trimmings you want to use to decorate your piece
- Ornaments of your choice to decorate your piece
Tips for Making Vertical Organizer
Start by separating all the materials that you will use in your crafts.
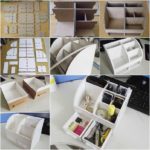
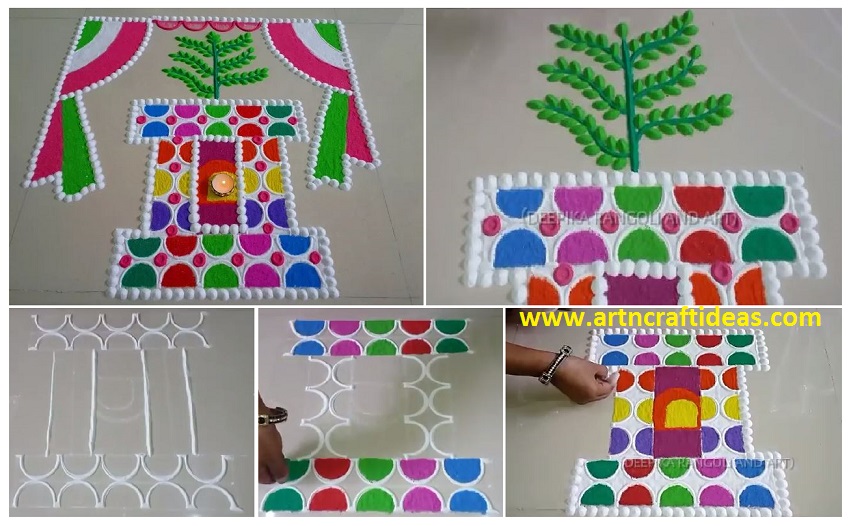
 Cut diamonds on the cardboard, to the size of your preference, to be the dividers of your organizer. Cut two opposing spikes from your diamonds.
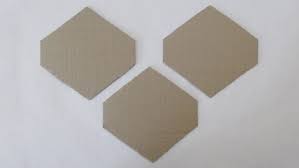 Cut into one of the chosen papers the same amount of diamonds cut into the cardboard. Glue the paper lozenges to the cardboard lozenges.
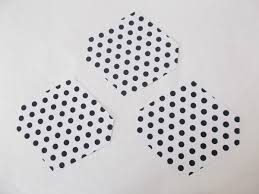 Continuing with the preparation of your vertical organizer step by step , cut strips into another structured paper.
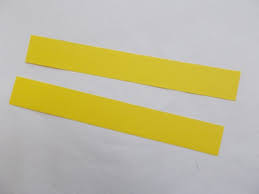 Glue the paper strips to the bottom of the dividers.
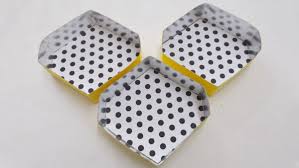 On cardboard, cut strips with the width of the cut nozzle of the dividers and glue these strips on the sides of the pieces, creating the structured one of your organizer. Coat the paper strips with a paper of your choice.
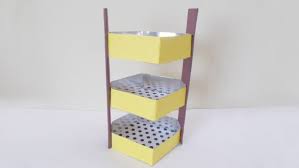
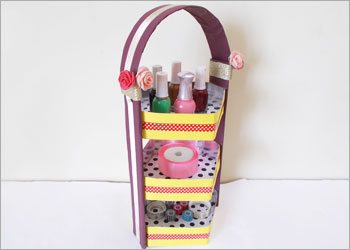
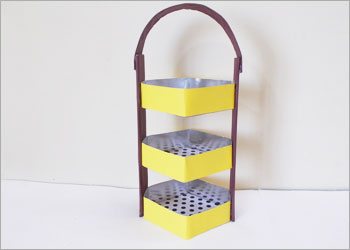 Pass pieces of adhesive tapes through the dividers and the handle of your organizer. To finalize your piece, decorate your organizer with the materials you want. And it’s ready!
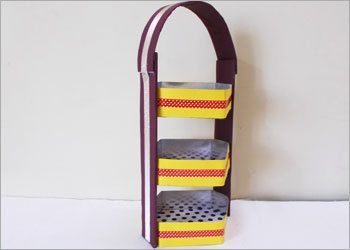 (Photo: recyclart.org)