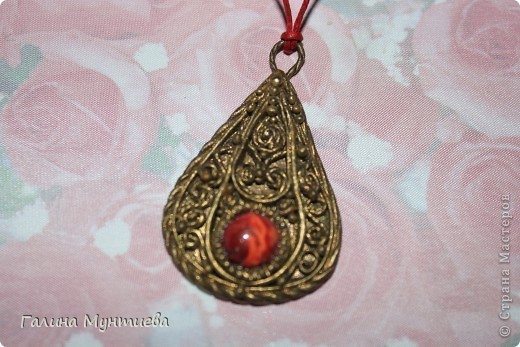
For anyone who thinks this is very difficult, time consuming – yes, time consuming – yes. But it is not difficult! I think many people simply do not realize all the possibilities of plastic, it stops them.
First a little about the style.
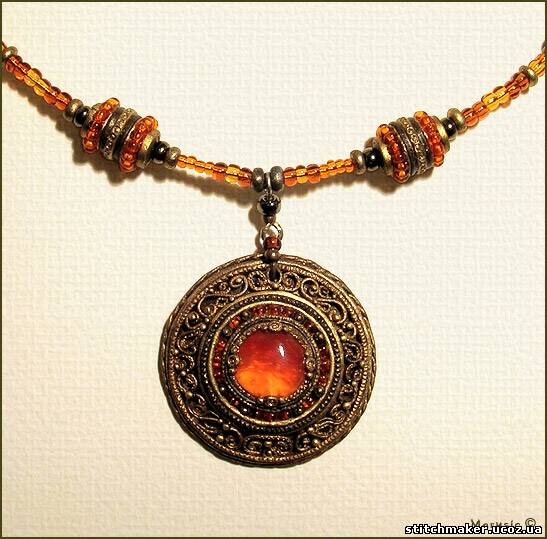
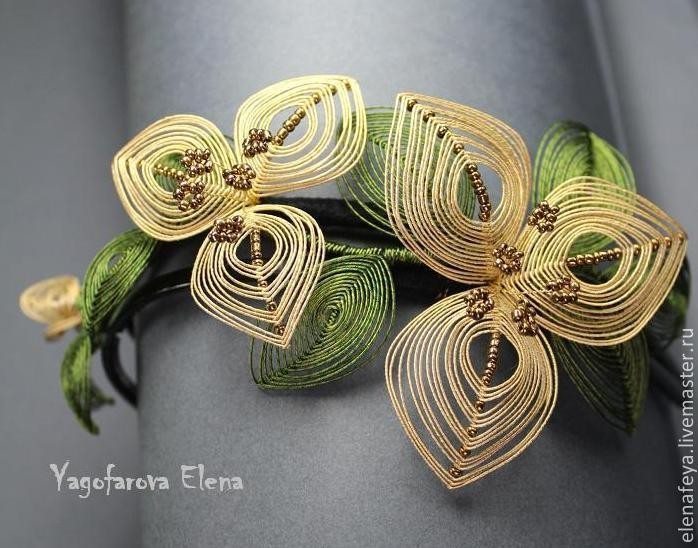
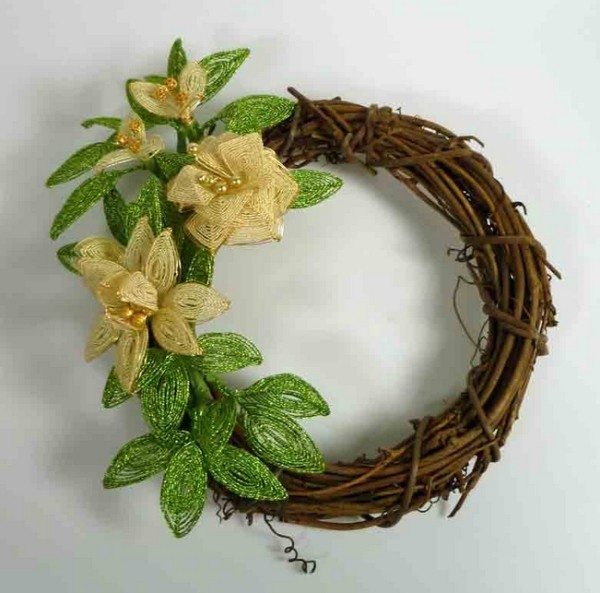
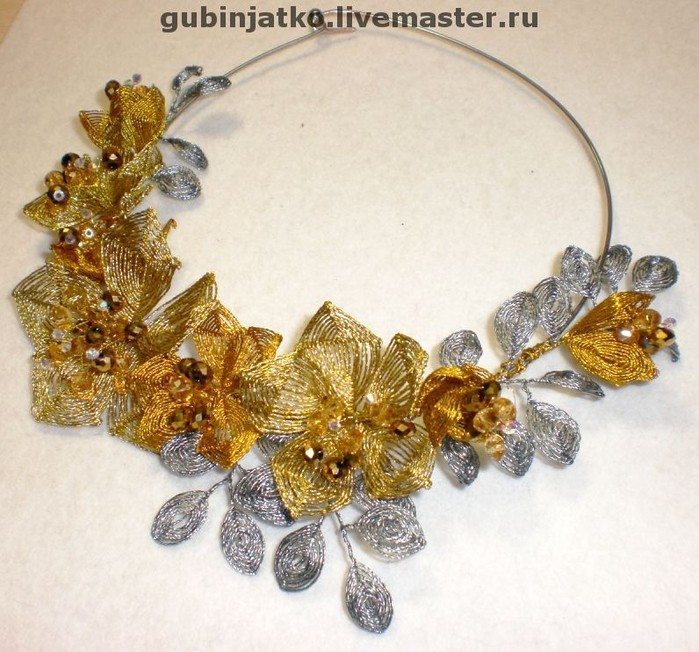
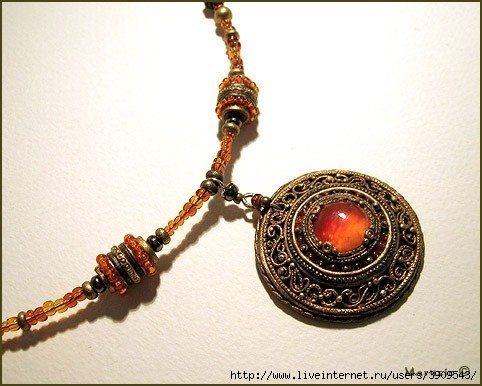
“The word filigree derives from the Latin – thread – grain. laconic and simple, it points to the constituent elements of art. Reflects the technique, process. Scan – from old Russian “Scat “-” ssuchivat “,” twist “yarns. filigree based on formation of decoration by smooth, ribbed or twisted wires made of metal (copper, silver, gold). Used as circular in cross section and the flattened wire. Combination of different wire cross-sectional ornament created using repetitive or alternating elements given rhythmic pattern. grain is used for emphasis, the additional funds mean “rhythm.” ” Ornaments in Russian and Eastern traditions have common Byzantine roots. But Russian filigree different multi-layer, density, fineness and frequent using filigree decoration without the metal base (Transversal filigree). In the east the same filigree jewelry art decor serves mainly to massive metal surfaces. It is more a single layer, pattern less complex and tenuous. It is also very popular large beads with filigree. Indian filigree as Indian cinema – is generally a separate song) Overloaded pattern, particularly valued gold. The most impressive look patinated filigree products since on a dark background lace pattern noticeable. In a figurative sense filigree sometimes referred to simply as some very fine or small the job. However, then, the very name of “filigree” there is no notation of any material , these threads and grains must be made) So no one will prevent us from doing this out of plastic and rightfully called filigree.
Generally no obligation to imitate metal, delicate and of itself is good,
but it still gives a shine additional effect of volume, so the master class will be
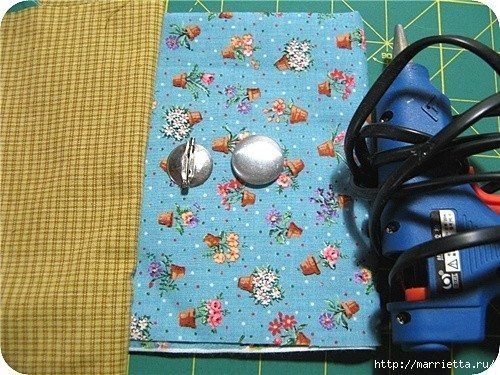
for the production of “metal” filigree. Making things for this master class cost me half an hour (photographing and drinking tea does not count.
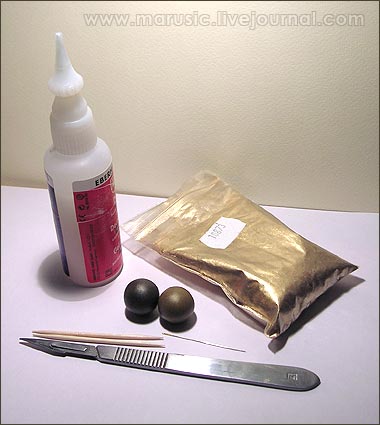
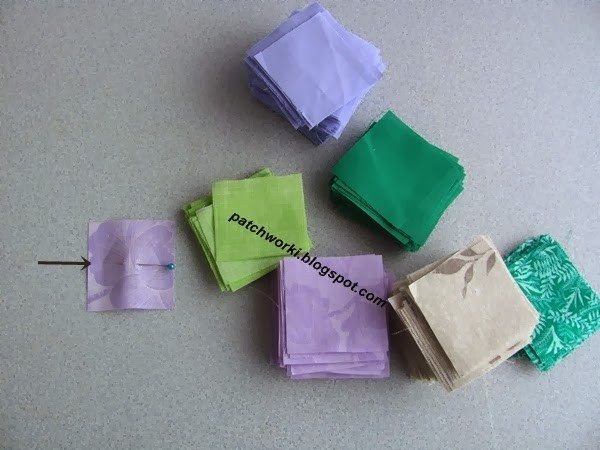
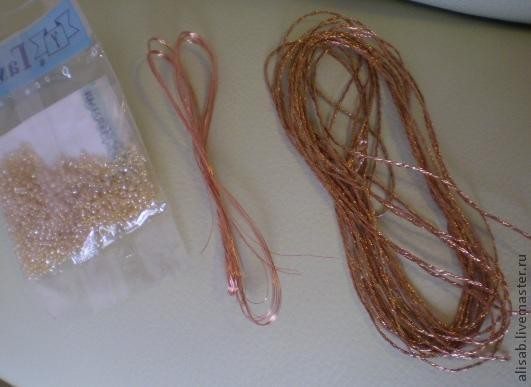
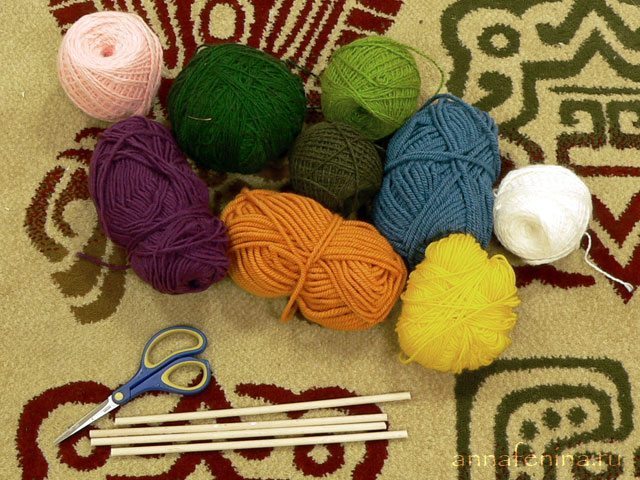
For the production will need this:
- Plastic two colors
- Gel
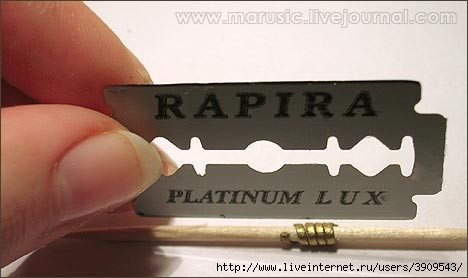
- cutting tool (knife, blade, etc.)
- Toothpicks
- Needle
- Metal Powder First of plastic.
I rarely use plastic “straight from the pack.” Always mix. In the course of going and Fimo, and Scalpay, and CERN.
The proportions depend on what I need plastic consistency. Likewise, the colors I prefer nameshivat itself. For delicate items need plastic soft enough, but not as much as the software. As for the color: it all depends on what kind of metal you want to simulate. The metal powder is selected accordingly (it happens under the silver, gold or bronze, sold in art stores, departments for restoration). You can use as plastic Metallic and without. If you will take his money, I advise you not to take the “naked” color. Admixed with the little silver metallic gold. Silver from this is not going anywhere, but shade is more natural. This master class is considered an imitation of bronze. * gold filigree rarely patinated, simply because gold does not oxidize easily, so I do not really like it, a lot of patterns and effect of zero. It is better if you work for are mixed plastic that will be as close to the color of the metal. This will add more naturalistic. One color – for the basics – dark, the other – for the very pattern –
 light. In light if desired can be mixed metal powders, so it will be more shine (pictured below color plastic for comparison before and after mixing. But it is not necessary since in the process most of the plastic would be all the same under a layer of powder.
His plastic material will not lose even if it mix with a fair amount of powder.
Therefore, all balances after work can be safely mixed and again put to use.
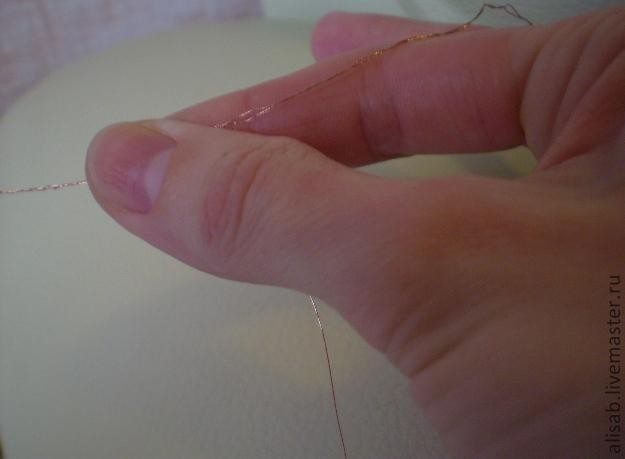
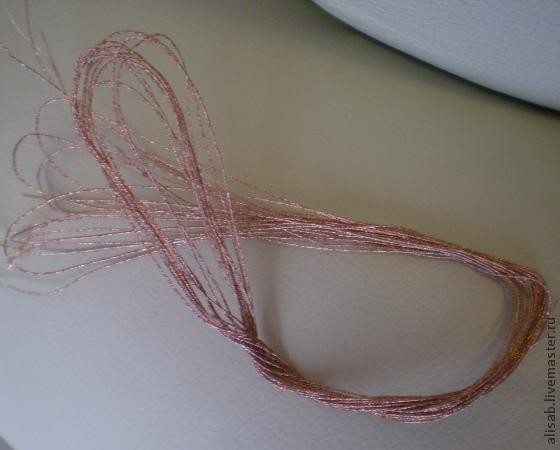
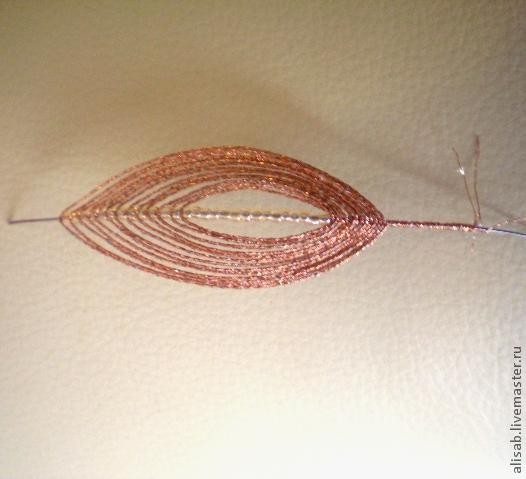
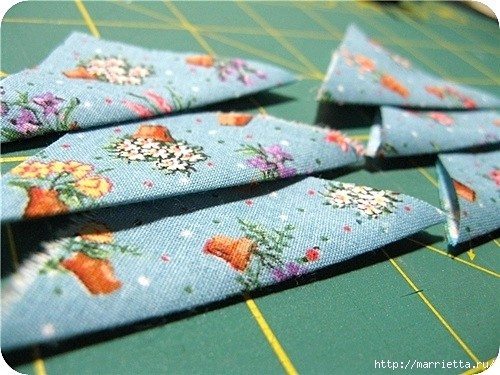
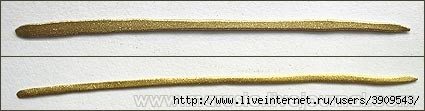
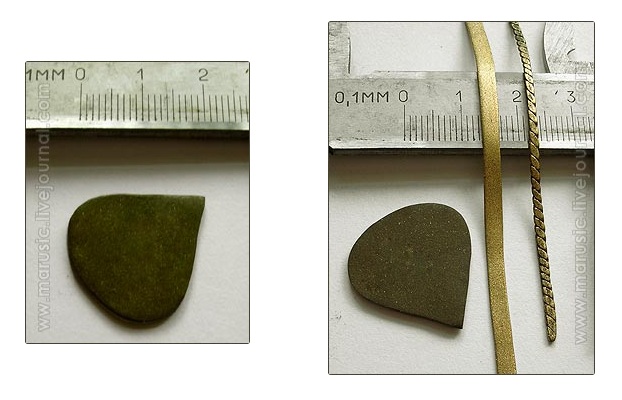
These are thin rope can roll out of plastic, and it is not the limit. But do not worry, you will not need these. For with the human eye, too, has its limits, and the product must be seen without a magnifying glass. But these and still have a thicker roll:
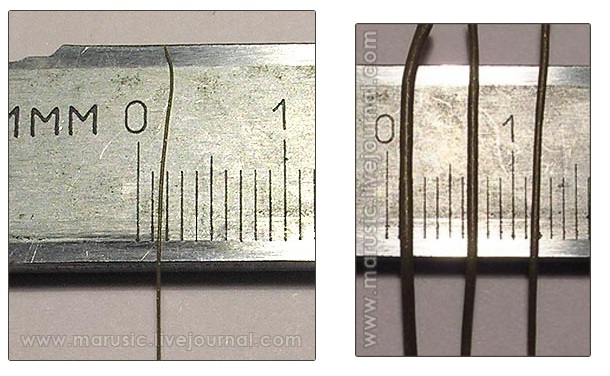
Here is the same rope. But flattened version looks much thinner work piece. It is due to such a profile and an effect of elegance. Thus he dialed pattern – if you look at the side – will have a decent height. And hence, the strength.
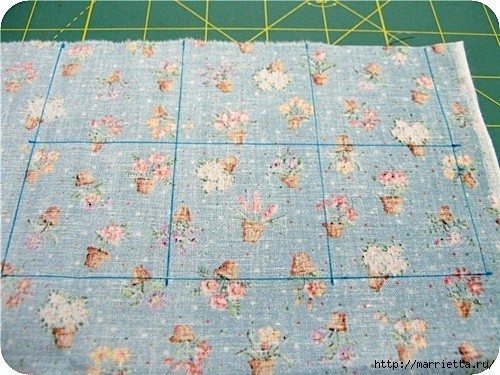
Prepare for rope pattern:
To do this, a first roll of
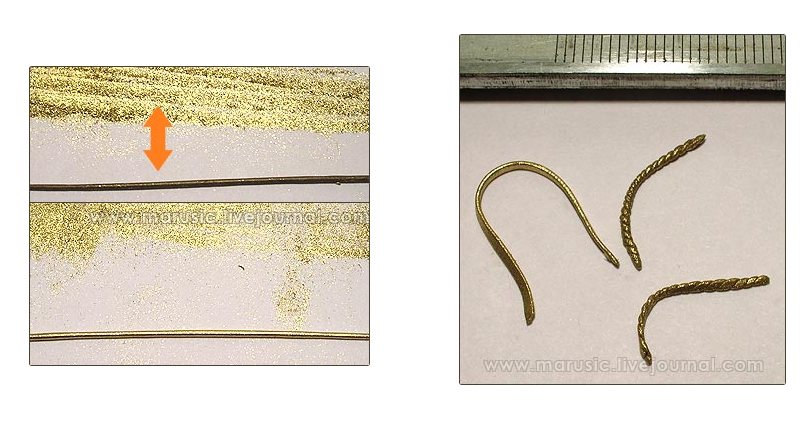 plastic (that light) and then rolled several times in the metal powder. Rope amenable to the same method as the sausage. Ie you can roll thicker, and then gently stretch the ends to get a very thin piece of string. Before you continue to work with rope, ride it on a smooth clean surface. So you will achieve this metallic luster. From these blanks have to do is:
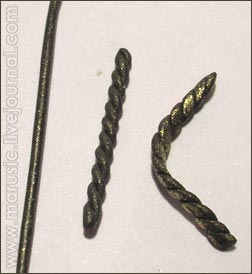
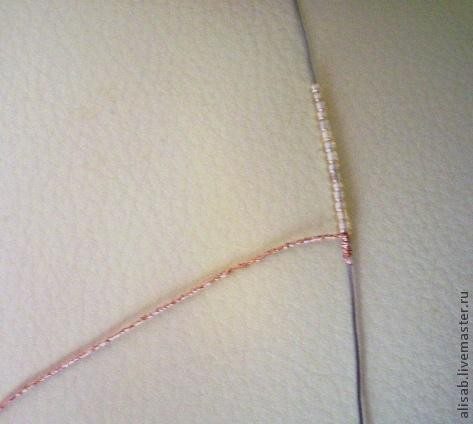
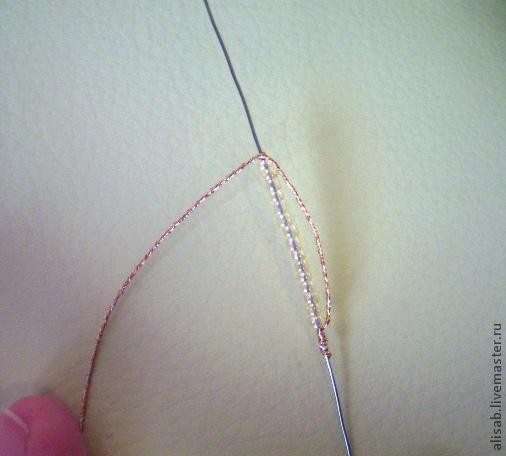
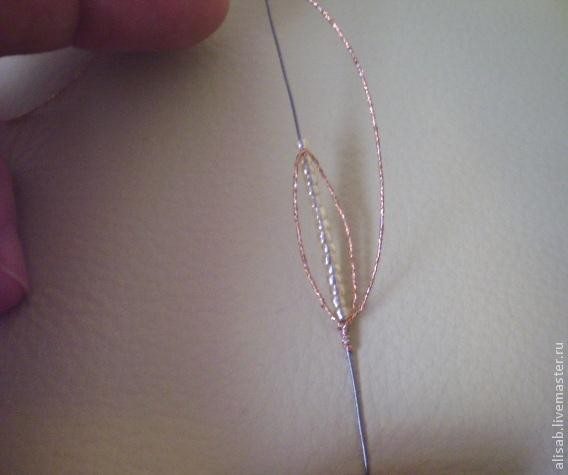
As a rule, smooth flat profile goes for contours and rims, and a twisted rope (often too flat) – for internal patterns.But it all depends on your ideas – you can never use a twisted piece of string, and confine smooth (different thickness. You can use another way to get more ..version. To do this you need to take a dark plastic, make him some element and then rub the powder metal places that should shine.
This can be done simply with a finger or a soft brush. Best of all, this method is suitable for the manufacture of a large flat twisted rope (which is used in the rims). The most time consuming in the process – does exactly the workpiece. Because any curvature immediately gives the material. Metal wire after rolling is ideal for its entire length, there are no places where it would be thicker or thinner. Plastic also capricious, reacts to the slightest tap. Therefore, when you twist and ivy rope, hold the element in hand so that it just fell out, ie even without pressing the plastic. Note – nothing then you will not be sanding trim. Best of all, if you flatten the rope glass (suitable and transparent plastic ruler). Transparency help control thickness. After obvalivaniya in powder rope to anything not stick, so no problems will arise. Even if the result of flattening you are not happy, you know that it is fixable. Just gently pull out the places
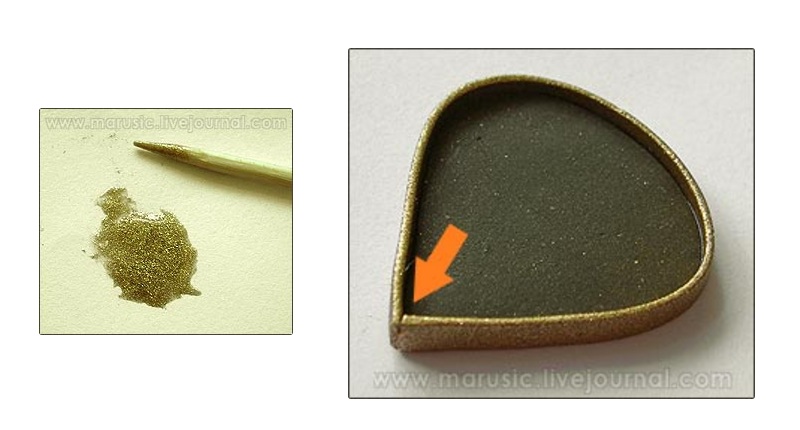
After the blanks patterns are ready, can be taken as a basis. It is made of a dark plastic. The substrate may be a bead, and the convex and flat. In the latter two cases it is important that the thickness be uniform everywhere.
Thicker than 2 mm do not appropriate, because then with rims have tight.
The rim, directly adjacent to the substrate must be greater than its not less than a millimeter.
Better slightly more.Because the internal pattern must not rise above the rim (if it is not layered filigree). And sometimes the pattern and located just below the rim. The very rim can be single, and may contain several turns of different verёvochek. In this case I used a flat profile and a flat piece of string. But before you attach the rim to the base (which is the first thing you should do), you need to burn the base slightly. Literally 1-2 minutes. Actually, I could write a whole laudatory ode phase firing, because it allows the material to create miracles. And the secret of plastic filigree rather its careful execution consists in gradual firing. While the base is baked, you are ready to “solder”.
To this mixed gel met. powder. This mixture is required for flooding seams.
 Themselves parts are attached to the base of a conventional transparent gel. His need to apply a thin layer on the rim base, making sure that the rim is not warped, ie was perpendicular to the surface. Then again, followed by a brief firing. Then you can attach to the rim of the extra rope if necessary. They may be the same height or lower smooth or twisted.
Note – the seams should not be visible. This is followed by opreratsii laid out the internal circuit. It’s something like for example the framework in which you will then create a pattern. Most often, the contours are smooth. 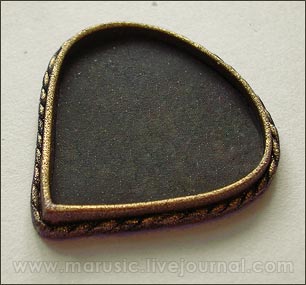 This creates a beautiful contrast with the inner twisted wire. It would be good to have on hand a preliminary sketch of what you are doing. With filigree without this hard. You can even advance to put on paper all the patterns, and then transfer them to a plastic base (at least in the art of jewelry is well taken. If you’re not sure of the eye and are afraid to miss – can on the basis of a pencil cause lines that then need to walk gel (the toothpick tip – a great tool for drawing. You can not smear the gel base, and the very detail. True, it requires great care.
Transferring small parts on the basis of how: the toothpick tip dunk in the gel and stick to it part. 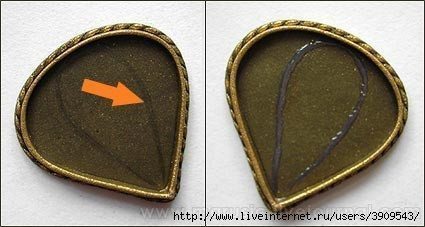
 You can not smear the gel base, and the very detail. True, it requires great care.
Transferring small parts on the basis of how: the toothpick tip dunk in the gel and stick to it part.
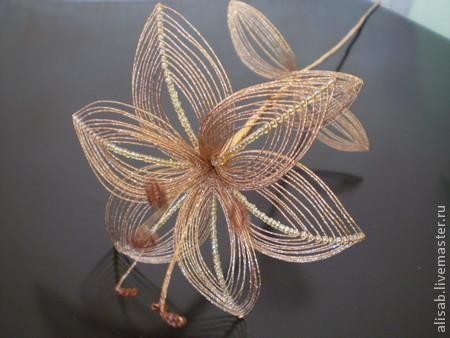
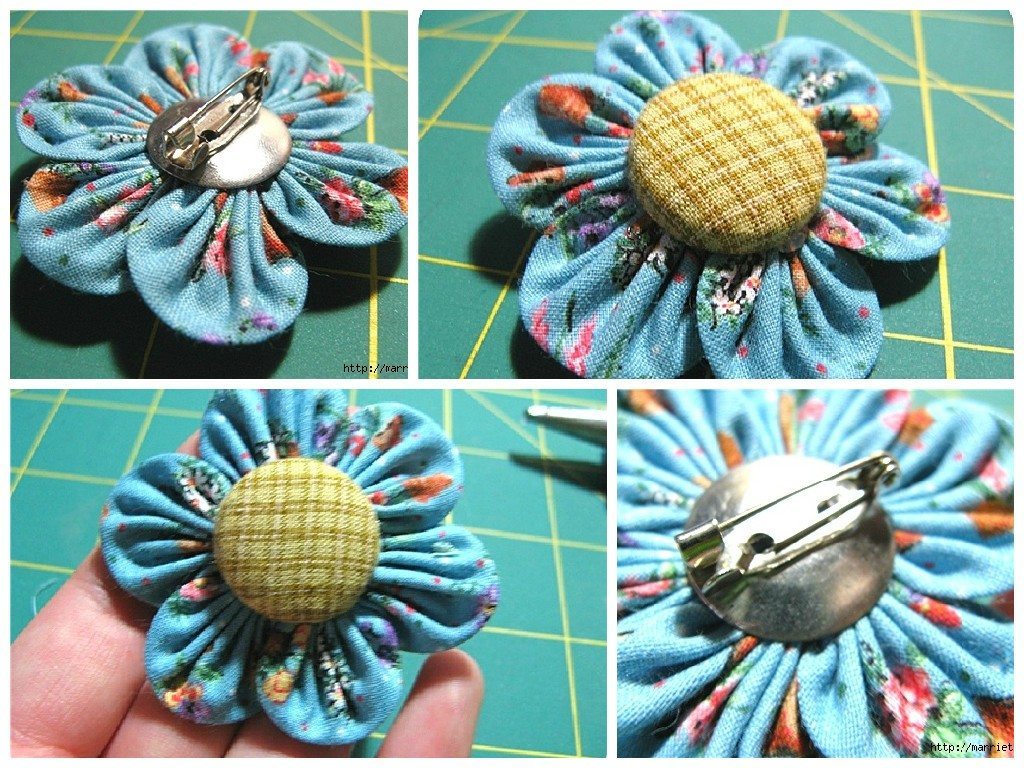
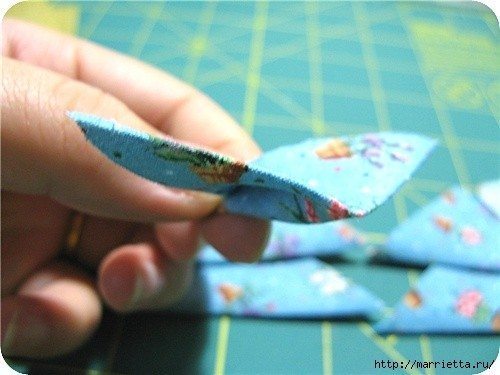
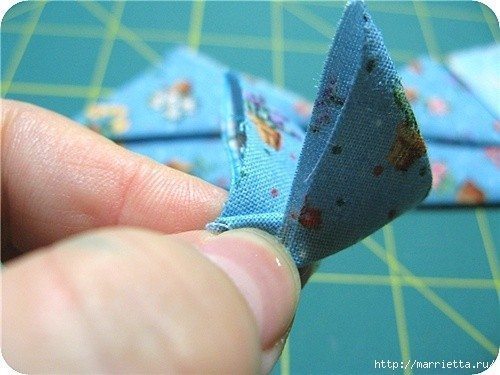
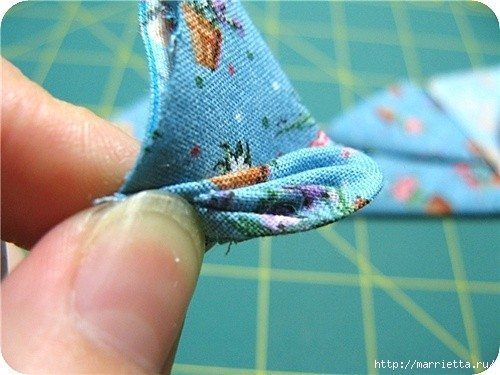
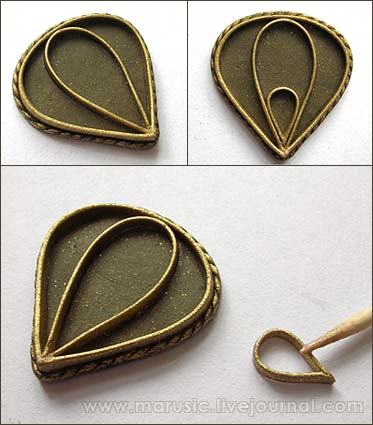
Just put your fingers detail is sometimes difficult. After the circuit is laid out – again a short firing. Again – 1-2 minutes, no longer need. Next comes the hard work – the lay out the pattern.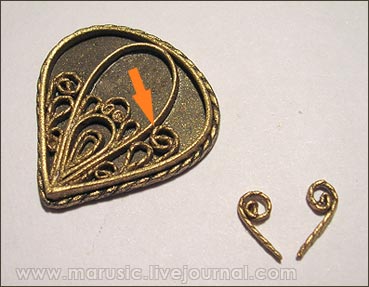 In this gel should be applied not only based on the elements underneath, but where parts in contact with the circuit. If you are working without a sketch, then try to make the symmetrical parts simultaneously. Just put them together and to the substrate. The fit of parts within the contour by using all of the same toothpick, but dry, without the gel, as well as with a needle if you want to advance the tip of the element between other elements. When the item is put on the foundation, In no case do not press down her finger! A bit of a pattern, as you understand, it is made up of small variously bent verёvochek. The elements are as follows:
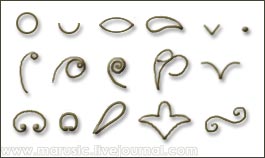 It’s a classic.
There are plenty of other, more clever, it is for those who will enter into the taste. They still are called in their own way, but this I’m not going to fool you. If you want to use some sort of insert, it must be pre-baked. Pattern around the insert directly executed after insertion is fastened to the base. The insert must be placed in the rim (in the gel).Then with the help of gel attached to the base. Remember about the seams. Next, a short firing again. If he wants to imitate jewelry knurling on the rim, then the top of the rim to put a thin circular piece of string (in gel), as shown in the photo on the right, then the needle to make the incision. 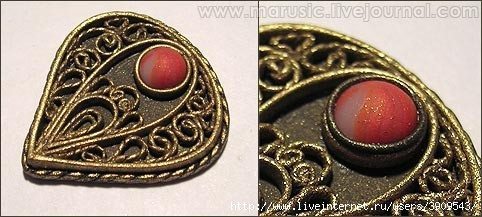 I used a dark plastic, but you can just take a roll in powdered.
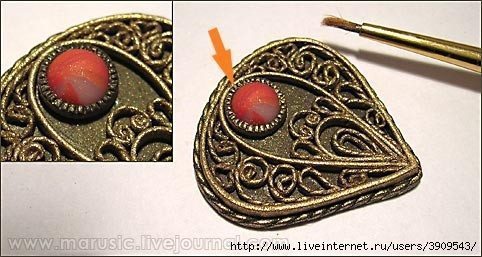 If you do it out of the dark, you should go with a brush met. powder on the rim. Then lay out the remaining pattern
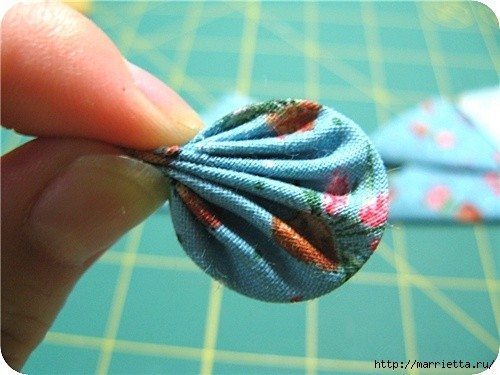
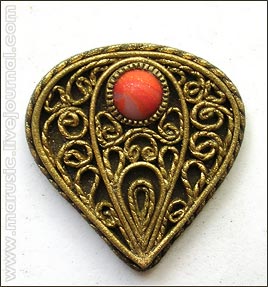 After that you need to perform the finest job – to make grain. To do this, you take a piece of string (thicker and thinner), roll in powdered, cut blade blanks in different sizes, and then rolled into balls. It is not difficult, but for a long time.
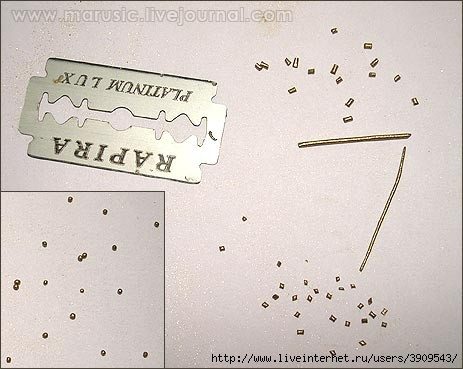 To the balls well glistened fingers should be a little dunk in the powder. And then you place the balls on your product. On the gel, mixed with the powder. As a rule, the beads are placed at the junctions or where the tips of the elements formed are not very aesthetically pleasing and generally where the eye pleasantly.
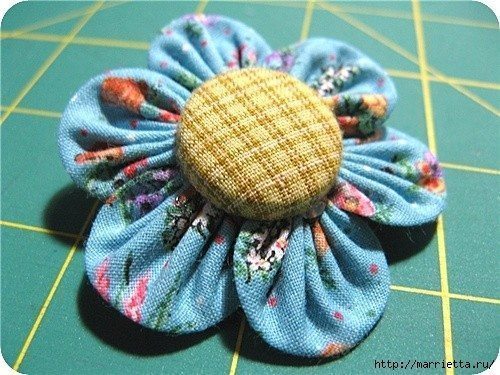
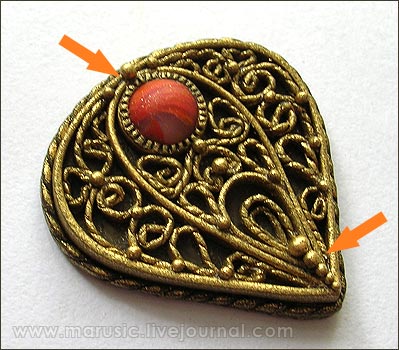 After that, the product comes into the final firing. For 20 minutes. All holes – if they are in the product, you need to plan in the sketch and the surrounding elements in the form of a ring. You can drill and after firing, and can be in the beginning, before baking basics. The plastic “metal” filigree varnish is not covered. This immediately destroy all the metal effect. But the insert, if necessary, and can be very Lacko. For perfectionists: repeatedly go over the finished piece of filigree fine suede. This will give extra shine.
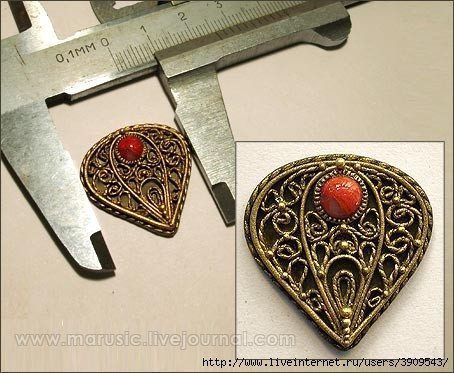
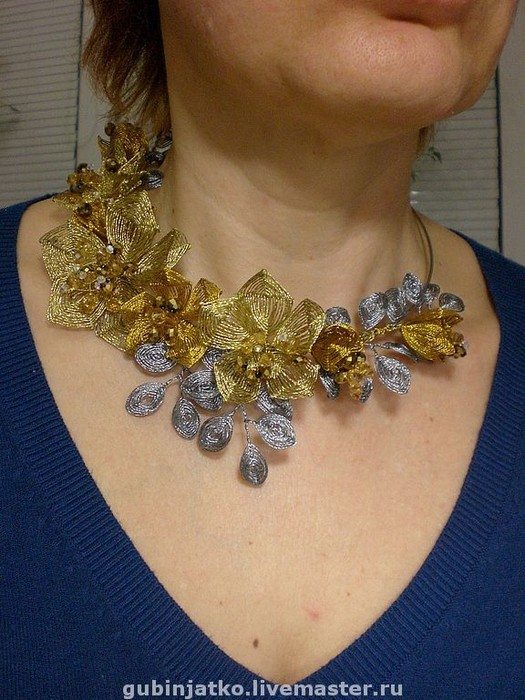
Small bonus for overpower to the end:
If you need a lot of the same elements as a ringlet, there is reception, taken from the same jewelry practices.
Screw a rope on something round, a suitable diameter, gives the plastic “cool”, and then cut along the blade of the resulting spring. And get a bunch of identical blanks for rings:
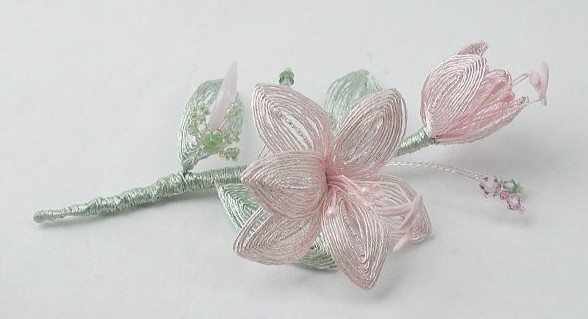
And finally:
Apart from the dry powder can be used with a metal powder mixture of wax-based.
In that case, all of the paste is rubbed after baking, and then in an oven for a few minutes.
However, it is less like a metal than a dry powder. Incidentally, the metal powder can obvalivat all sorts of details. Acrylic no comparison on the effect does not go with the powder. Powder gives a completely flat surface. If you are on the burnt-based thin smear gel, mixed with a lot of powders, after baking it will look like brushed metal.

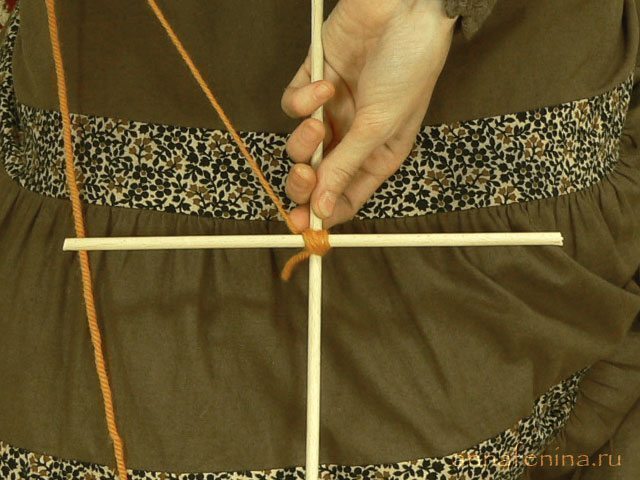
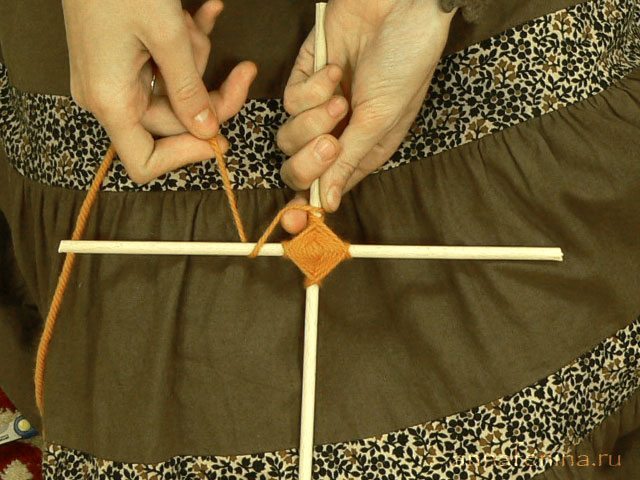
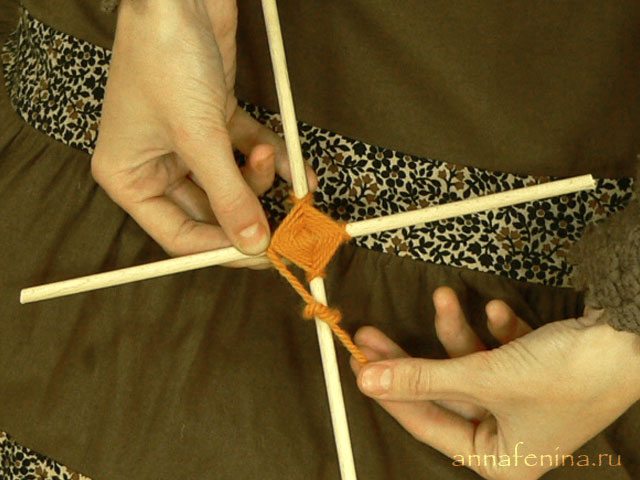
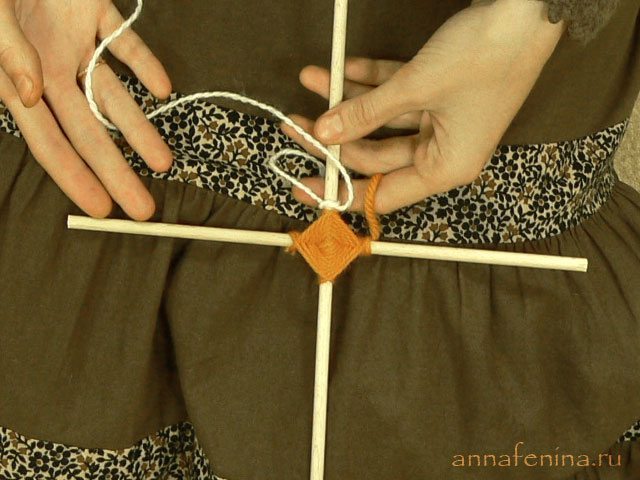
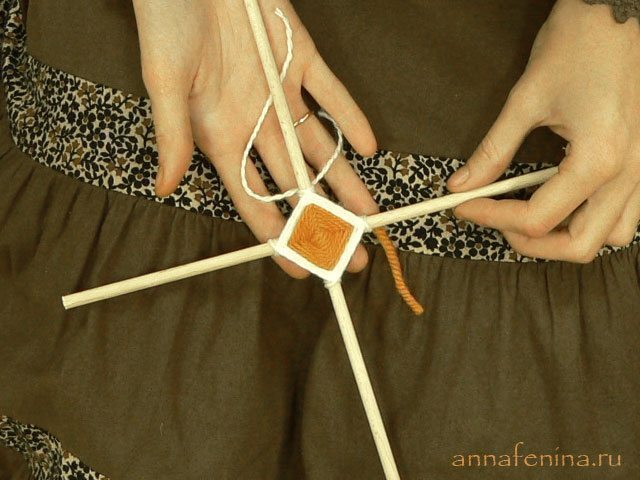

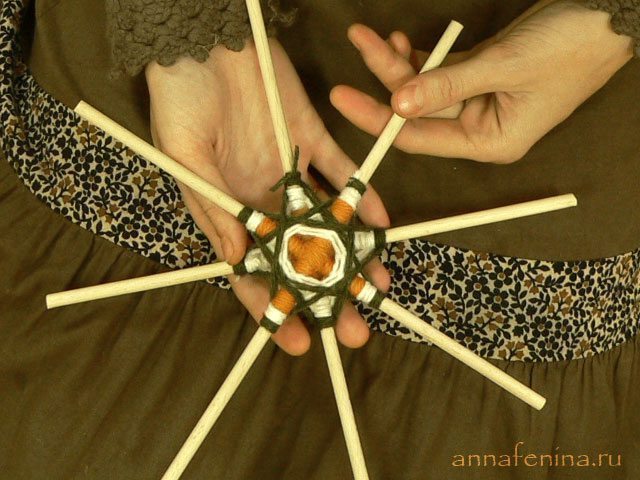
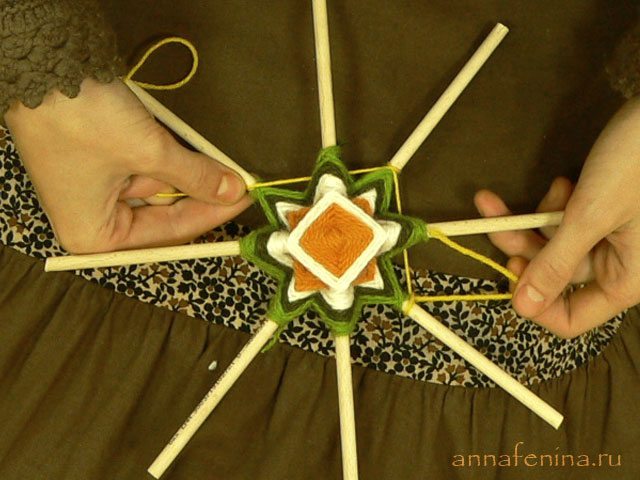
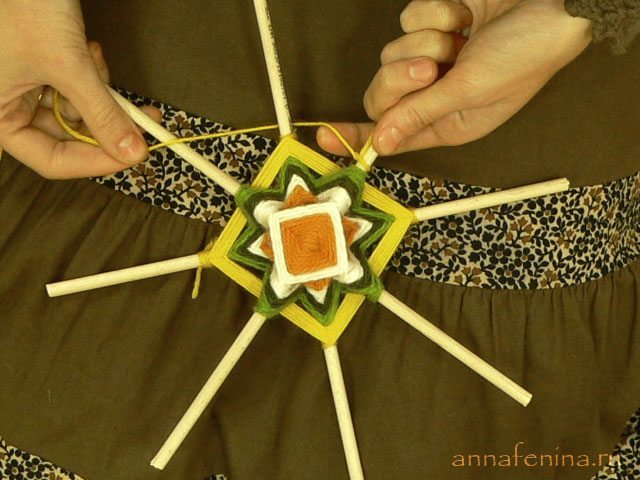
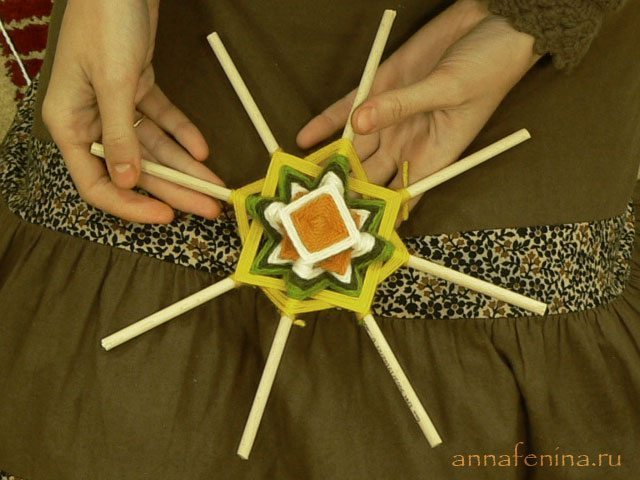
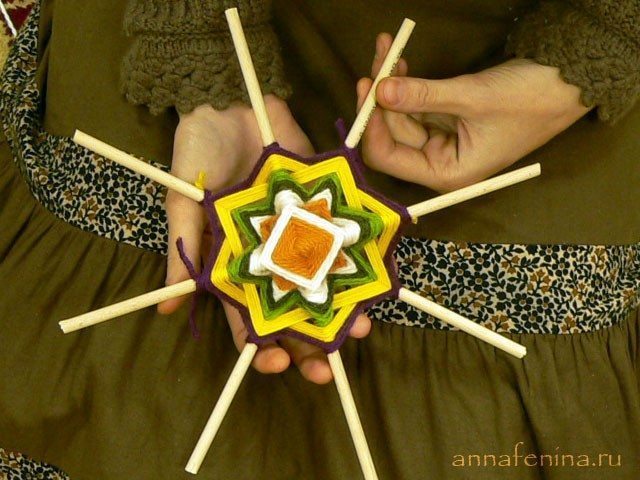
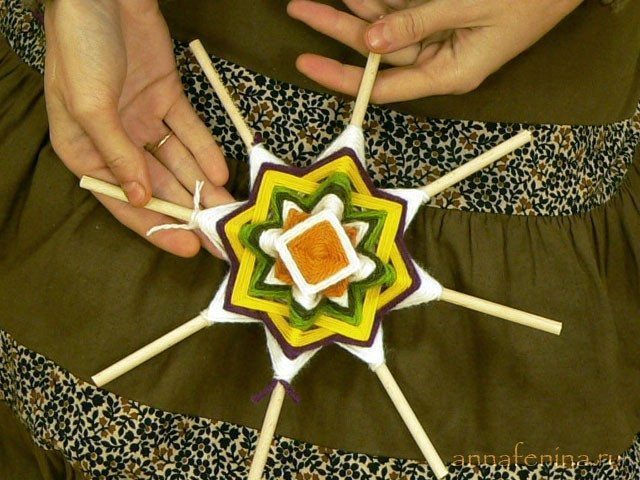
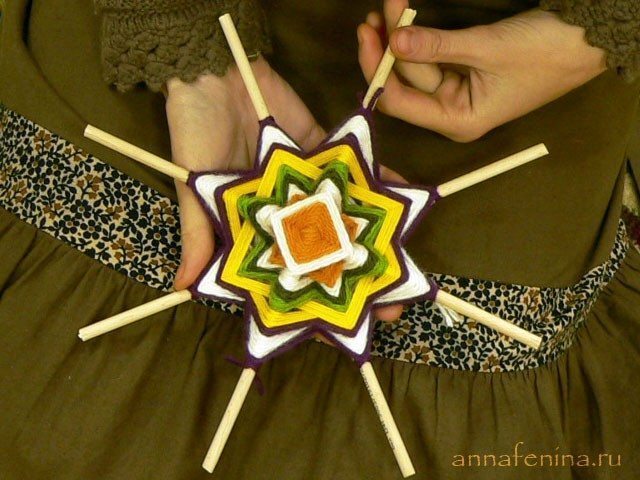
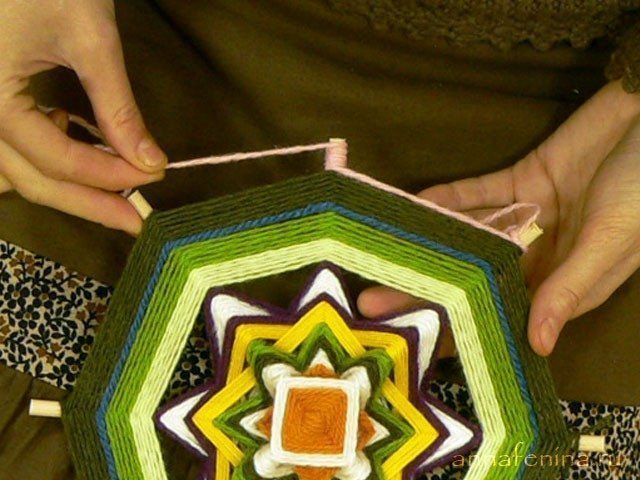
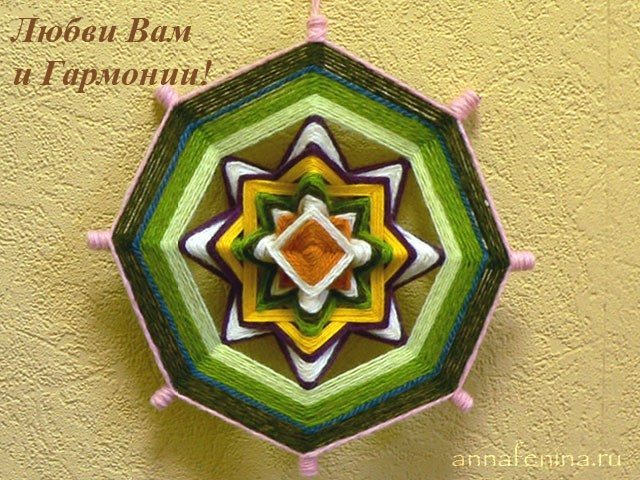
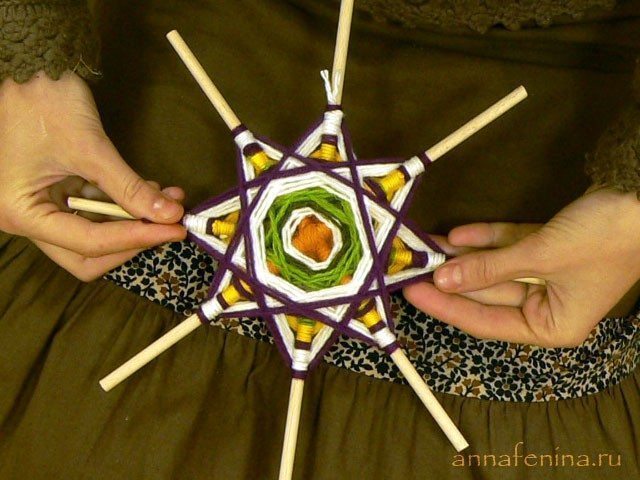 Getting Chain Belt. Tie a string to a stick, and any sequence begins braid sticks around. This is perhaps the easiest of the mandala patterns.