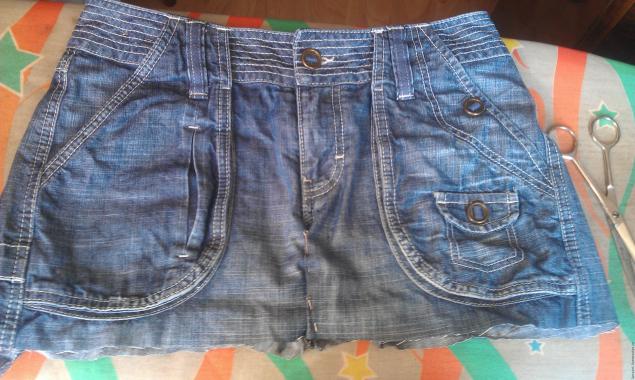
Take the old jeans, which for some reason do not have to … nalazit beauty. Or just do not like already.
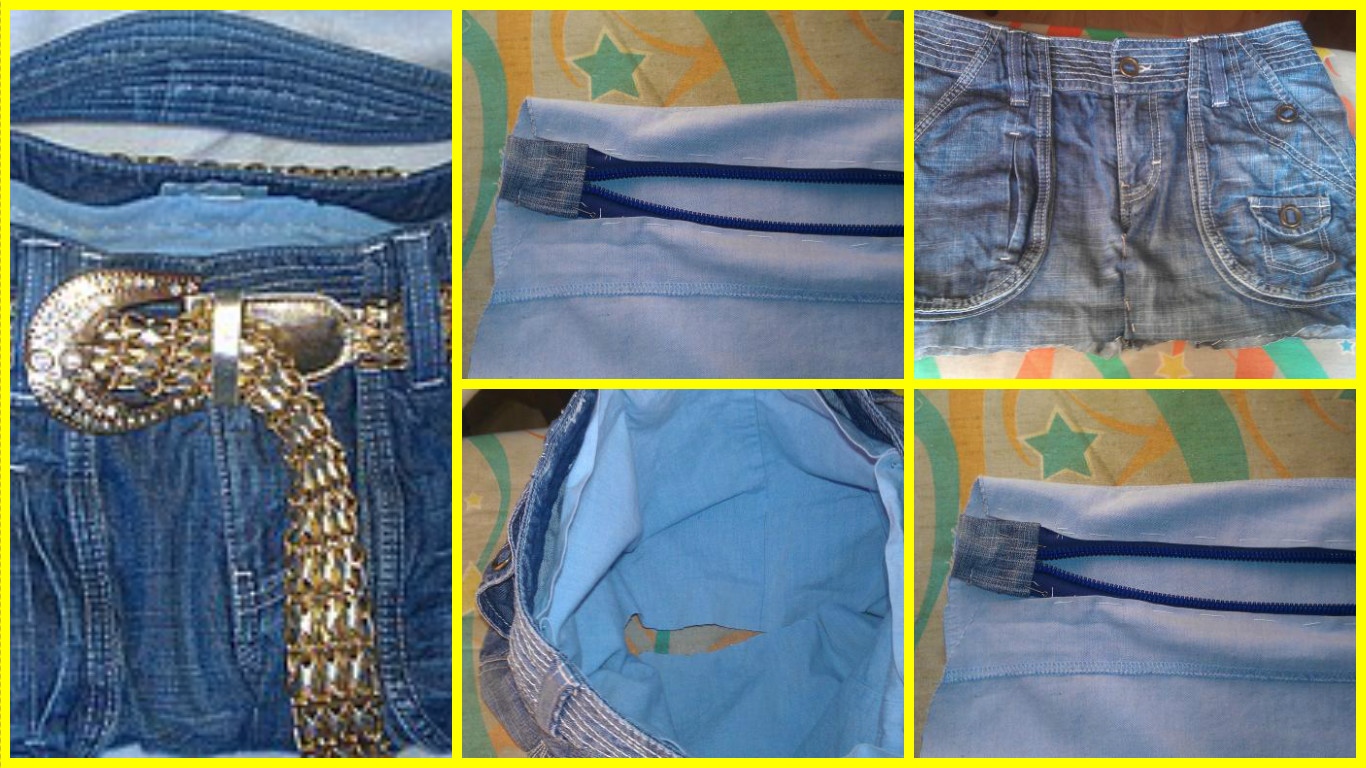
And a flick of the wrist, turn them into elegant shorts.
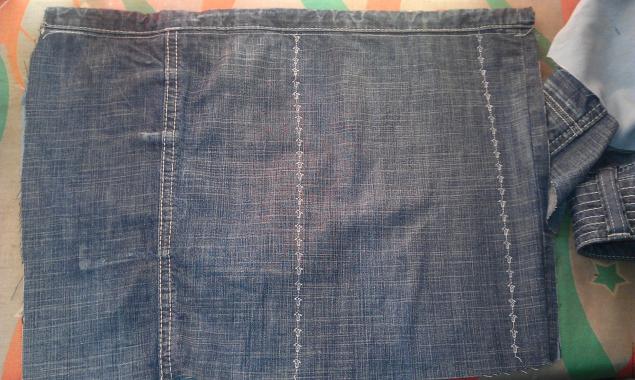
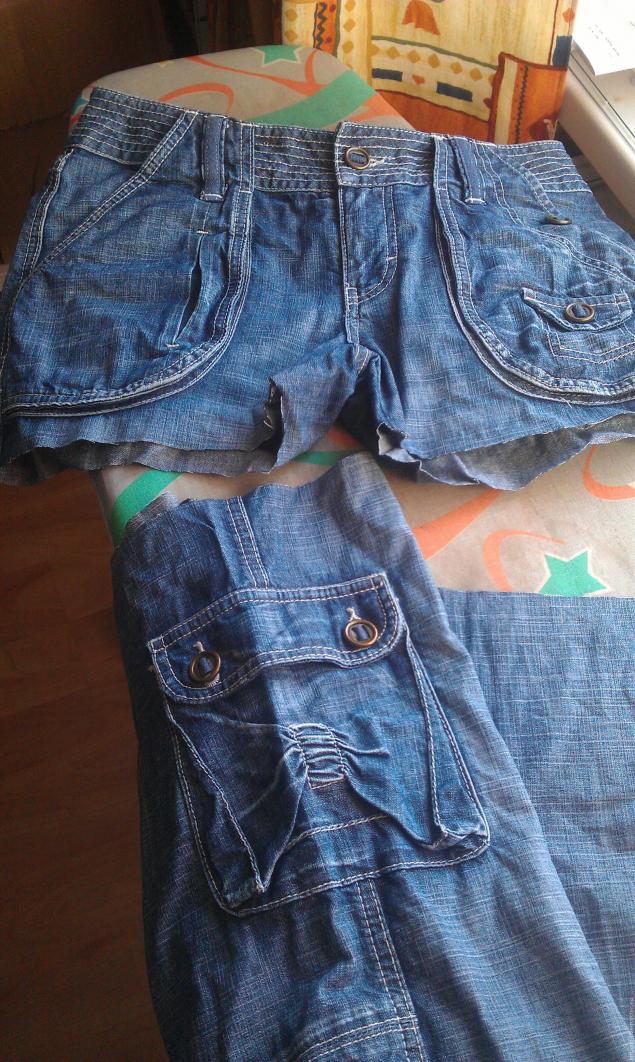 Then make a skirt of denim shorts. Beauty!!! The cool thing out. The only doubt that her mother would wear.
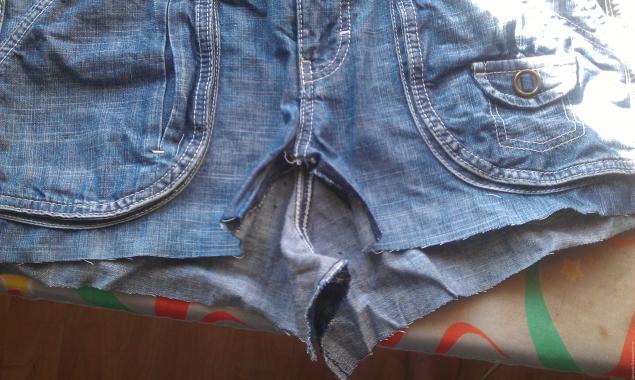
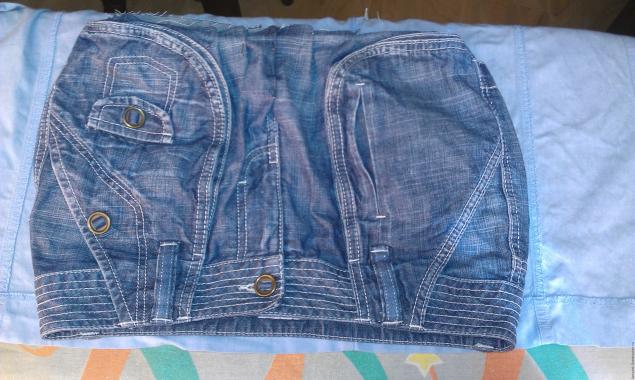
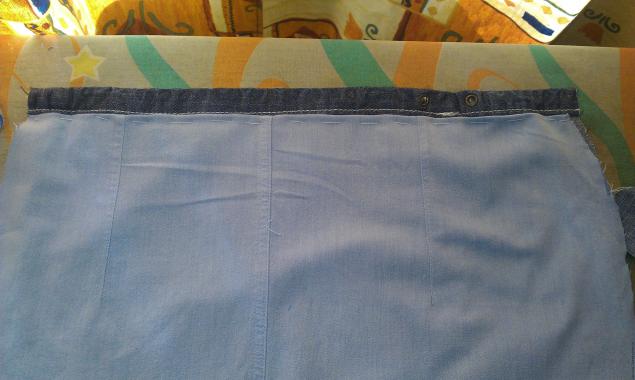
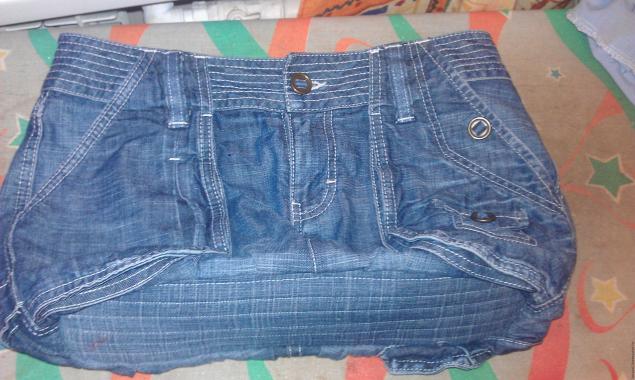
 Sighs and then continue. My bag out of old jeans will zauzhatsya down. Therefore sacrificed bottom folds.
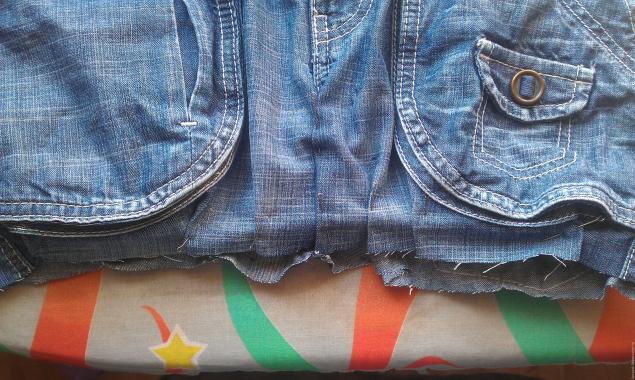
Theoretically, they can be just scribbling. But I was not sure of the number and width. Because left is pinned.
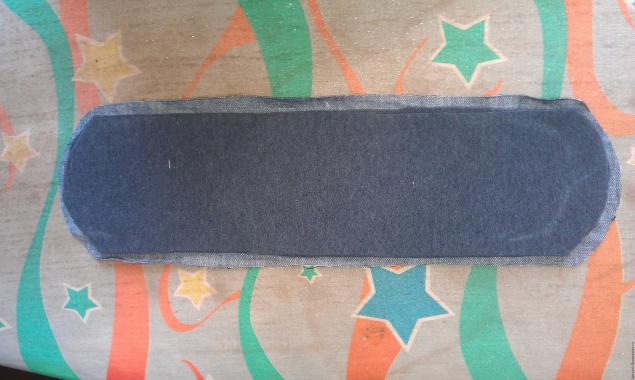
Then I took a piece of my father’s overcoat (or, in the beautiful – greatcoat cloth), folded in half. Affixed to my denim skirt. Vd line first, and then the bag “spread her” and outlined a sort of a strange oval-rectangle (my mother – a teacher of mathematics from such a term she would definitely eye twitched!).
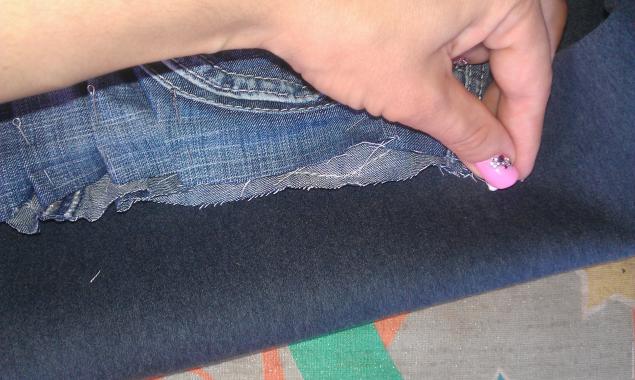
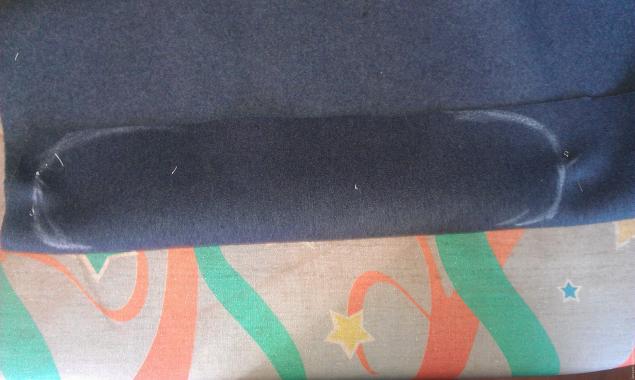 Pinned to her purse, she pulled down – admired.
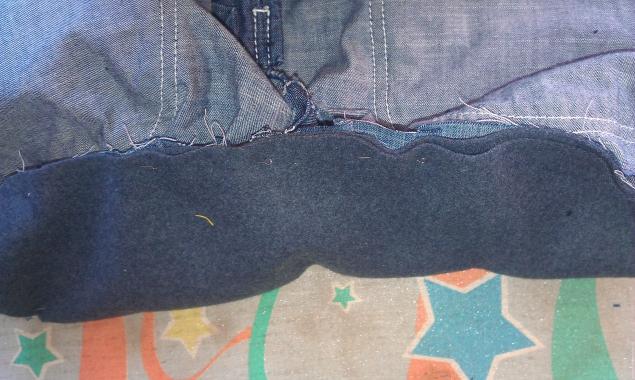 Attached to the bottom of the denim and looked around. She left a margin. Well, nothing! There was no need to leave anything.
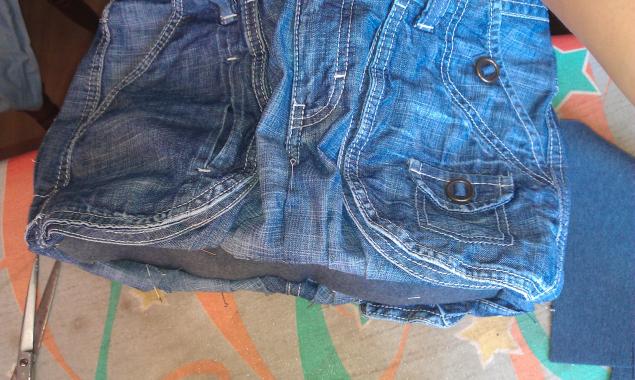
Set aside. Basically, if you have patience ended, can be jotted wrinkles on the bag, stitched the bottom, sew the handle – and hello! Bag of old jeans ready! But! Mom wanted the bag into two compartments. With pocket!
I had to sacrifice a bathrobe. Old, but decent.
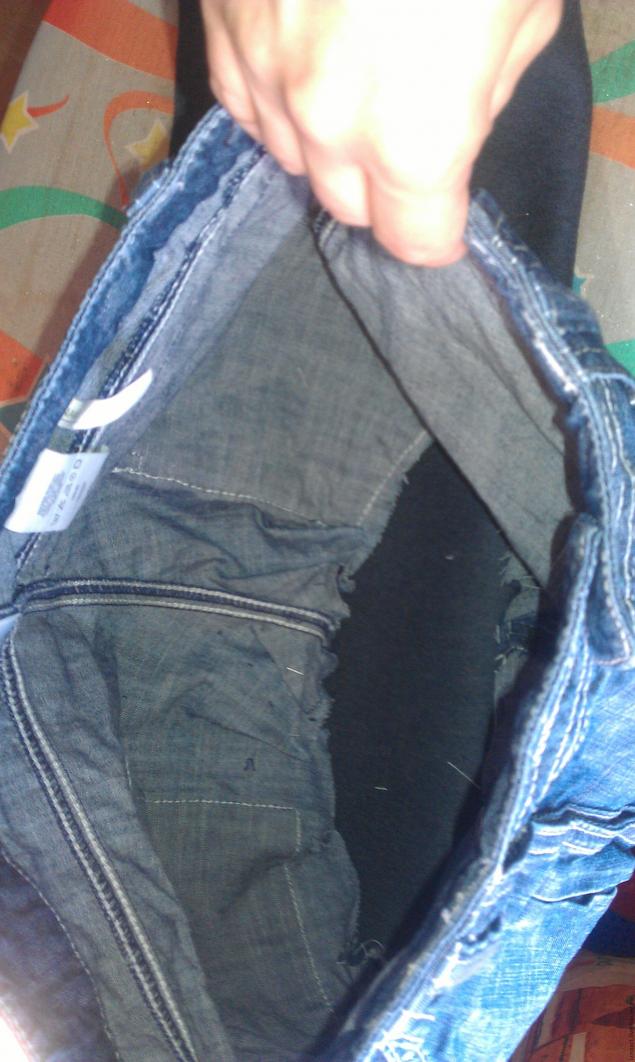
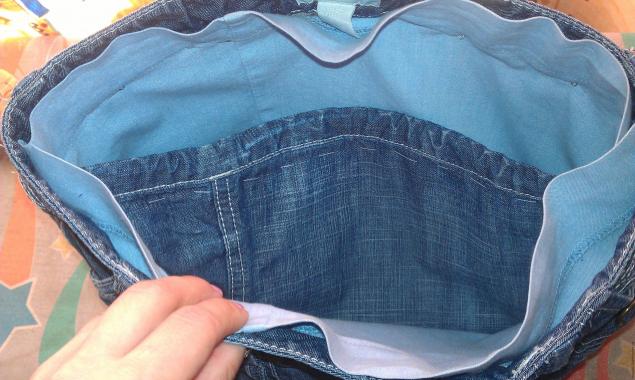
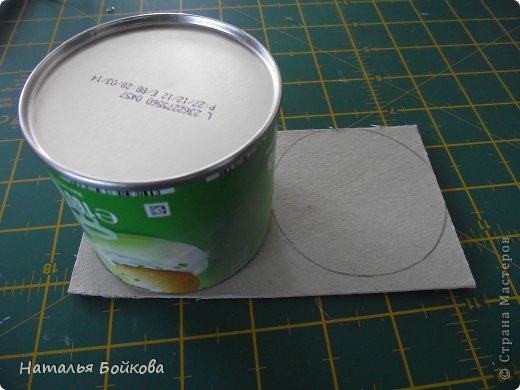
Fold it in half. I put in such a way that the top of the bag coincides with the hem. (Really too lazy to bend even the hem) .Prilozhim bag and leaving the stock, circle.
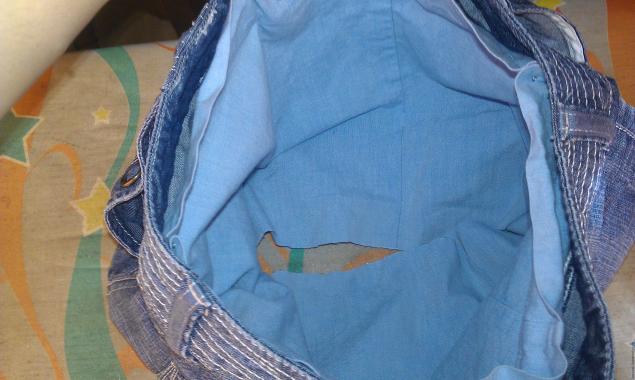
 Cut out two pieces of the lining and how they. Insert in the bag. Admire! However, I have to admire the first time did not work – I pinned the lining across the bag and then all tried to understand that the train is not here ?!
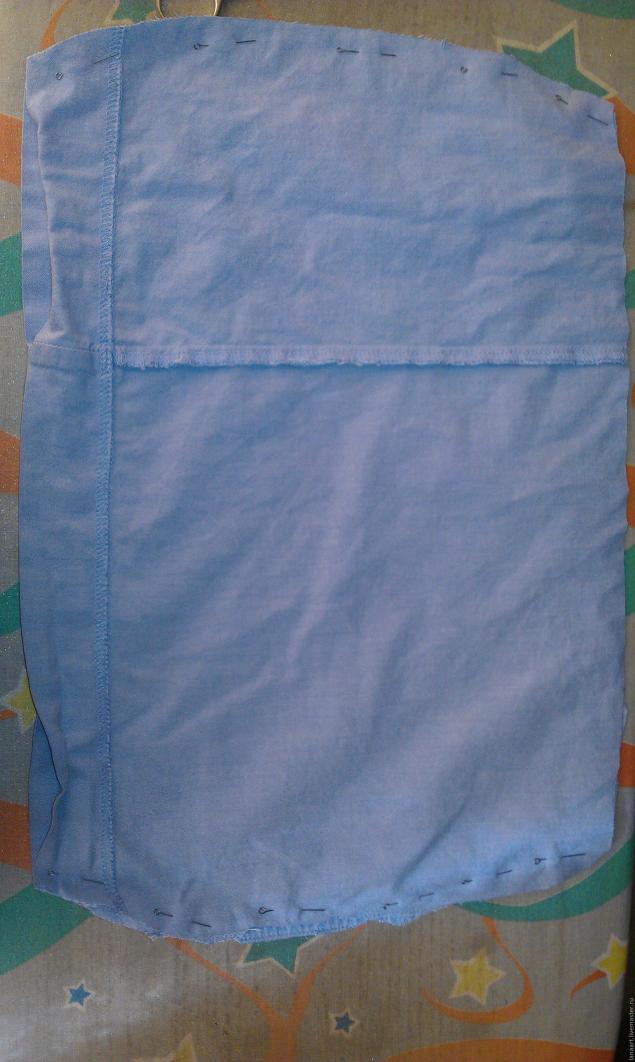
 Cut out the jumper and denim from the robe. Sostrochim krasivenko
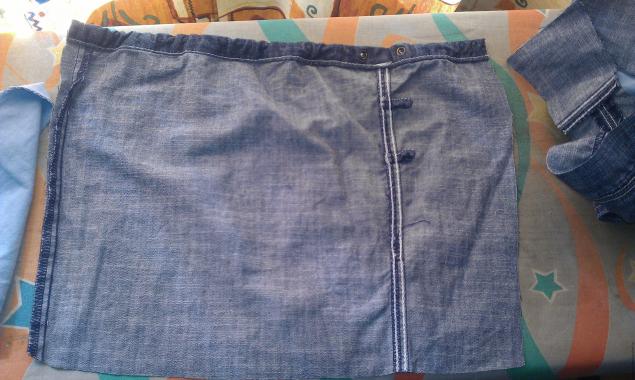
 More will need to mine for the lining. We cut him out of his robe.
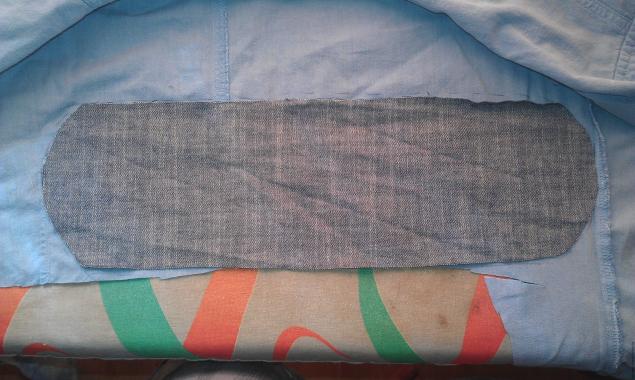 Skolem together.
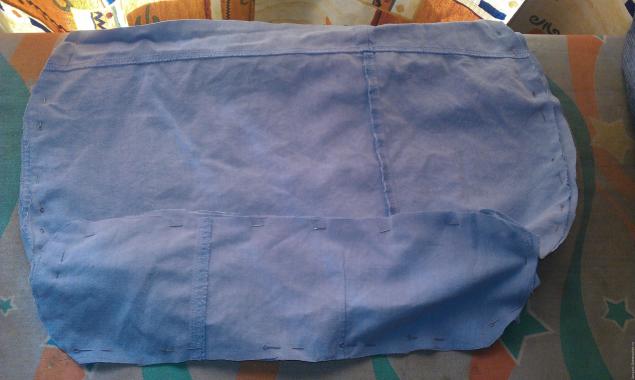
And here it is the nightmare and began !!! LIGHTNING!! What I revised master-classes as descriptions revered! Those guys do not understand! It has made its own way. Wrong, perhaps, but just!
She took a split (which until the end unbuttoned) zipper, disunite and sew the two halves of my backing.
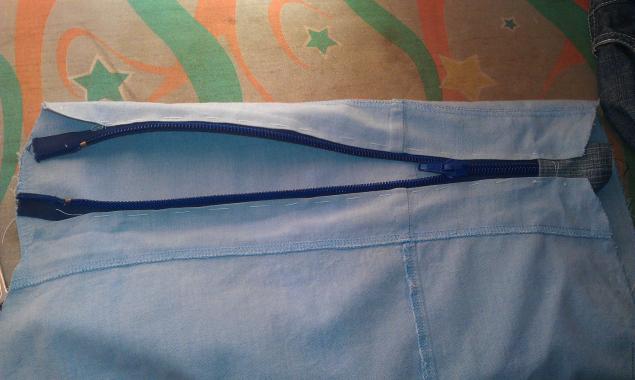 First time sewed to the front side. It turned out beautifully, but it turned out that the pad then it is necessary to sew inside out. Otporola and sewed the zipper as it should be – from the inside. Then he buttoned it and ends, and not to the slider jumps, small klaptikami jeans closed.
 Stitched (for me, as it turned out, even the foot is in the special machine to sew the zipper).
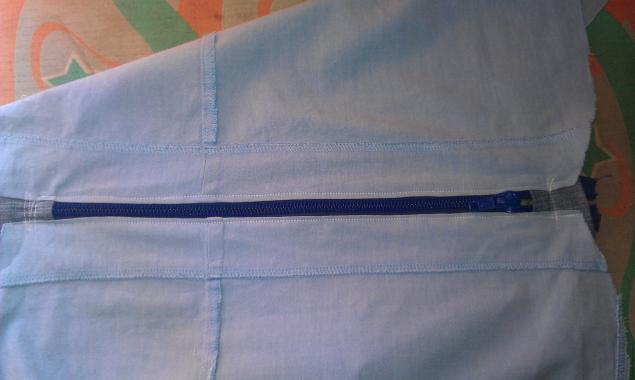
Encouraged by the success, I even made a near lightning decorative stitch!
The main thing – denim klaptiki scribbling on the zipper tightly! Otherwise, the slider will go into them. We’ll have to get it and spoil the manicure (we need this ?!).
But the zipper seemed to me a little! My eyes fell on her dressing gown pocket.
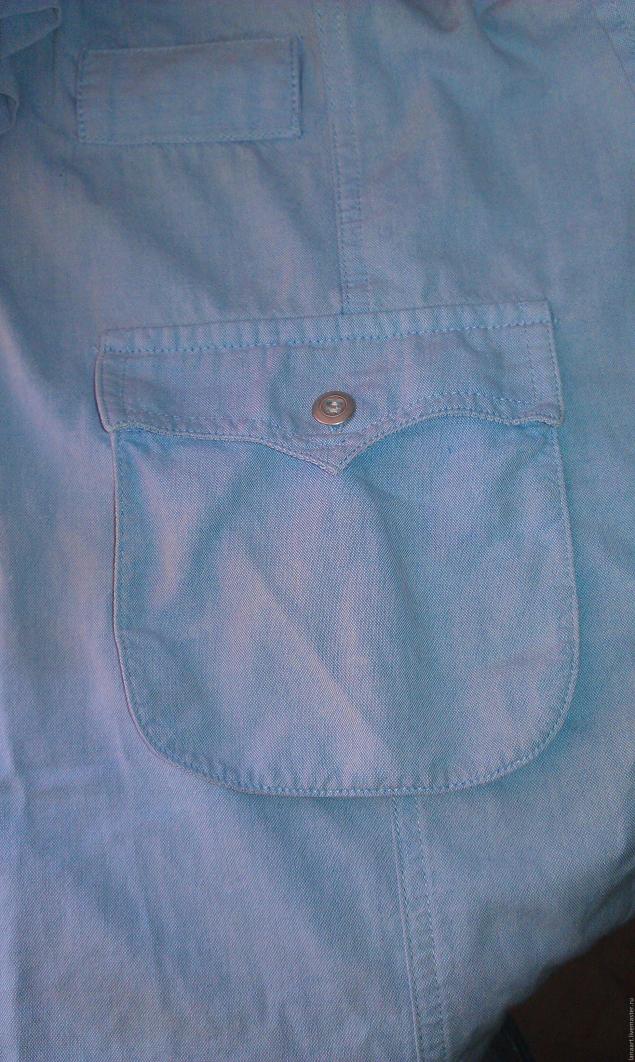 I otporola him and moved to the lining of the bag.
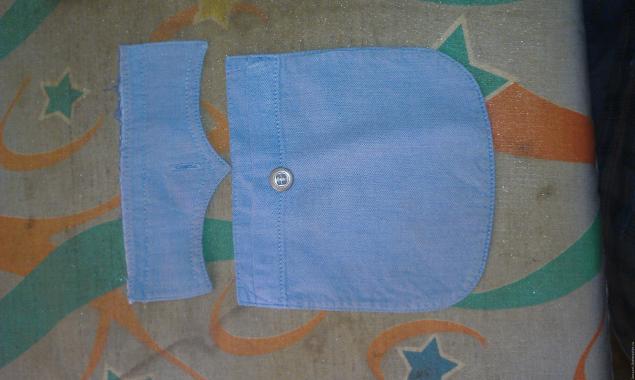
 I almost shed a few tears – what sort needlewoman !!
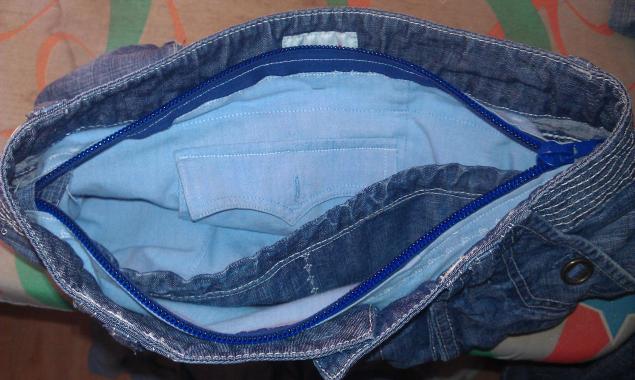
Next – just all posostrachivala, posobirali:
Sostrochila lining.
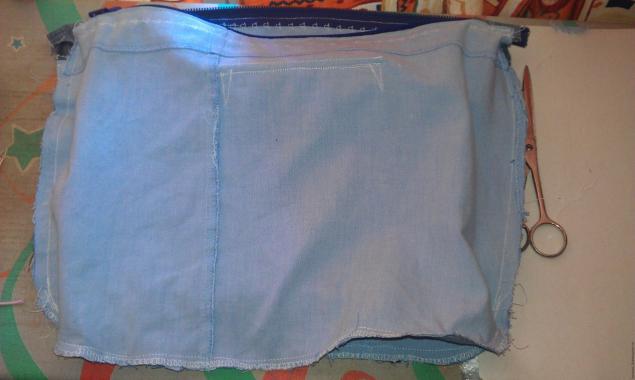 Sostrochila greatcoat bottom and denim.
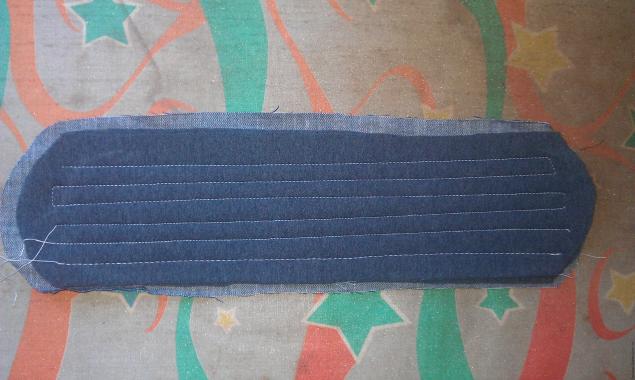 Scribbling folds that initially pinned on the bag.
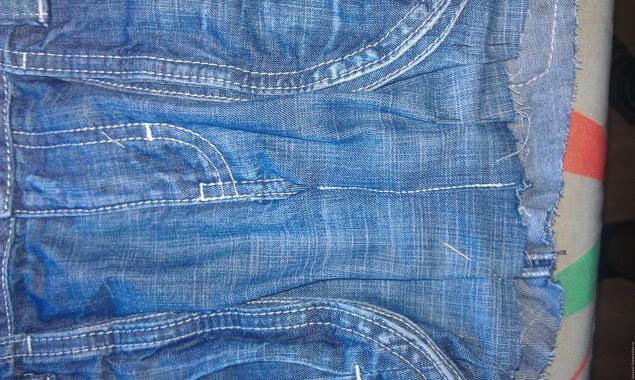 Stitched to the bottom of the bag.
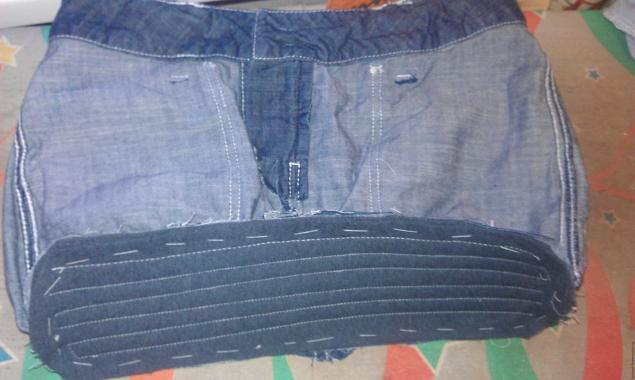
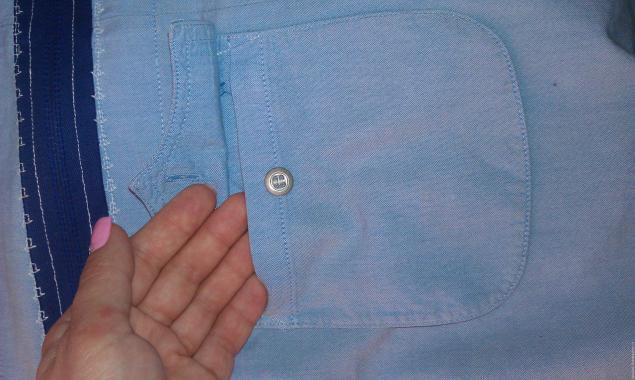
 Sew lining. Do not think that just because the village and sew! No! The happiest moment pridelyvaniya lining up my understanding that the bag has a thing for a BELT !!! What underneath stitch machine ?! Maybe someone and there is a special foot, I was not there. Because I had to take a needle in the foot and part of the lining to sew by hand.
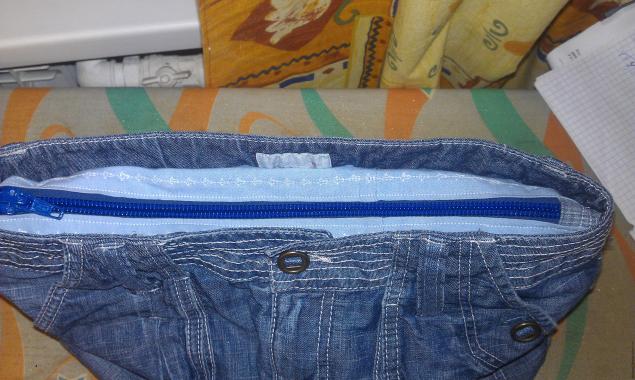
But – assembled bag! The case for small – pens!
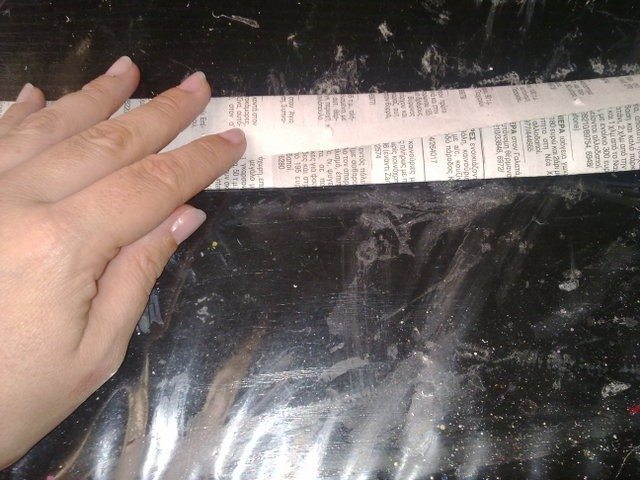
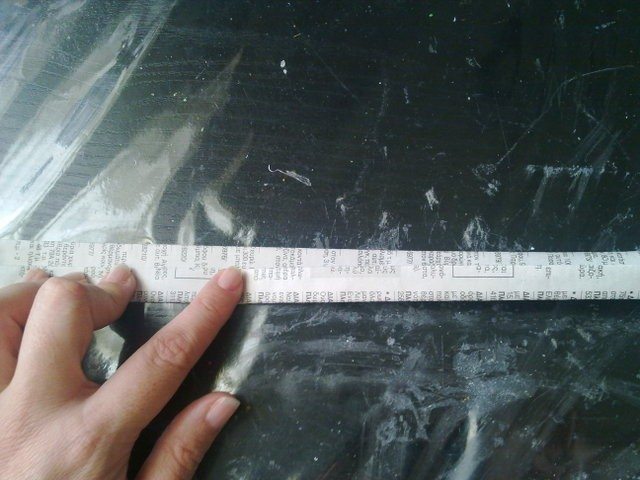
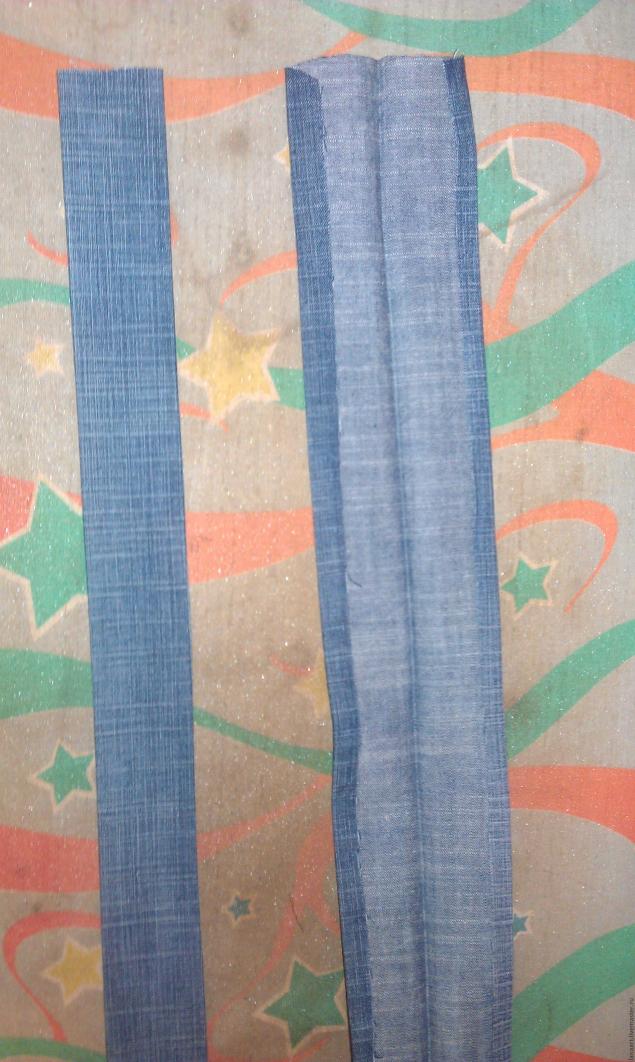
Cut two long ribbons. To make amends for the edge (it to ostro chit does not turn out).
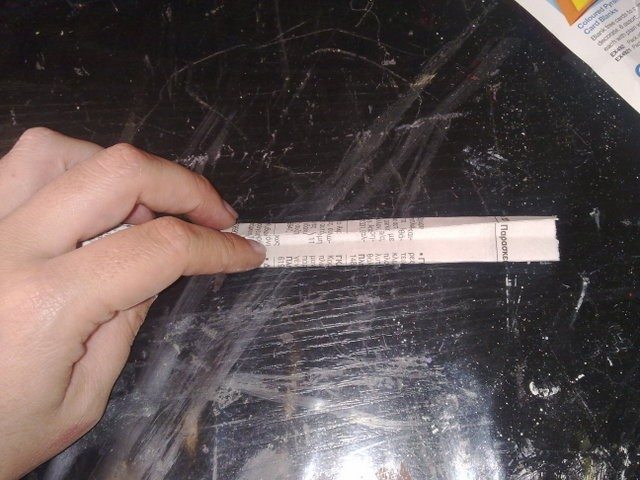
 Inside invested little syntepon. Handbag sewed to mother – a teacher and she is wont to be laid in a handbag pile of notebooks, a couple of kilos of potatoes, a loaf, and so on. And I thought, just the harness, with no filler, it will put pressure on the shoulder.
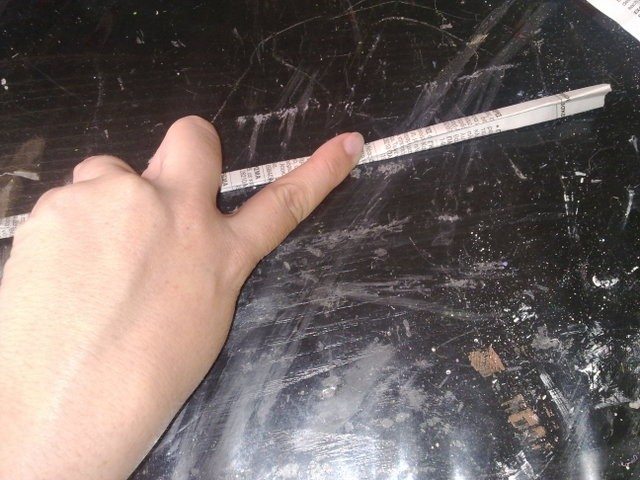
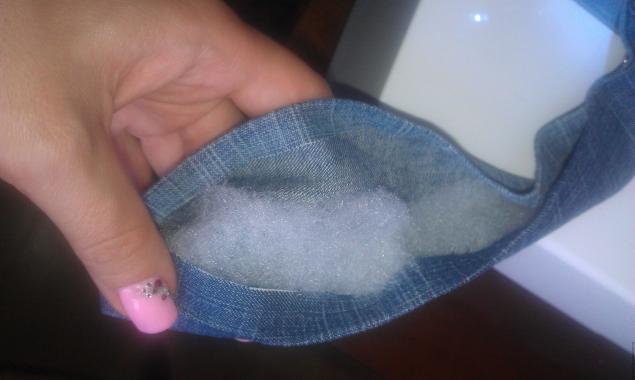 I stitched. Many times. Stitched into a ring. And sew it to her purse like this:
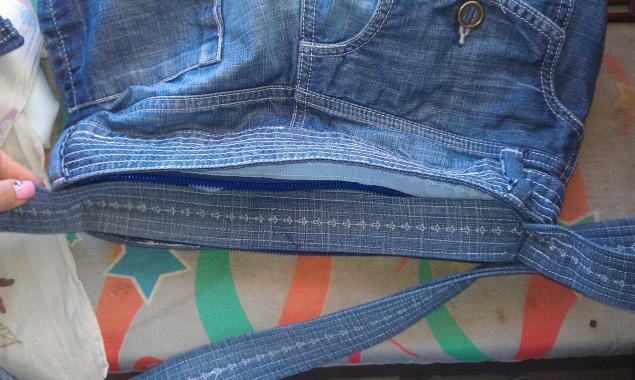 So I turned and short handle and long.
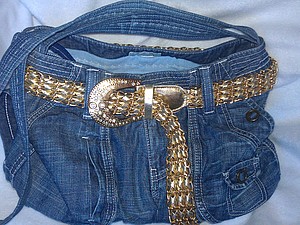
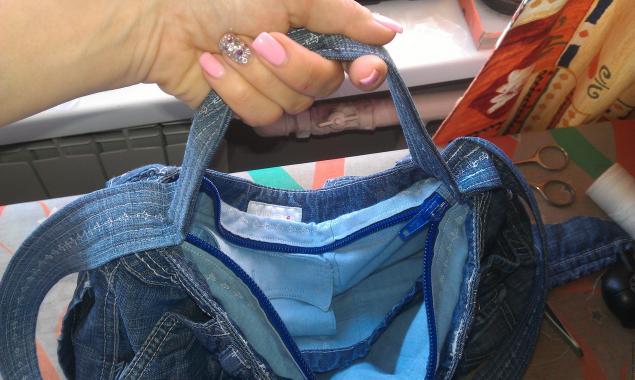 And so!!!! A solemn moment – Bags of old jeans READY !!!!
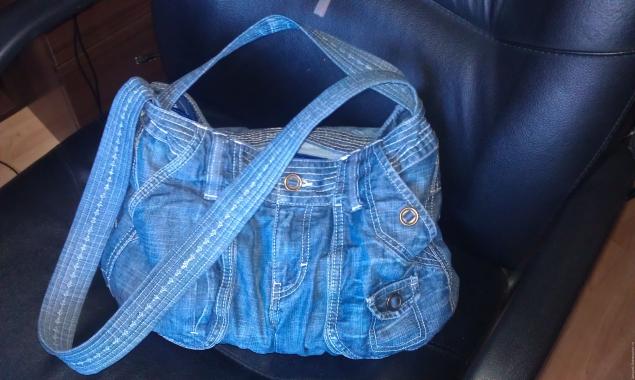 The result was a spacious, light enough. Remarkably washed in the machine. And pockets – the dam!
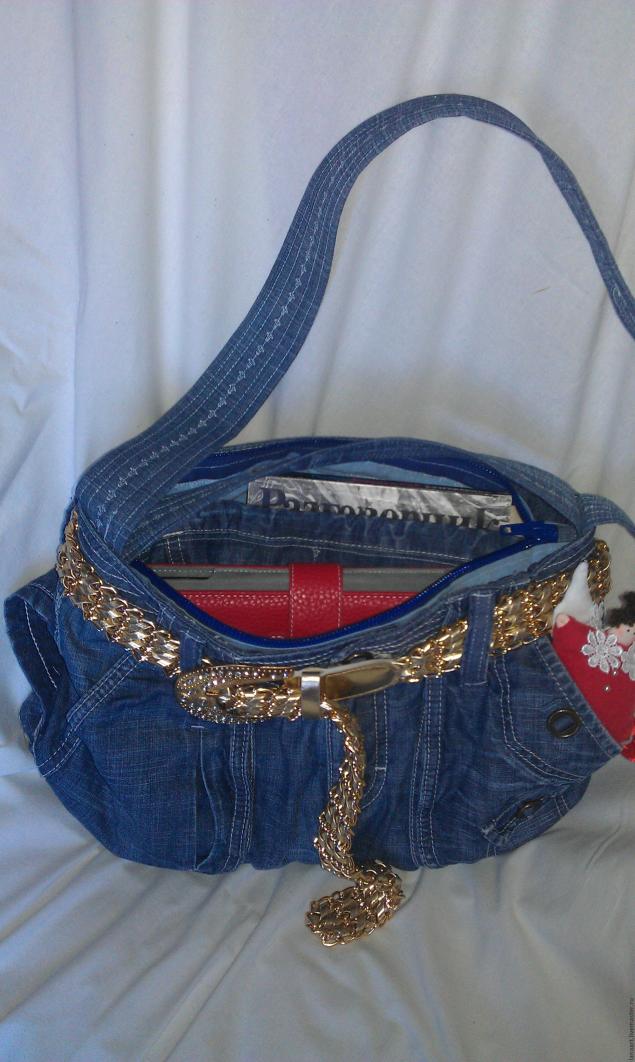
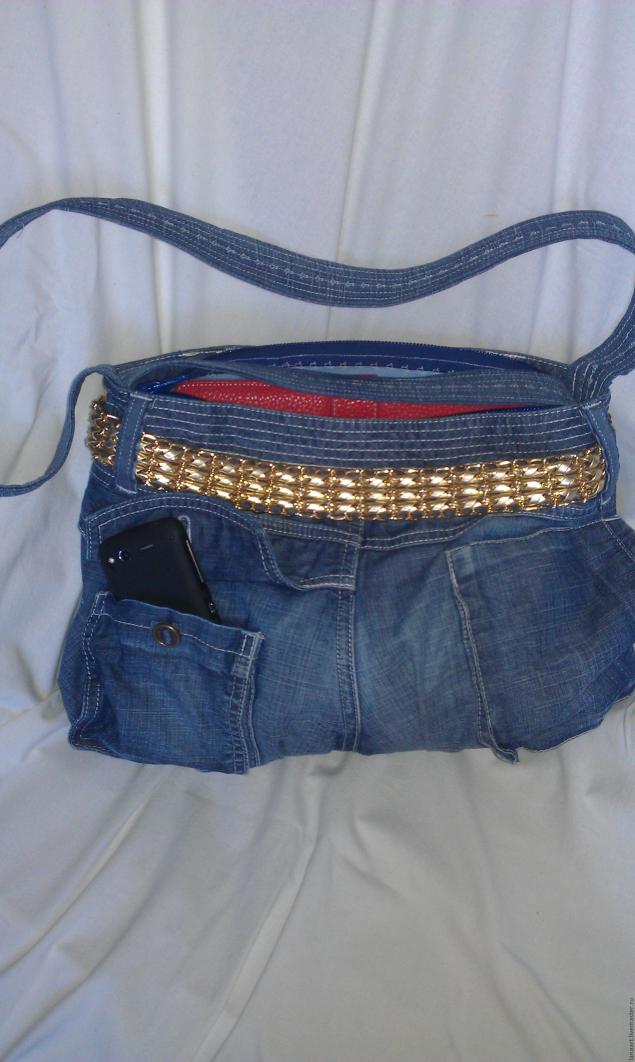
Maman this bag is now out of the hands is not released. The pieces for the belt (!!!), then insert the belt, the handkerchief vent – every day is different and beautiful!
Sew! This I told for so long, and sew the bag of jeans – simple!
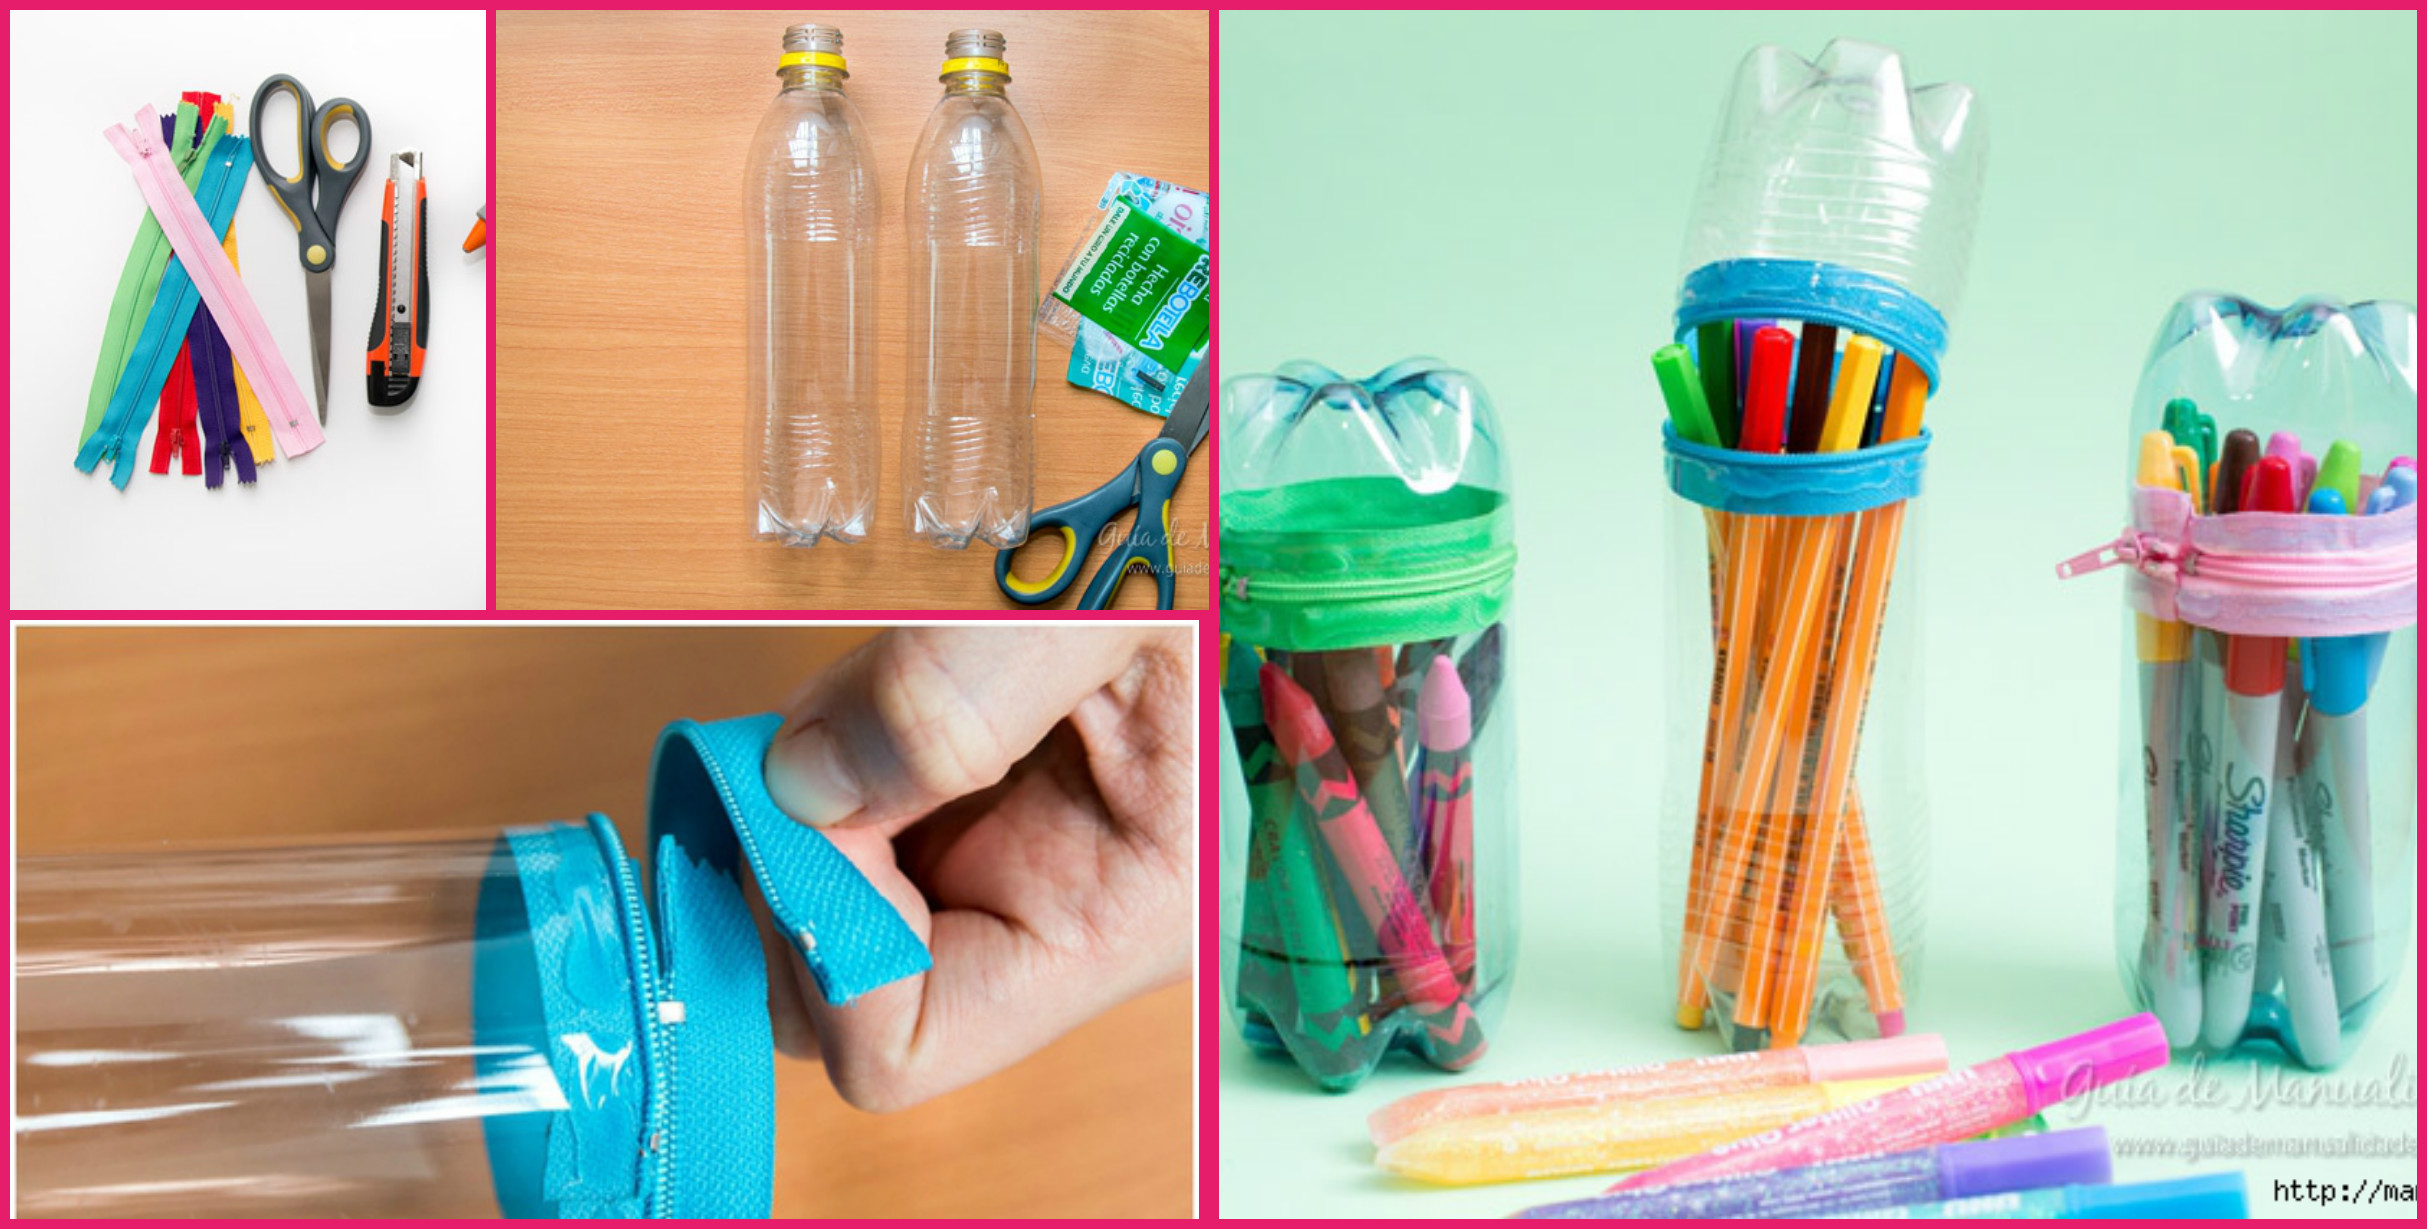
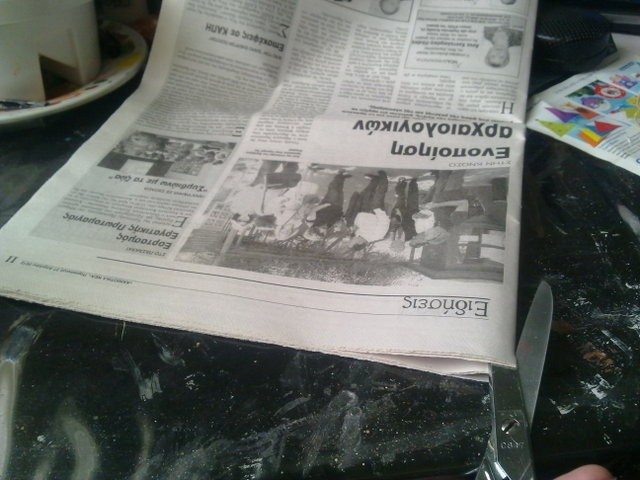
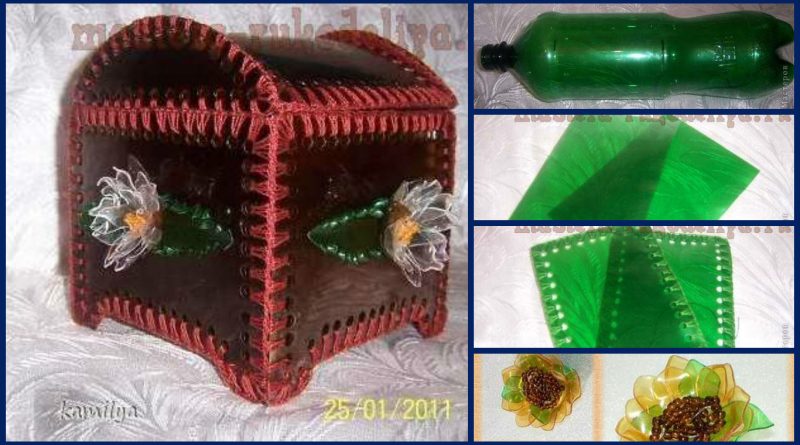
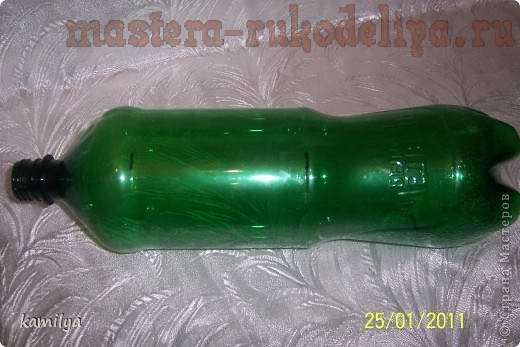
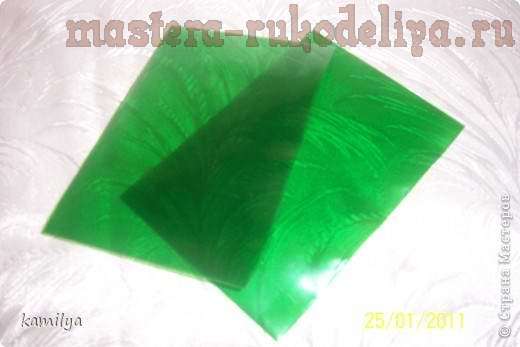
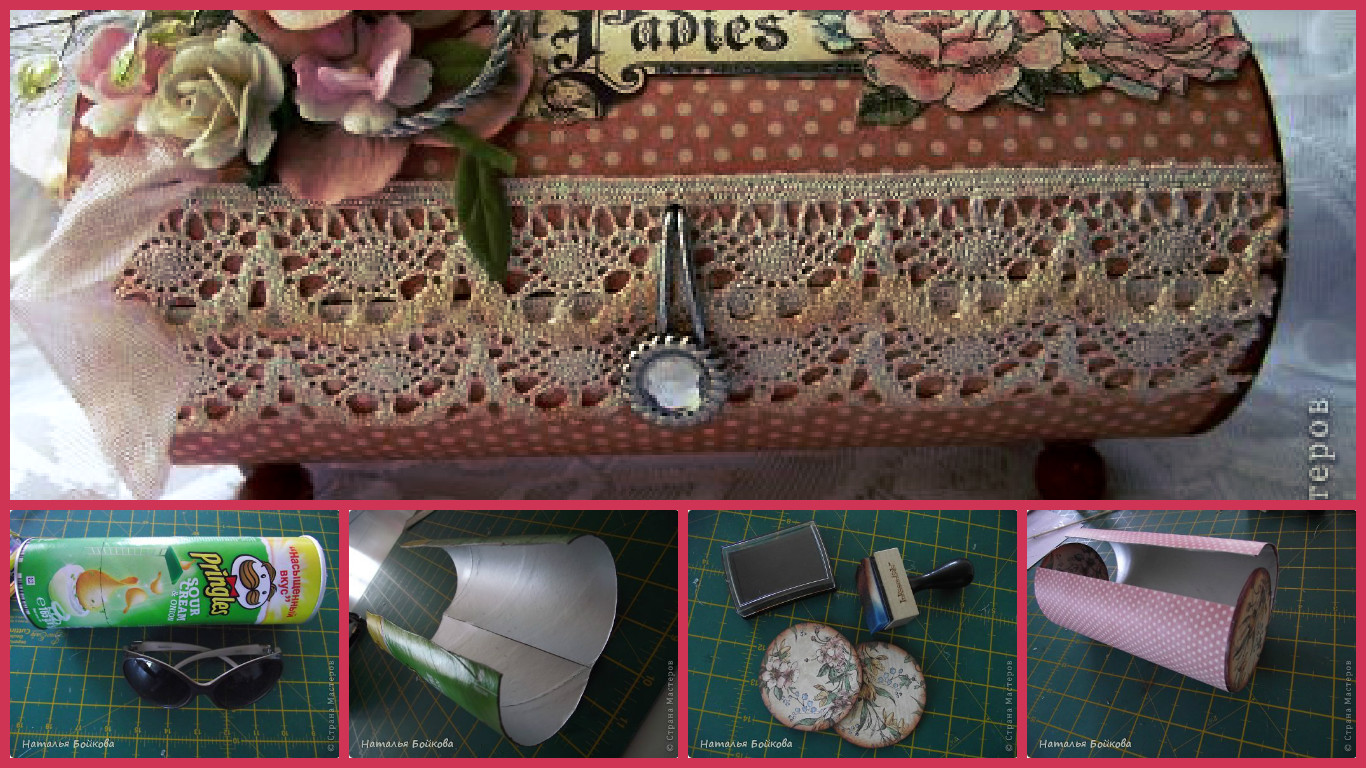
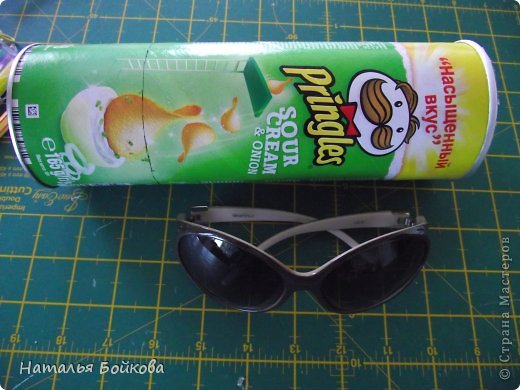
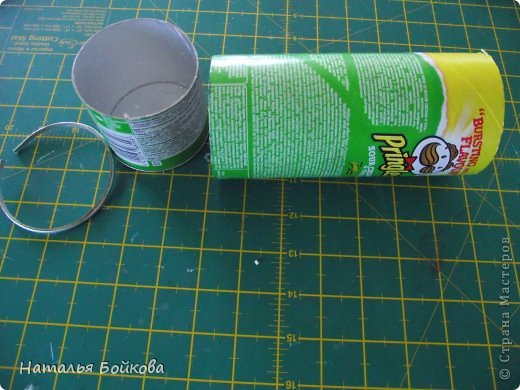
 Getting Started. Plastic bottle washes and remove them from the labels and adhesive residue that can be done with nail polish remover
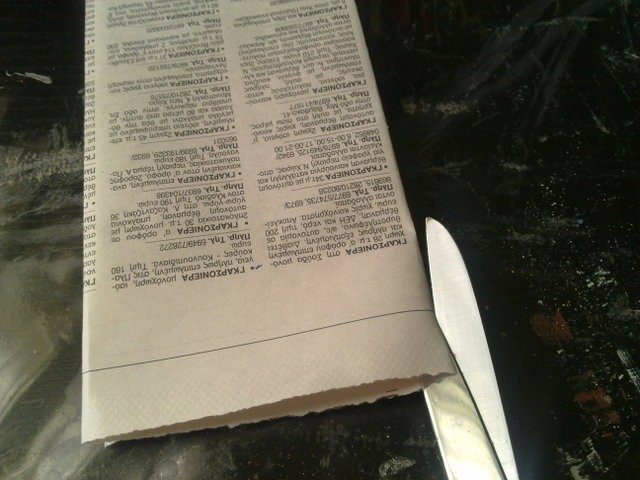
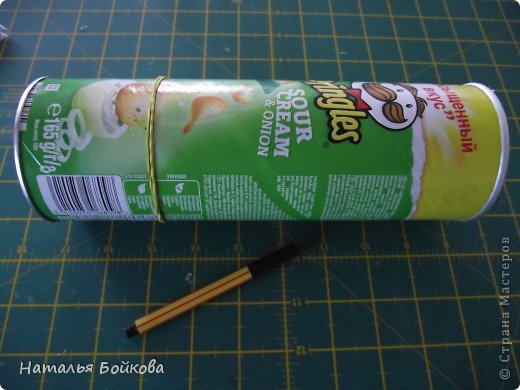
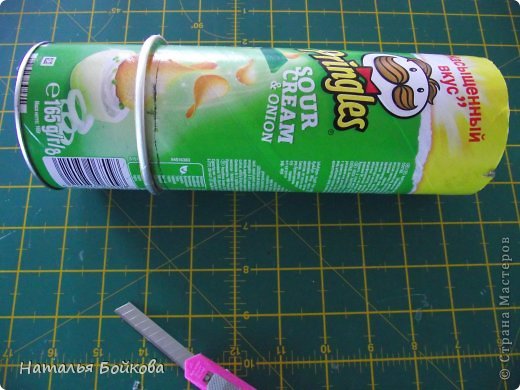
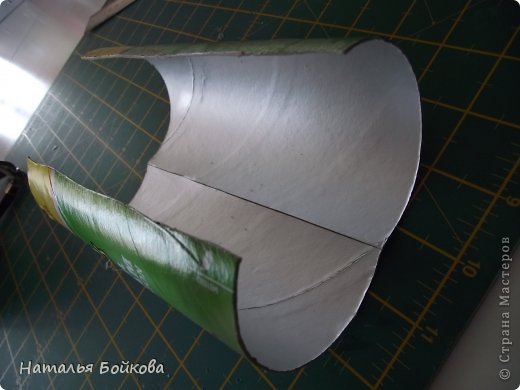
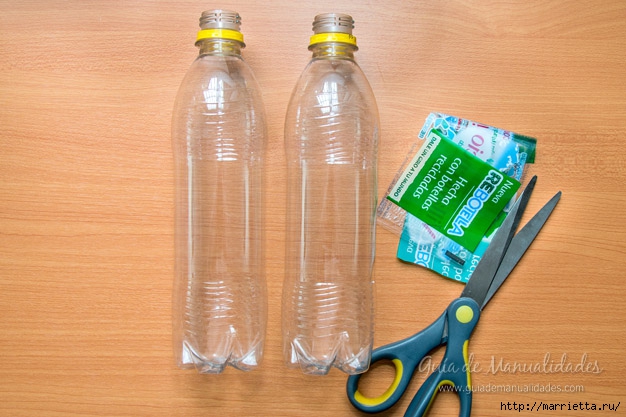 Stationary knife cut the bottle as shown in the photo below
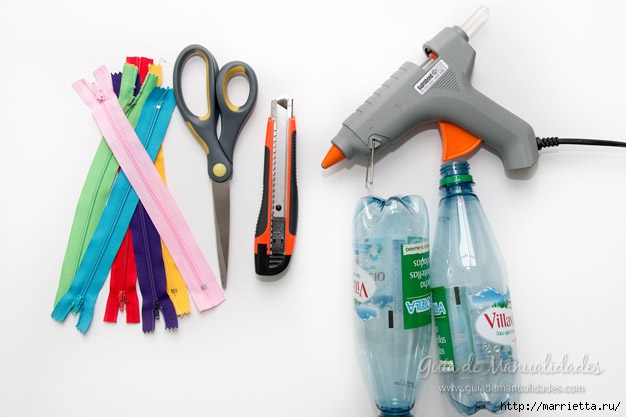
 Take colored zipper, open it
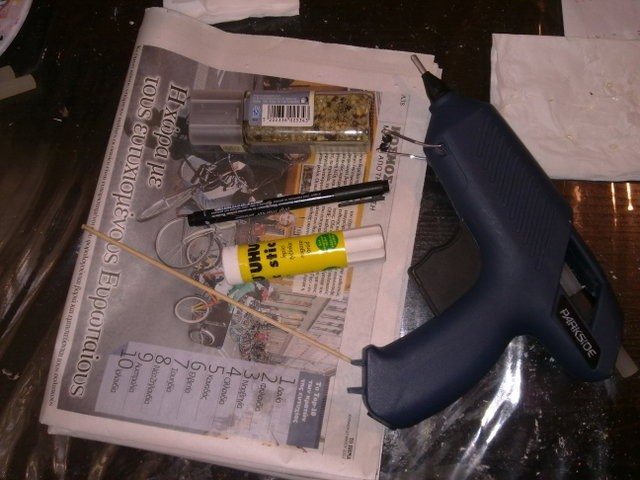
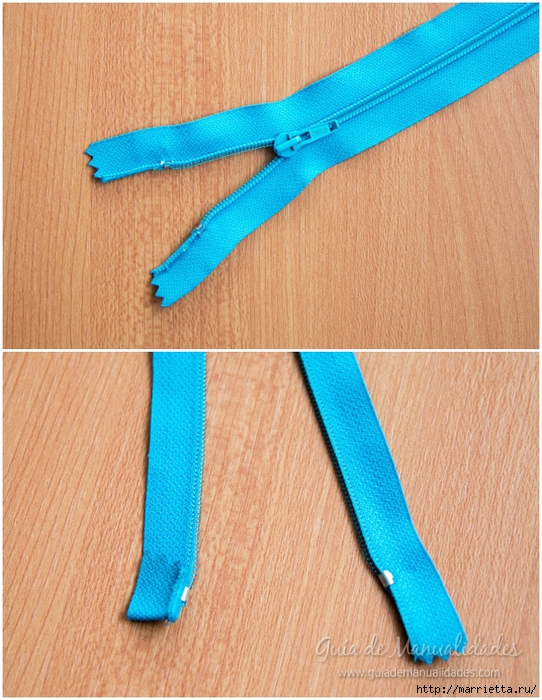 Glue the bottle with hot glue
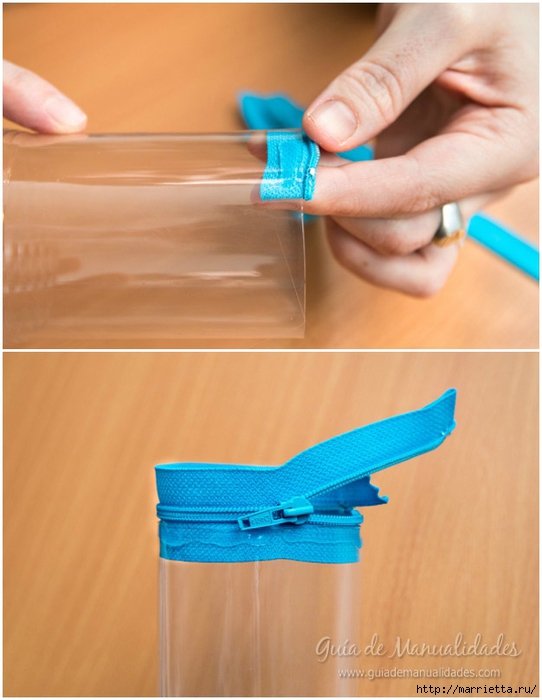
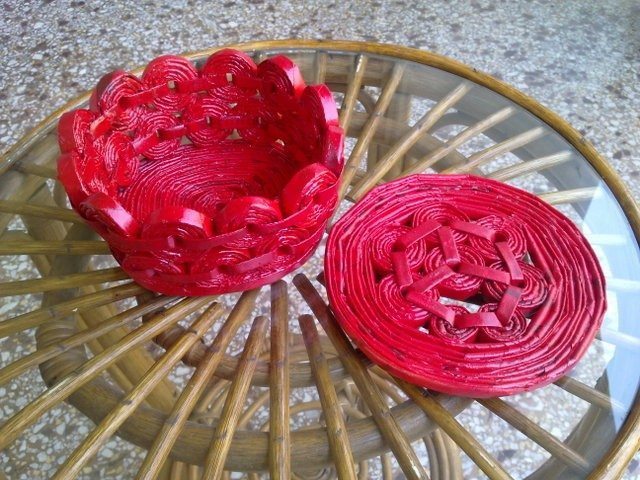
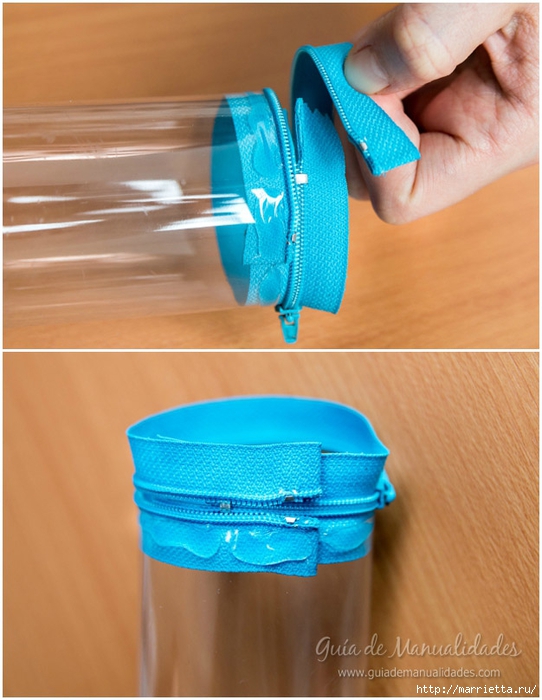 Glue zipper and another cropped plastic bottle
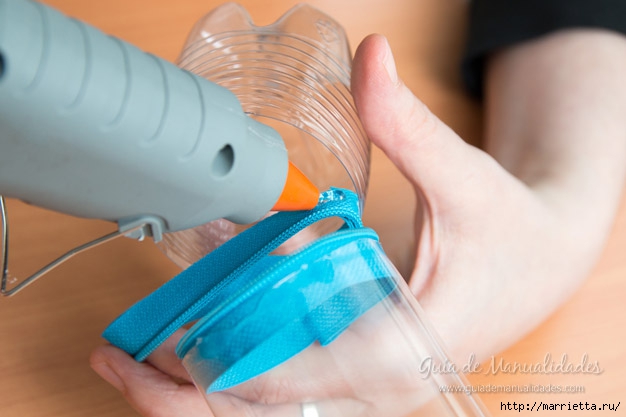
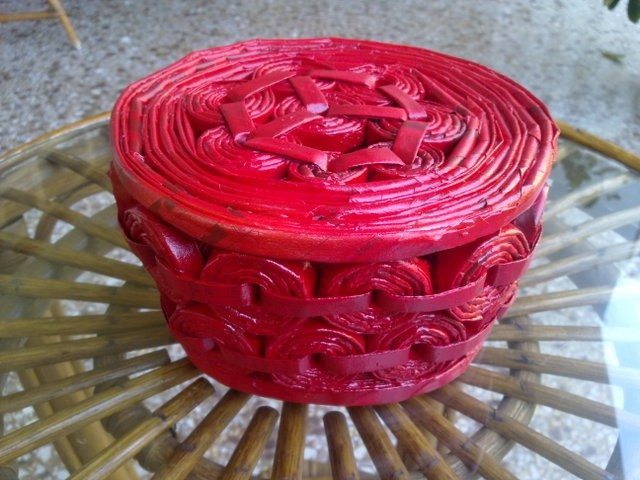
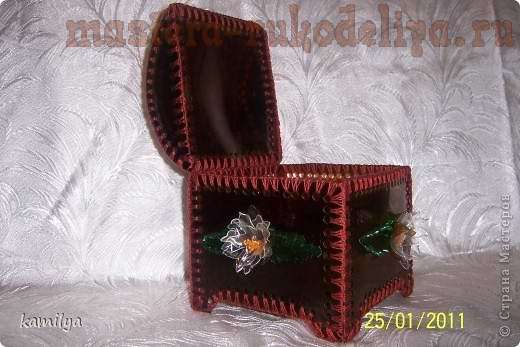
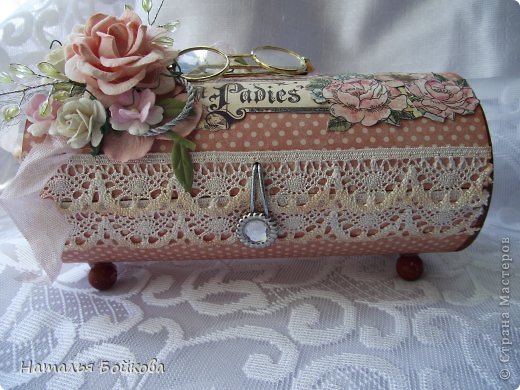
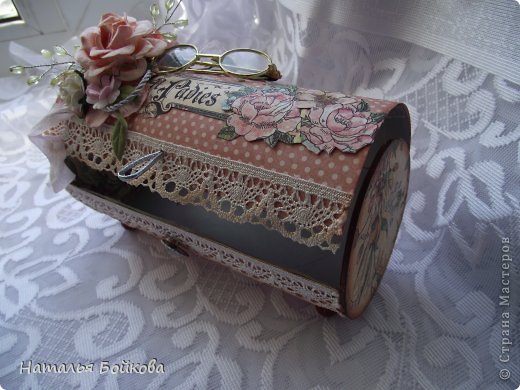
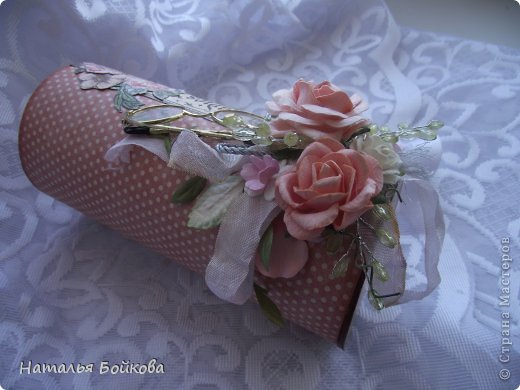
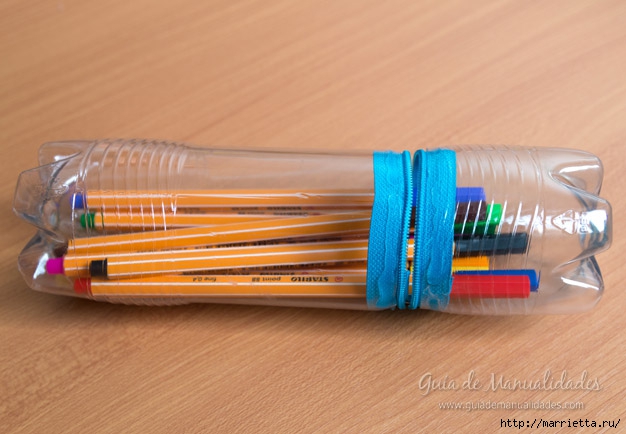 That’s all, or pencil box organizer is ready to use in the household)

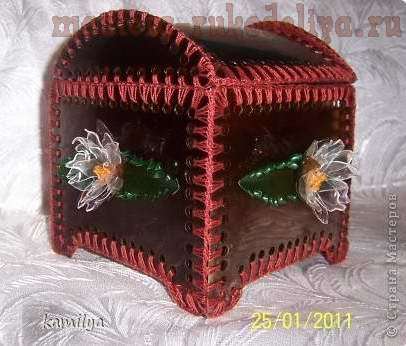
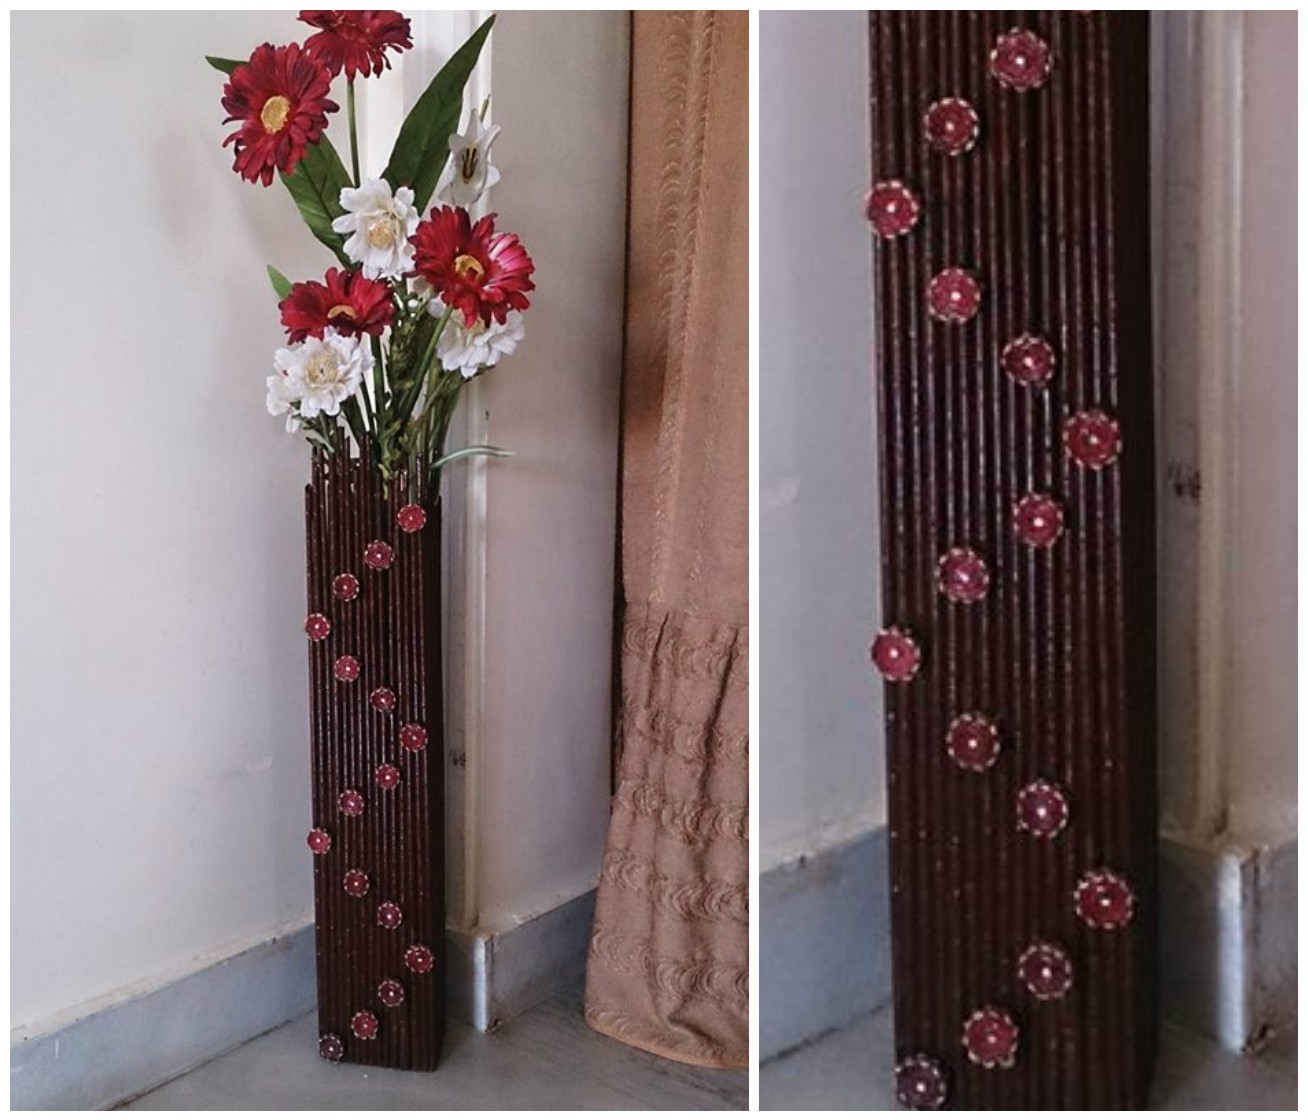
 Punchers at equal distance of making holes, tied with crochet.
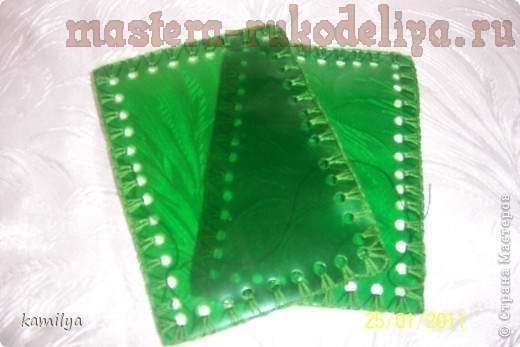
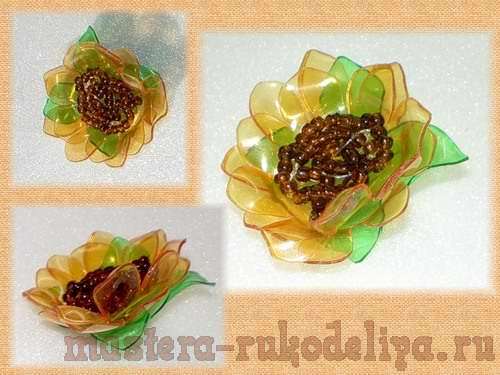 Beads also made from plastic bottles. To do this, cut into stripes of 2 mm in width and 1.2 cm in length, is heated over the fire and turn in the ring.


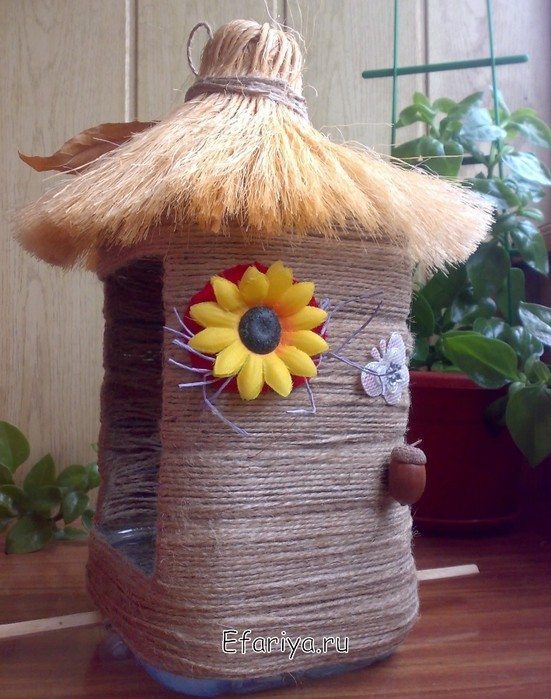
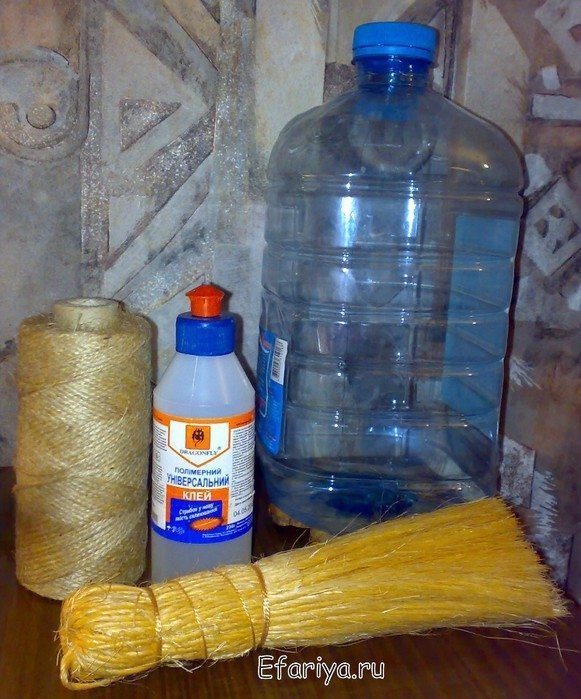 First knife need to make large openings on both sides of the rectangular shape.
 Where were our hole in the middle cut the twine and wrap it inside, good fluff there glue. So the sides will look more aesthetically pleasing and will not be sharp edges of the bottle.
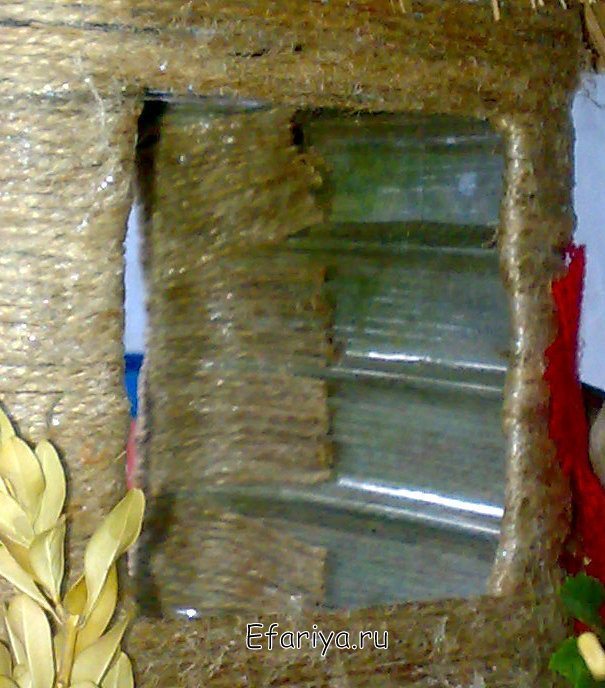 On top decompose a thatched roof and a hard brush twine. Do not forget to make a long loop of twine to hang it was for our bird feeder.
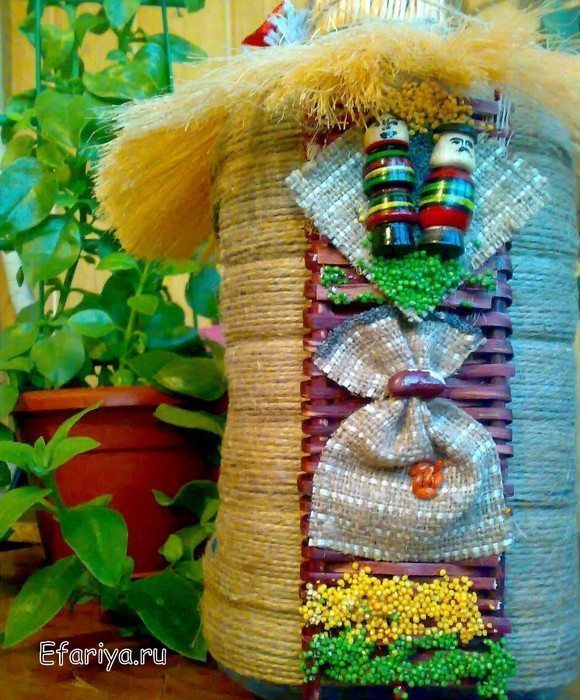
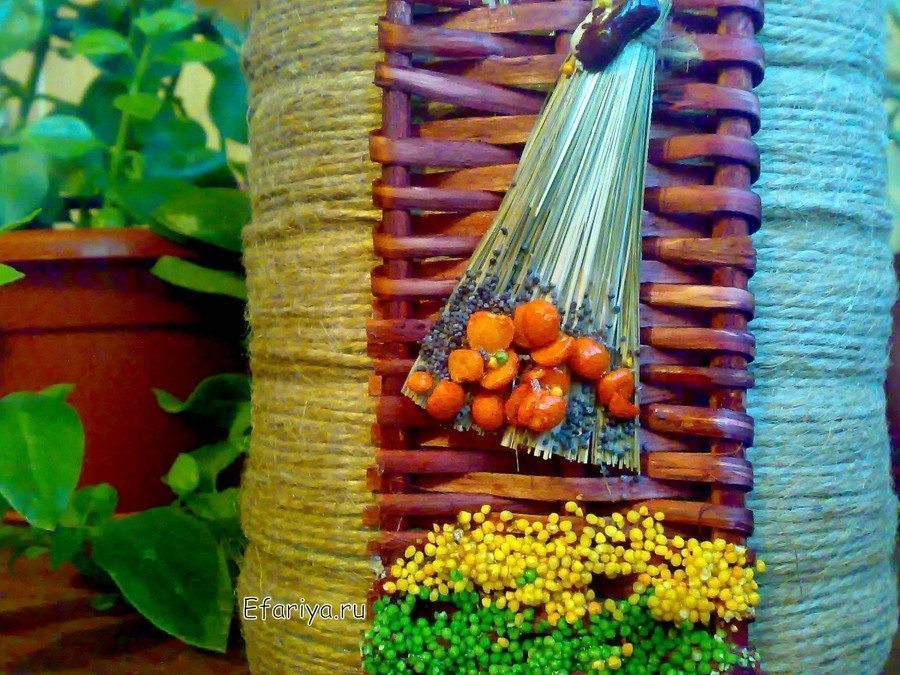
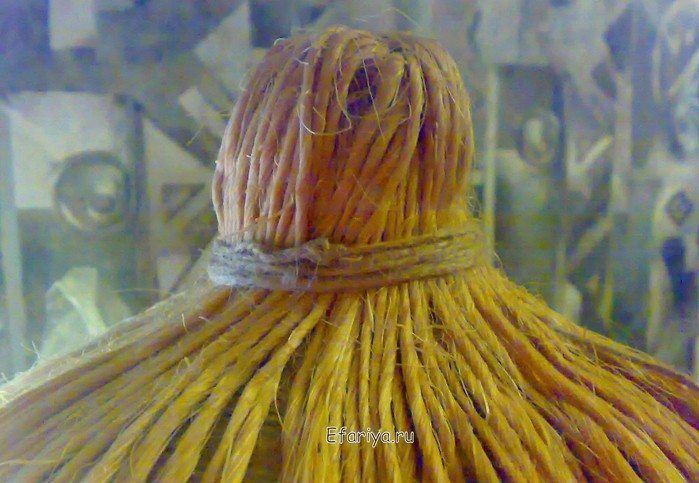 Now you can do the most interesting – the decor trough. In the course can go all do not mind. Here is all depends on your imagination and inspiration.
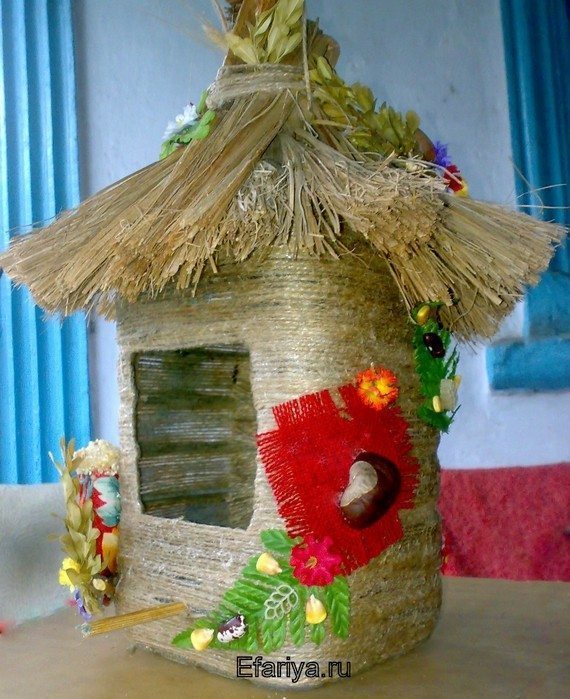 Do not forget to make the holes and insert the perch that the birds were comfortably seated.
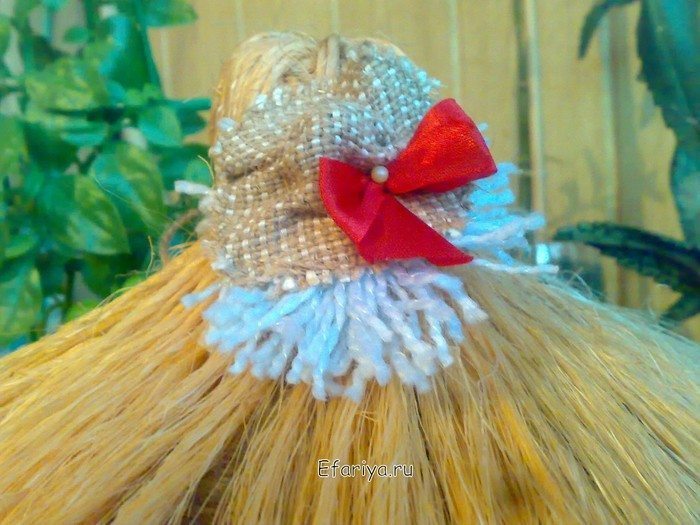
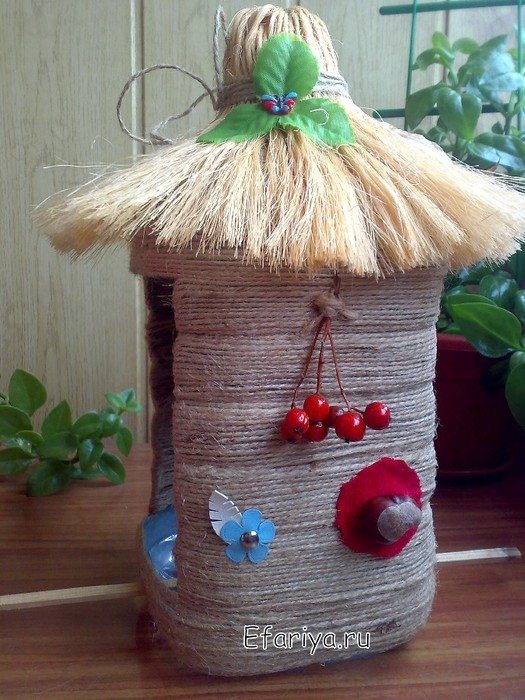
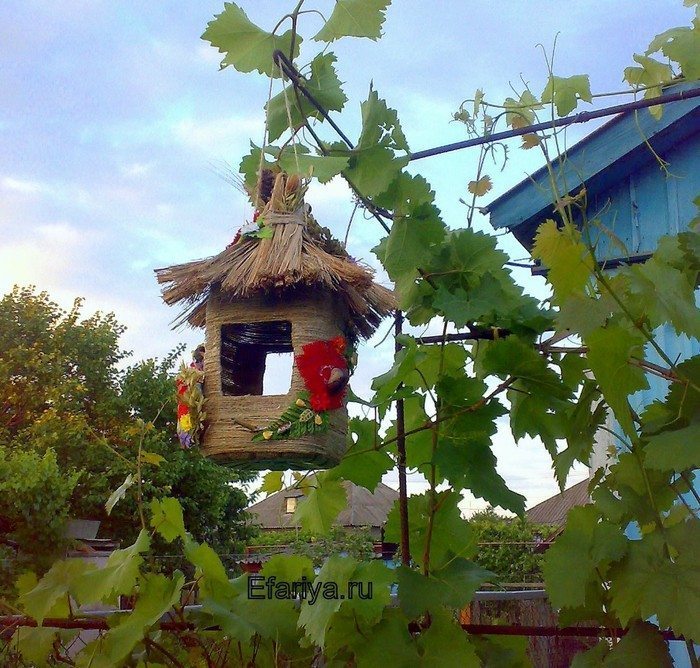 Everything. Now you can pour the food for the birds and hang the bird feeder outside.