
 Required Material:
-PET bottle (without convex patterns)
-a picture with a butterfly
-nail clippers
-permanent marker medium thickness
-3-5 shades of nail polish
-nail polish with glitter
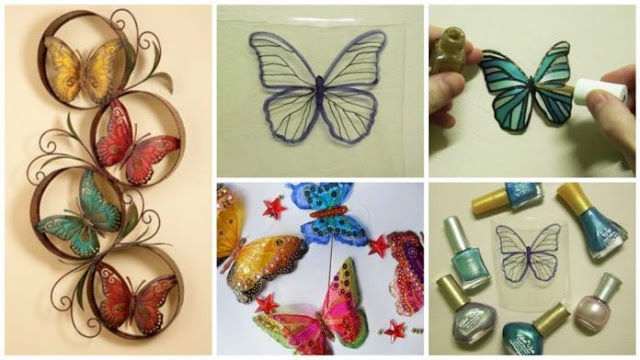
– super glue Take 1.5-2 liter plastic bottle (I use the middle part of the usual bottles of water). Cut off her smooth middle part of the neck and the bottom. 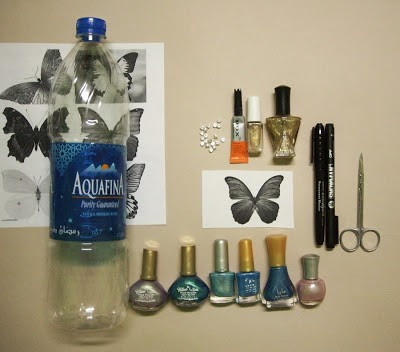
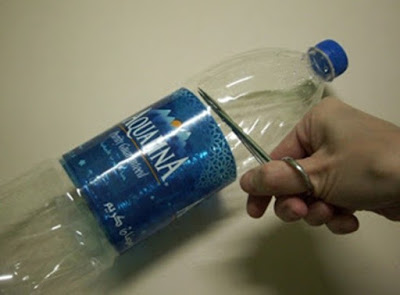 We get a sort of a sheet of transparent plastic.
 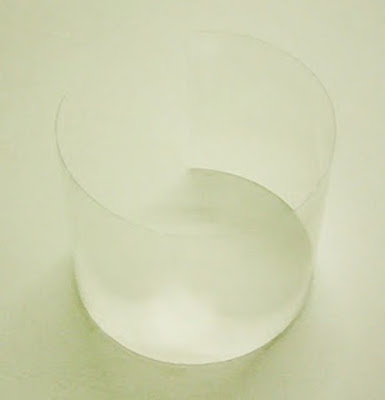 There is a picture butterfly shape that you would like to translate.
 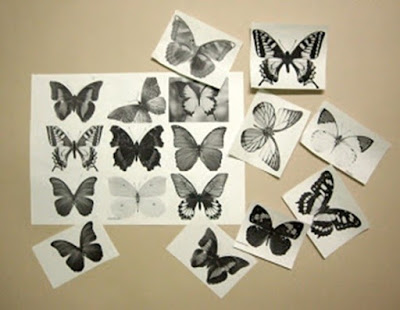 For a start is better to take pictures with clear lines and no small parts, for the first time use patterns – they are easier to translate than the photos, though
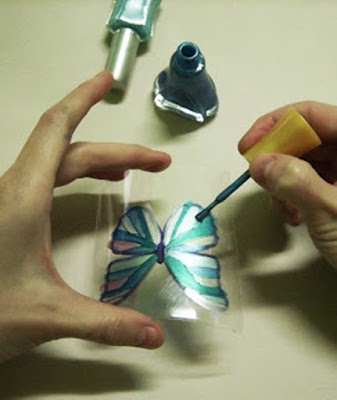
  and can immediately begin with the complex images. They can be found in magazines, I printed out from the Internet and gently draw out the contours of the drawing. To do this, I usually use a thin black permanent marker. Today decided to try out the new – he was stout and blue, but that’s okay because these contours disappear under layers of varnish.
 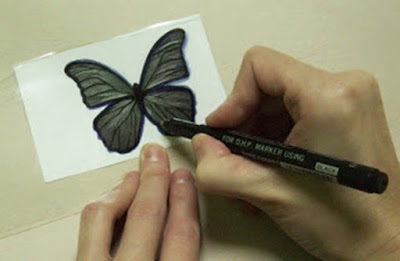 The plastic should stay your whole future butterfly with all the lines, streaks on the wings.
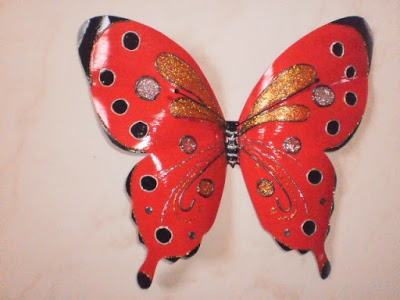
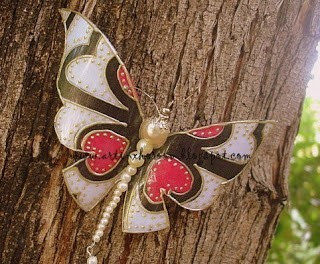
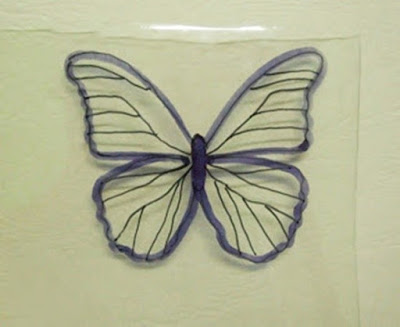
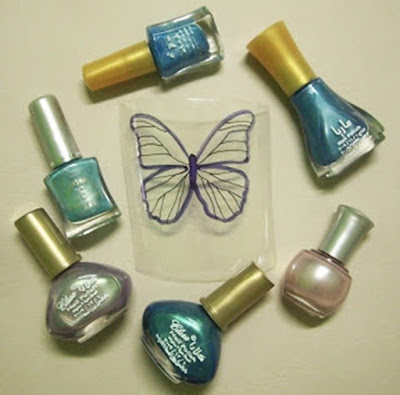
 Impose 2-3 coats depending on the consistency of the nail, giving each layer to dry thoroughly.
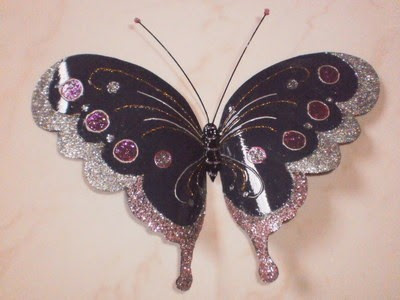
 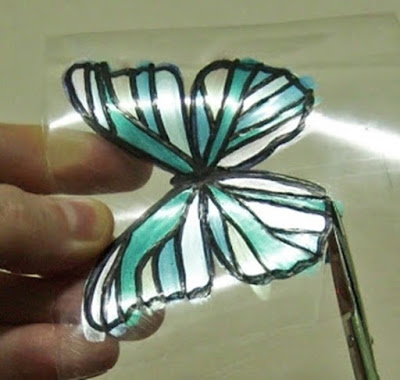 Finally, you can do embellishment. All black lines plot the silver or gold glitter (brush should be very thin – in such nail brush drawing on nails).
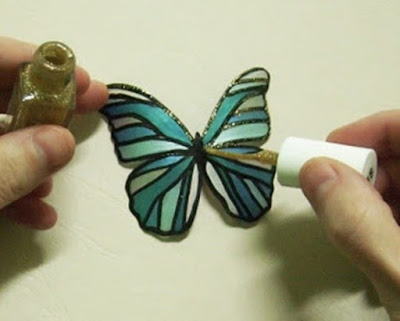
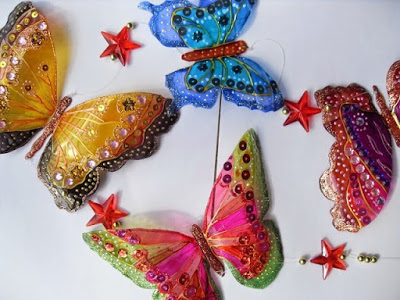
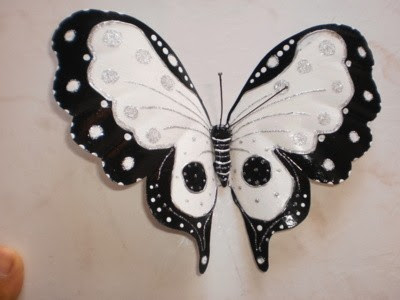
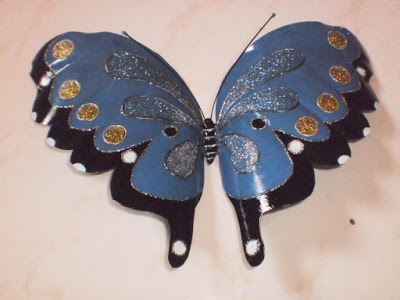
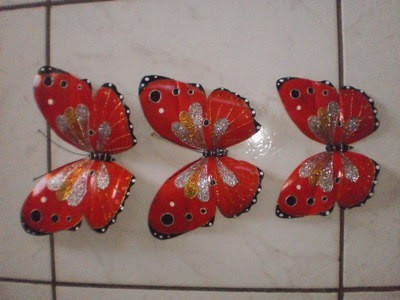
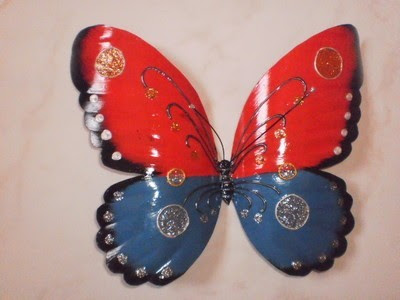
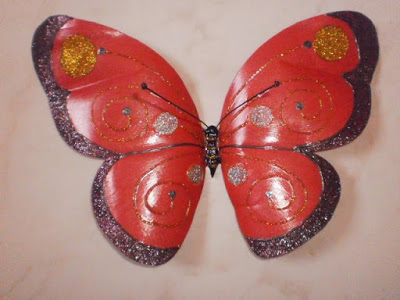
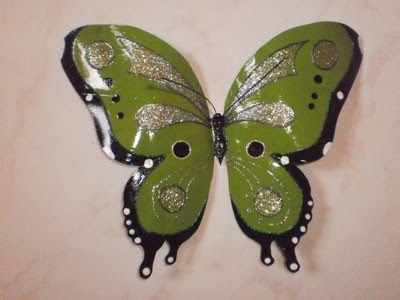
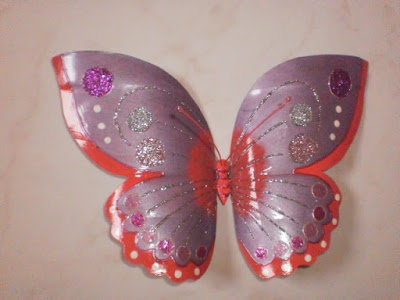
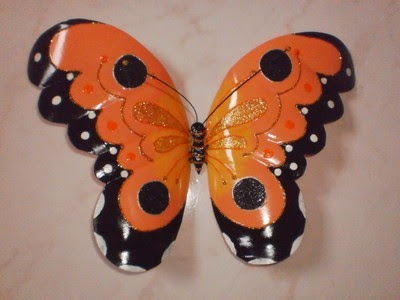
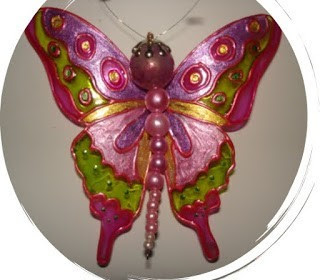
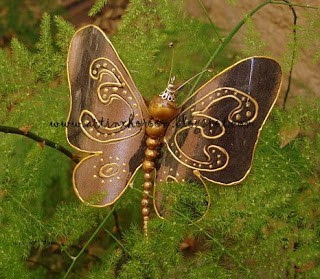
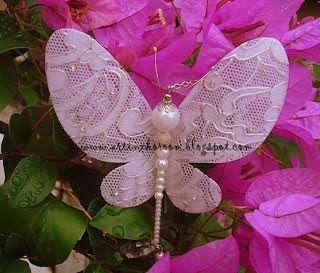
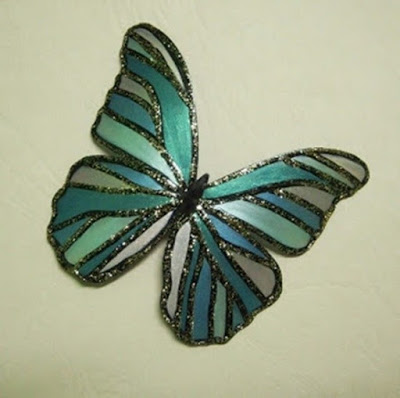 That’s all – our butterfly is ready.
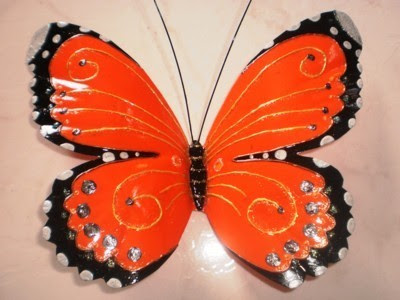
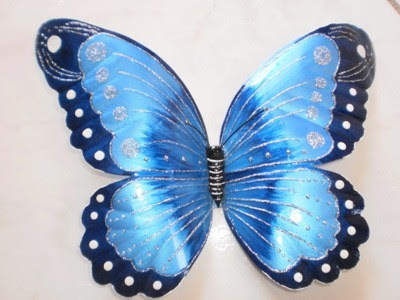
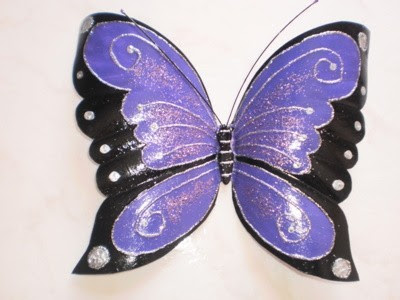
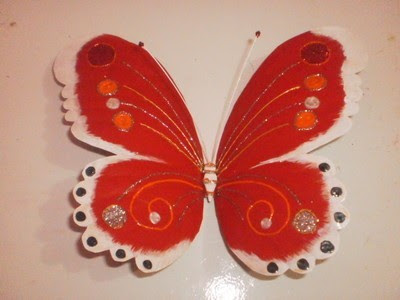
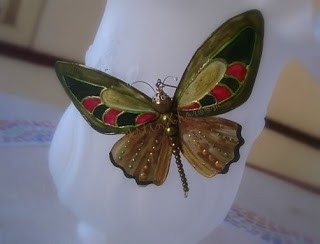
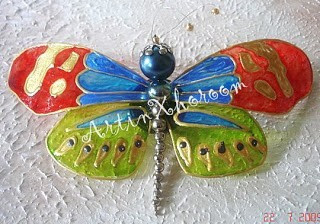
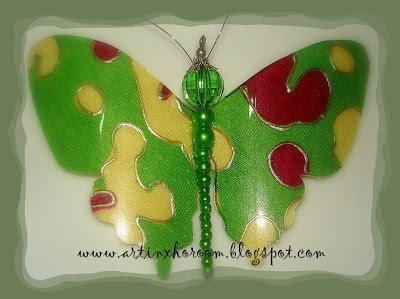
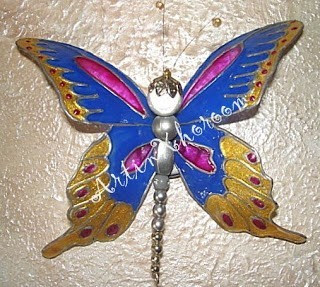
 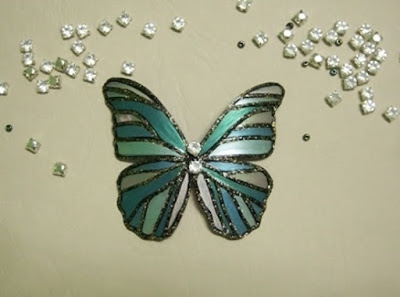 Another work
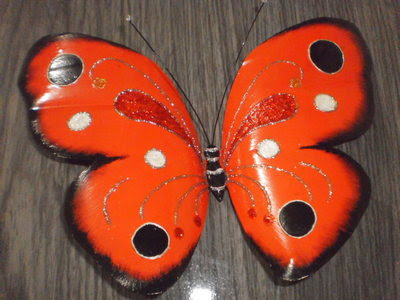
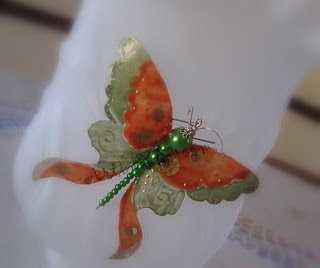
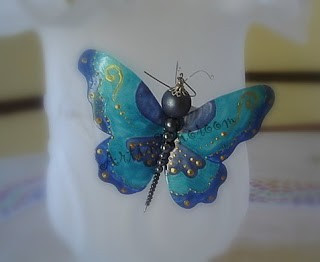
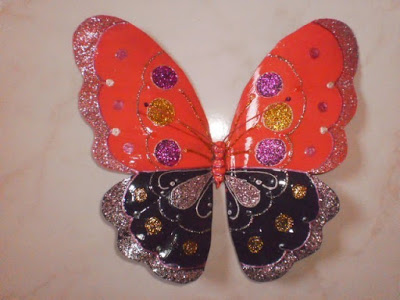

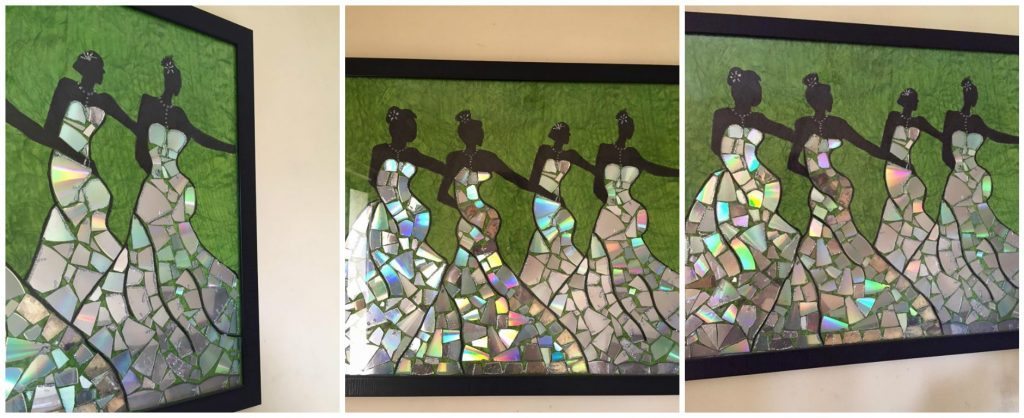
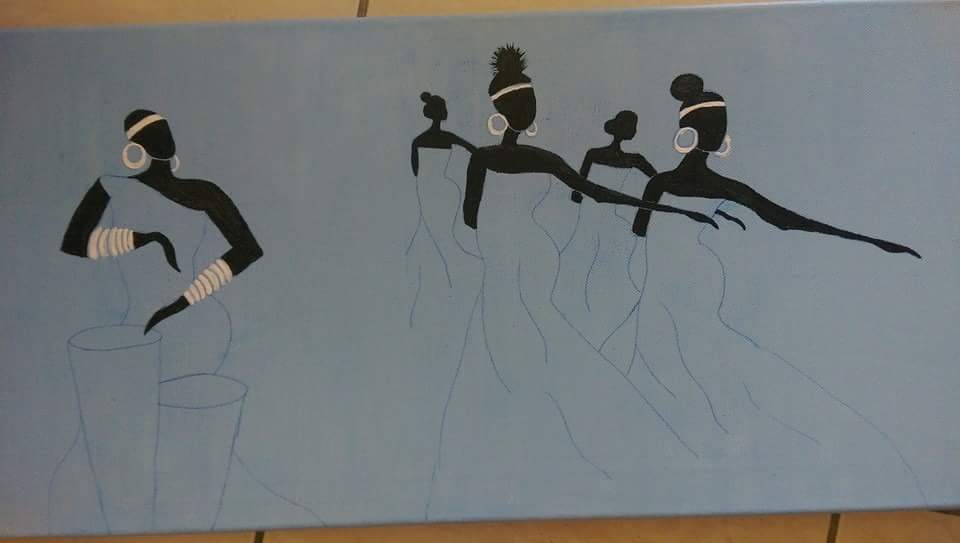
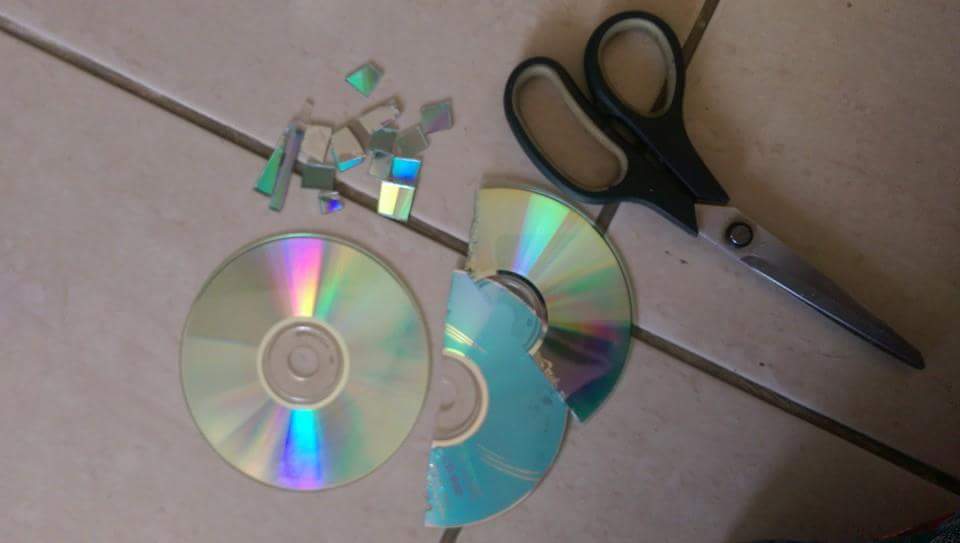
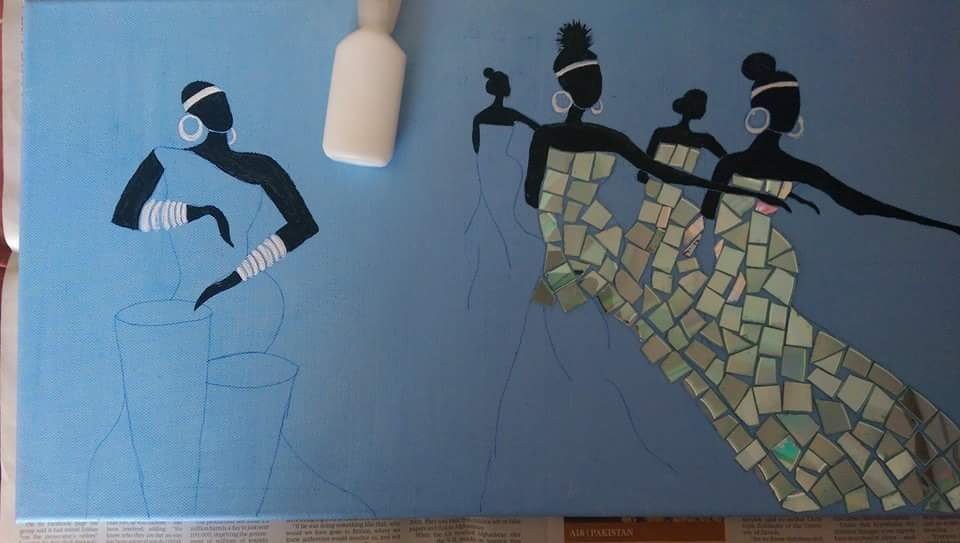
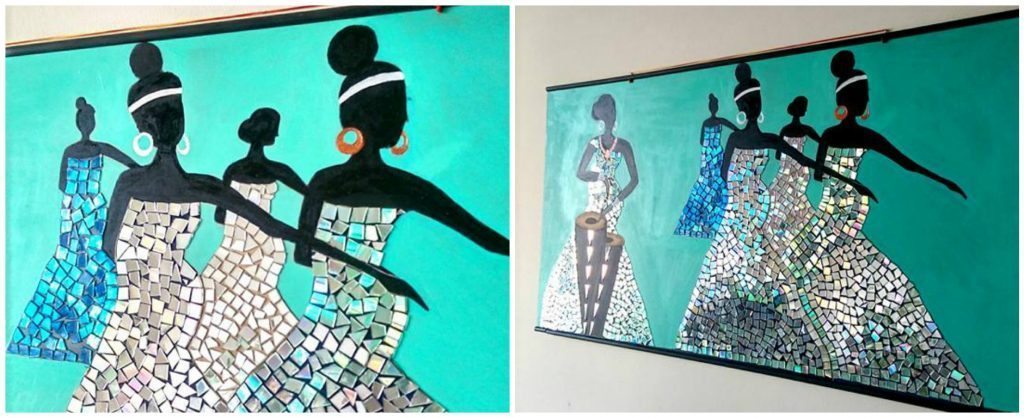
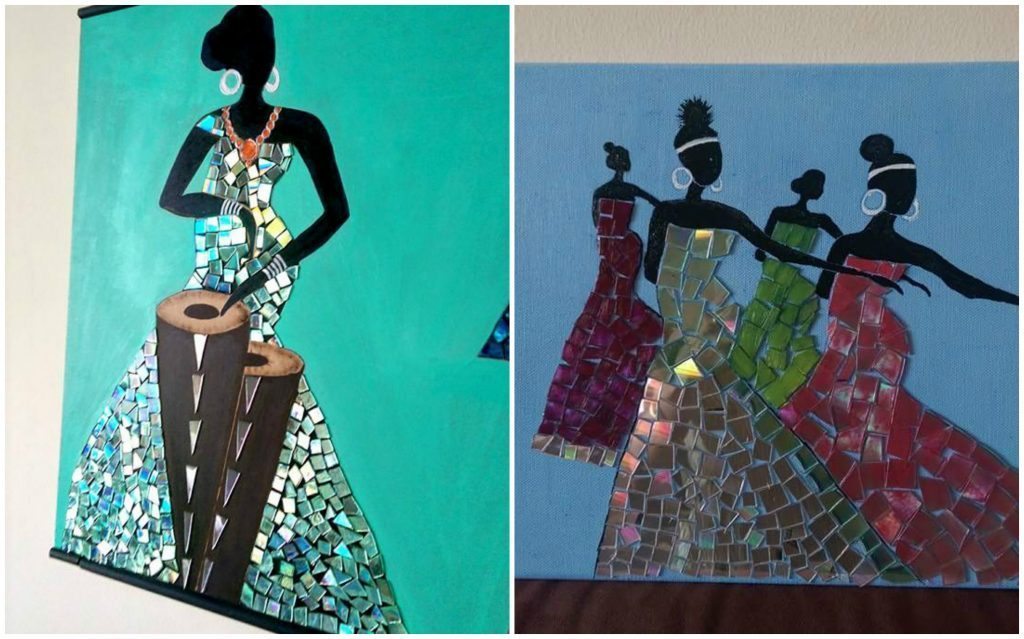
 3. Use glue to glue the pieces CD on the canvas.